Repairing Rotted Window Sills

Replaceable Sill Nosing
Sometimes a windowsill has rot out the outer nosing only. Many newer windows actually have removable nosing that can easily be duplicated and replaced with Western Red Cedar, Mahogany or PVC. Others are one piece and need to be cut away and patched.
Installing a Dutchman Patch
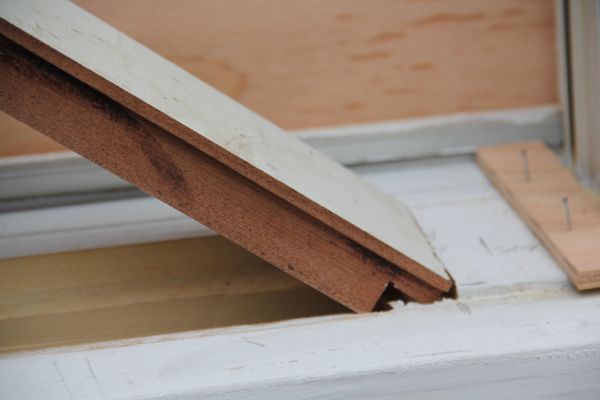
Dutchman patches are known primarily in carpentry, furniture making and masonry. A Dutchman is a piece of wood or stone that is used to repair a larger piece, shaped such that it fills a void. In our case we cut the void and patch it with new wood – called a the Dutchman patch.
If windowsill rot is confined to just a small area, a simple patch, and fill is all that is needed. For larger sections of damage, most or all of the windowsill may need to be removed and replaced.
When performing a Dutchman repair we like to use Western red cedar or Mahogany for the patch. Both wood species have inherent insect and rot resistant qualities.

Use A Router To Cut Out Rot
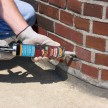
We use a compact router and guide to cut our Dutchman patch because using anything else does not provide a straight enough line for a tight glue joint. A router kicks up a lot of sawdust so sealing off the window is a must.
Dust Prevention – seal the window opening.
Prior to cutting out the rot you will need to take precautions to keep sawdust from entering the house. We use a product called “tape and drape,” a pre-taped masking film that unfolds to cover and protect various surfaces while painting.
We then use blue tape to completely seal off the sides of the plastic, on the inside of the window, and then raise the lower sash to provide access to cut the sill with a router. This process ensures a dust free house interior.

Fabricate a Straight Edge for Router to Follow
In order for any tool to cut straight you need to use a guide. We use quarter inch plywood as our router guide, making this guide on with a table and miter saw.
Once we determine our rot and where the solid wood is we use that measurement plus the width of our router base to determine what size router guide we need. Small 4-penny finish nails hold the guide in place and these holes are later filled with epoxy.