Repairing water damaged walls and ceilings
“Preparation When Painting Is Everything!! Rush the paint preparation and you’ll end up regretting it!” . . . . . says my friend and fellow craftsman Mark O’Lalor of O’Lalor Painting Company.
This article will focus on how to repair water damaged ceiling and walls and prepare for paint.
I’ve received so many calls for folks whom have suffered water damage this year. Water stains and peeling paint are pain in the ass, but simple to remedy.
What Happens When Plaster Gets Wet?
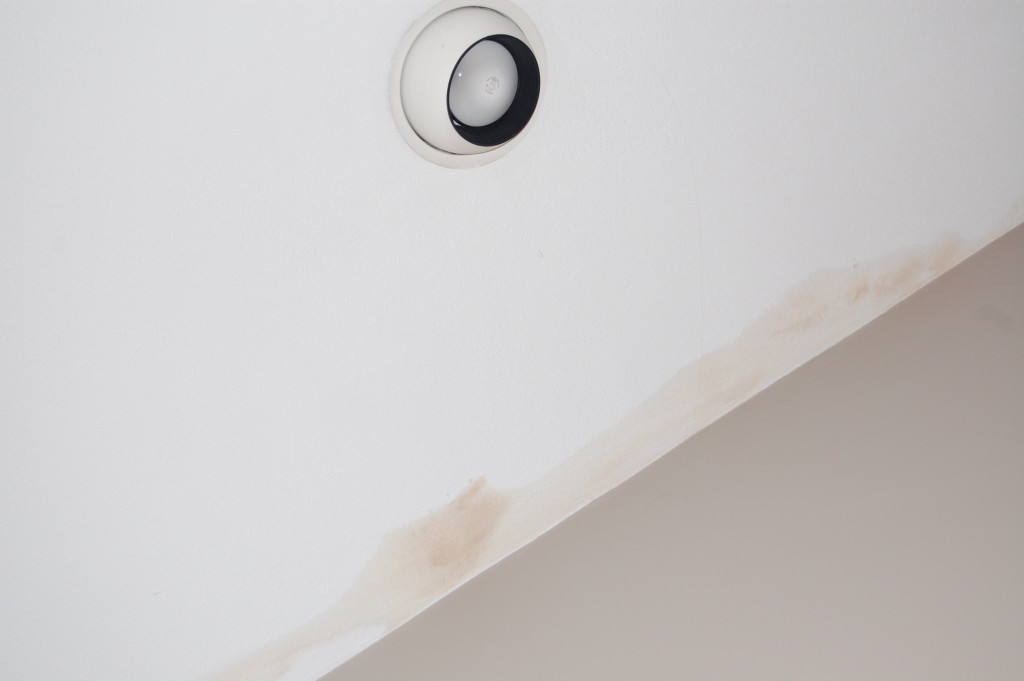
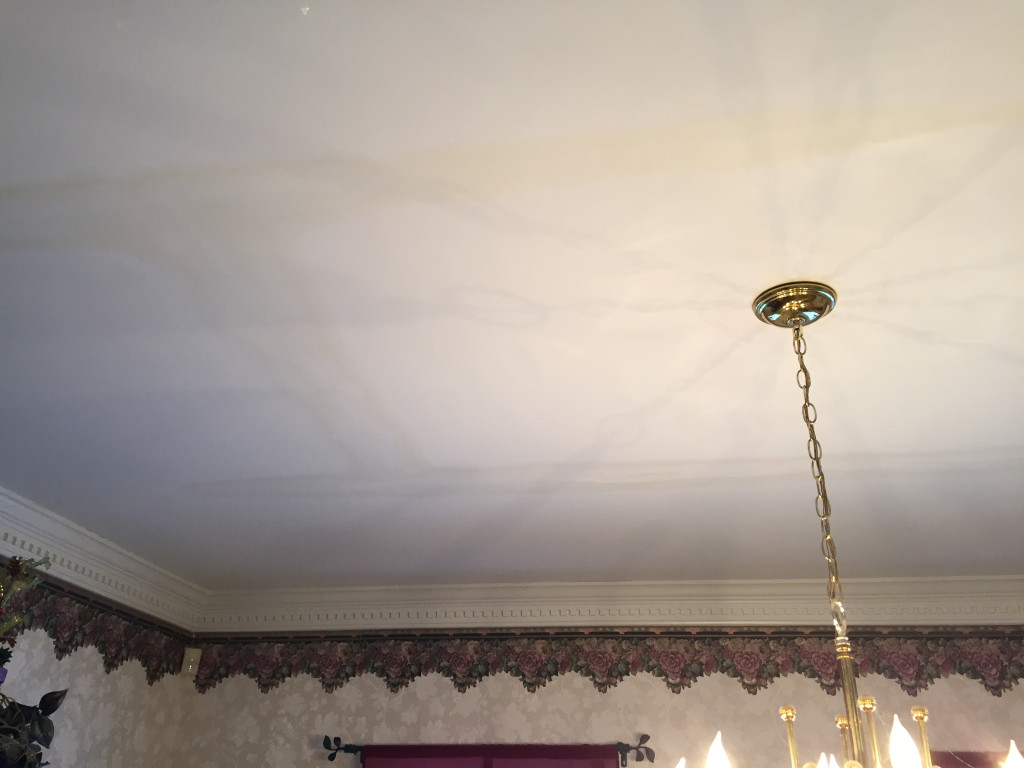
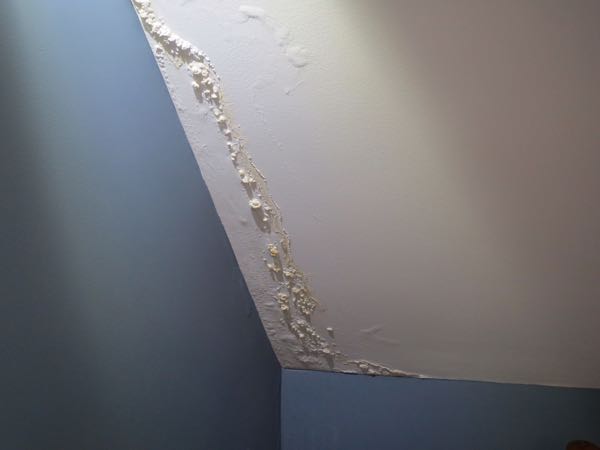
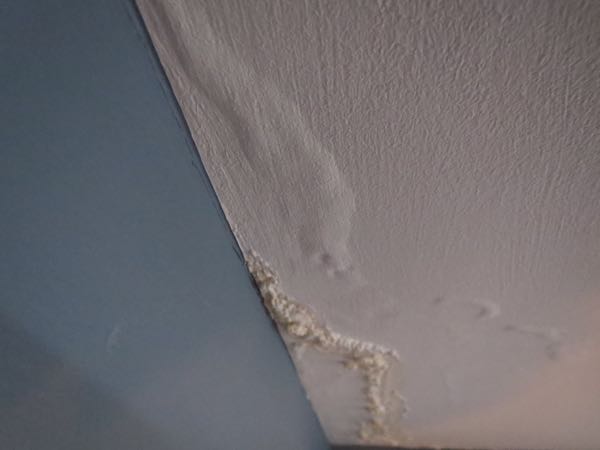
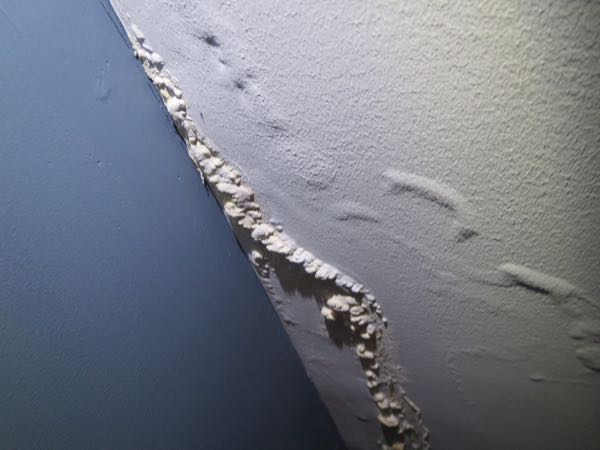
When plaster gets wet the surface will usually manifest as a yellow or brownish stain, and if the leak was heavy, the surface may begin to bubble from the chemical reaction of the lime in the plaster.
If leaking was severe, sometimes the ceiling or wall plaster come off the studs, strapping or wood lath. This usually means that the metal nails / screws rusted or nails pulled out.
Using A Moisture Meter
Before performing any repair work on this area you may want to see if the plaster has dried out enough. Use a moisture meter to determine the extent of the moisture content and dry any areas out that are excessively wet.
Take several readings, spread out over the damaged area, and compare your readings from dry, non-damaged areas as well.
A zero moisture is unrealistic, you’re looking for a reading between 7 and 13 percent moisture.
Each situation is slightly different so lets break down this damage into steps:
Remove the bubbled and flaking plaster:
The first step to making repairs is to remove all the damaged material, bubbling and peeling paint, and assess how deep the damage goes.
Use a putty knife to lift off flaking surfaces. If the damage goes deeper, apply firm pressure with the blade to dig out all the damaged, soft material. Continue to dig out and work your way around the edges of the damaged area, digging with the knife until you reach hard, undamaged plaster.
Test the paint coat immediately surrounding the area to see if it will peel off easily. Work out from the center with a putty knife to remove any loose paint. You want to ensure that the plaster is solid and the adjacent paint is fully adhered.
If the wallboard is sound, but the plaster is chipped or peeling away this can be easily repaired with joint compound and practice “mudding.” [Described below]
Cut out badly damaged surfaces:
If your plaster is badly damaged, sagging or bulging, you may have to remove it and replace it with new blue board or drywall. A small plaster blister or a hole [poked for drainage] can be spanned with mesh tape and covered with skim coats of drywall compound.
Cutting wallboard:
If you have to cut out a large section of plaster, and no wood strapping [backing] is present, then you will have to add some in. [Strapping refers to the strips of wood that are installed along the length of the interior of a ceiling.]
Use 1 x 3 “strapping” boards or rip strips of 2.5 to 3” wide plywood strips on a table saw and screw them in place for the new drywall patch to attach to. You want center this strapping half under the existing plaster and the other half exposed, to accept the new plaster board.
You will be installing the strapping perpendicular to the ceiling rafters and 16″ on center, installing two screws into each ceiling joist where the strapping crosses.
Fastening drywall or blue board:
Use 1-1/4” drywall screws to install and fasten your patch, keep your seams to ¼” or less.
Install one screw every four inches, approximately 3/8” to 1” in from the edge. Do not over drive your fasteners; your goal is to install them slightly under the wallboards paper surface. Later your address the seam and screws with mesh tape and drywall mud.
Note on Wood Lathe:
If the plaster is over wood lath, then removal will expose the lath and give you a backing to attach your drywall patch material and attach it with drywall screws.
Most “old plaster,” over wood lath is about a quarter to three-eighths inch thick. So you will need some thin drywall to patch in.
Dealing with loose wallboard or sagging ceilings:
If the ceiling is sagging or the wall moves when you gently push on it you may have a fastener failure, or rotted framing? A small inspection hole can help determine if there is rot or simply rusted screws or nails.
If a fastener failure, reattached the plaster to the stud or lath by using long drywall screws fitted with plaster washers.
Plaster washers, also known as ceiling buttons, are metal washers with a series of holes to hold drywall compound and are designed to increase the surface area of a screw head to avoid punching the screw through the plaster and also to provide holding power. Mot hardware stores carry these washers, I get mine at Concord Lumber Corp.
To avoid cracking the plaster and creating more damage, install a few washers around the crack or across the sagged area and drive them snug against the plaster face. Then tighten each of them slowly, moving from one to another, so that the plaster gradually pulls tight against the lath.
Make sure NOT to overdrive your screws – your looking for a secure, snug attachment. You also want to gently work the sag back into place, by starting on one end and working to the other, or the center and working out to the sides.
Cover seams, cracks and plaster buttons with mesh tape
Go over the surface with vacuum brush to remove any loose particles. Wash the surrounding surfaces using a sponge and bucket of clean water to remove any residual lime deposits, allow the plaster to dry completely before proceeding.
Apply mesh drywall tape over all seams, any plaster washers and cracks. Cracks are best covered with mesh tape or they will come back.
Apply Drywall Compound “mudding”
Apply series of drywall compound patch in layers over all of your apes areas and and damaged holes.
According to my friend and painter Dan Frost, fro Frost Painting, “ If the plaster has come off to reveal the Sheetrock” (gray color) he applies a coat of USG Sheetrock Brand Lightweight Setting-Type Joint Compound, called Durabond 20 (durobond.com) for a base coat. The “20” means 20-minute dry time.
Dan says, “Keep a wet sponge handy to wipe smooth the Dura bond after you apply the first coat taking the excess off with a wet 6 inch drywall blade.”
Dan cautions that, “multiple thin coats and patience are key.” After the first coat, if done smooth and properly, no sanding is necessary, a second coat is applied using Durabond EasySand 20. This is a lighter joint compound that sands easy. Once the patched is built up to the level of the surface you are all set to lightly sand with 220 grit sandpaper.
With each coat of drywall compound you want to “feathering out” further away from the repair from 4” to 6” to 8” or 12” depending on the size of the crack.
Repair shallow surface damage using several thin coats of joint compound to fill in the missing plaster, and level out the wall. Cover the whole damaged area and surrounding wall with a ¼ inch coat.
Use a flexible knife to “butter” the area like a piece of toast and then immediately go back and skim off the extra mud, using parallel strokes from one side to the other.
Float the blade across the deeper damage to fill it in and skim harder on the surrounding walls to leave a very thin coat. Don’t let mud build up higher over the repair area than it is on the surrounding surfaces.
Ignore any ridges left by the knife blade or other inconsistencies in the surface, when the mud has set you can scrape them off with your putty knife before applying another coat. Scraping between coats saves a lot of sanding effort!
Allow enough dry time in between each pass.
Scrape and Sand
Let the mud set until it hardens and then use the joint knife to scrape off any ridges or other roughness in the surface. Use the putty knife to scrape off ridges and high spots. Wipe the area with a clean, damp rag or sponge to remove the scraping and sanding dust before coating it again with mud.
Apply a second coat of mud, in a perpendicular direction to the first coat, buttering the surface as before. Concentrate on filling in the deepest parts of the damage and keeping a lighter coat around the edges.
Don’t let high points develop in the overall surface, try to keep it consistent with the surrounding level. Reverse direction with each new coat to help in keeping the repair level.
The last coat can be lightly sanded with 220.
Sealing the Stained Area
I was unsure on the proper advice for sealing in stains so I reached out to Mark O’Lalor from O’Lalor Painting. Mark advised me that he does not apply a primer/sealer, Zinsser® “Binz” or otherwise until his entire repair work is done.
Once the drywall compound is applied, Mark wipes the surfaces down and primes with regular primer and then coat the areas where the stains were with a Shellac Based sealer. Mark says, “priming is one of the most important things you can do, aside from being sure the surface is clean, to ensure a lasting job.”
Primers are special coatings designed to bond to bare surfaces creating a sound foundation for finish paint.
A sealer is a special primer is used for blocking problem stains like smoke, grease, rust, and water damage.
Prime, caulk seams and paint
Remove dirt and vacuum all the dust. Washing surfaces to remove oils from the human hand, ambient dust in the interior and exterior environment, oil rich cooking vapor, candle wax vapor and of course dust from construction all contribute to create a barrier between the applied paint and the surface in question.
These substances all need to be washed off to ensure proper adhesion prior to priming and painting.