Cupola Renovation Project
Organizing my computer pictures the other night I came across a file containing these photos of us Repairing A Cupola. I posted on this project but did not use all the photos. [click on photos to enlarge] There are a few lessons learned here.
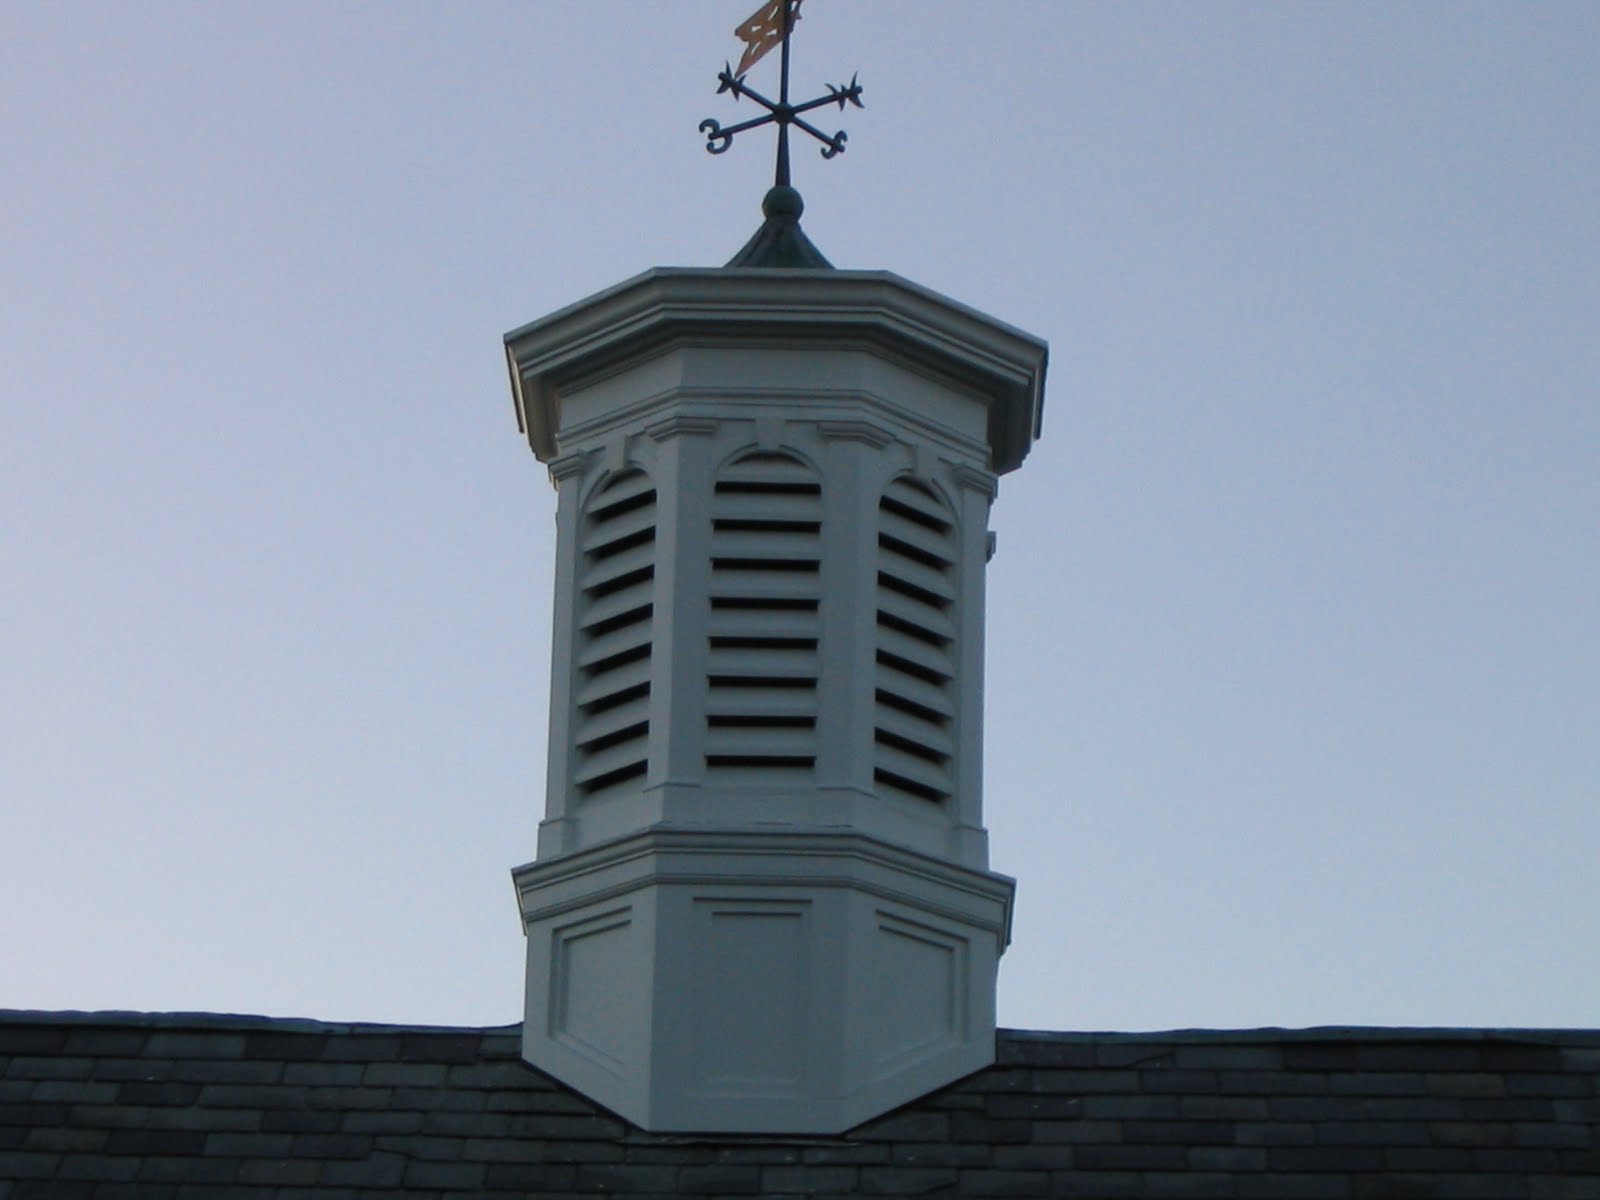
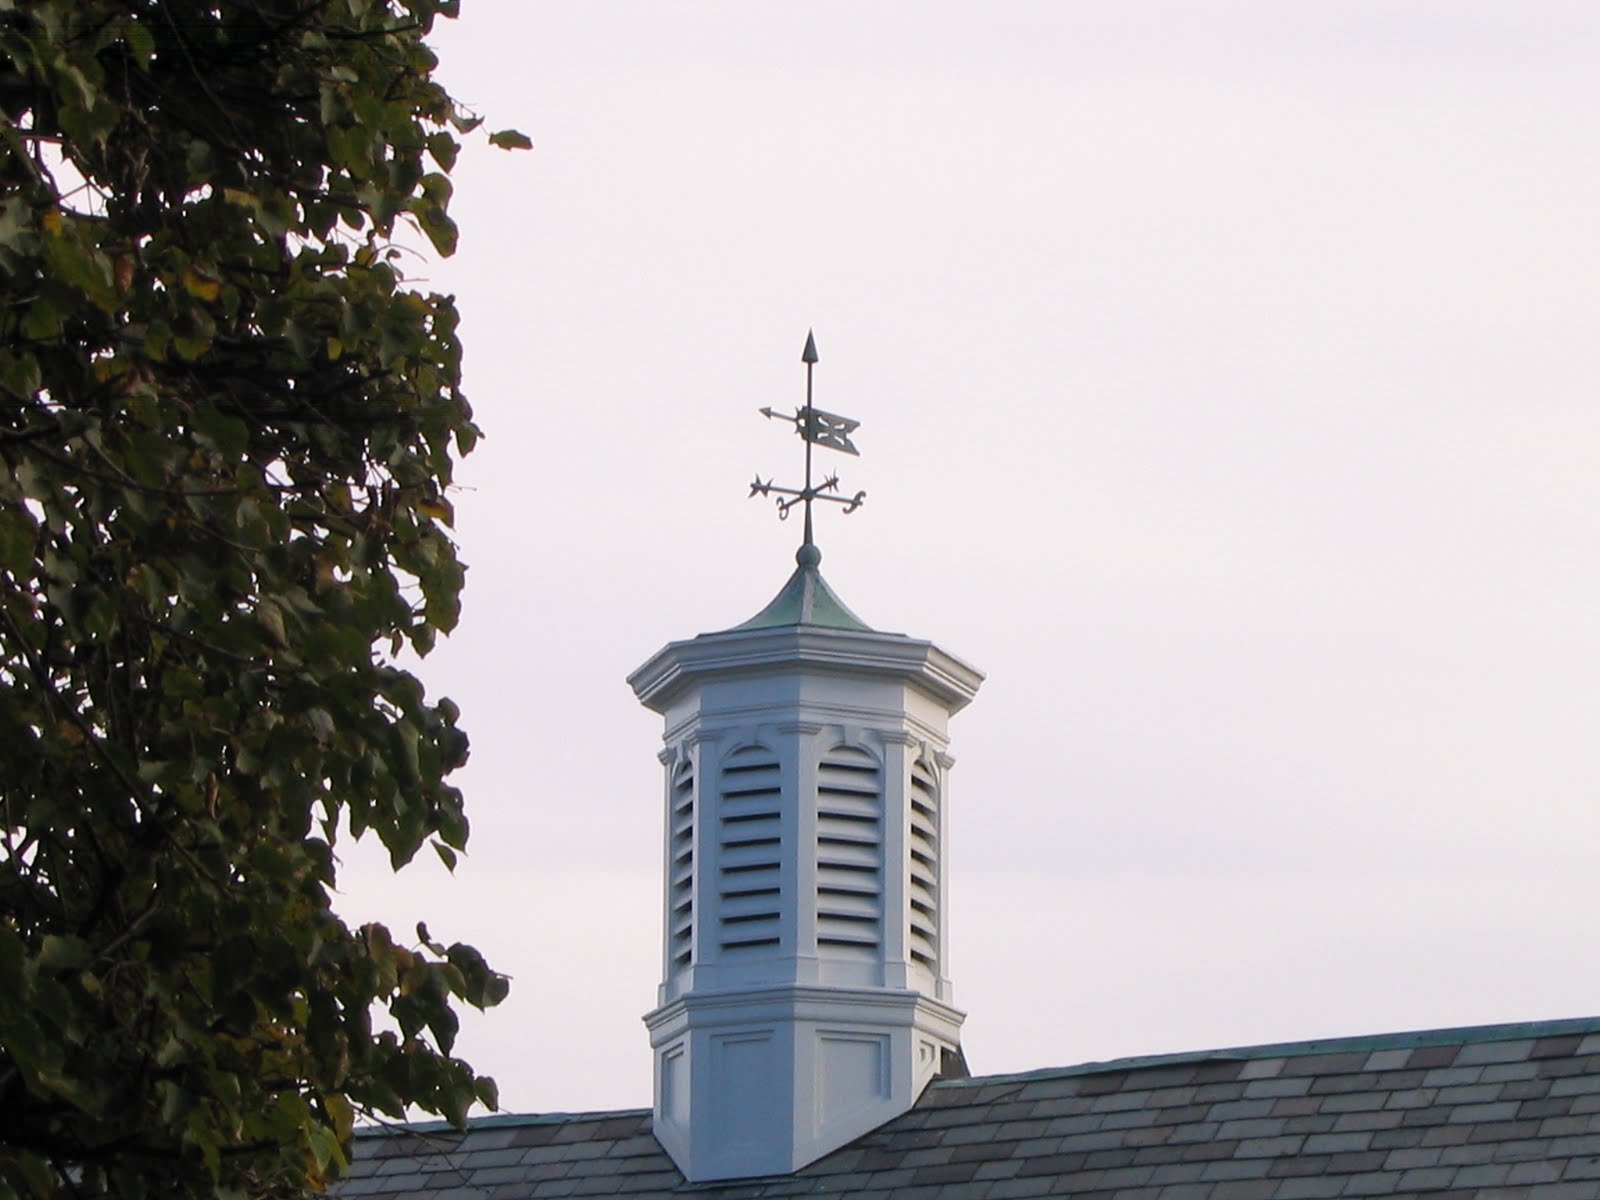
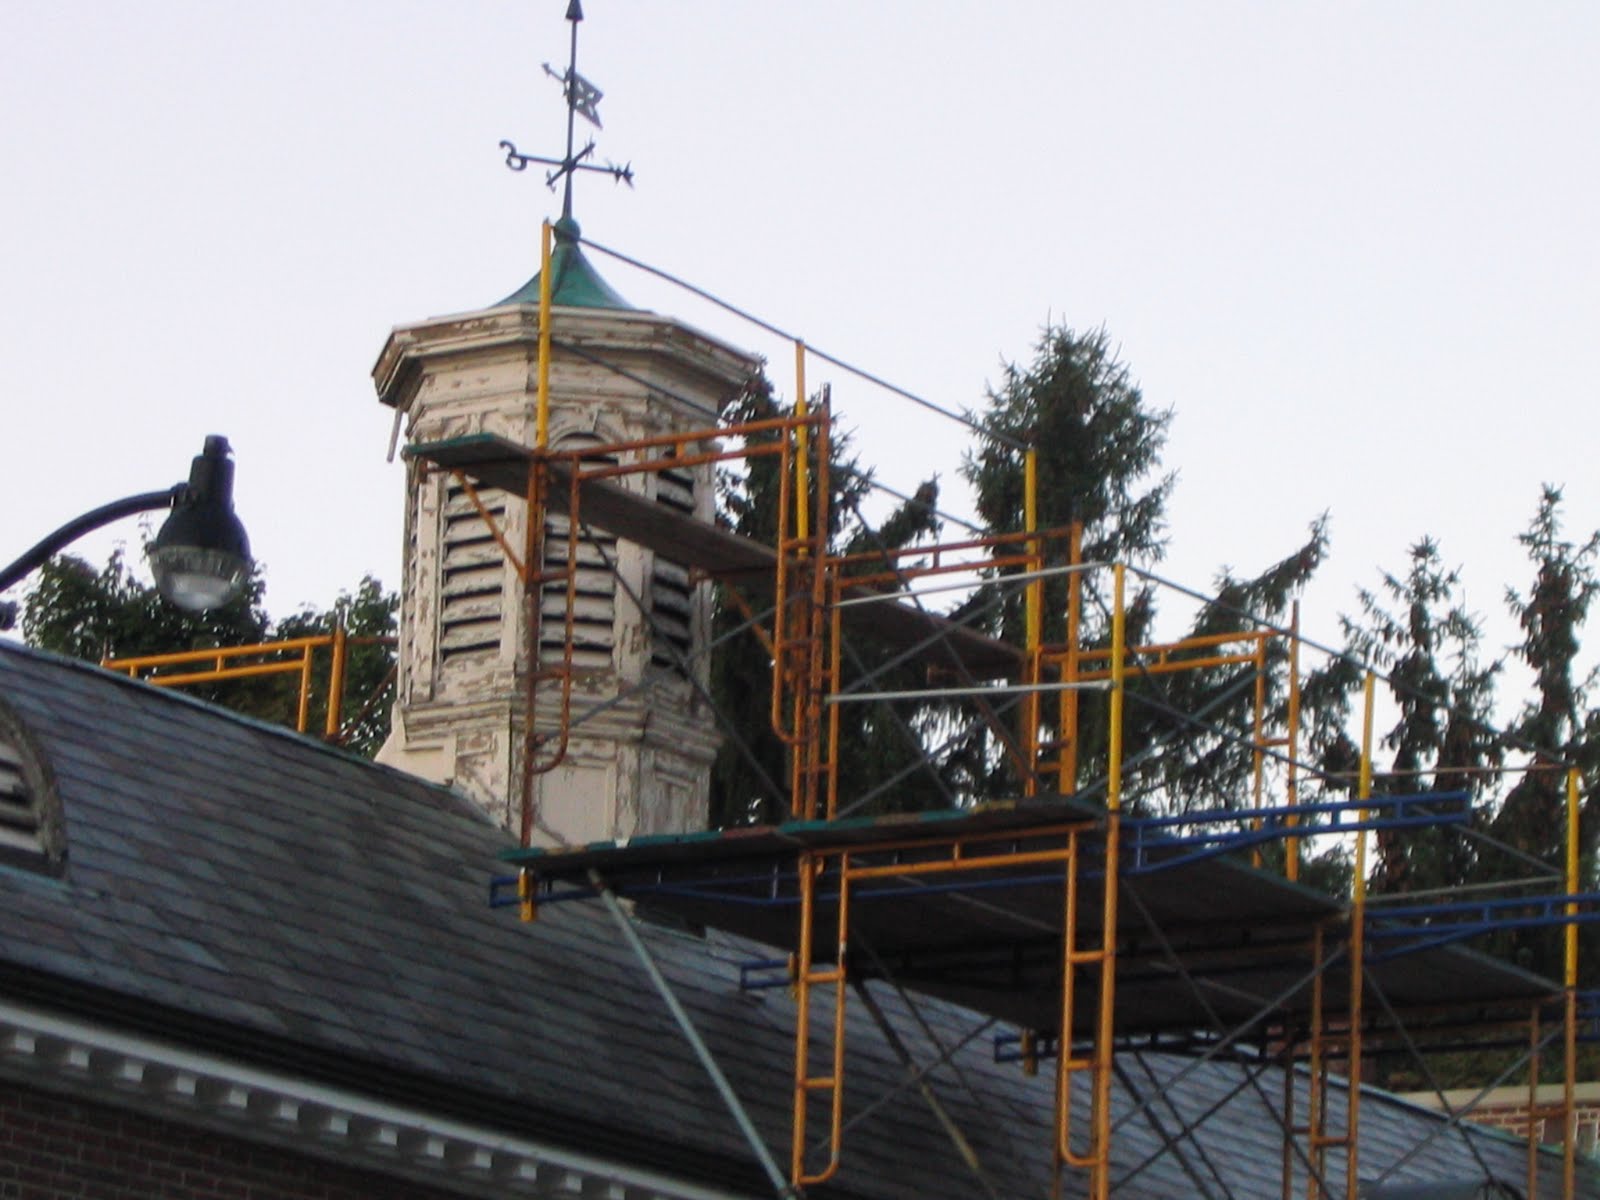
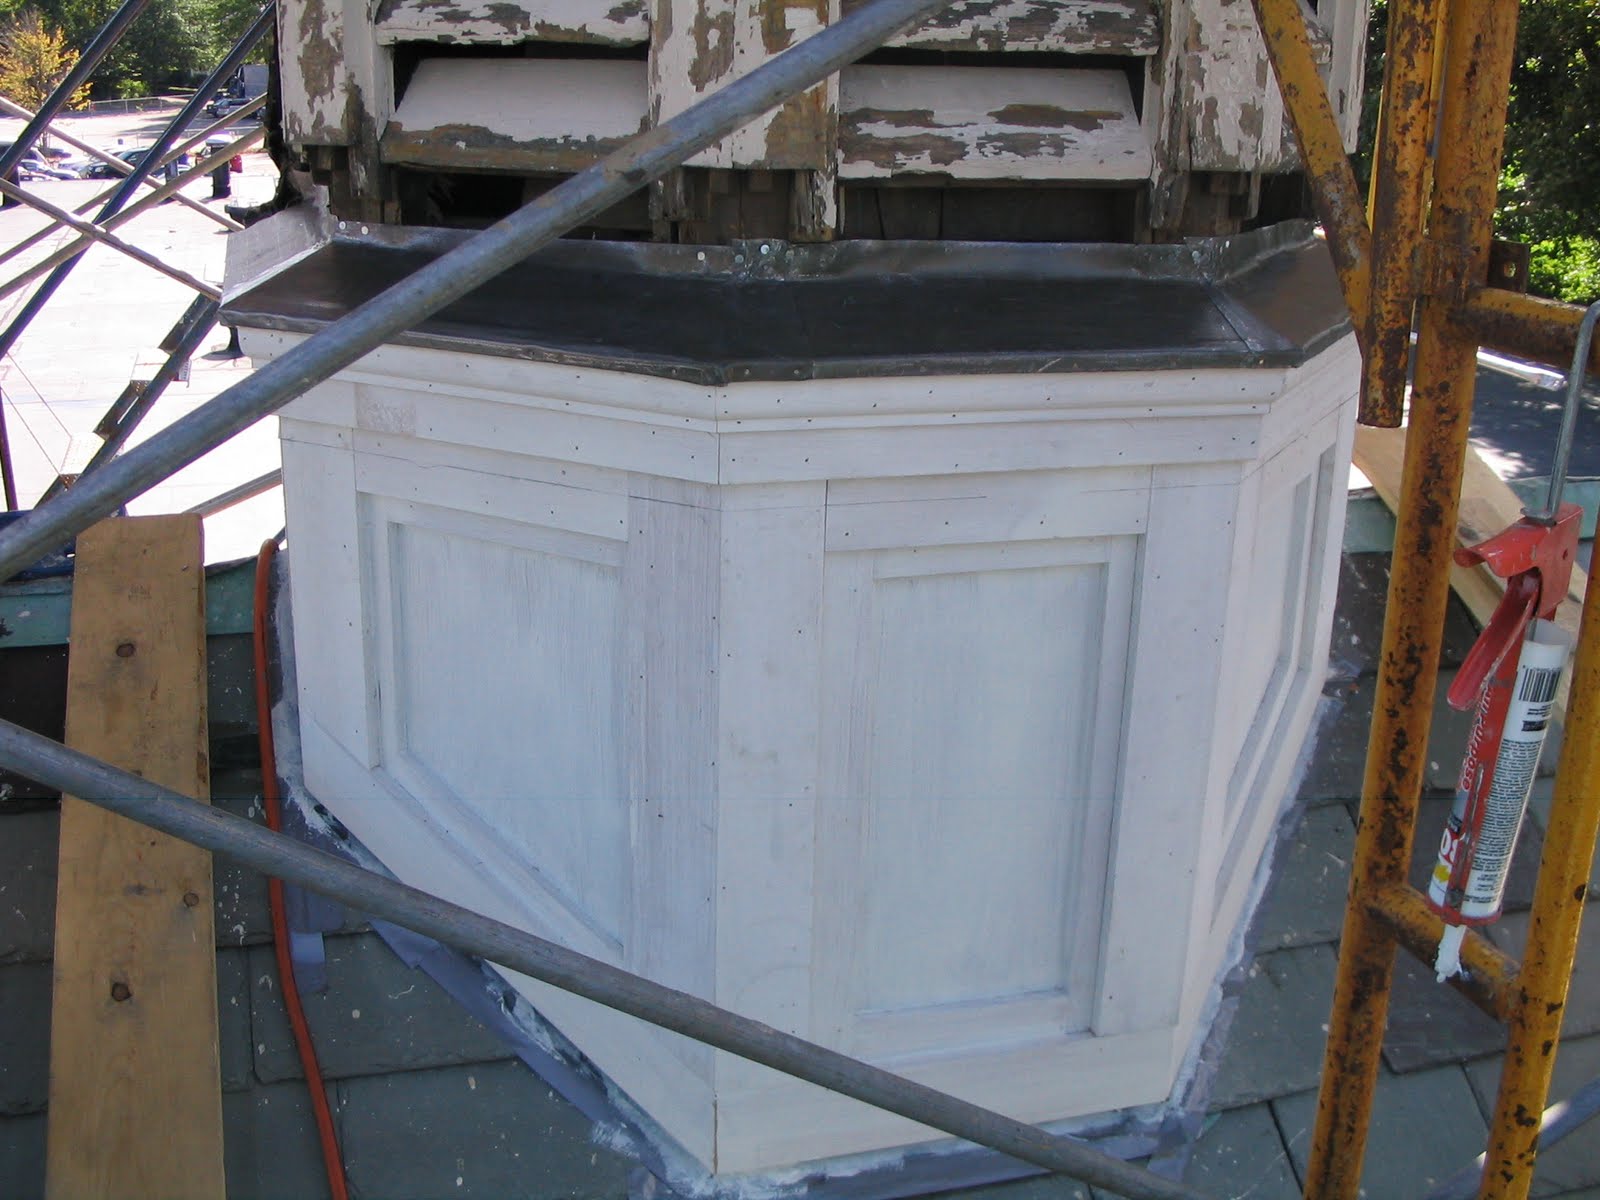
This is the cupola at 57-59 Main Street above the Concord Book Store and Brines Sports in Concord Center.
This cupola was built approximately 75-80 years ago. Many of the moldings we found on this cupola are no longer sold. We wanted to repair this cupola without changing it’s molding or design.
This sill, shown above, was a source of water infiltration. The seam of the trim was on top which allowed water to get behind.

In the photo above there is a nice view of concord Center that many people have not seen before. This gorgeous green patina copper roof and built in gutter system had many pin holes and needed the seams redone and the holes soldered.
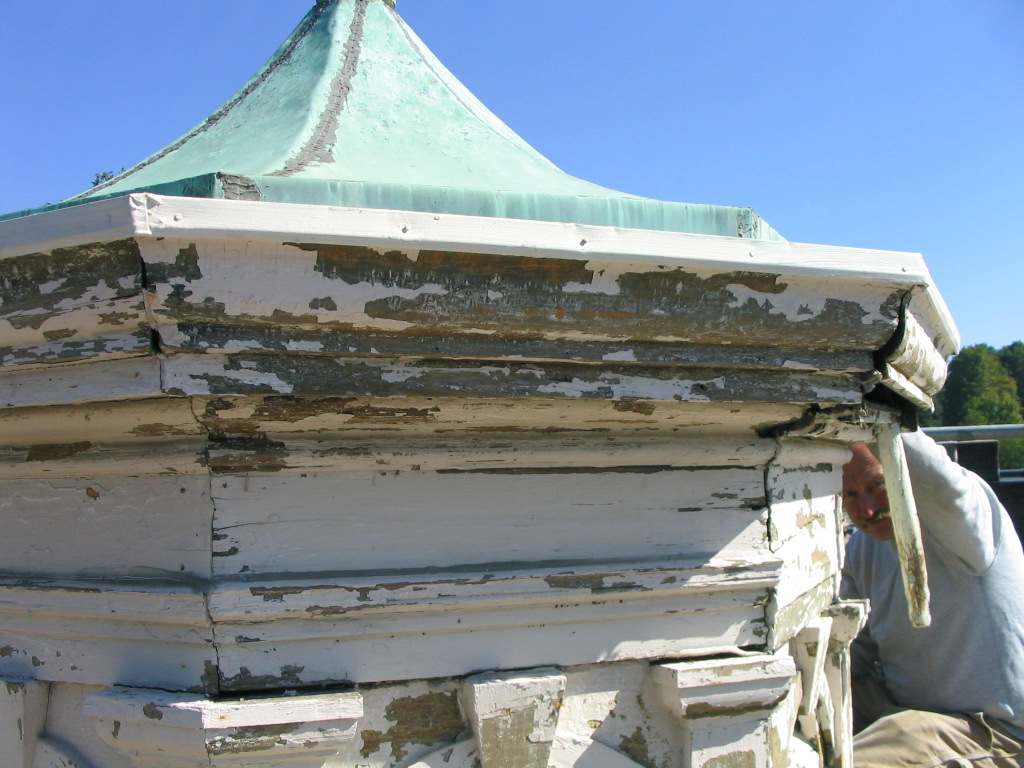
The photo above shows the condition of the built out crown. Also shown is a tube on the right side of the photo. This tube, made of lead was a drain for the gutter. The problem was that the tube was aimed at the panels below and damaged them.
At the end of this project we added a downspout [back side] to get the water off the cupola and to the roof below. Some of the vent panel slats crumbled in our hands. We replaced all of this with Spanish cedar.
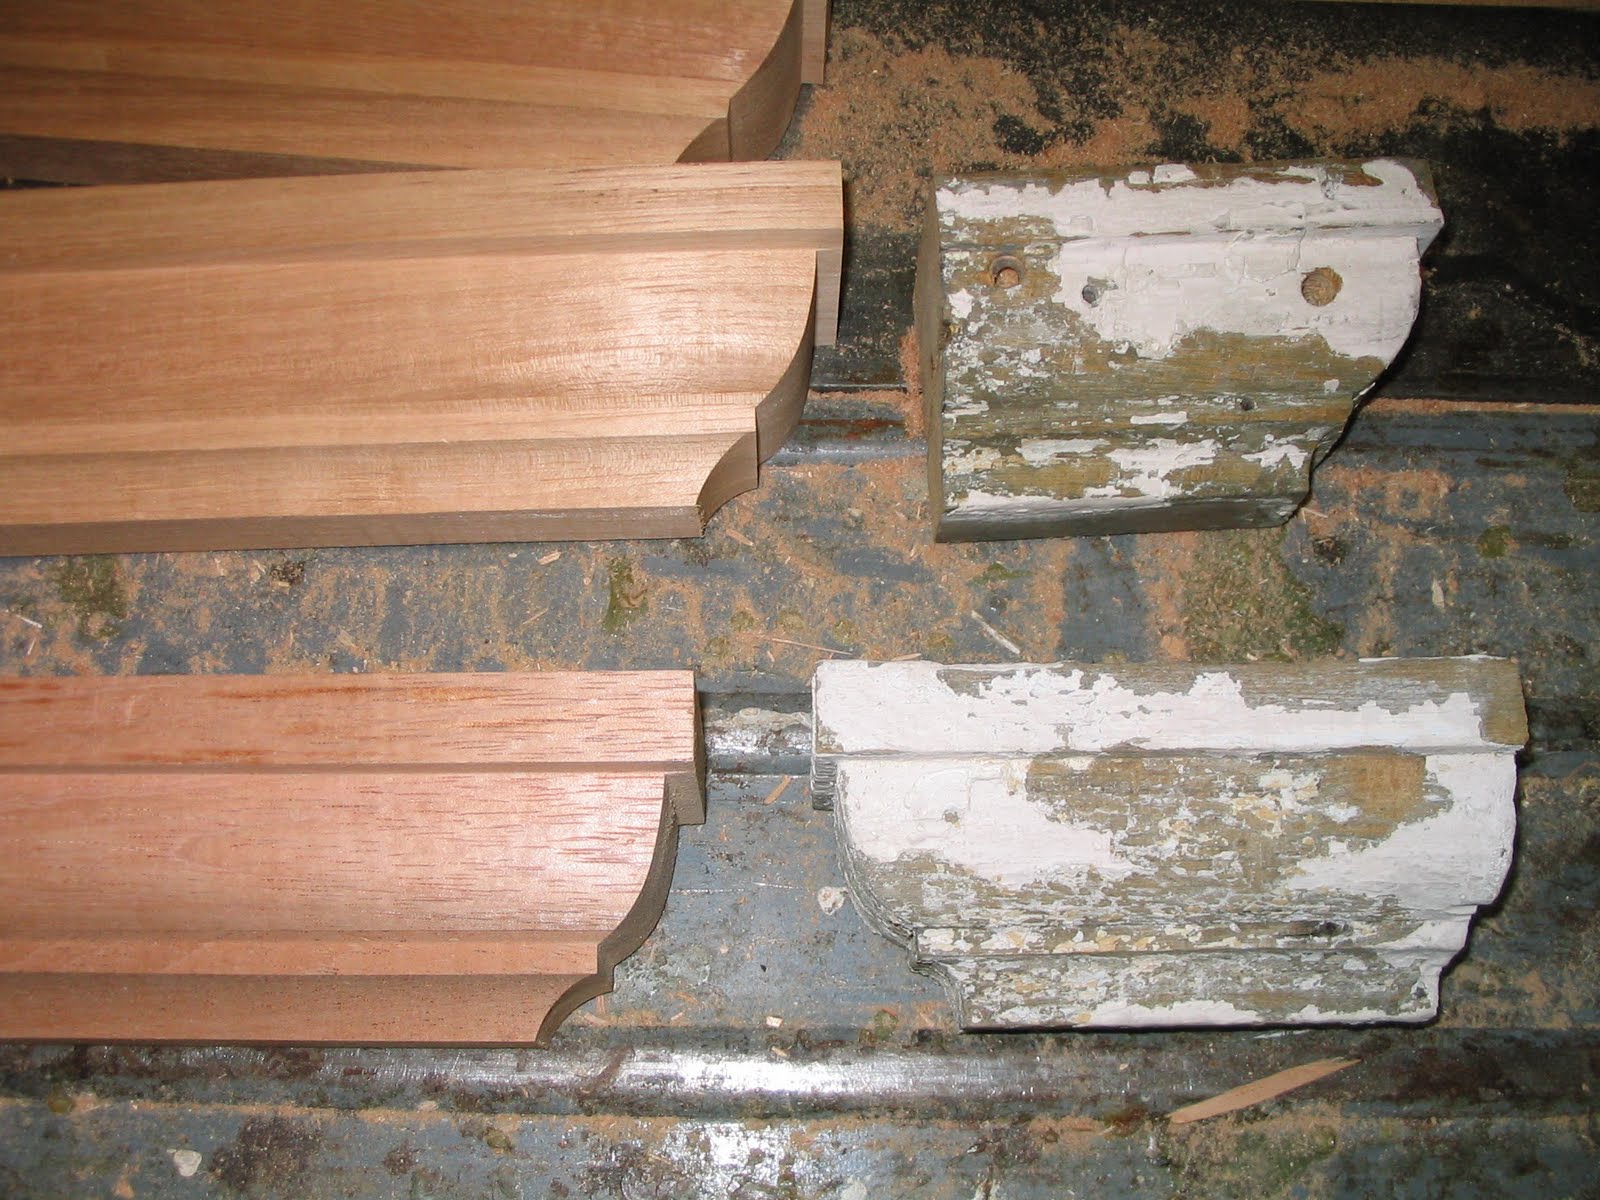
Interesting moldings were found on this project. We had molding knives made and custom milled exact profile out of Spanish cedar.

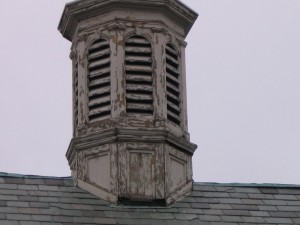
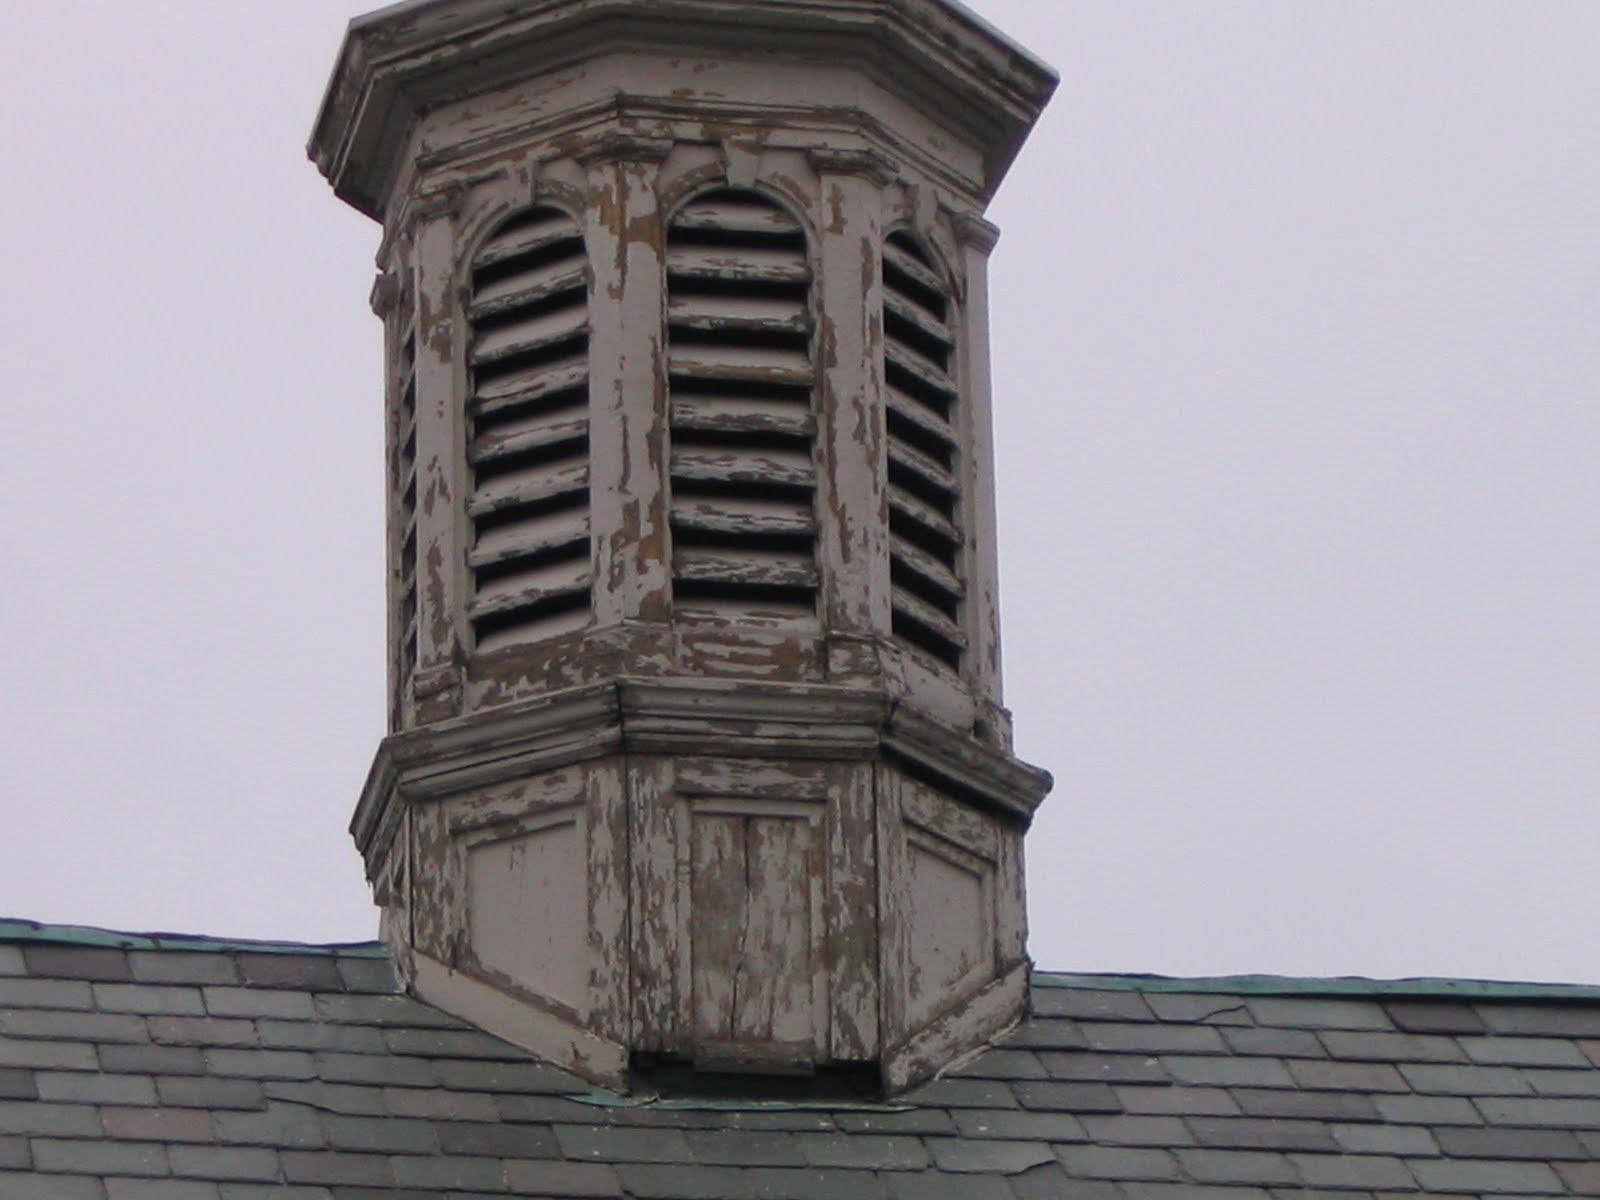
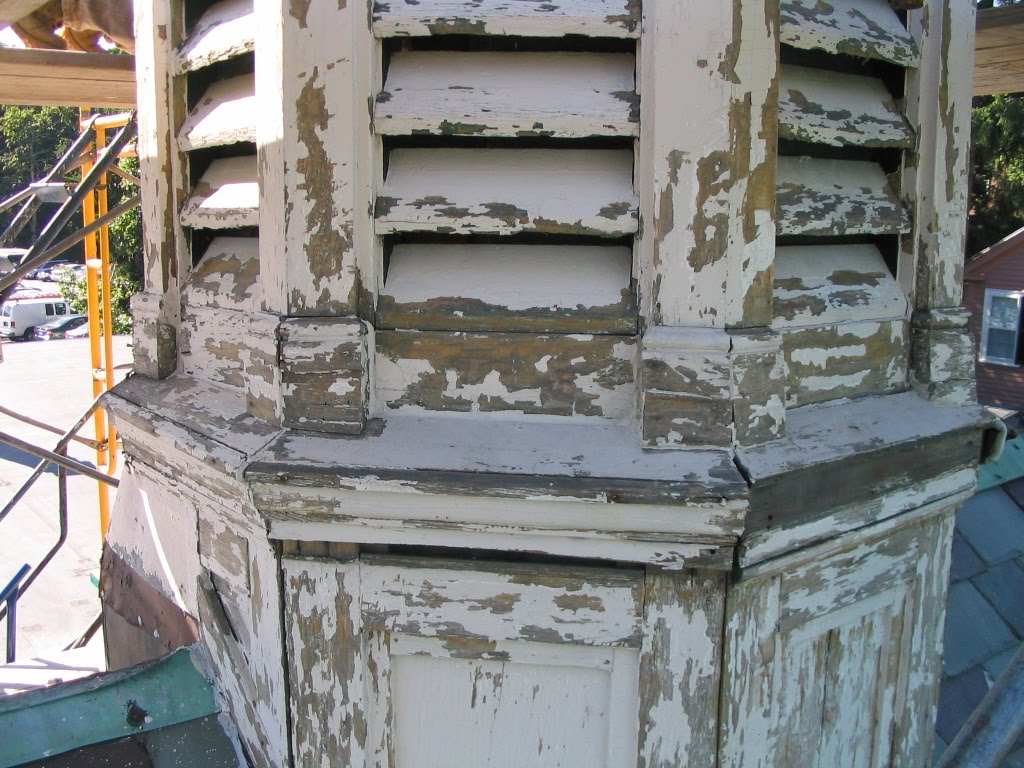
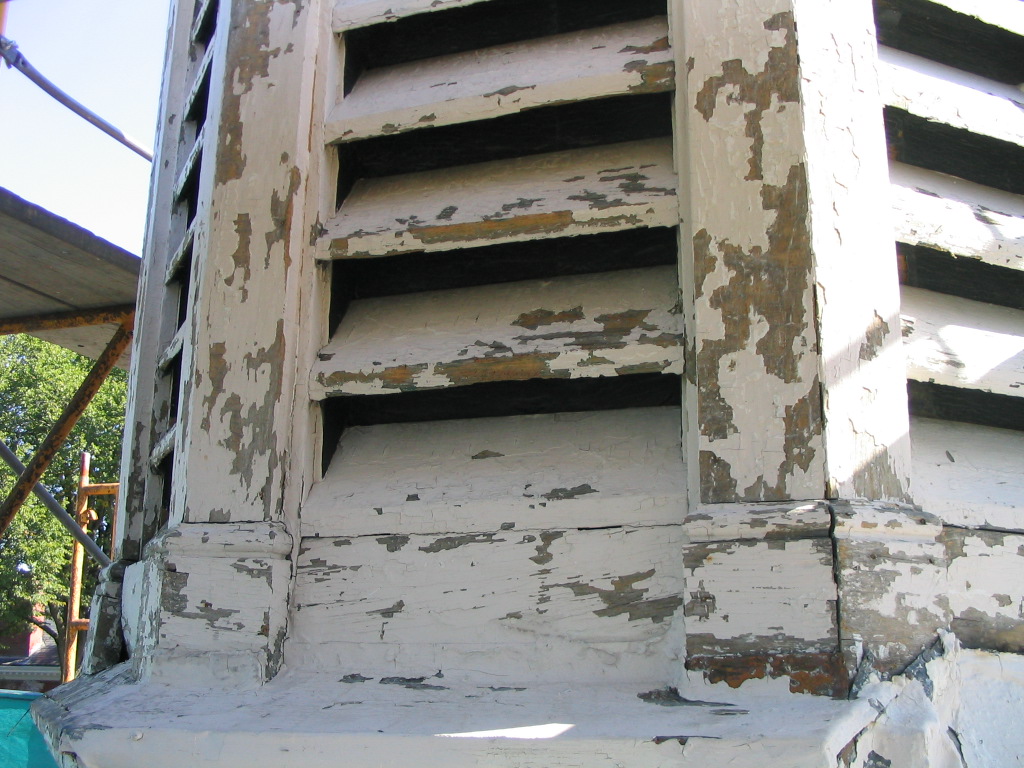
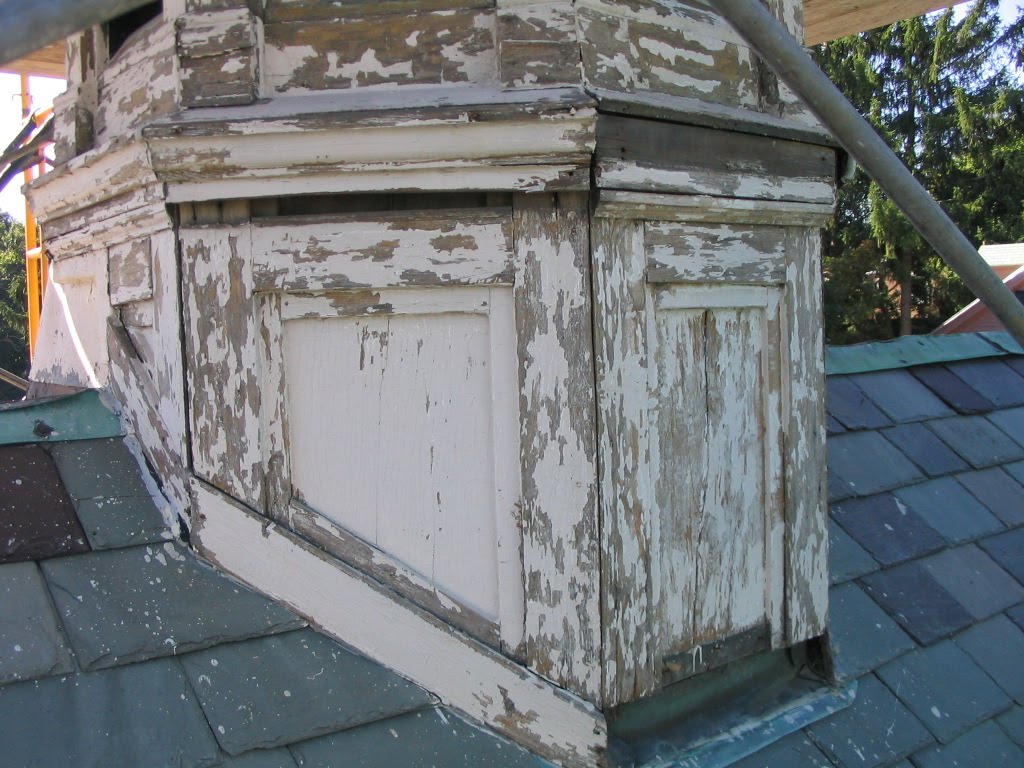
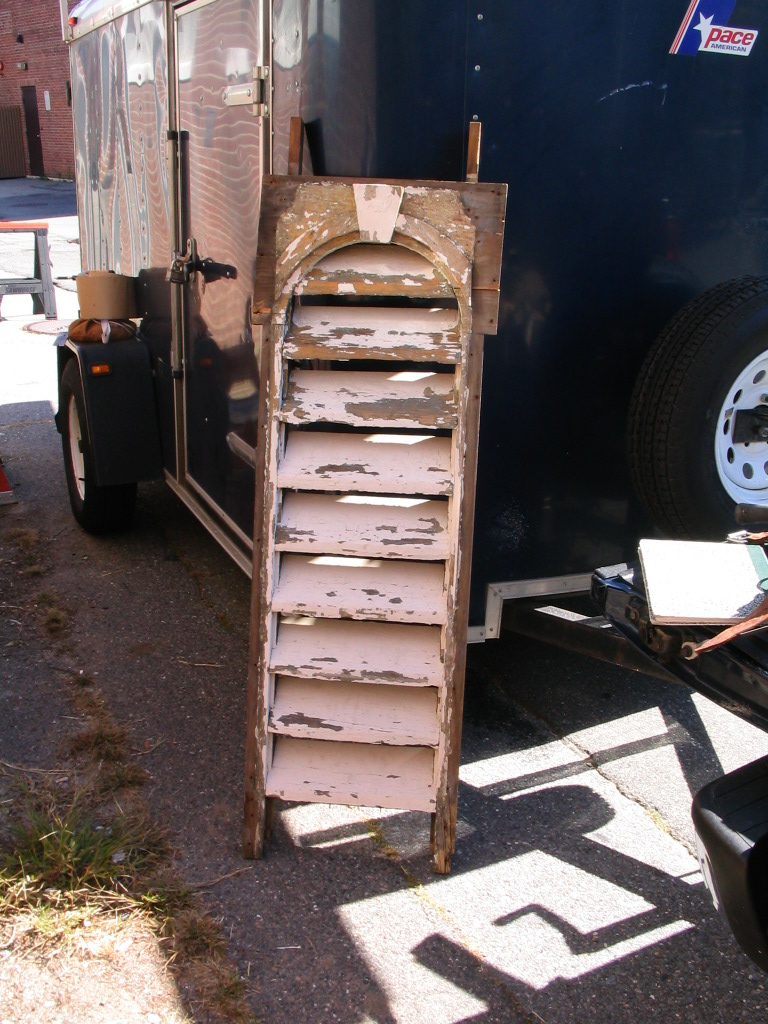
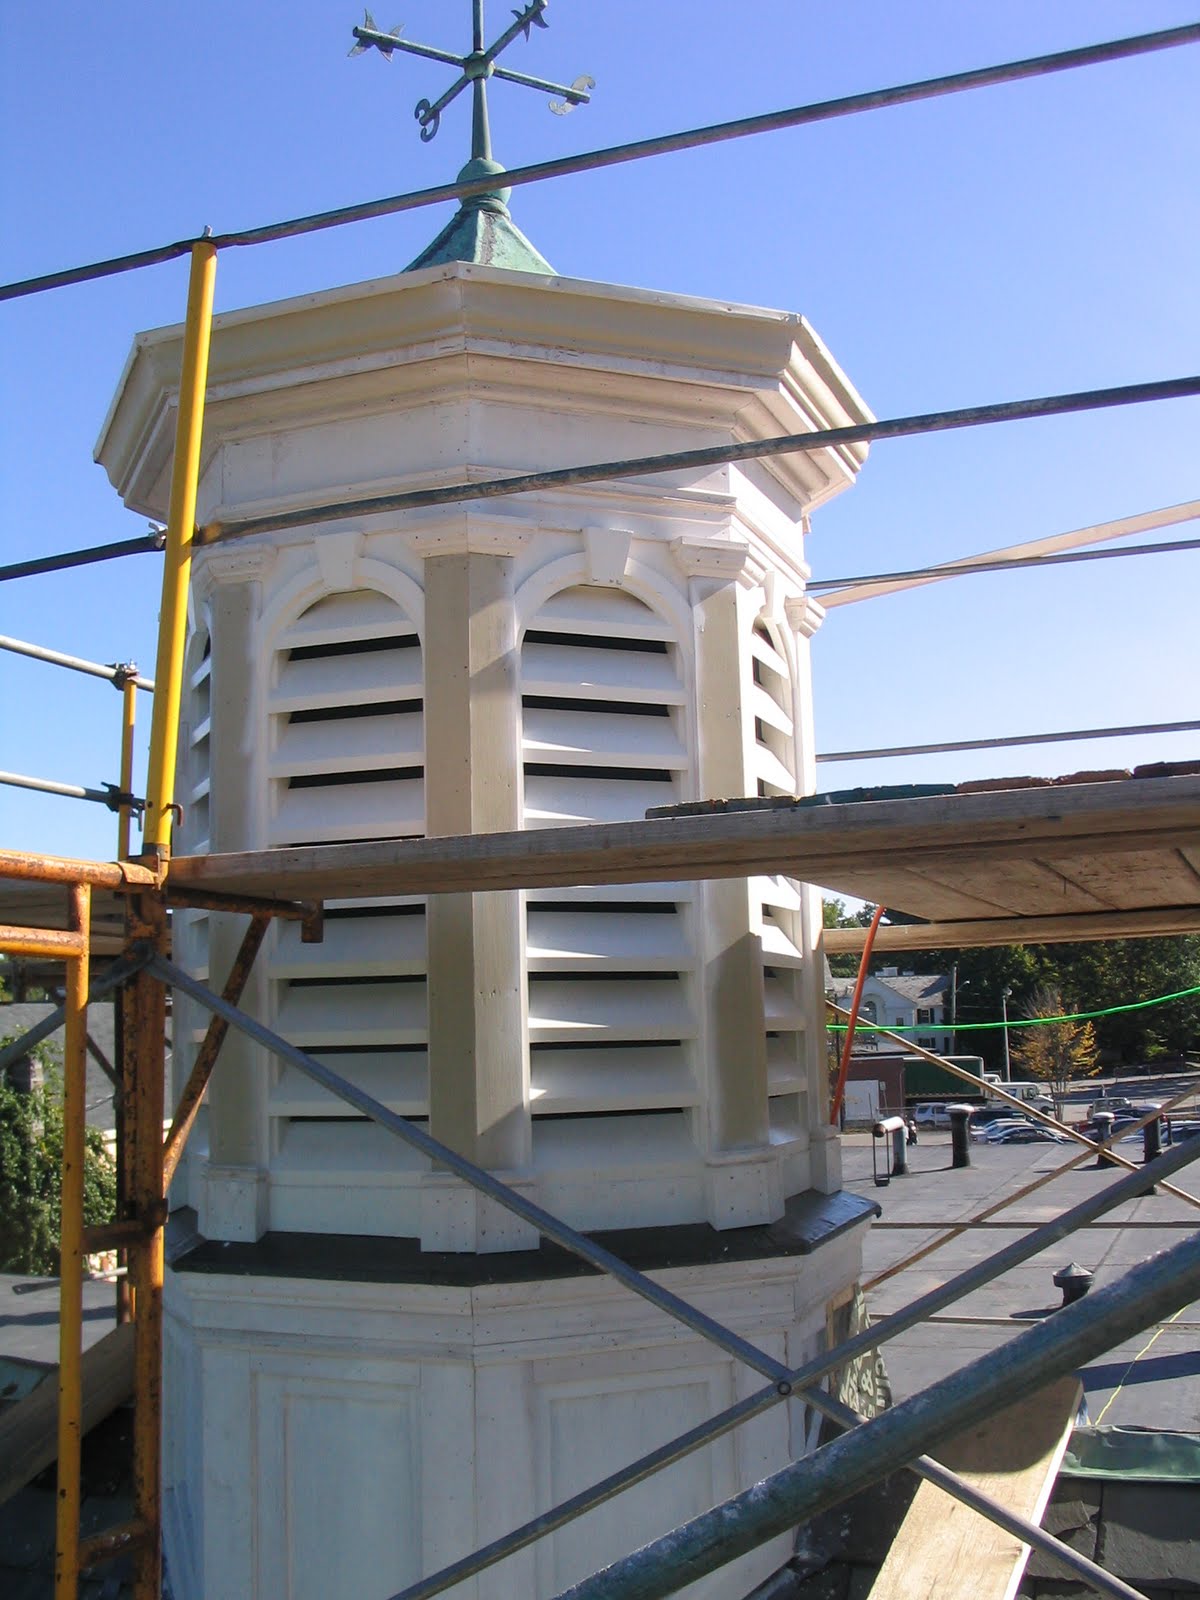
These photos give you an idea of the condition that the cupola was in.
Many trim pieces had fallen off. The lower 3 flat panels had long split and opened allowing water to enter the structure.
Staging was rented and professionally installed in order to span over and not damage the slate tile roof as well as have 360 access to the site.
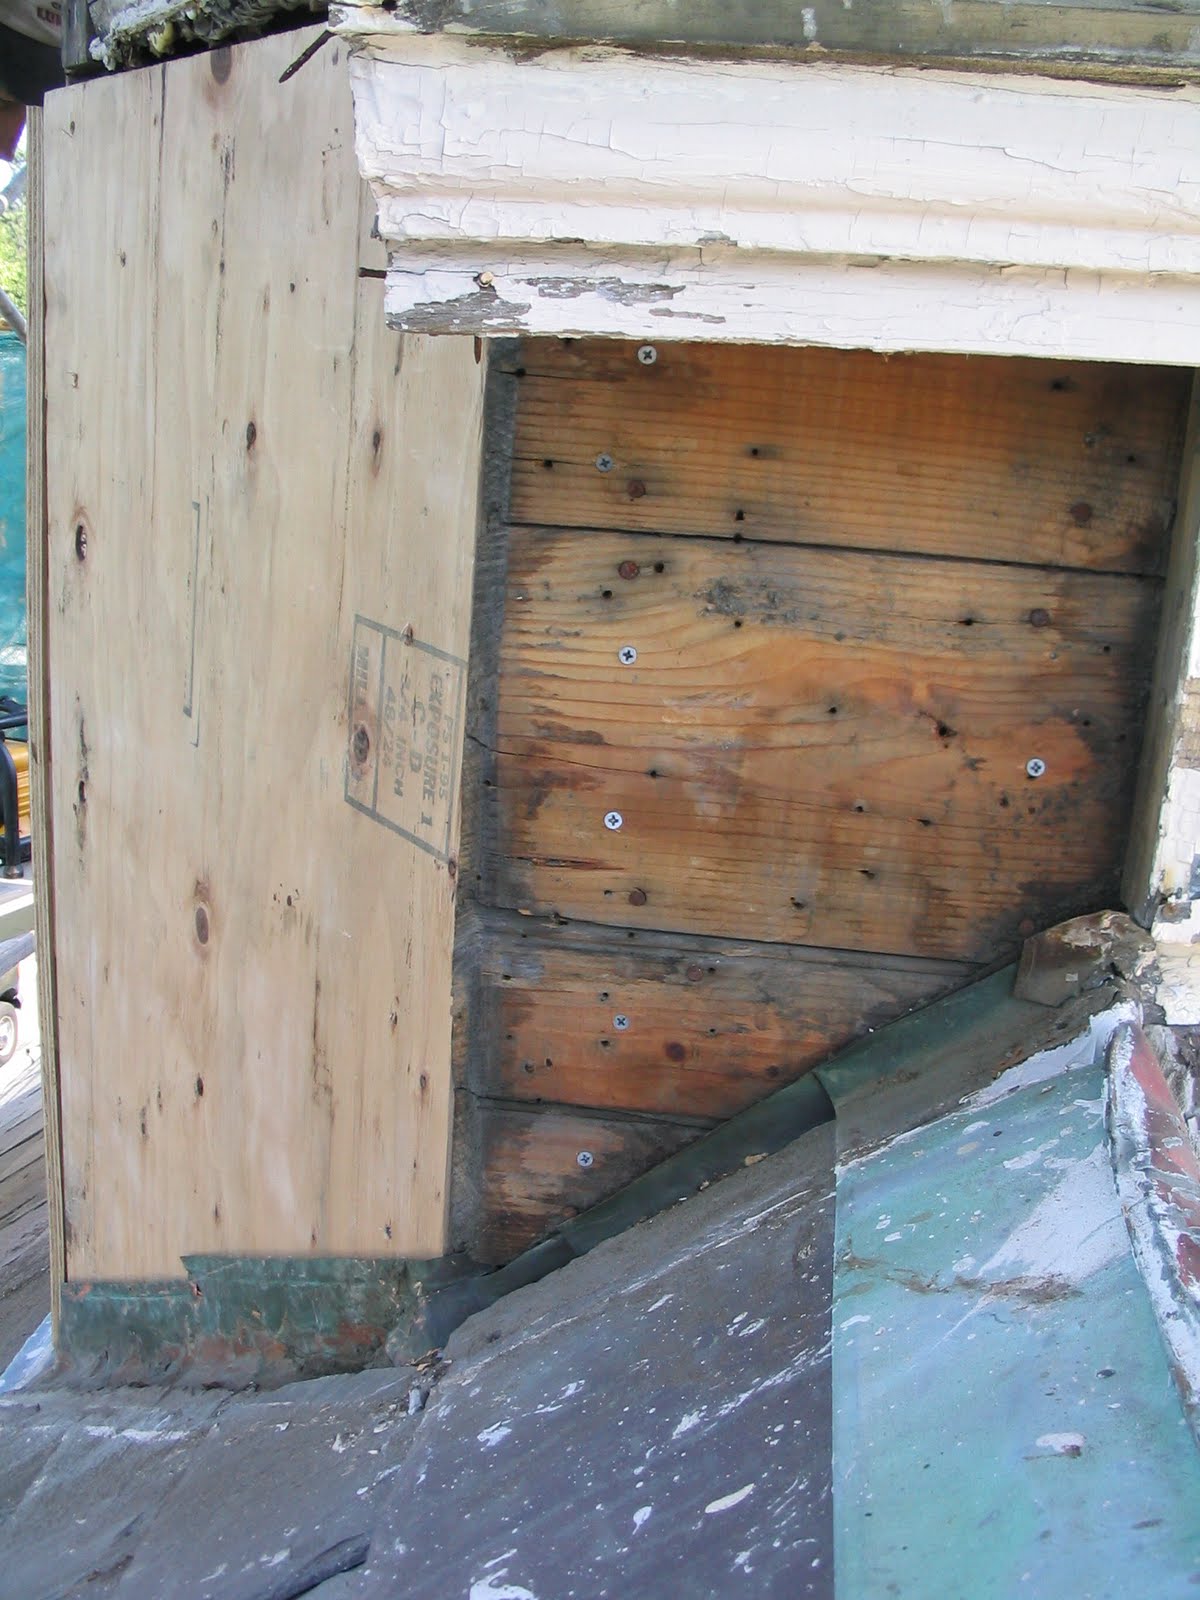
Minor structural repairs were needed before replacing the panels and trim. There were two layers of sheathing. The old 1×8 sheathing was reattached with screws or replaced as needed.
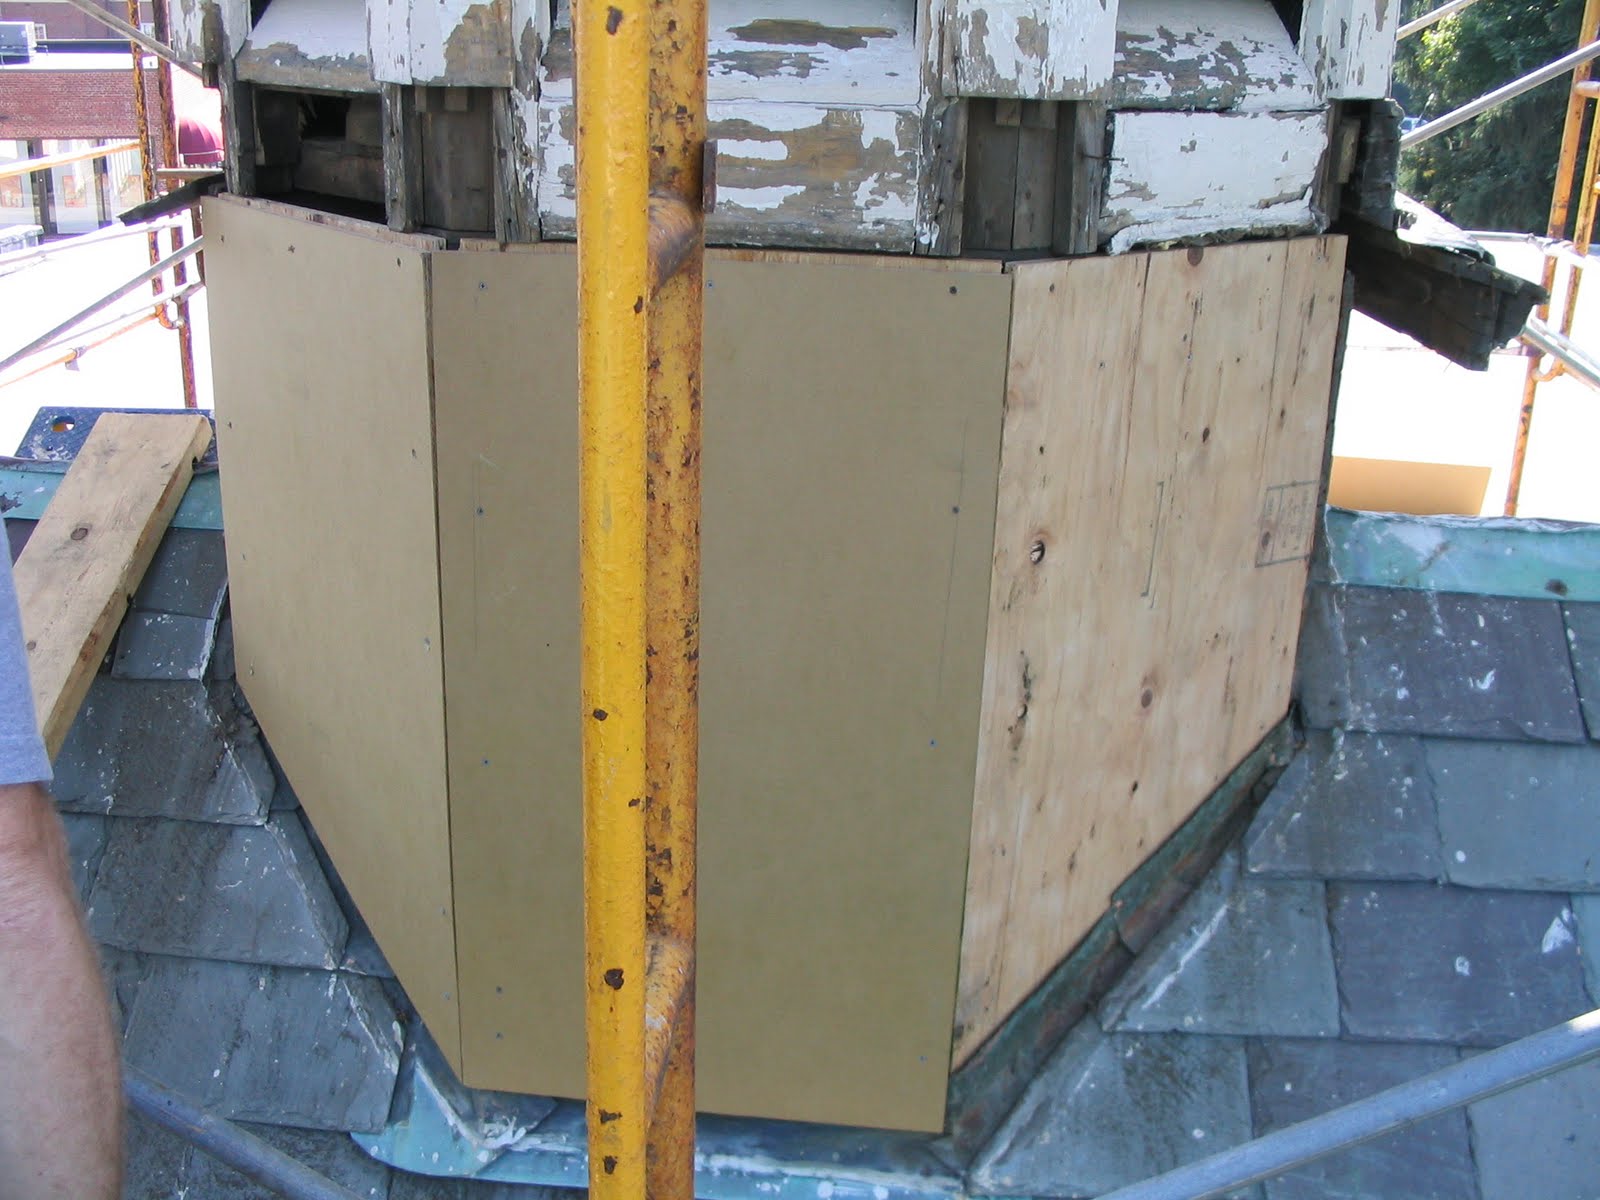
Because this cupola was a bit rickety we added plywood in the sheathing areas that were rotted. the plywood will add rigidity and help prevent the cupola from racking and moving too much in high winds.
Copper roof flashing was added in some areas and replaced as needed.
although not an original material we replaced the flat boards that were used in the lower panels with Medium density overlay board [sign board]. This material will also help add strength to the cupola.
All of the replacement trim we used was Spanish cedar. This material was chosen for its insect and rot resistant qualities. Being a high, difficult to reach and maintain structure we wanted to choose materials and installation practices that had longevity.
Below the three panels were built out with Spanish Cedar trim.
The structures sill was a source of water infiltration. We duplicated the molding exactly but added lead flashing to protect the sill and seal out the weather. The lead paints well.

Here is the reason the structures sill let water in. The seam in the molding faces up, once a few seasons past this seam would no doubt open up and allow water in.
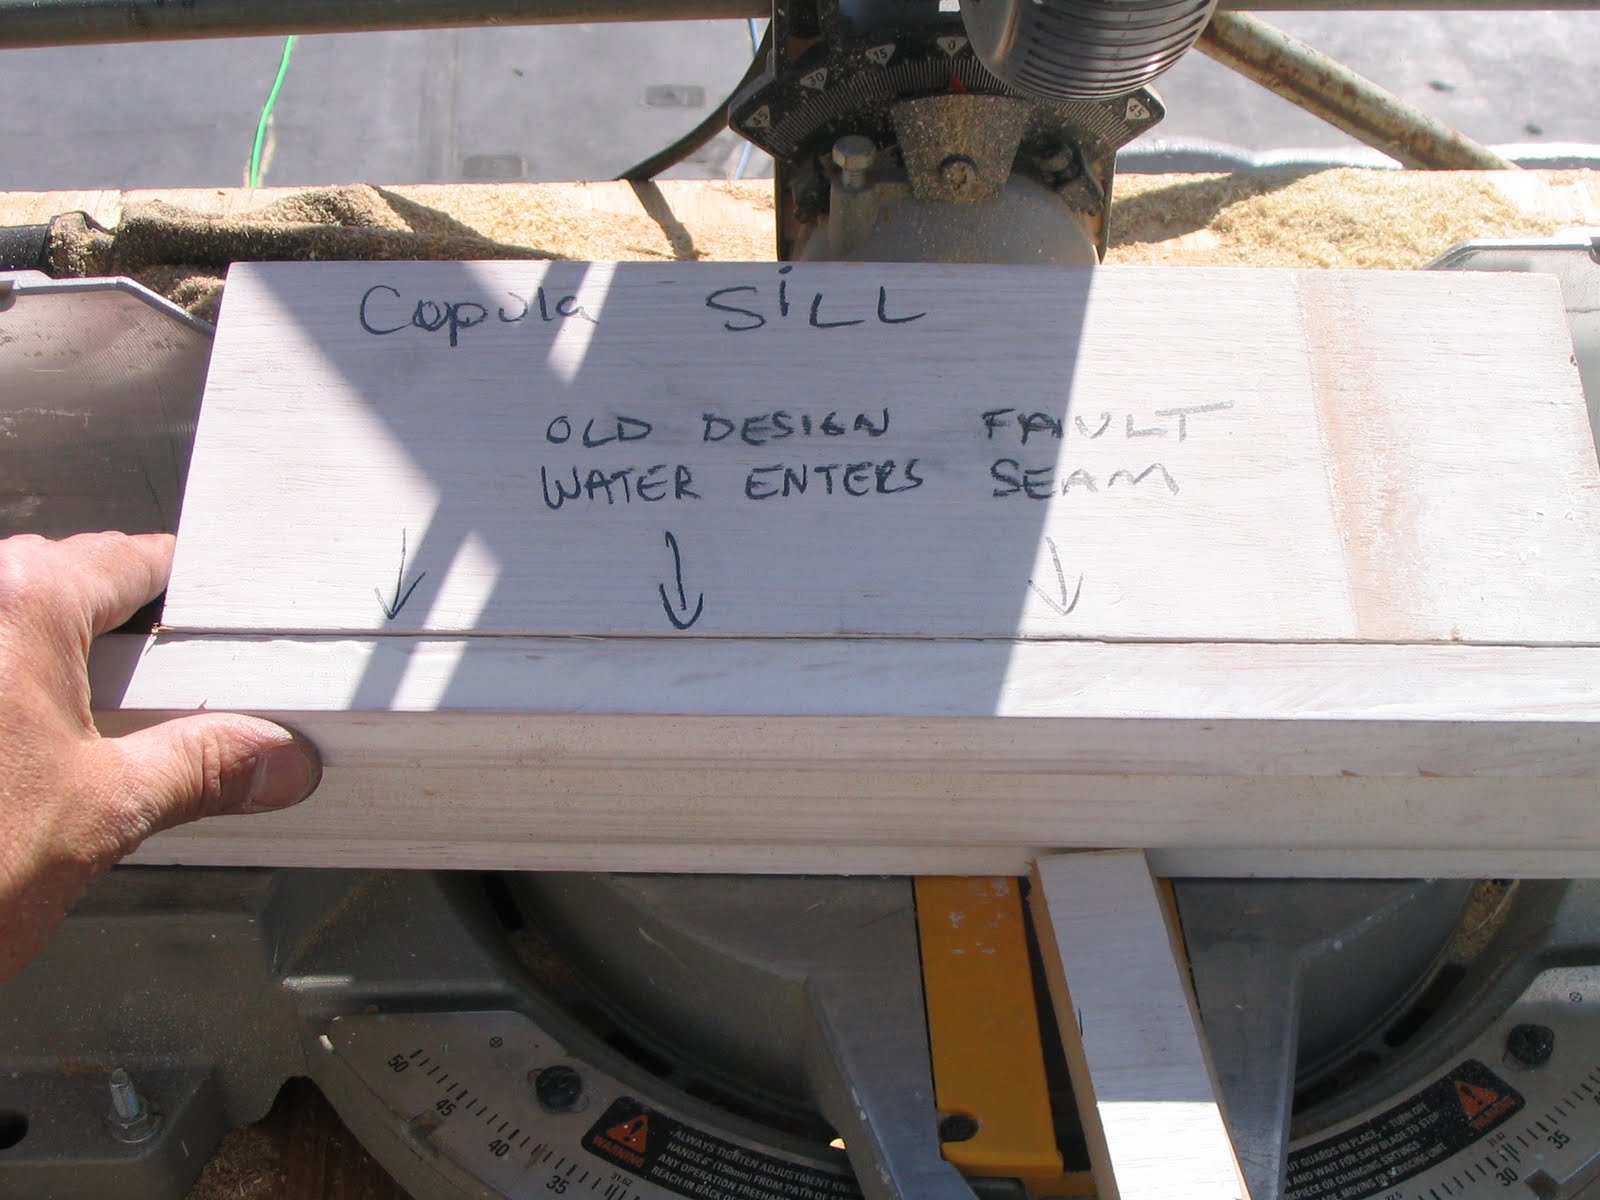
We made new moldings out of Spanish cedar in the exact dimensions as we found them. Below is a side profile of the sills seam. Lead flashing now overlays this seam.
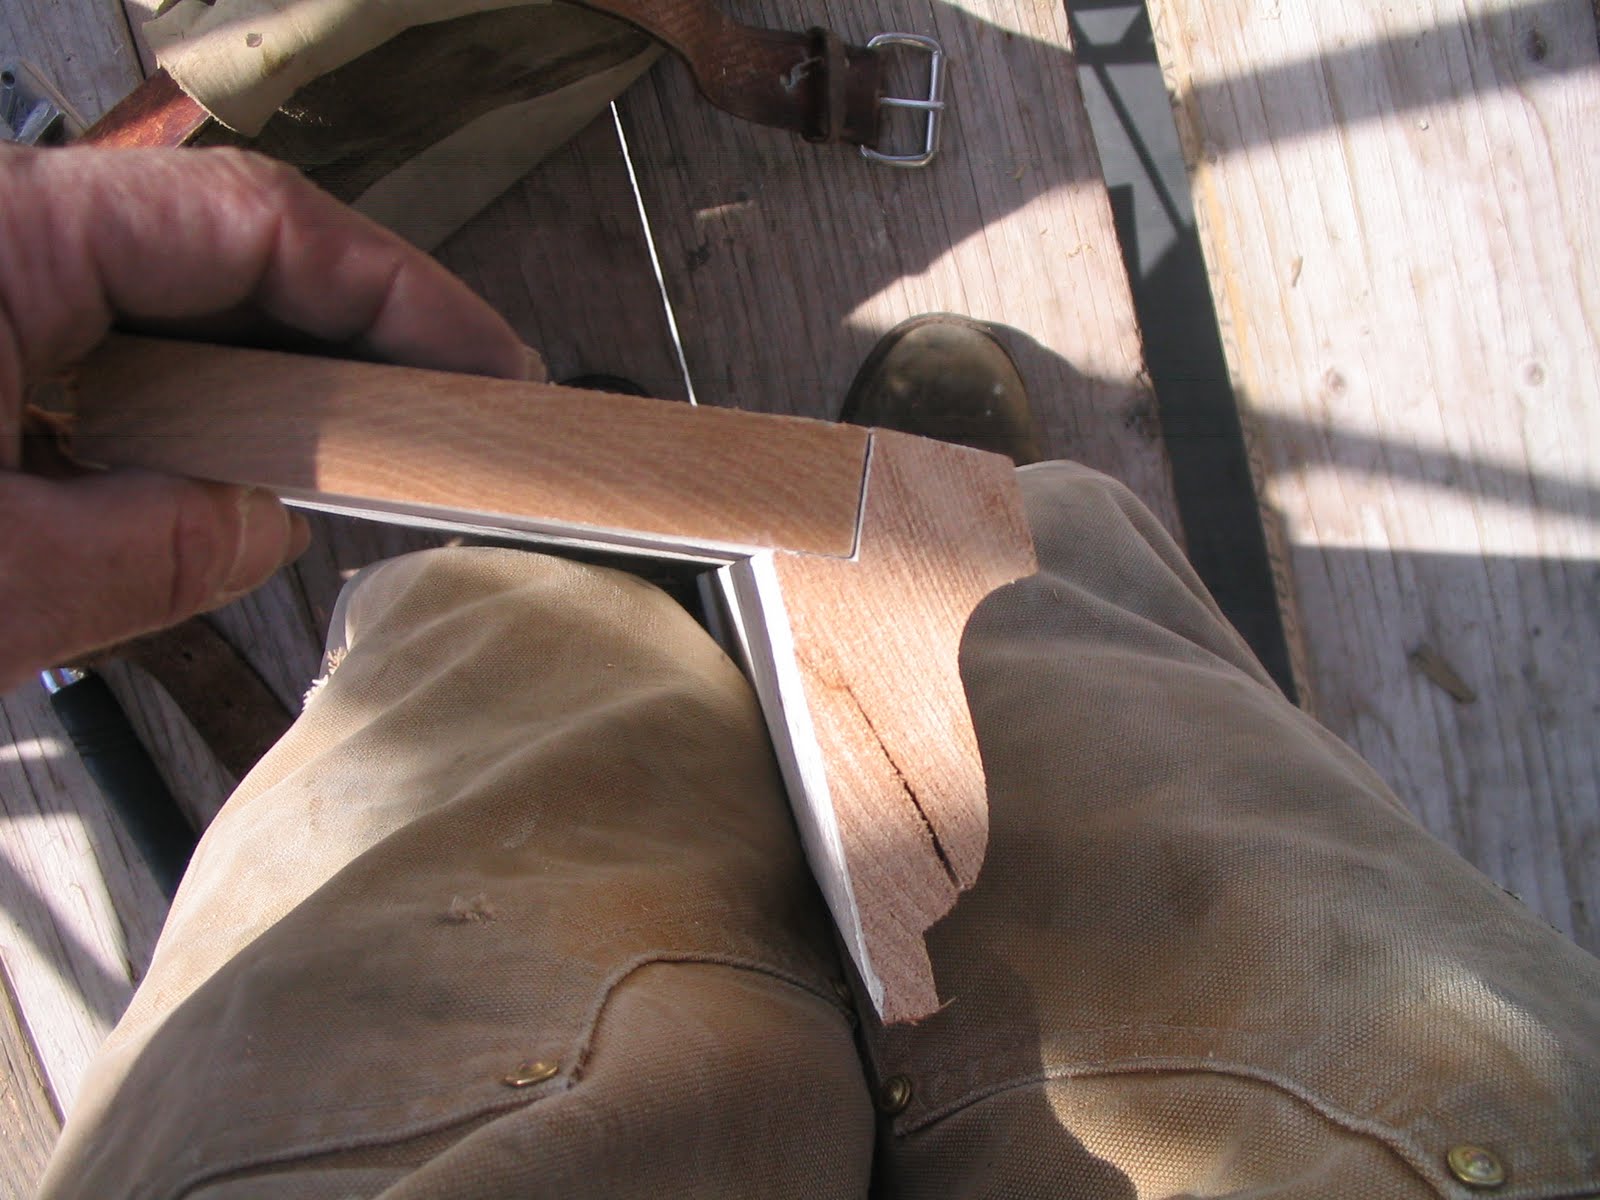
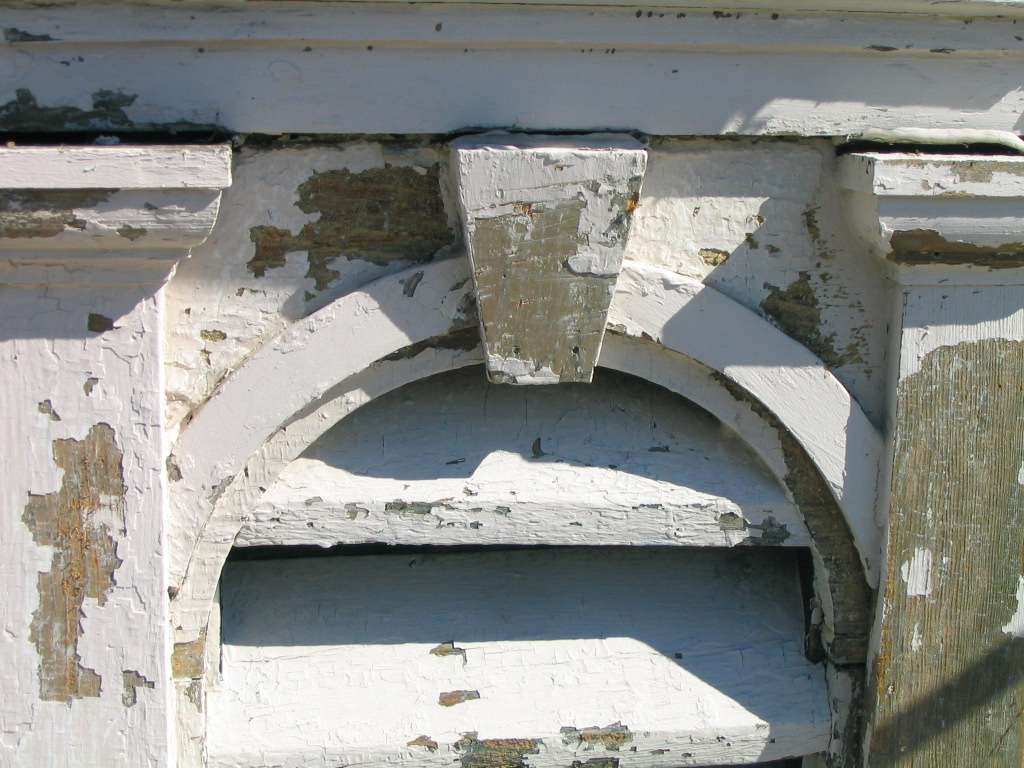
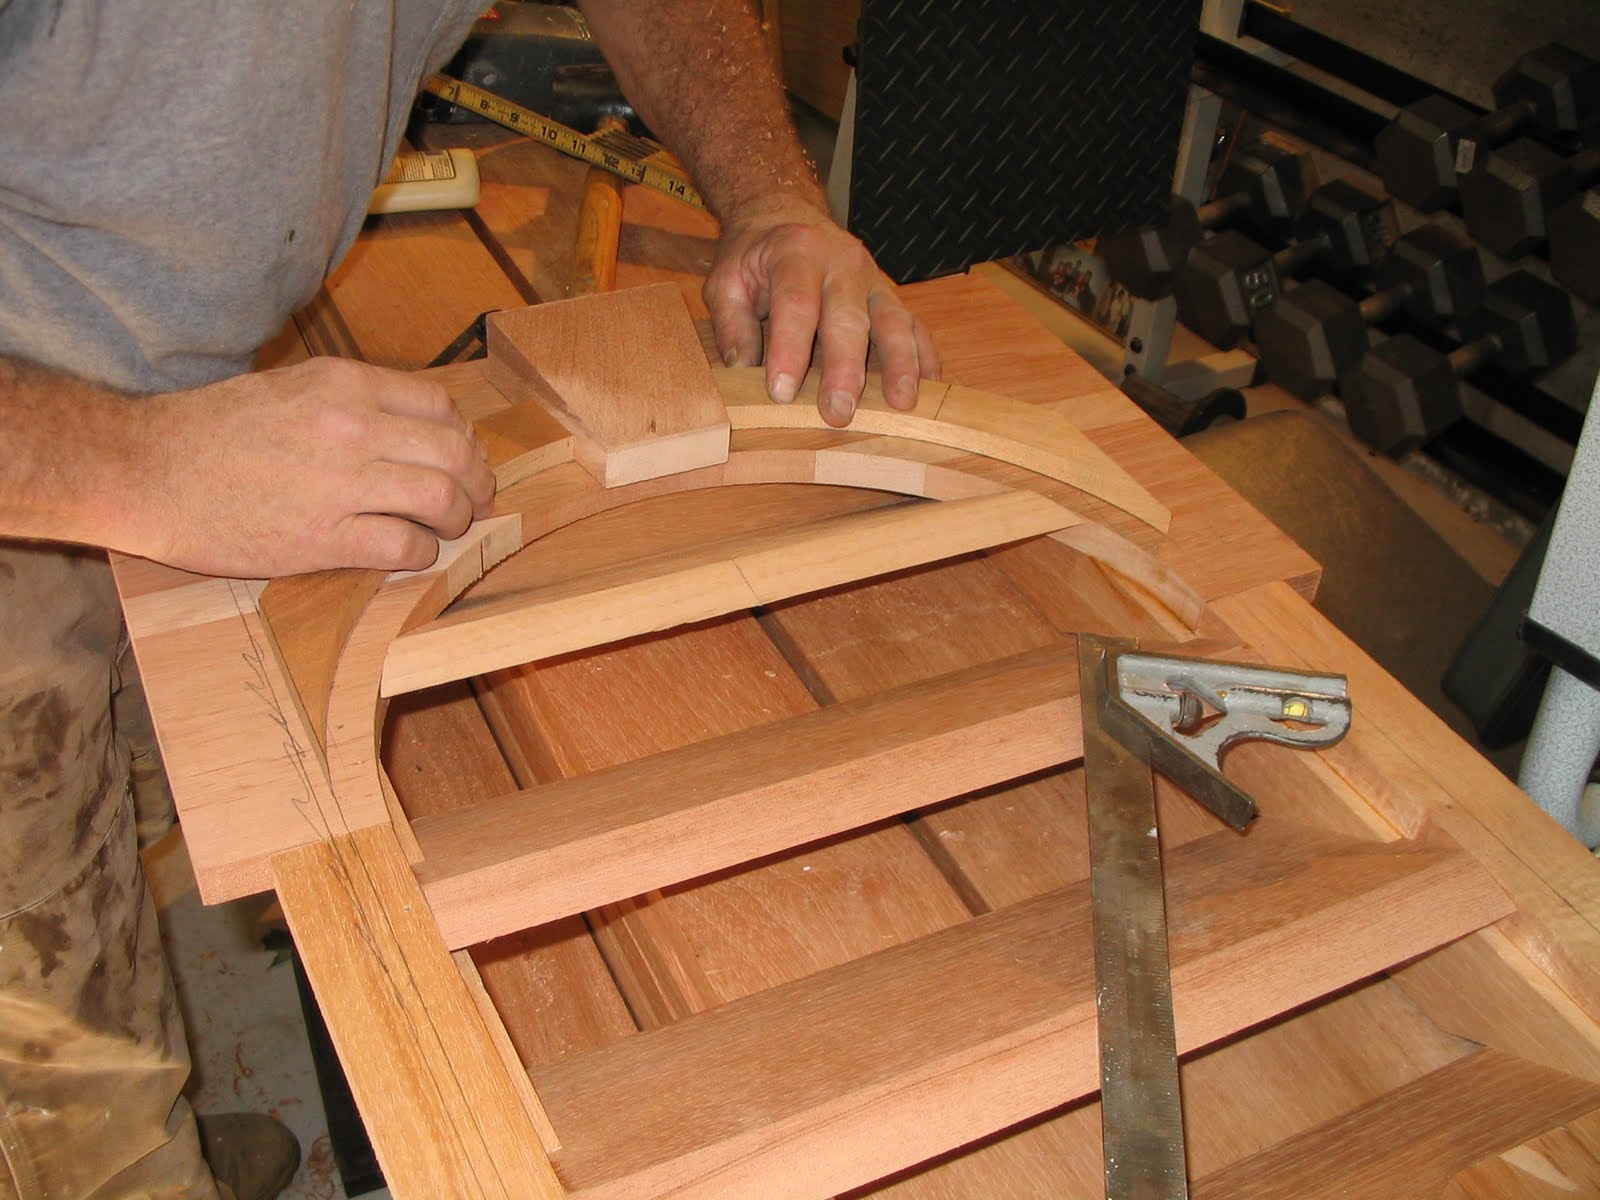
We had custom molding knives made from the profiles of the old molding. We used a combination of shapers and molding milling machines in our shop to duplicate all of the moldings. Below is an example of the molding on top of the vent panels.
When we dismantled the cupola we took care to number all the parts. The photo below shows thin boards nailed to the back of the venting panels. The cupola may have been for decoration since day 1. It did not appear to be a real venting cupola.

Below one of the eight venting panels. We brought this back to the shop to duplicate it.
Back at the shop we milled all the moldings, trim and made the eight panels.
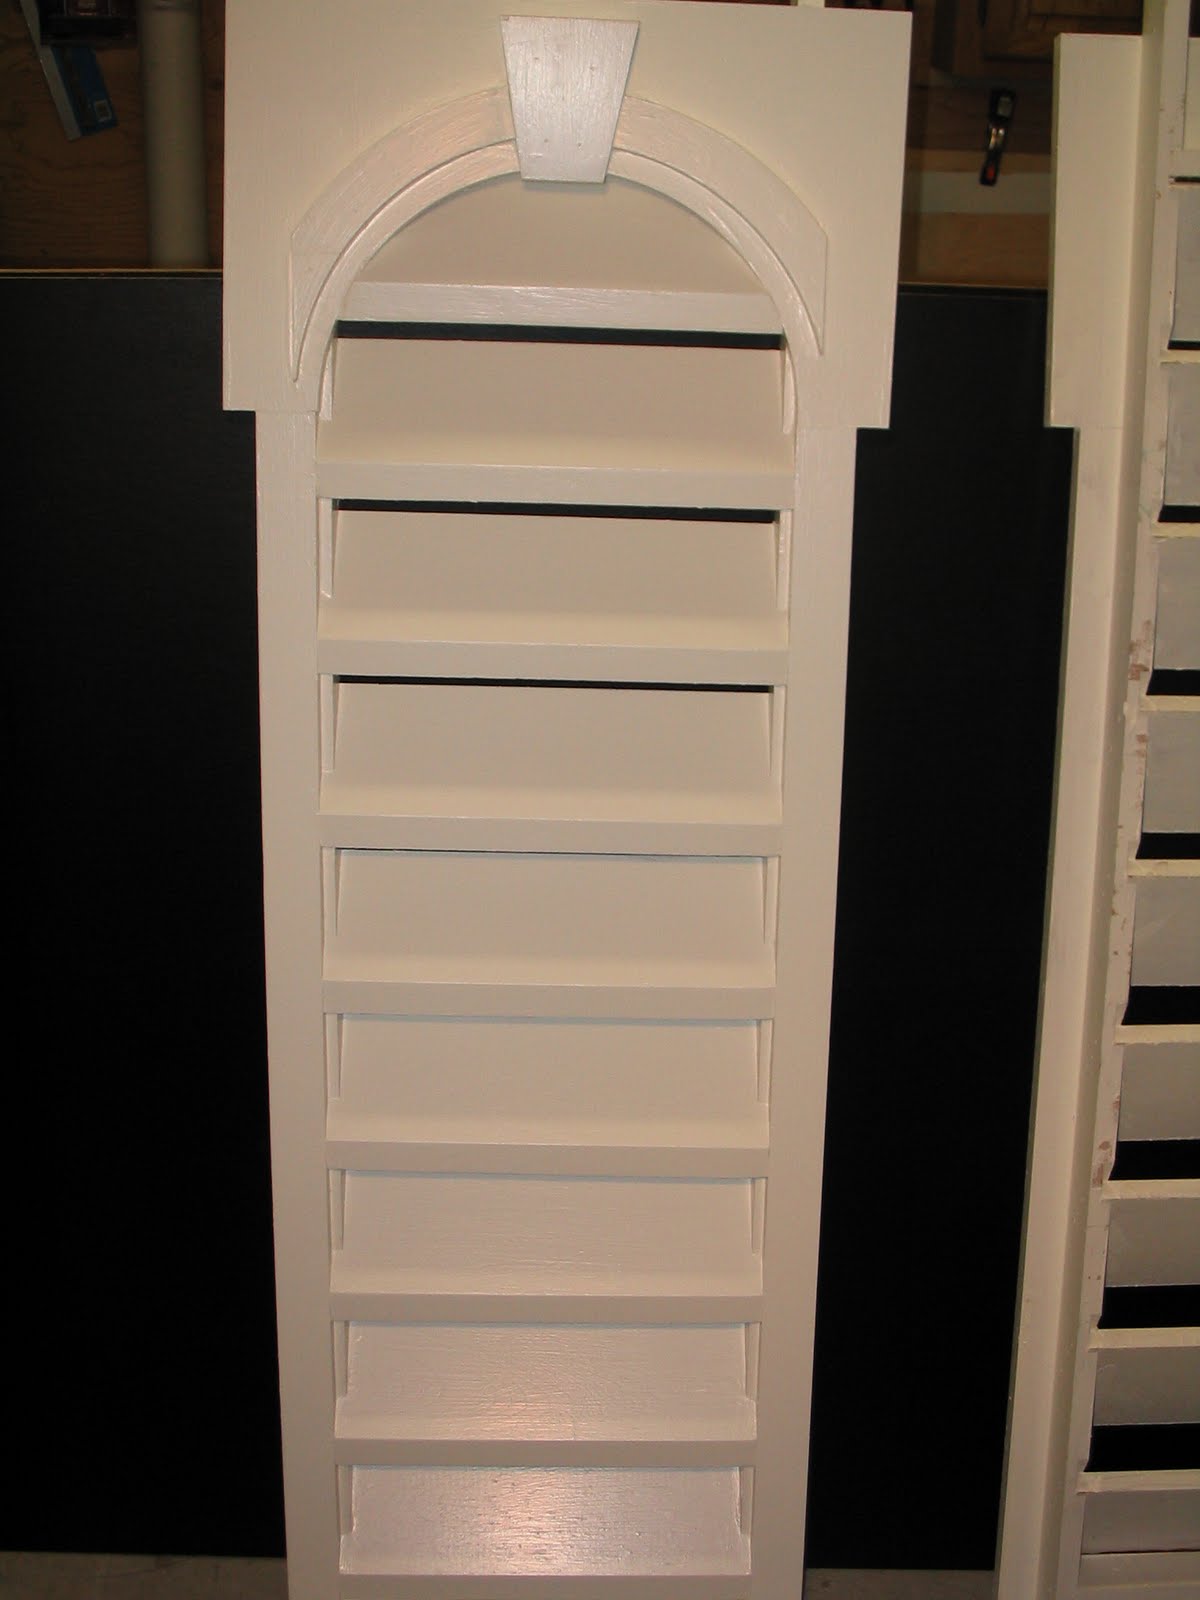
Stacked panels ready for priming and back priming.

Mark O’Lalor from O’Lalor Painting Company primed and applied two coats of quality paint to these panels prior to installation.
We rebuilt this structure in three sections; bottom, middle and then top. Panels were installed. Now to tackle the trim.


The trim on the cupola and around the venting panel follow the classical order for columns.
The classical order is one of the ancient styles of building design in the classical tradition, distinguished by their proportions and their characteristic profiles and details, but most quickly recognizable by the type of column, capital, entablature, architrave, cornice and frieze employed.
Below the trim and classical parts were installed.
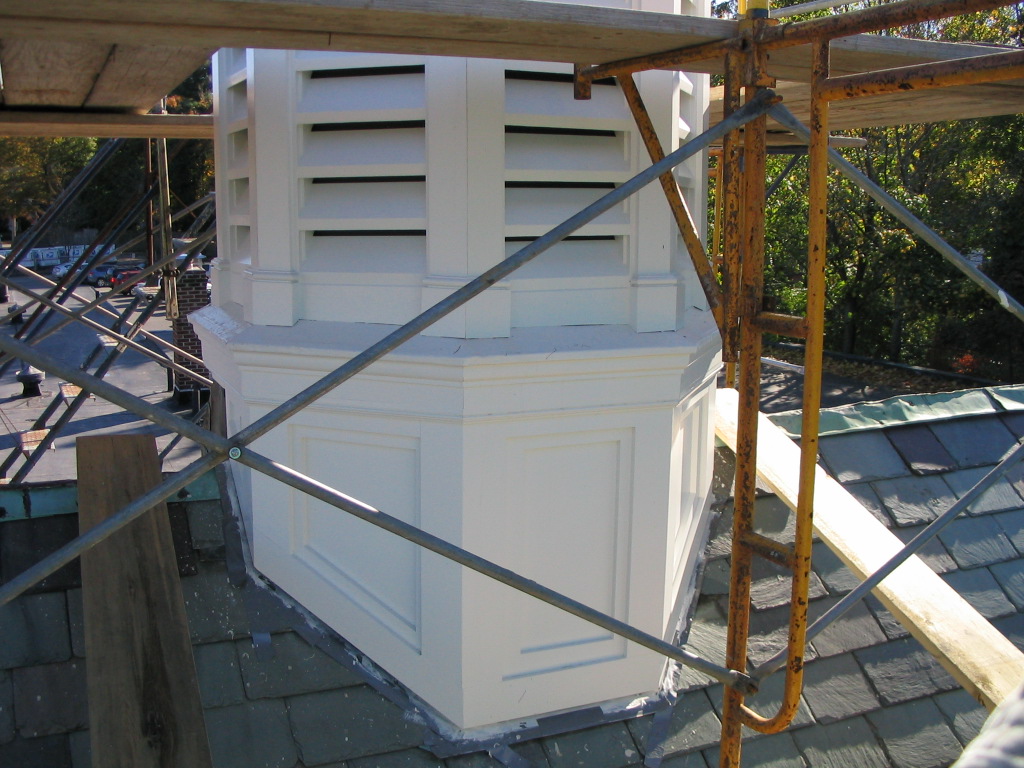
Almost there. Left to do is the painting and the roof repairs.
Finished!
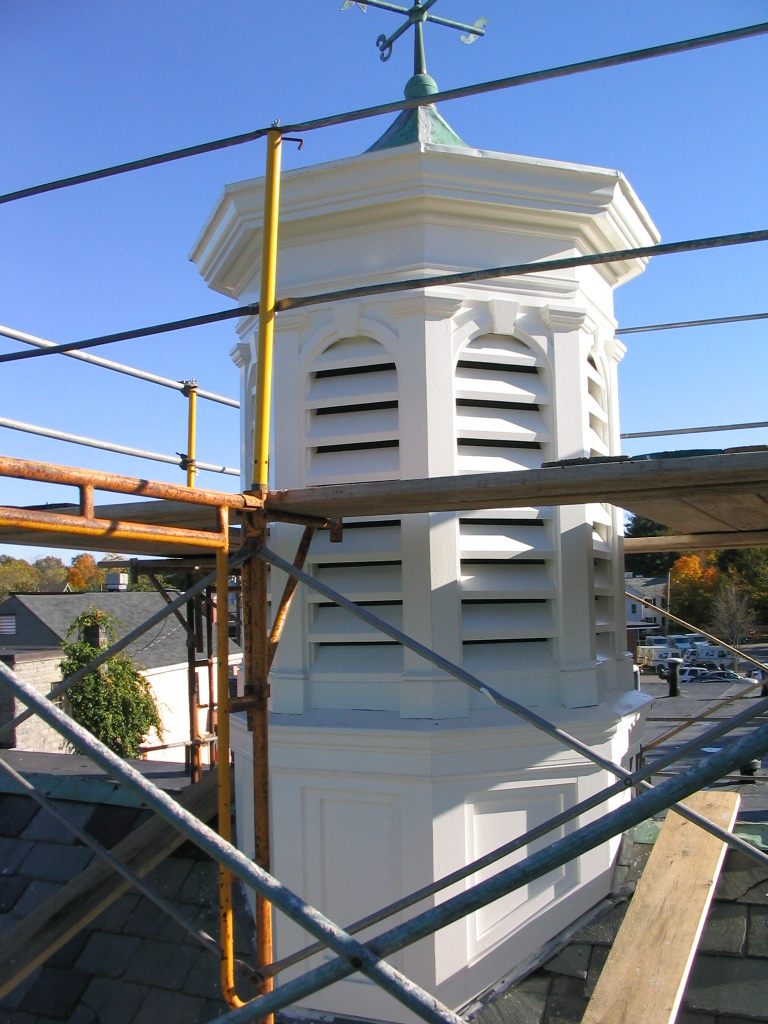
Front street view.