Removing A Balcony And Installing A Railing
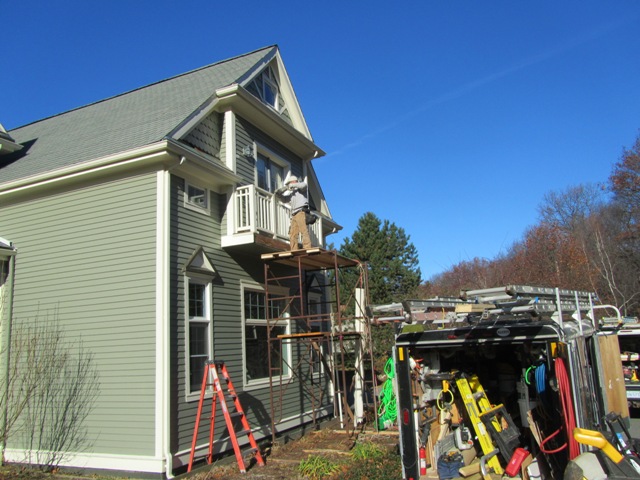
The second floor balcony on front of this house has been leaking into the garage ceiling below for some time. After going back and forth on whether to repair the leak it was decided to remove the balcony and install a railing across the doorway. We staged the balcony with pipe staging for safety and accessibility. Plywood screwed to two 2×4’s was used to protect the picture window below the staging.
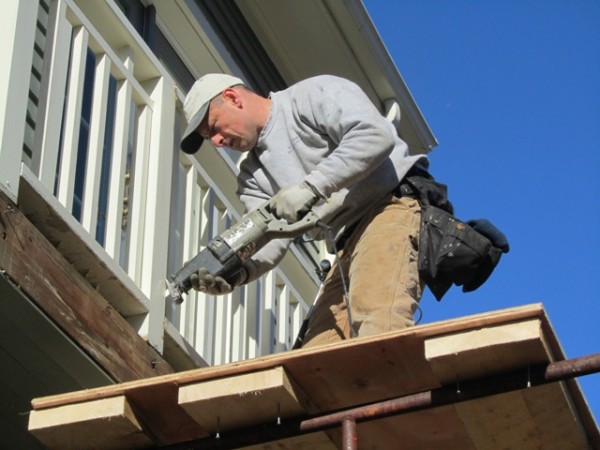
Using a reciprocating saw and pry-bar we slowly took apart and removed the balcony components.
Even though we were removing the leaky balcony I still was interested in knowing what caused the leak. In the end it seems there was a safety issue and several issues that may have contributed to the water infiltration. Deck safety is a real concern and one folks should educate themselves on.
Here’s what we found:
Lack of rubber flashing and redundant flashing
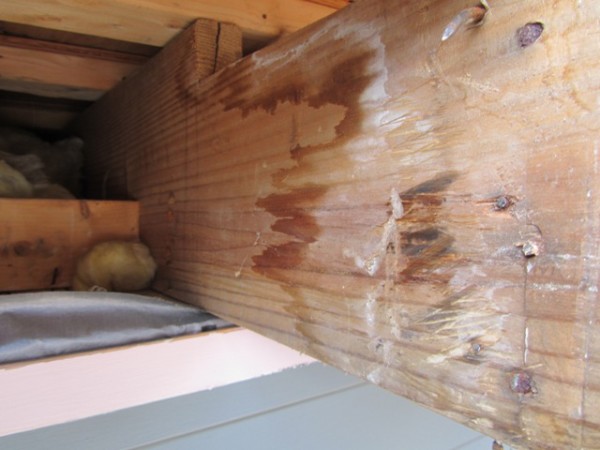
The original carpenter used a small aluminum flashing to seal the balcony off from the house. the only rubber we found was at the door. The door rubber was installed more for a door pan than balcony flashing.
Rubber flashing should have covered the house to joist connections and run down between the joists. Then apply the aluminum flashing.
Improper Joist Hanger Fasteners
I couldn’t help but notice that the joist hangers were installed with screws. The rim joist was direct nailed but the hangers should also have been installed properly. A railing system and posts were attached to this rim joist and this mistake could have caused injury.
Caulking Failure
The French door sill and jamb connection was open and allowed water to enter. Someone had caulked this joint prior to use arriving.


A large gap between trim on the lower section allowed water as well as bees or wasps to build a huge nest in one of the joist bays. Areas like this should have had trim installed tighter and caulked.
No Joint Flashing
On both corners where the built out house and the main house wall met leaked. This was where a small cedar ground was installed to butt trim and clapboard to. Neither the trim nor the siding were installed tight. No joint or under flashing was utilized and no caulking was observed. Water definitely entered here.
When the balcony was removed there were visible water stains on the joists where water found its way into the building.
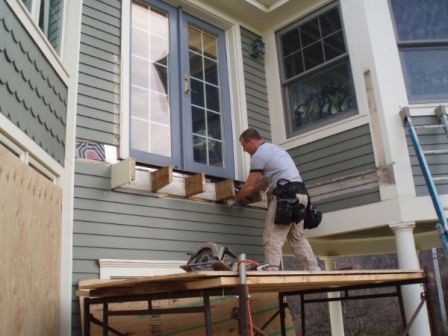
Removing The Balcony
We cut the joists back into the building envelope, installed solid blocking and then plywood sheathing over it. We then tied in the trim and siding.
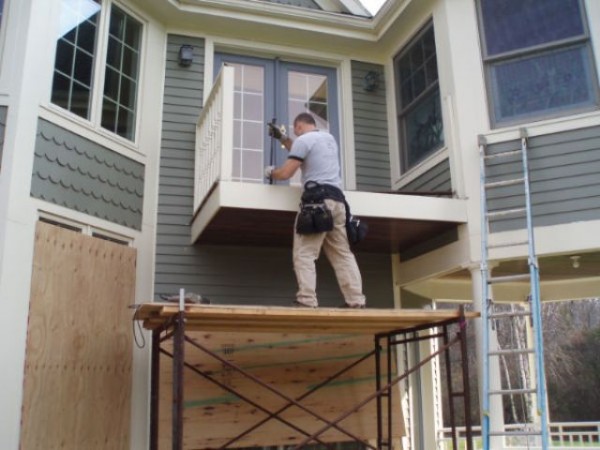
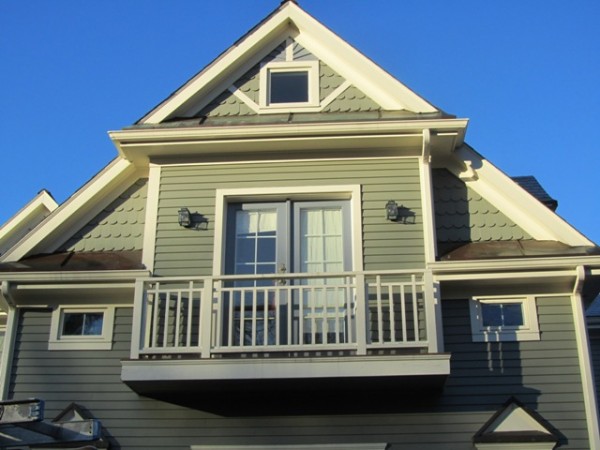
New Guard Railing
To finish the project we constructed a new mahogany balcony to look similar to the old fir one. The railing was installed to with 8″ flat heat Torx timber lock screws into the framing on either side of the doorway. [last picture]
RELATED POST:
Deck Safety – repair or replace