
Structural Floor Joist Repairs
As a remodeling contractor and carpenter, one common structural framing issue I see a lot of in bathroom remodeling jobs are floor joists that were cut, drilled, notched, or need to be cut out to accommodate plumbing pipes and drains. The time to address these structural issues, like reinforcing floor joists, is at the time it was built or during a retrofit or remodel.
Contractors may cut through floor joists to accommodate plumbing or HVAC mechanical equipment as long as they properly transfer the floor load to adjoining joists by adding headers.
Heading Off and Framing Floor Openings:
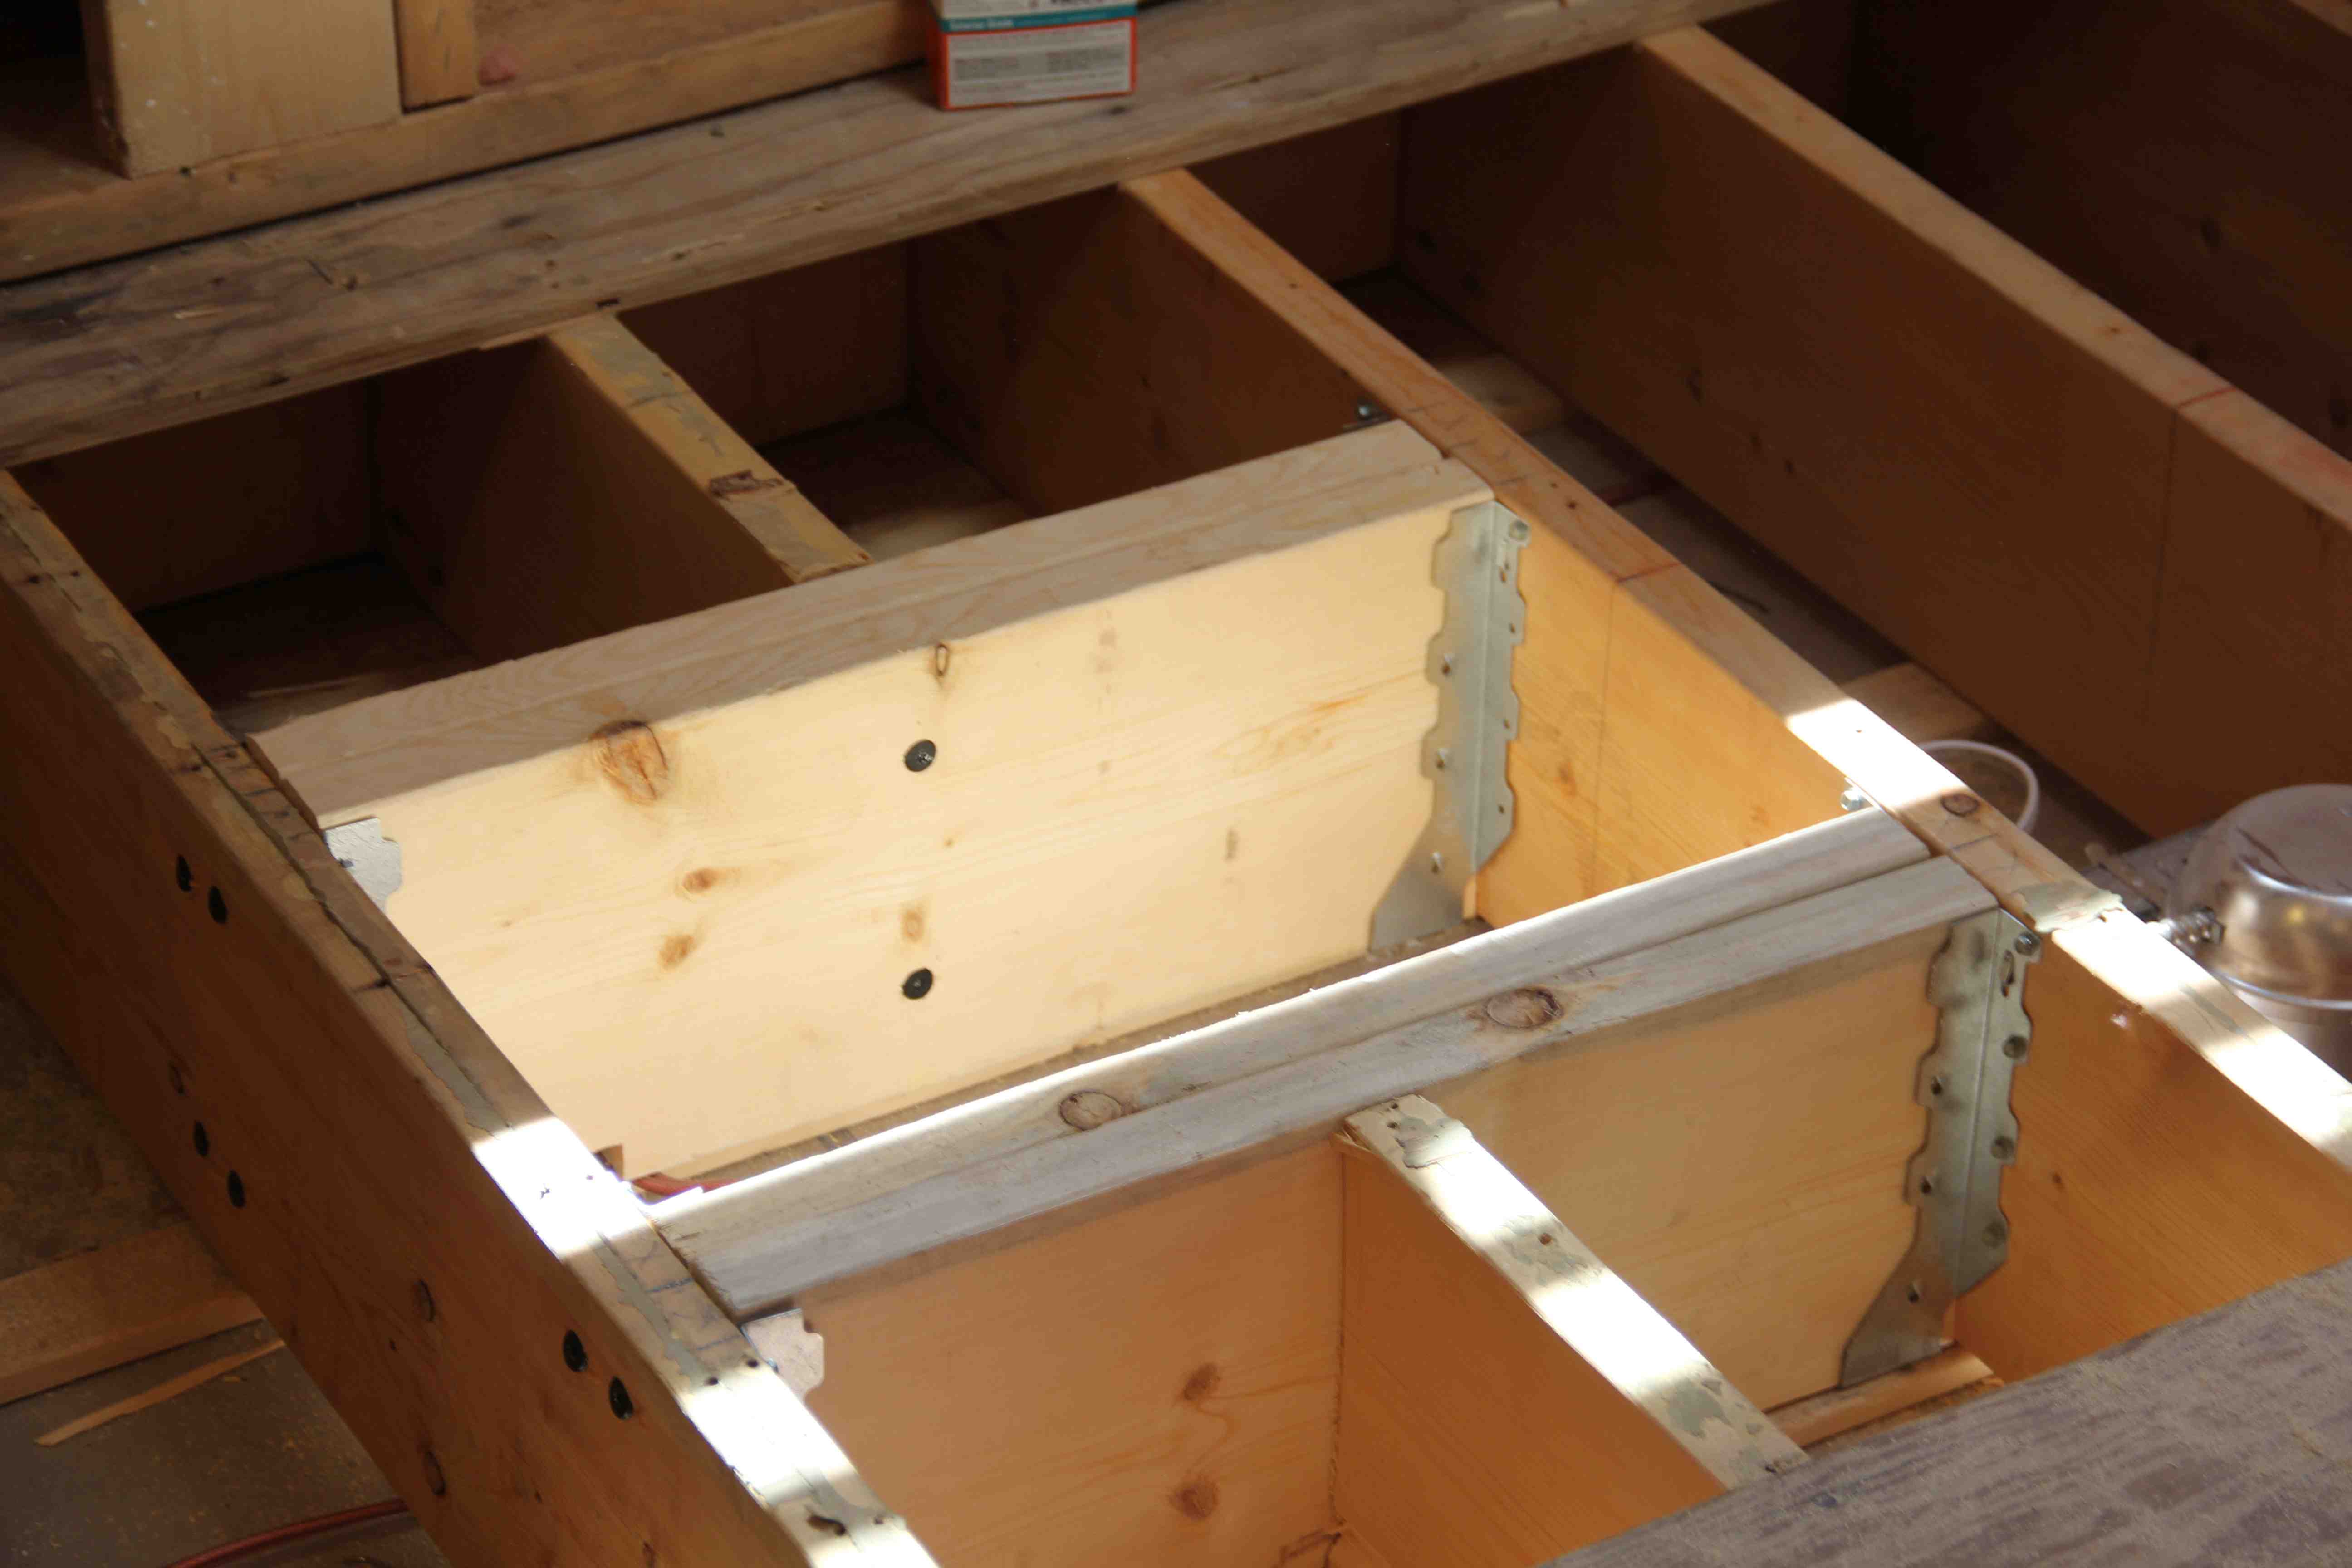
In a perfect world, any floor joist that is cut should have a header installed, preferably two and doubled adjacent joists. All headers should be nailed to the cut joists and their ends attached to two adjacent, uninterrupted floor joists. The purpose of the headers is to transfer the floor load to the adjacent trimmer joists. The use of joist hangers facilitates this repair.
A single header nailed to the cut joist and uninterrupted joists will work for openings less than 4 feet. If the header spans more than 4 feet, both the header and the trimmer joists should be doubled. We often refer to doubling up of joists or another structural framing as “sistering.” The doubled trimmer and header joists must be nailed together properly with spaced pairs of 16d nails every 16 inches so that they act like beams

Reinforcing floor joists is best done by doubling floor joists. Doubling of joists is recommended under walls, heavy objects like tubs, and at large openings. Doubling of joists can solve a lot of problems like sagging, uneven or undersized floor joists.
Sometimes on a remodel you can’t install a full-length floor joist because of plumbing, existing walls, or finished floors or ceilings. In these situations, it sometimes makes sense to scab the floor joist or even all of the floor joists.
Steps To Head Off A Floor Joist
- Determine the location of your plumbing drain.
- Determine the size of your Plumber box.”
- For a doubleheader measure back three inches from your “plumber box” [3″ is the width of a doubled header] and mark a straight line on the joist to be cut.
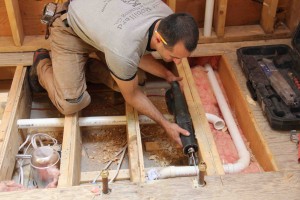
- Use a circular saw to start the cut and finish with a reciprocating saw.
- Measure the distance between the un-cut trimmer joists and cut four headers.
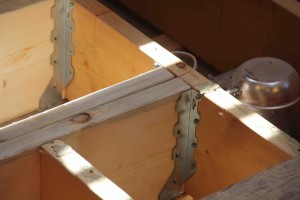
- Place two joist hangers under the first header PRIOR to fastening anything. This is important if the ceiling below is covered. If the ceiling is open you can install the hangers after.
- Direct nail the first header into the cut joist and through the trimmer joists into the header. Use 16 D common nails and make sure the tops of the joists are flush.
- Add the second header and direct nail this header through the trimmer joists.
- Nail the doubleheaders to each other three 16 D common nails every foot.
- Secure the headers to the trimmer joist with 16D nails, joist hangers, and SDS structural fasteners
- Repeat on the other side.

Scabbing A Floor Joist or Framing Member
Scabbing is an effective technique that allows you to add strength to and fix minor problems that are affecting floor joists. Scabbing involves taking a piece of wood and fastening it over the problem area. I often use glue and screws to fasten 3/4 inch plywood as scabs to both sides of a joist as far as I can attach to it.
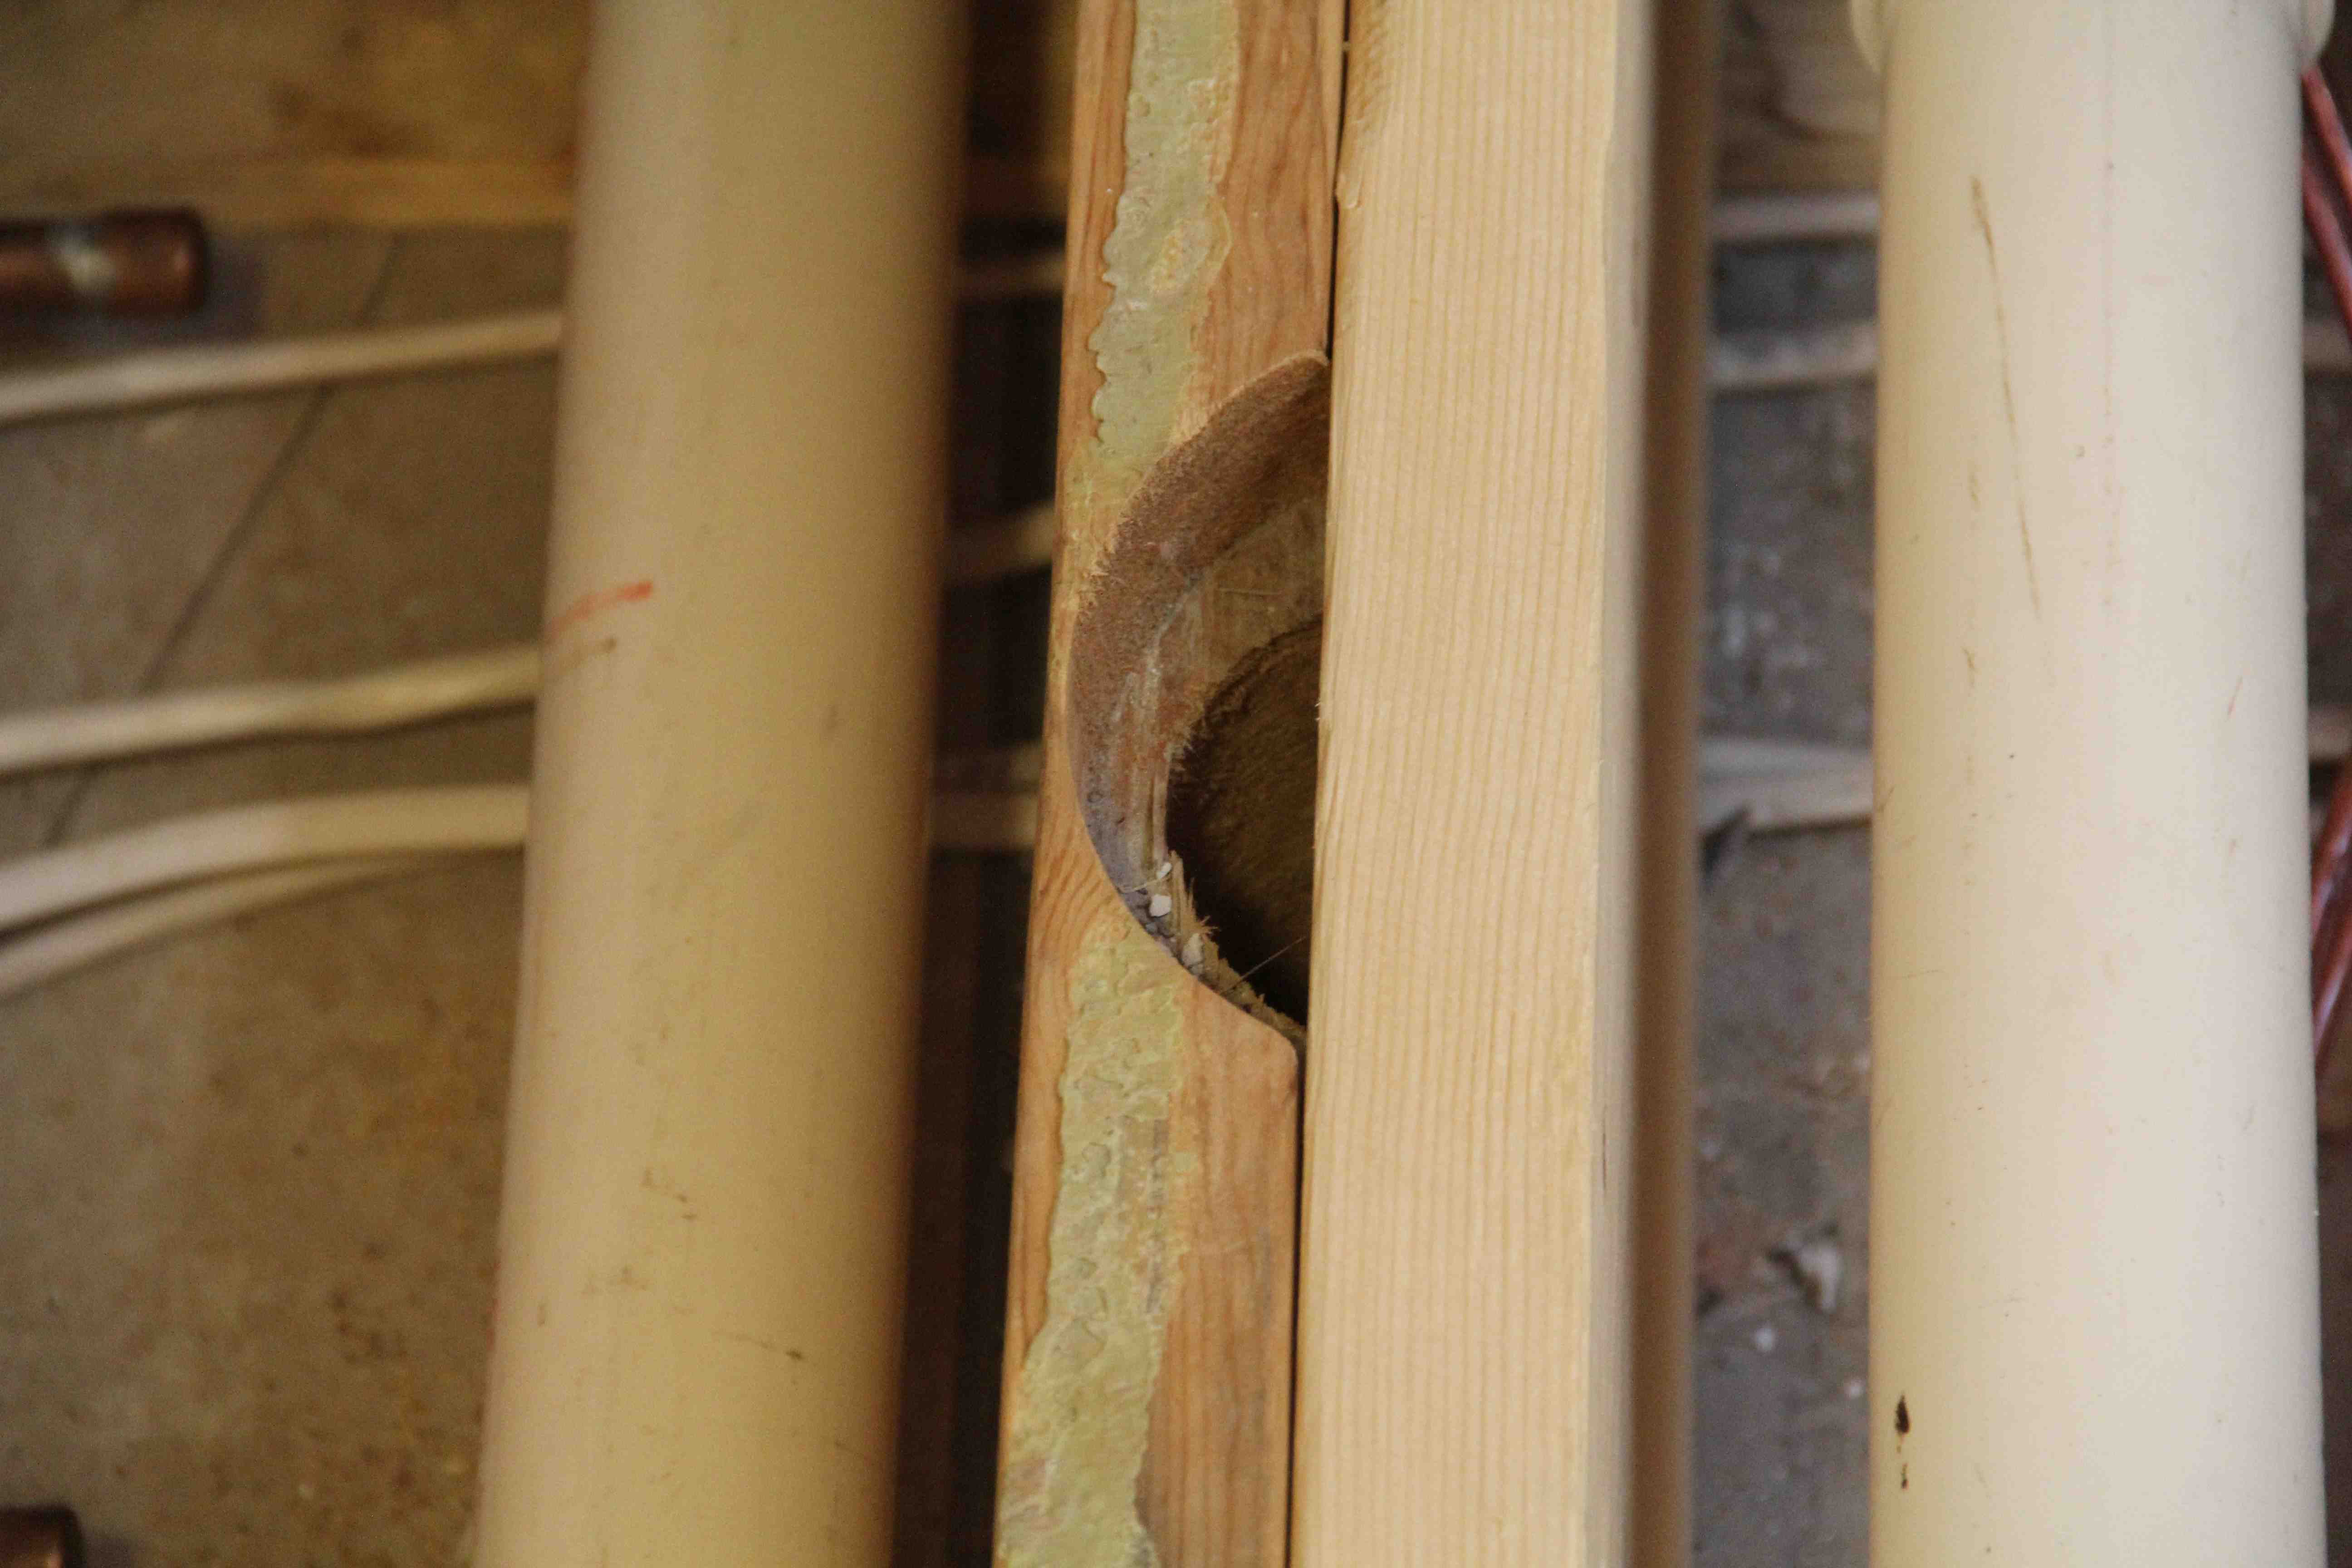
Many times I will apply scabs to floor joists that were previously or will currently be notched or drilled to install plumbing pipes.
Note – the photos show a recent bathroom remodel where we relocated the tub drain across several floor joists. the floor system is 2×10 joists spaced 12 inches on center. Prior to drilling holes in these floor joists, we installed 3/4 inch plywood to each one. We cut out and doubled up a header where the tub p-trap was to be installed.
Scabbing is also used a lot with rotted rafters and wall studs. Recently we used a scabbing technique successfully on this roof deck project.
Framing Floor Openings How-to Video:
