


Deck Building And Repair Tips
What Would Henry David Thoreau Say? On my current project I am very privileged to be rebuilding a rotted deck on this magnificent and historical home. It was Henry David Thoreau’s “Last House,” he died in this home in 1862.

The house plaque reads:
Henry David Thoreau: Died May 6, 1862, in this house which later became the home of the Alcott family.

We will be remodeling an existing deck in the rear of this house.

The current decking had 1×4 fir decking installed, and primed finger jointed trim, both of which, had started to rot out.
The homeowners decided to replace the fir with 1×4 mahogany decking coated with Penefin for back priming protection. Rebuilding a rotted deck take time and care to detrmine what should stay and what should go.

The existing trim was finger jointed primed pine boards and are nearing the end of their life.

Several areas of flooring and trim had started to rot. When rebuilding a rotted deck pay close attention to the ends of deck and trim boards.

Corner rot ~ this is a typical spot that rots first. Debris builds up as well as water pools in these areas.

We will be replacing all of the trim and lattice with Azec pvc boards and 1″ thick, heavy duty grade cedar lattice.
The existing deck railings and balusters are in great shape and will stay.

All new trim and decking will be installed with stainless steel nails and all end grain will be sealed. Sealing end grain helps prevent moisture from wicking into the open pores of end grain and getting under the surface of the paint or stain.

Above photo: The previous carpenter used “pine” strips to attach the stair stingers to the deck. Pine is a poor choice of material to use here. The deck and stringers are pressure treated and the pine rots out much sooner than the PT wood.
This is a safety issue.

Photo above:
I replaced the rotted pine hanger straps with 3/4″ pressure treated plywood. Plywood is always a better and stronger choice of material than wood.
Thin rubber Vycor flashing was applied to the joists and stringers.

Photo above and below:
Rubber flashing helps protect the horizontal surfaces of the deck frame. When the deck boards are nailed the rubber will seal around the nails. The drainage spaced between the boards are also protected by the rubber.
The flashing was inspected at the house ledger board and was in great shape. Rubber flashing was added as a redundancy layer of protection.
Debris often builds up in these spaces and promotes rot – the rubber prevents this from happening.

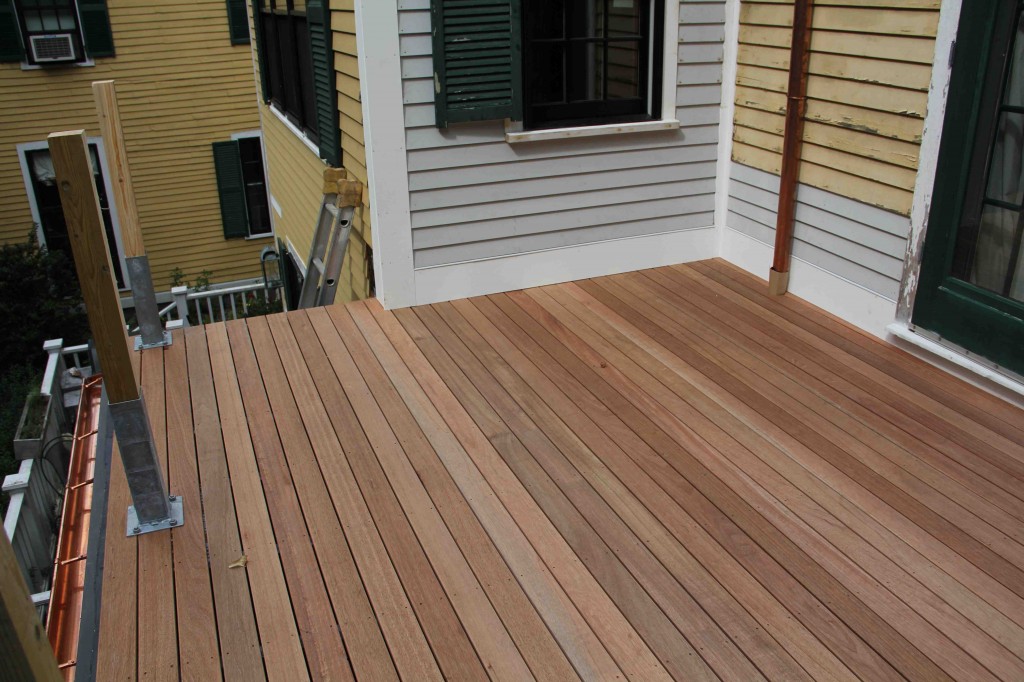
1×4 Mahogany decking “laid out” loose to check on how the boards will fit on the deck.

We cut all the boards to length and then lay them on the deck, not nailed. This helps us visualize how the courses of boards will lay out from edge to edge.
The goal is to end with a full board on the outside edge, but the it would also be nice to have a full board at the outside house edge as well as the post at the top of the stairs.

Once we figure out what “looks best” we will secure the boards to the deck.