Moving Vents In Way Of Crown Molding
Today’s post involves me having to move two bedroom air conditioning vents away from the wall to make room for crown molding, doing this is necessary for preparing for crown molding installation.
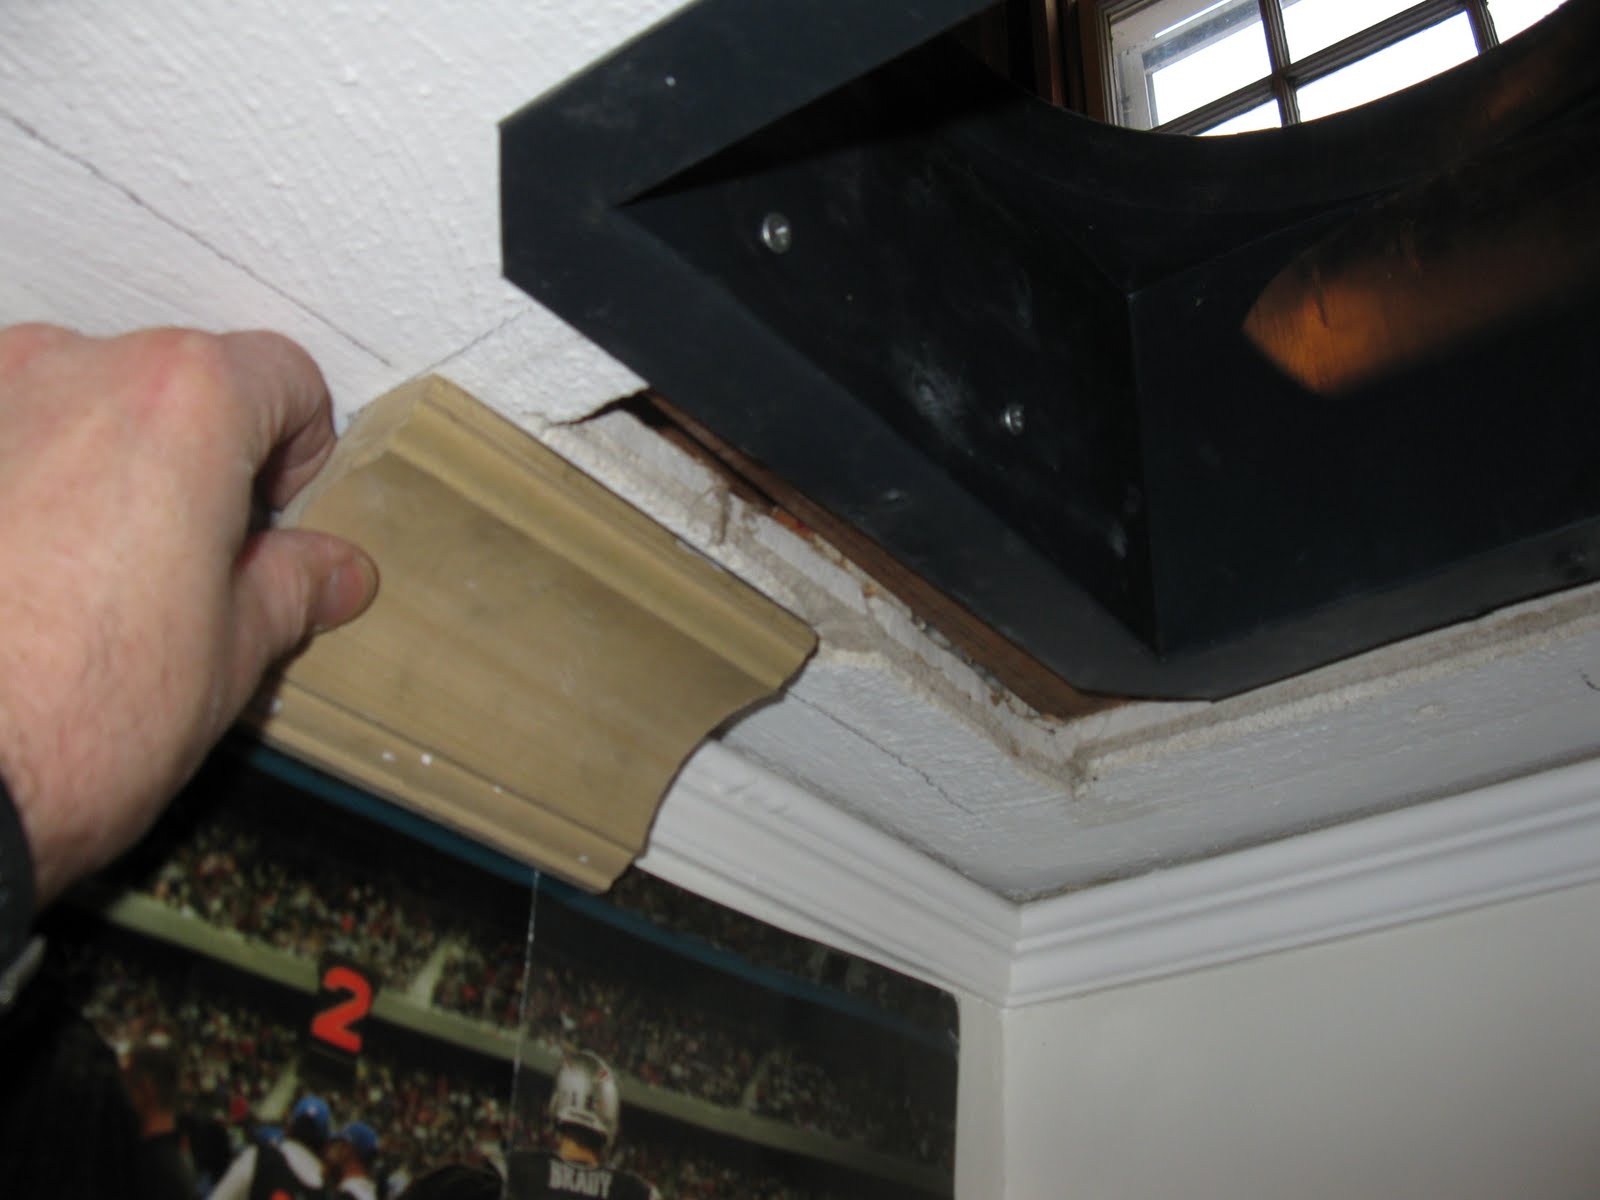
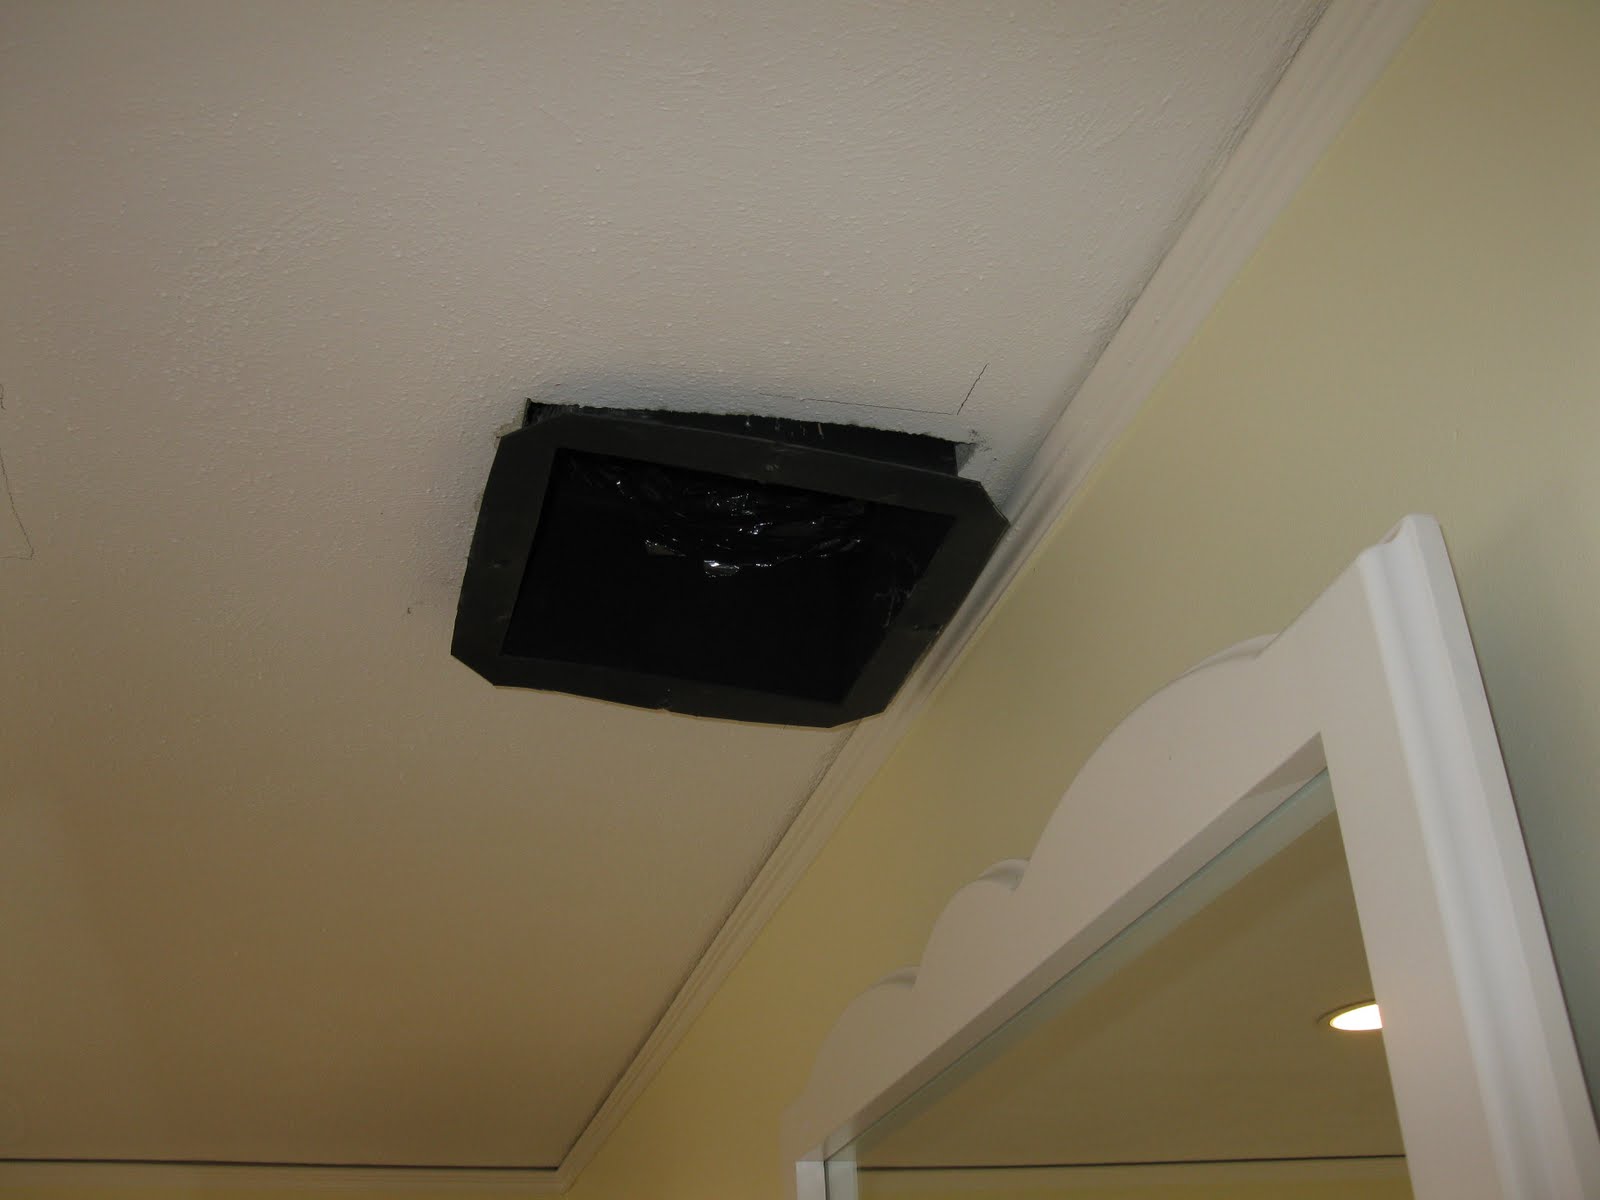
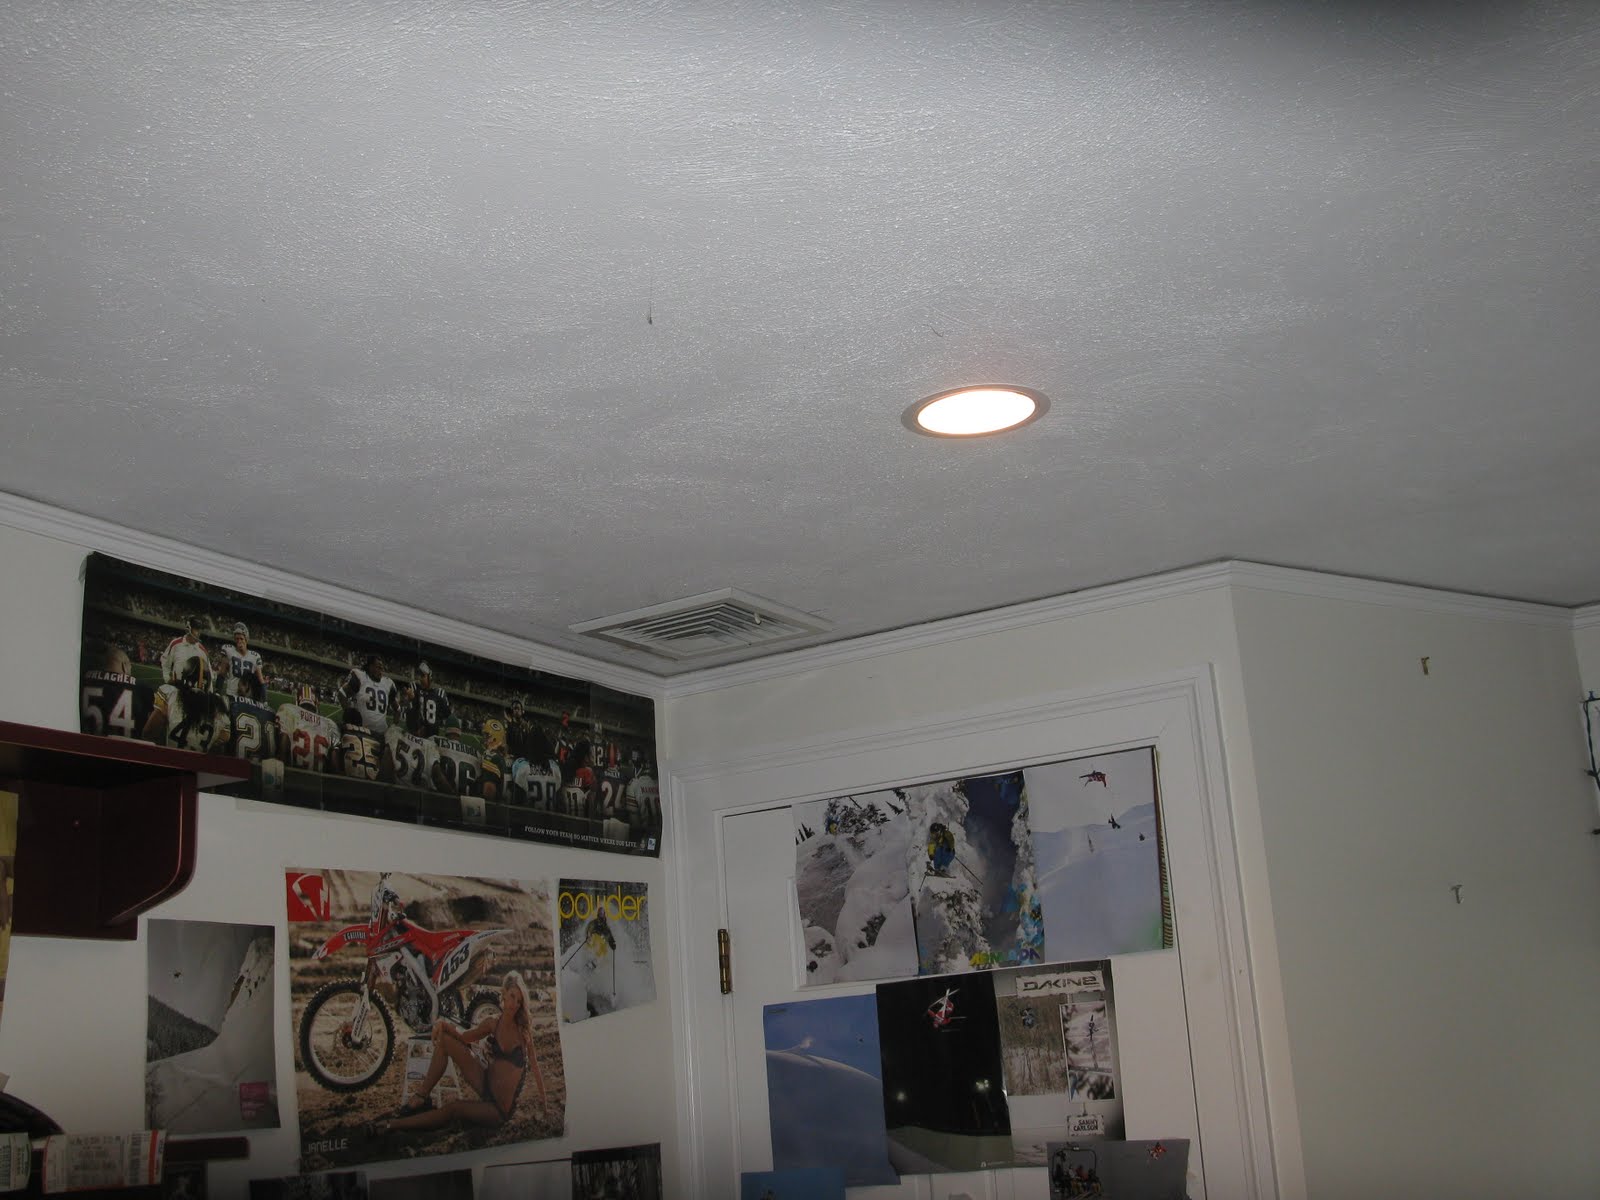
The one below is a corner vent. The small molding currently shown in the picture will be cut away approx. 4″ from each corner to allow the newer molding to butt into the wall. I will leave this small molding elsewhere and use it as an additional nailer for my new molding.
In fact this reminds me of a crown molding post I did on how to secure crown molding to metal studs, it’s a good example to show you why leaving it in place is useful to the installer.

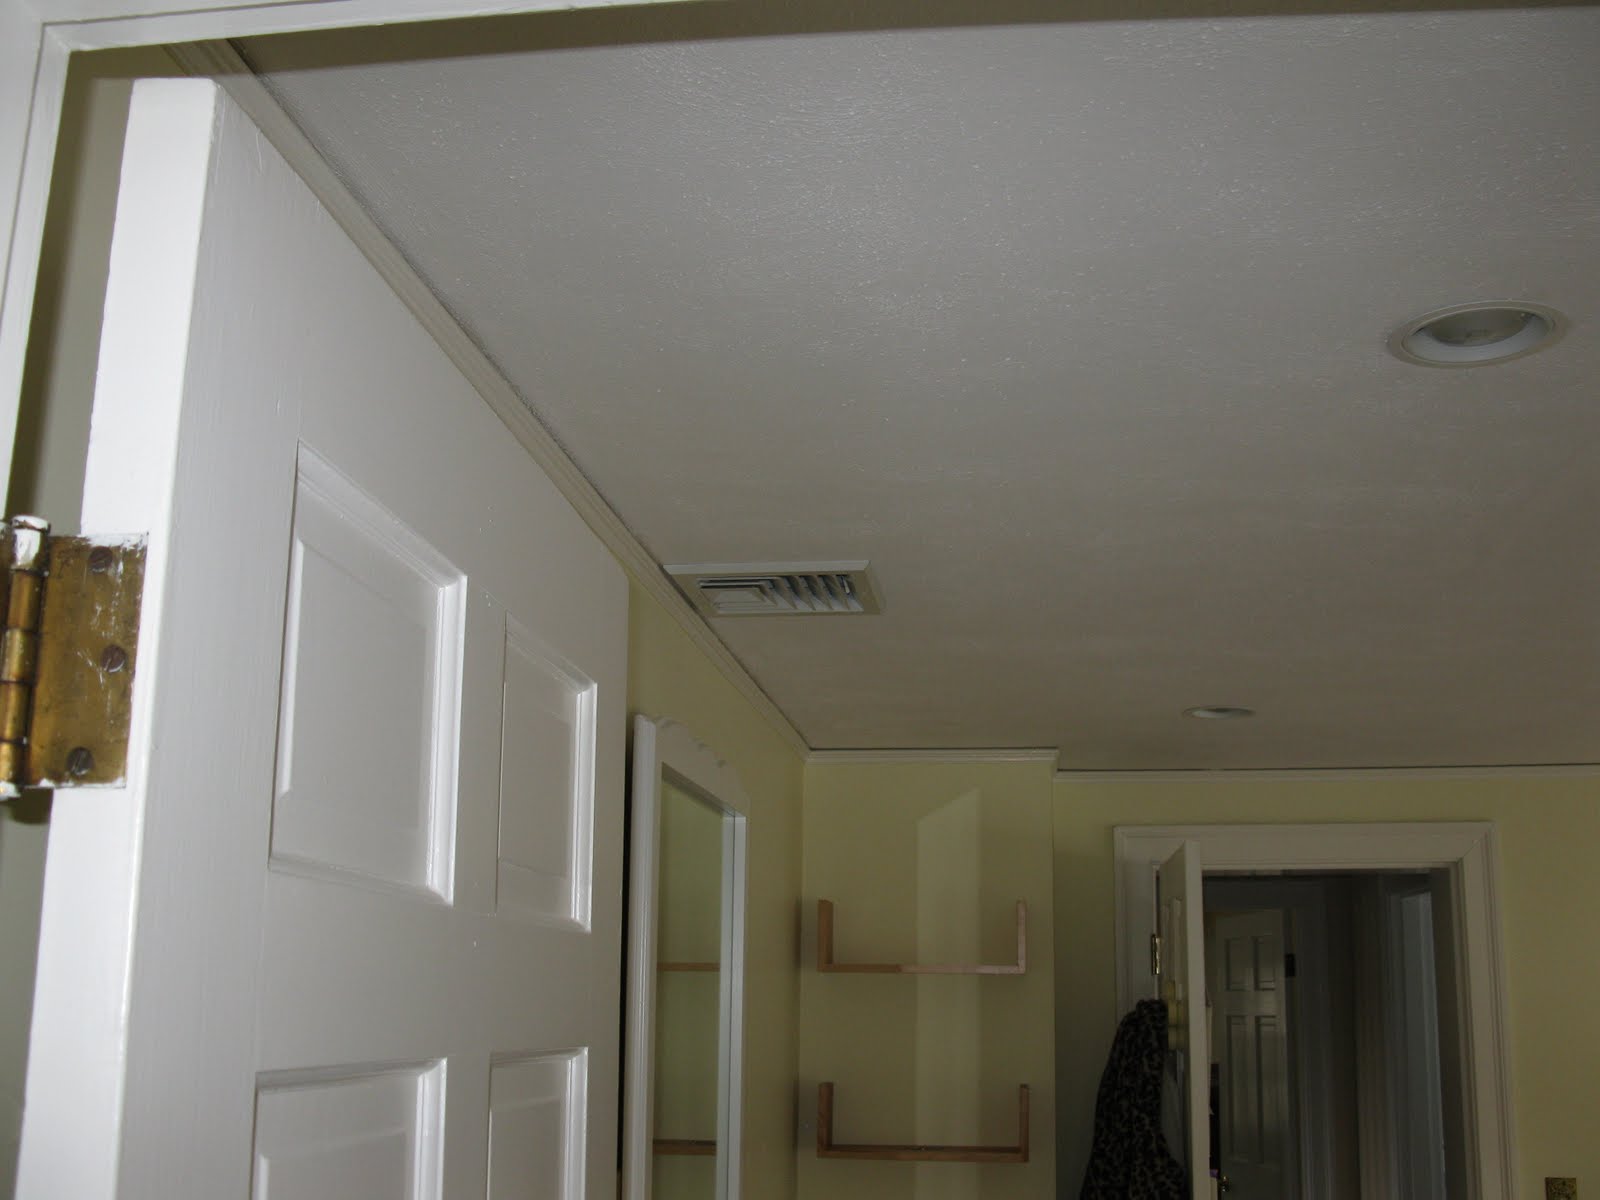
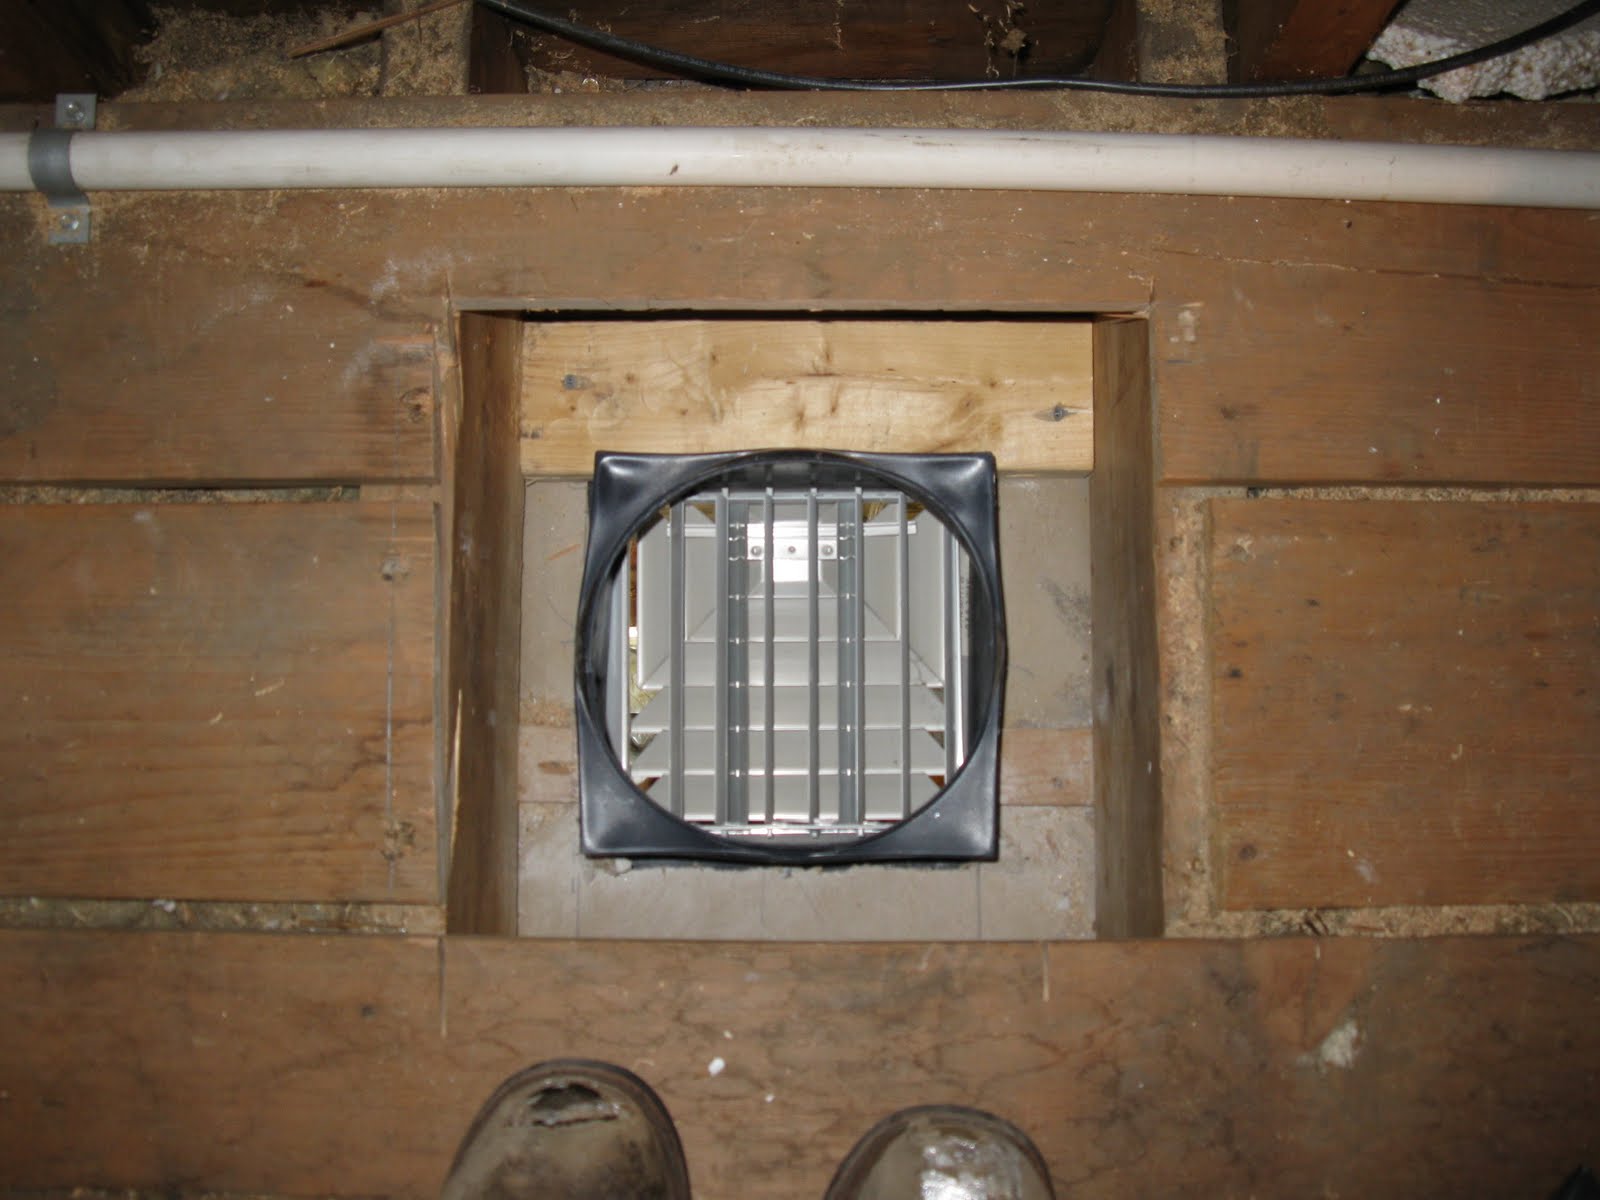
The vent one below is located in the middle of the room. If you click on the picture it will enlarge the view. The 3″ crown molding the owner chose will not clear these vent grilles and can not be installed over the vent for several reasons.
One it would look silly and is not indicative of a quality install and two the vent needs to be able to be removed for servicing.
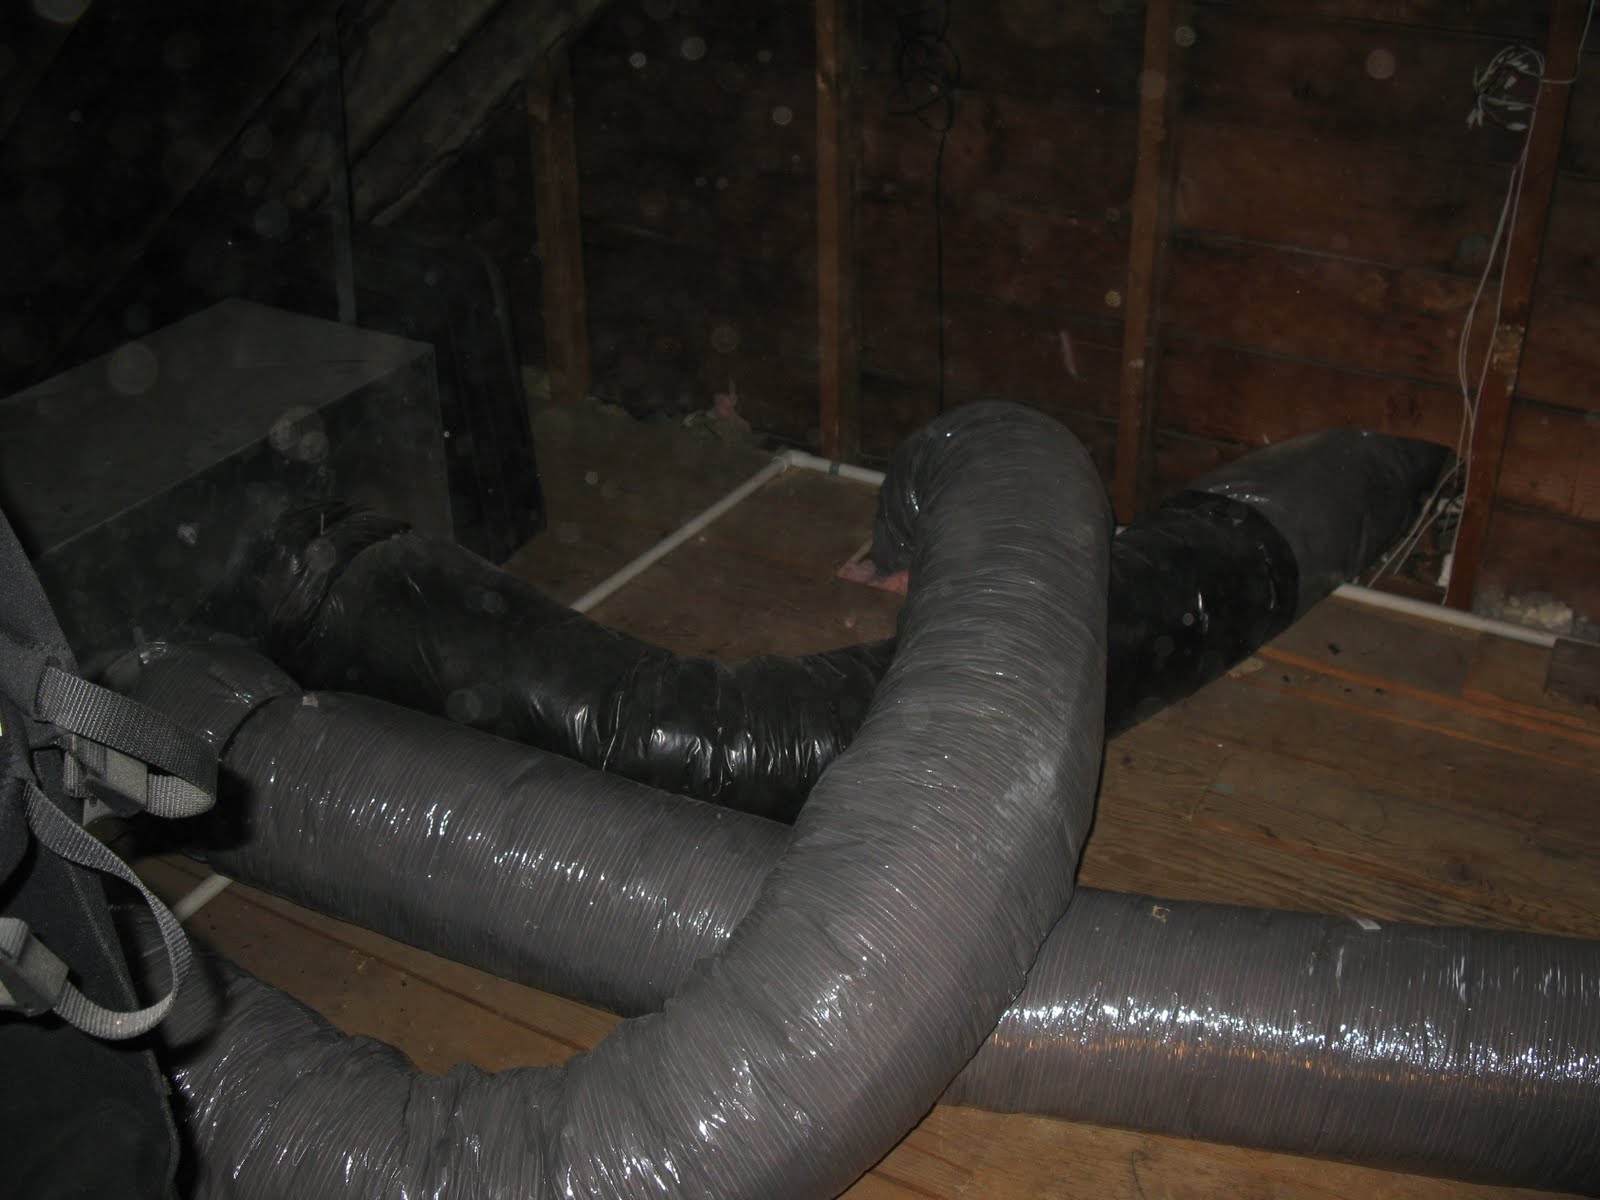
Luckily for my already aching back there was a walk up attic space. Below are the two air trucks that feed each bedroom. The upper / right is the corner vent and the lower / center is the middle wall vent.
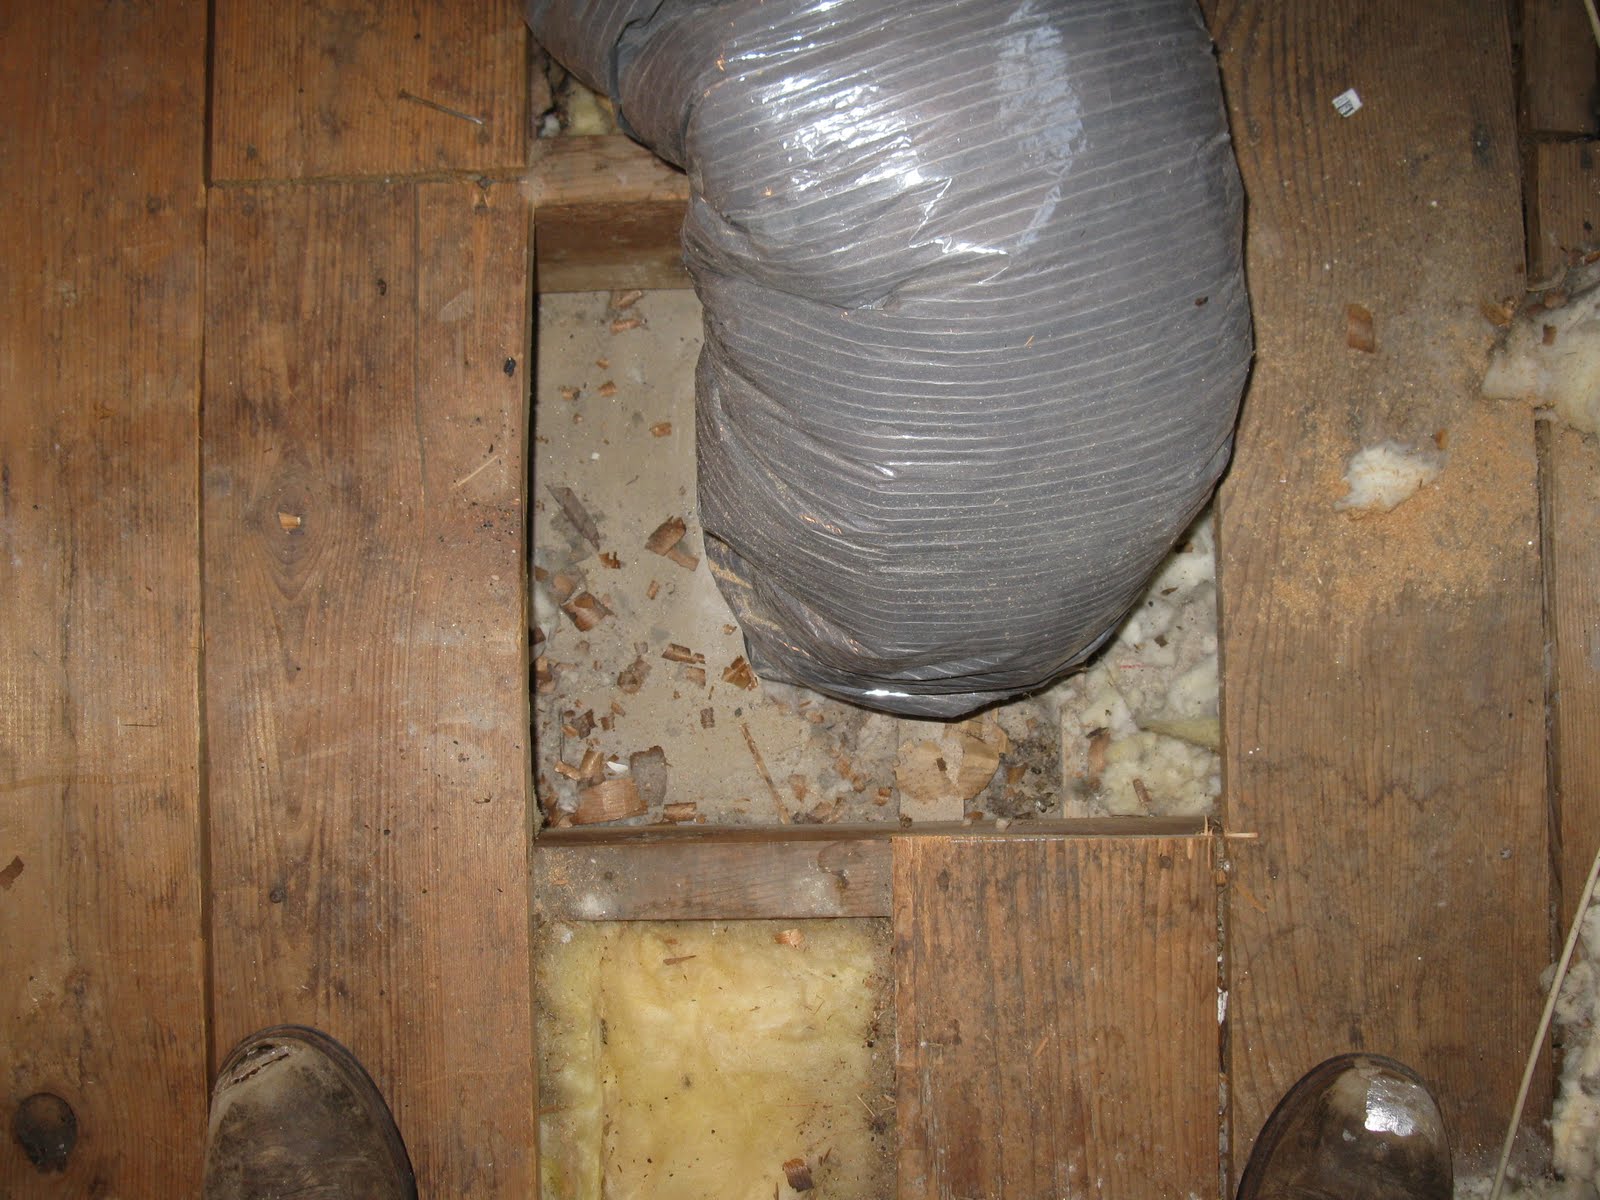
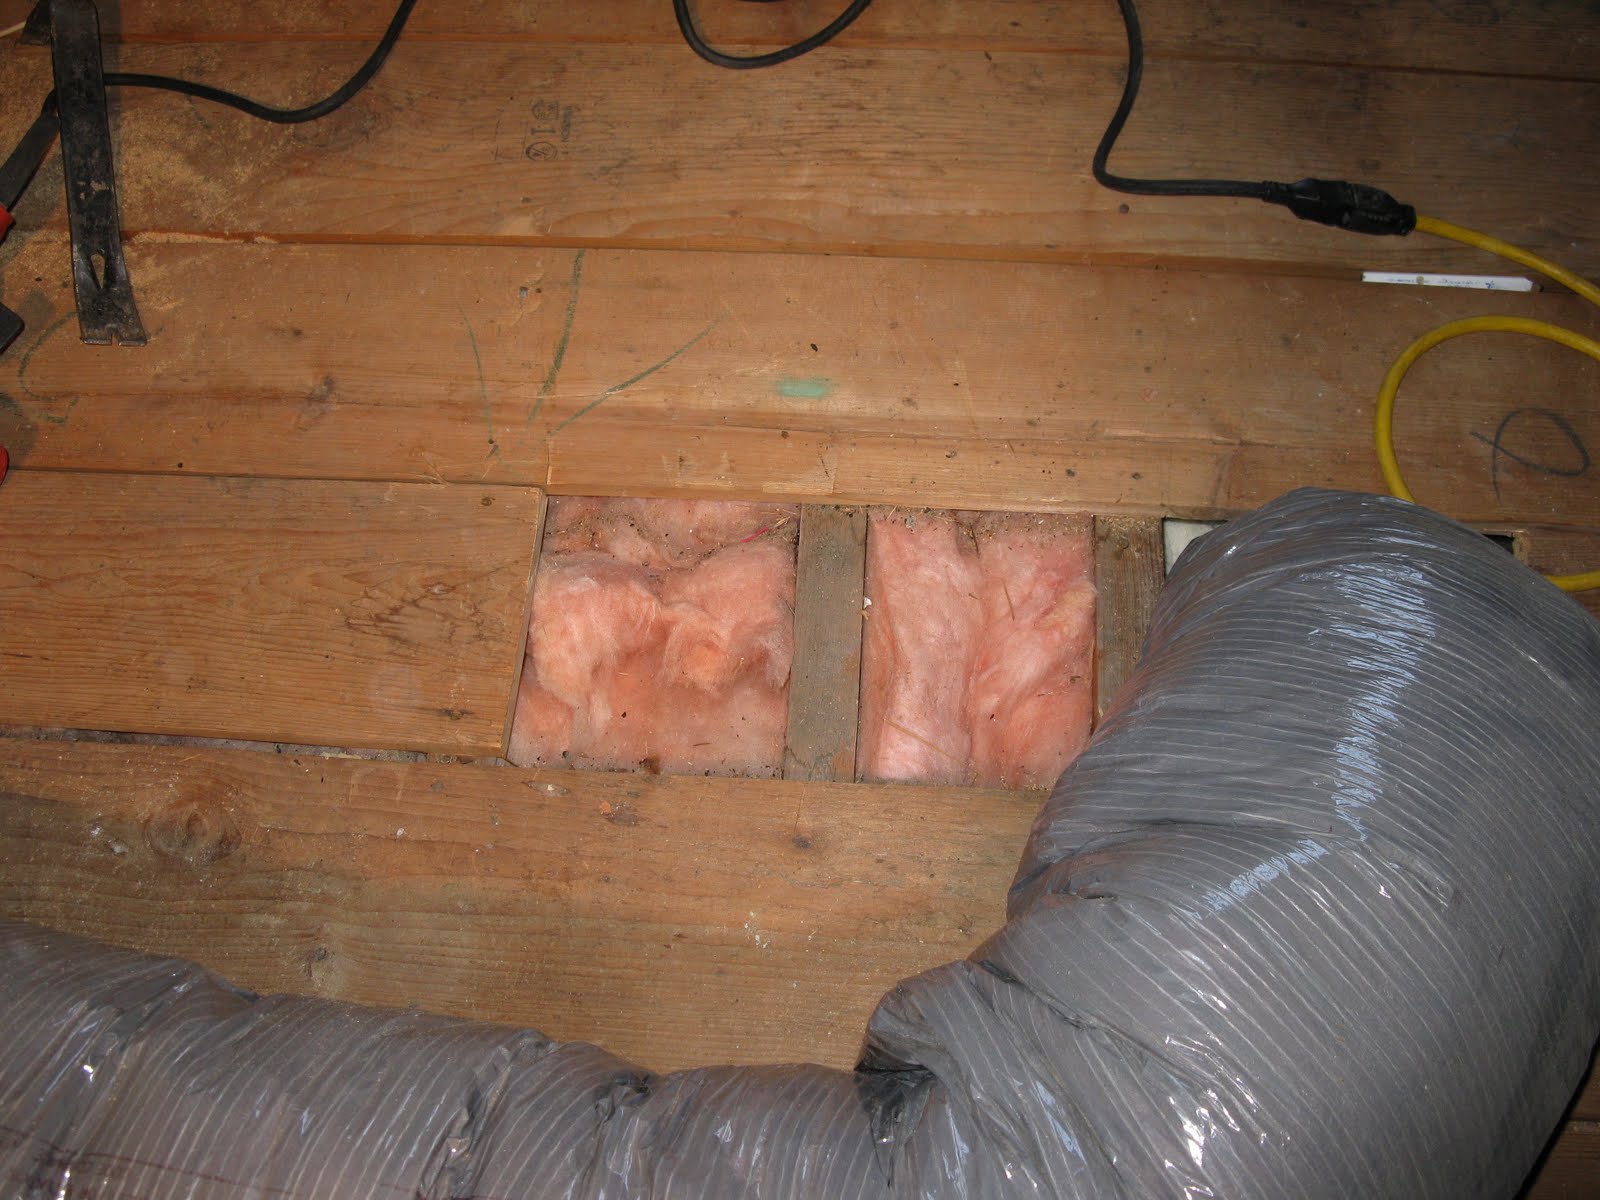
After cutting some of the floor boards away on the corner vent this is what I found. I measured from below to see how much room I need to move this vent over.
It needs to move 2″ to the left, and 2″ toward you or the lower floor joist. Plenty of room… If you click on the photo you can see that I drew on the ceiling plaster what I need to cut.
While an assistant held a trash barrel to the ceiling below I cut out the plaster and strapping.
Wood blocking was added around the vent box. I swear the HVAC installers don’t understand the importance of adding blocking.
The wood blocking will be used to screw the vent box securely to the ceiling, help keep it looking square from below, as well as provide a backer for a subsequent blue board and plaster patch.
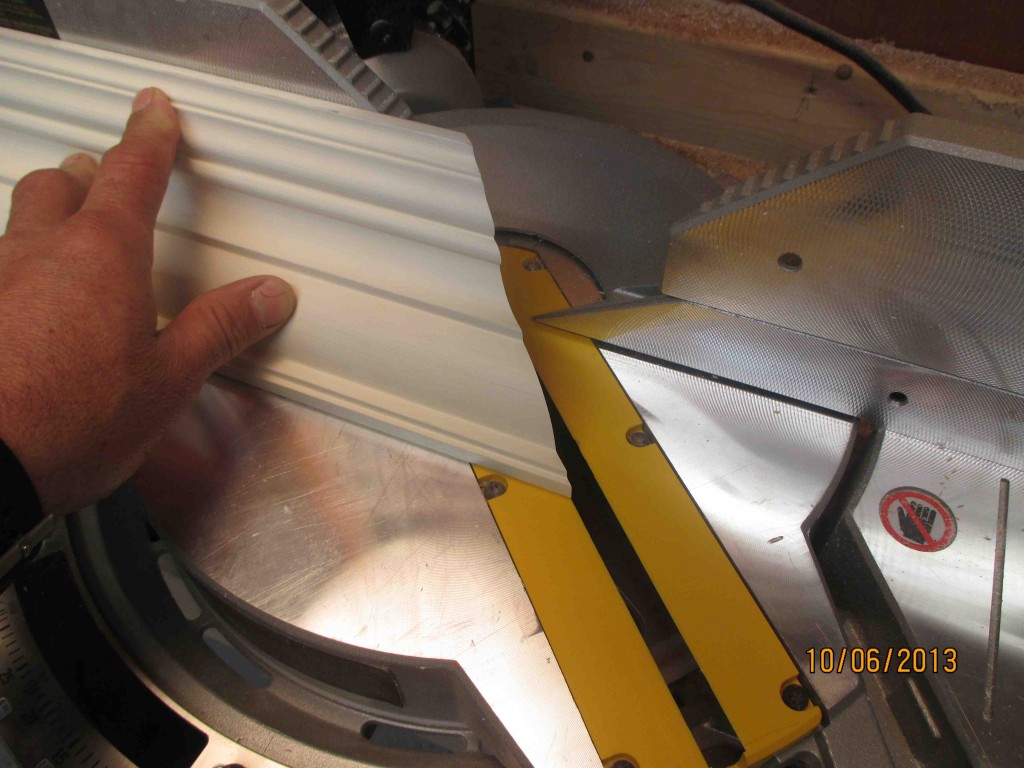
This is how i determined how much to move the vents. I held a scrap of the molding I will use and added an inch for good measure and aesthetics.
You can see where the old box sat. That needs to be patched by the plasterer who will also be adding a smooth plaster coat over the textured ceiling this Monday.
Next was to move to ther next room and relocate the centered vent out from the wall.
These types of vents are usually installed in the center of a room or in the rooms corner. Both locations have special grilles that allow the air to flow evenly into the room. Installation off center would not look right and can cause uneven airflow.
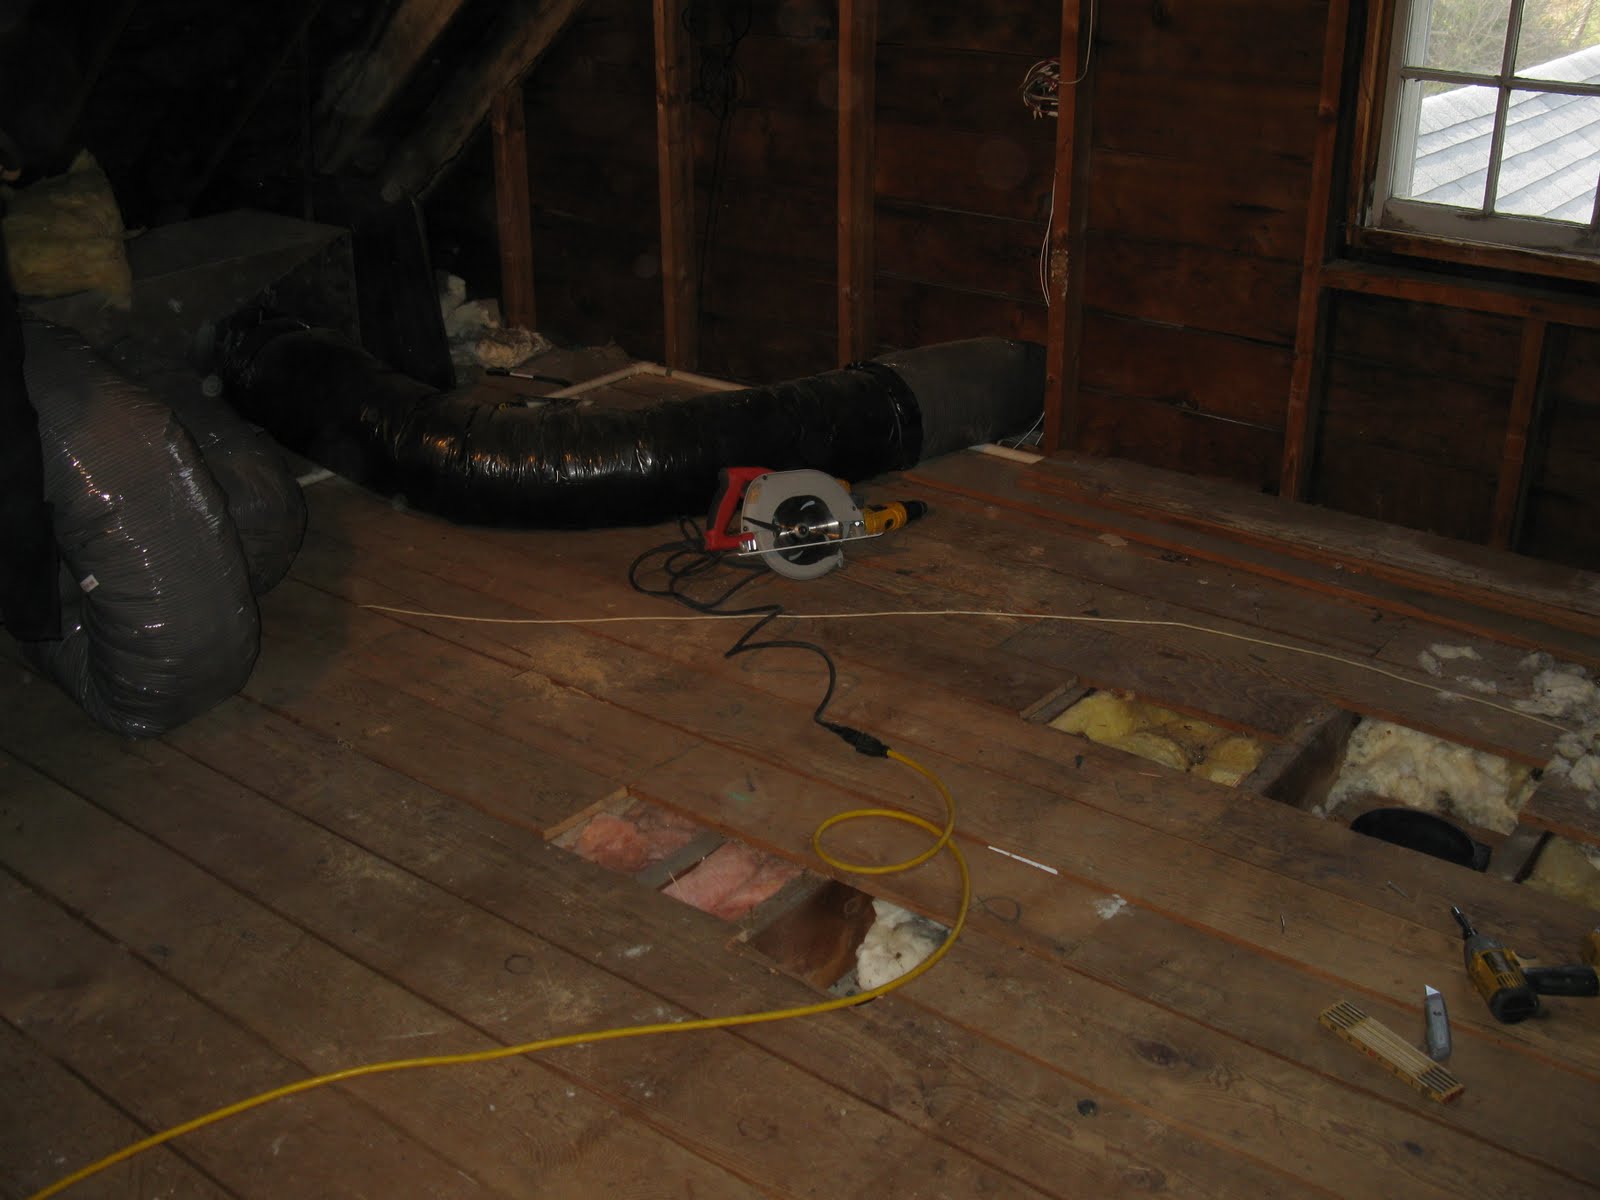
When I removed the floor boards I discovered a slew of floor joists all in my way. There was absolutely no room to move this vent an inch. I needed to find another way.
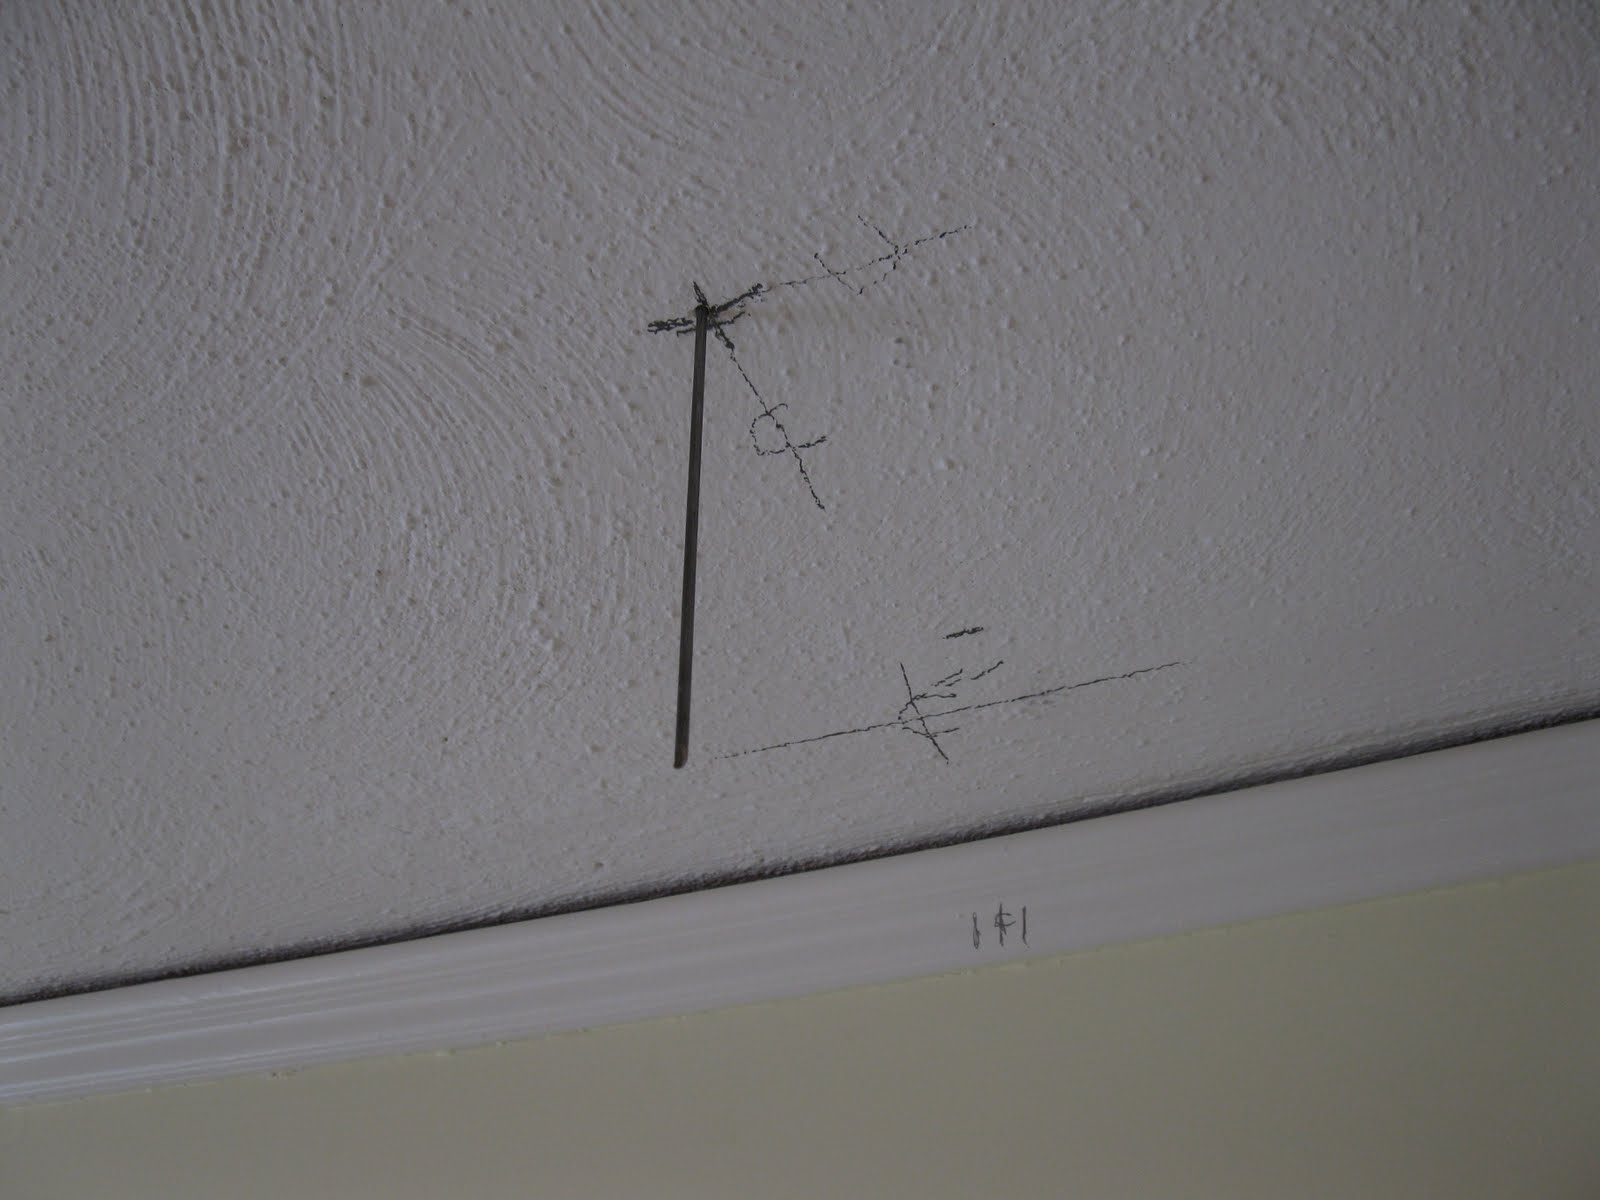
If you click to the photo enlarge you’ll see that I marked the ceiling in the only place the vent would fit. It was over 18″ away from the wall and would have looked awful.

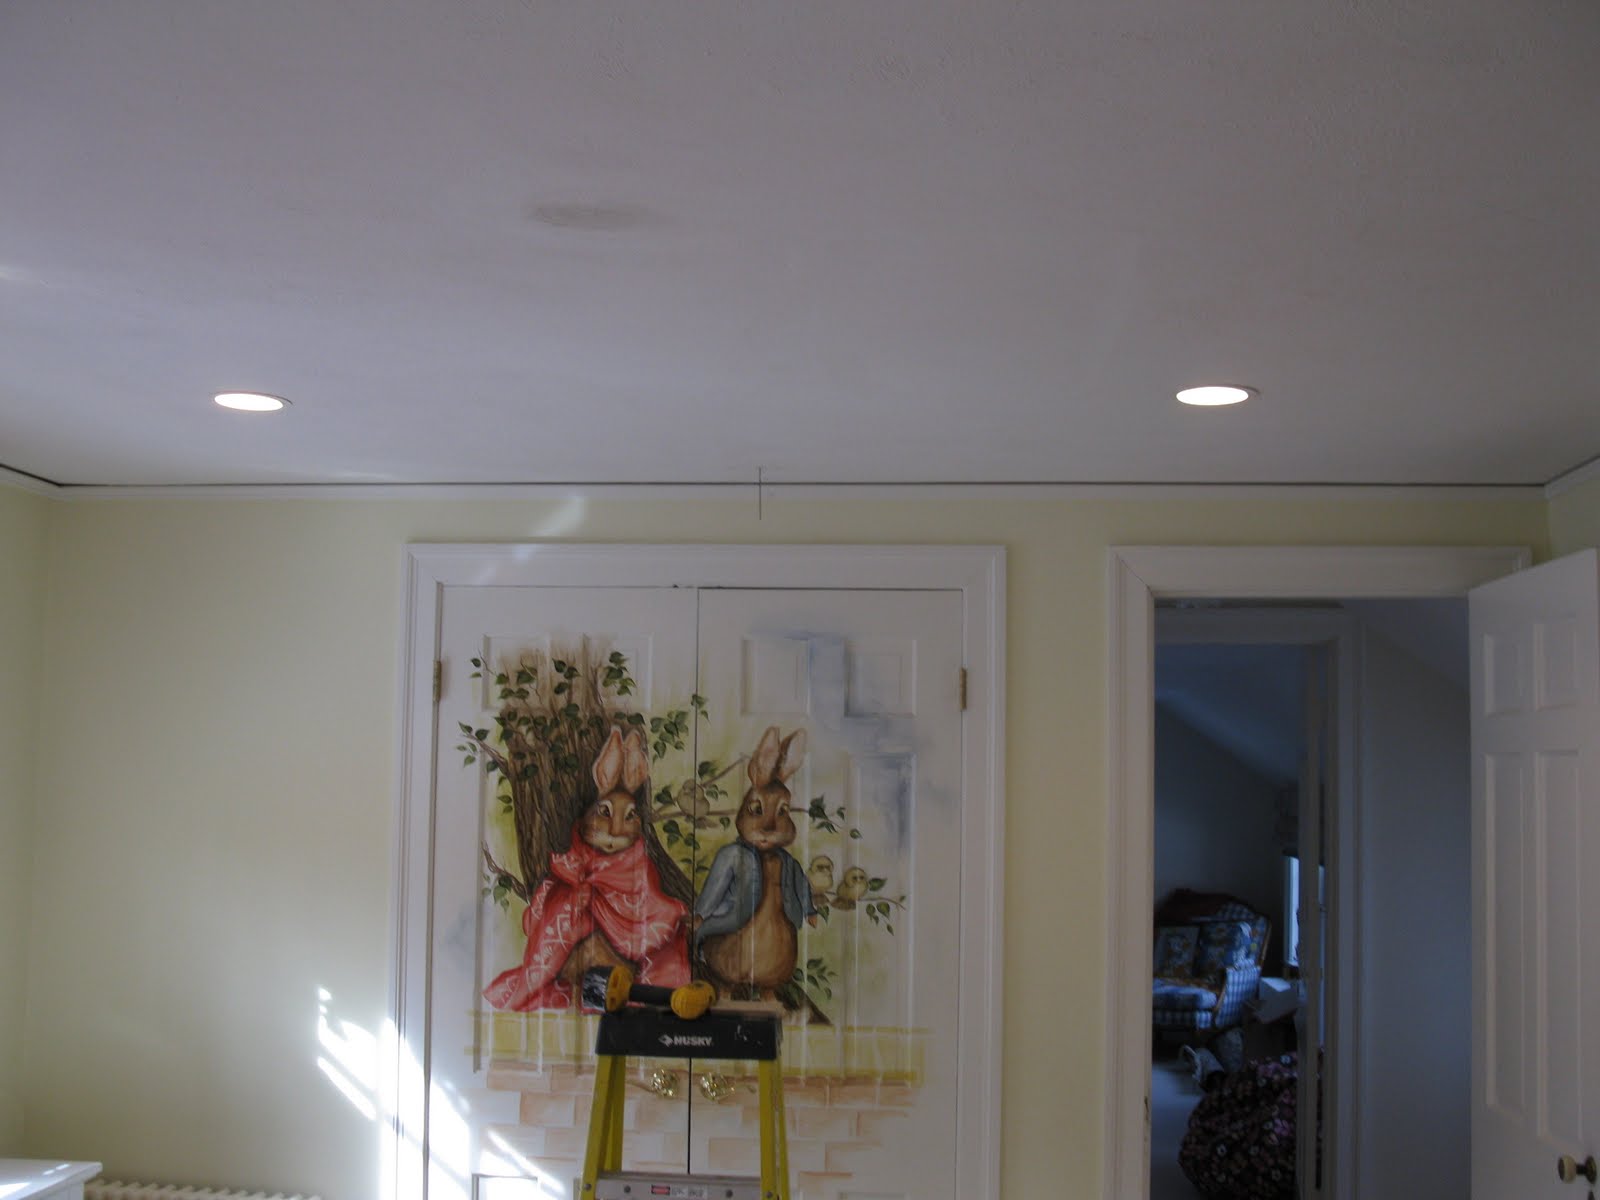
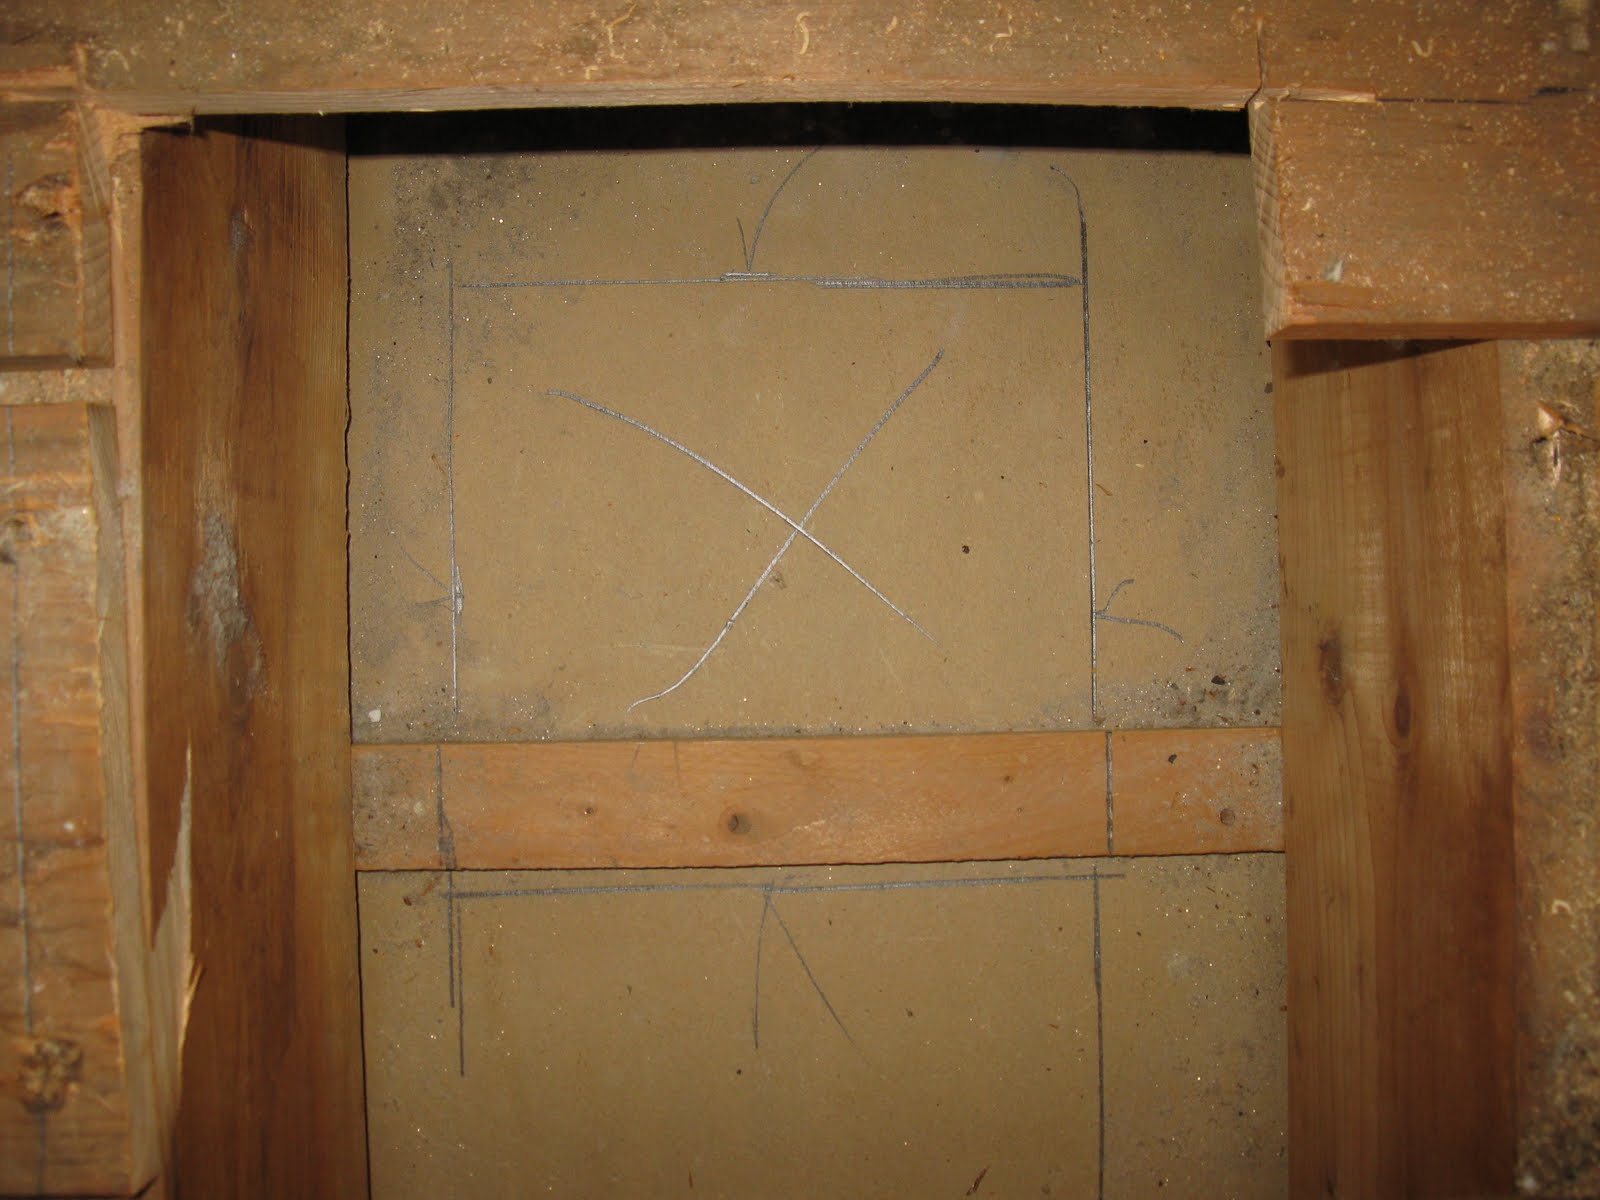
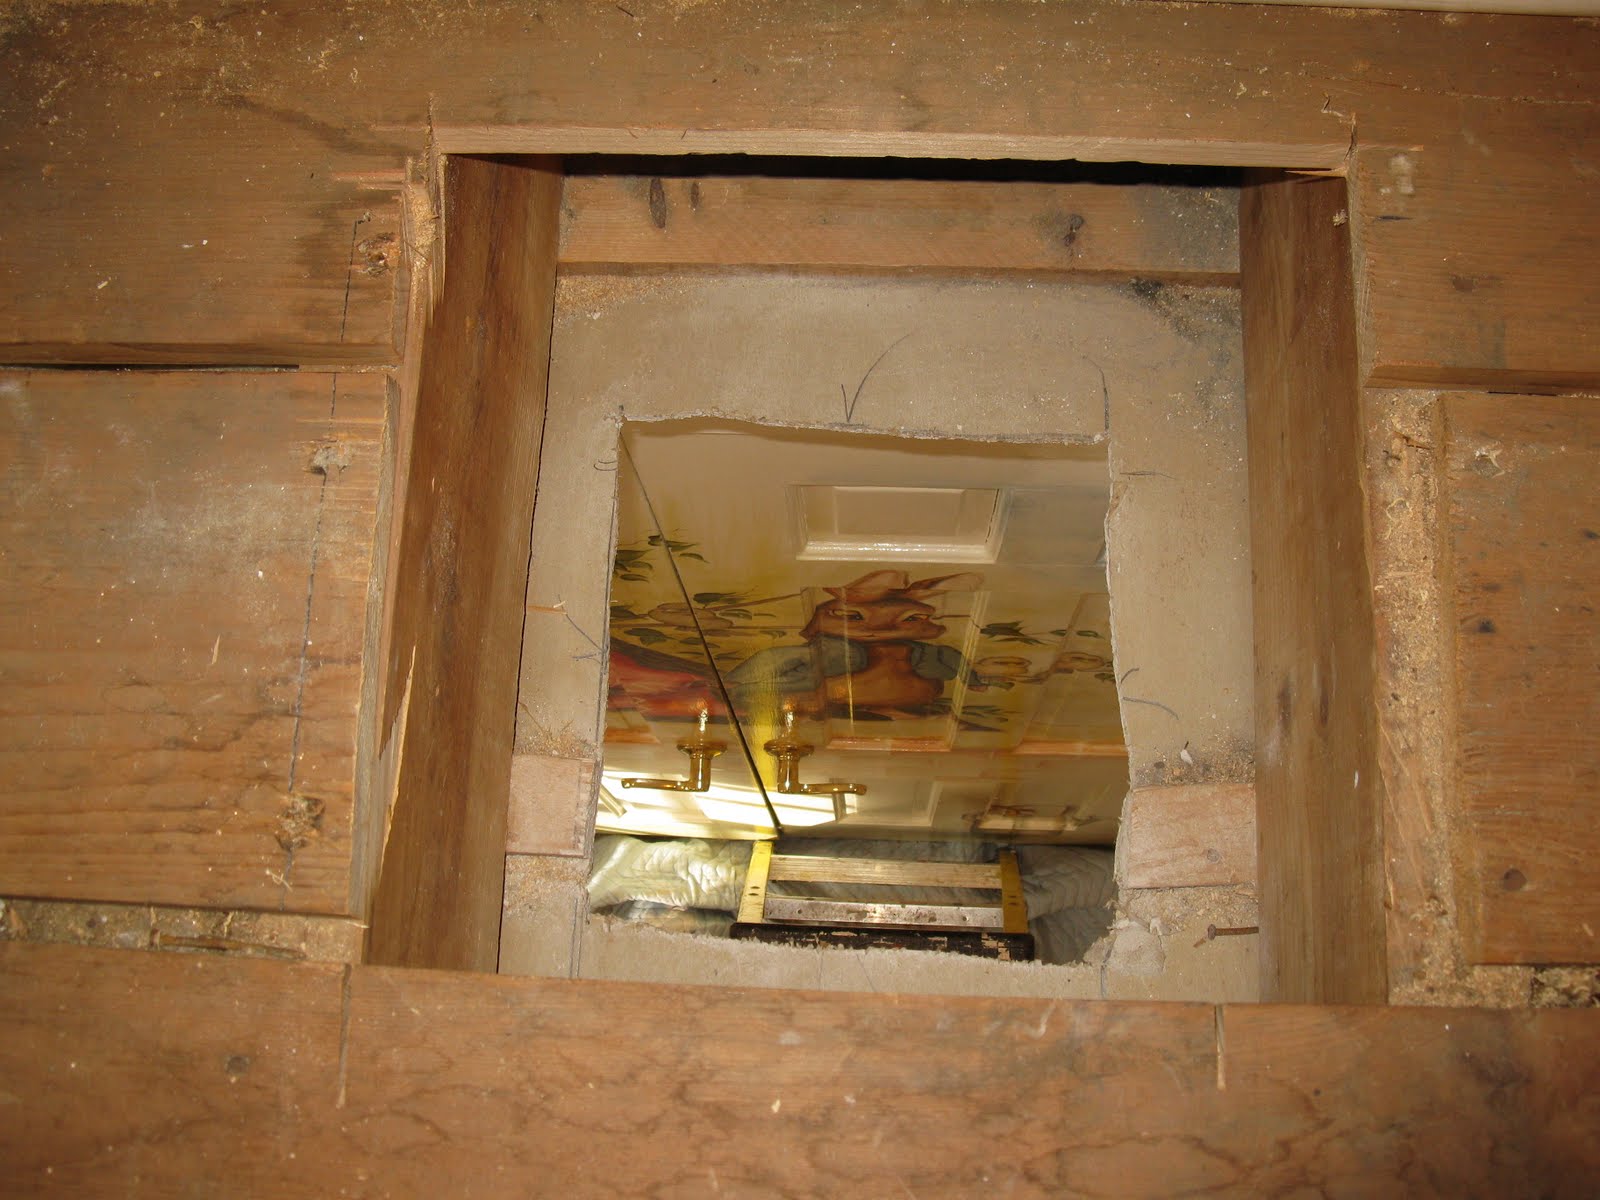
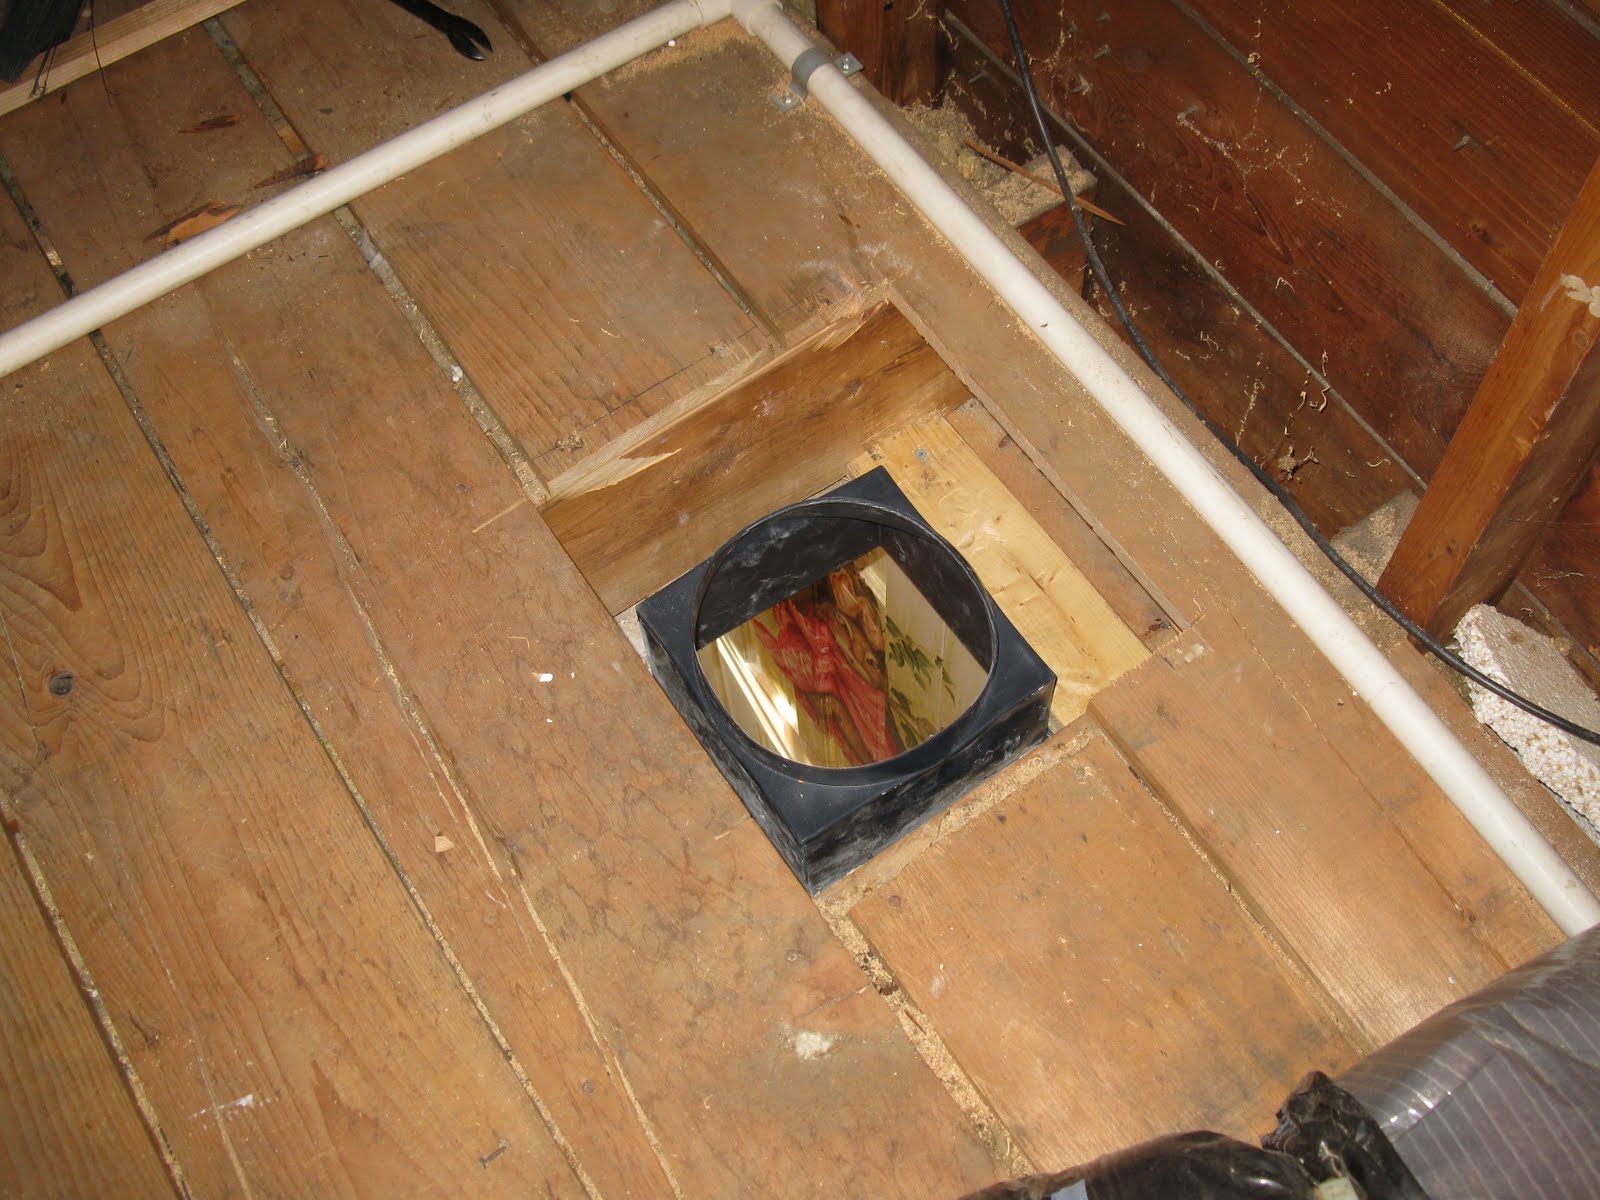
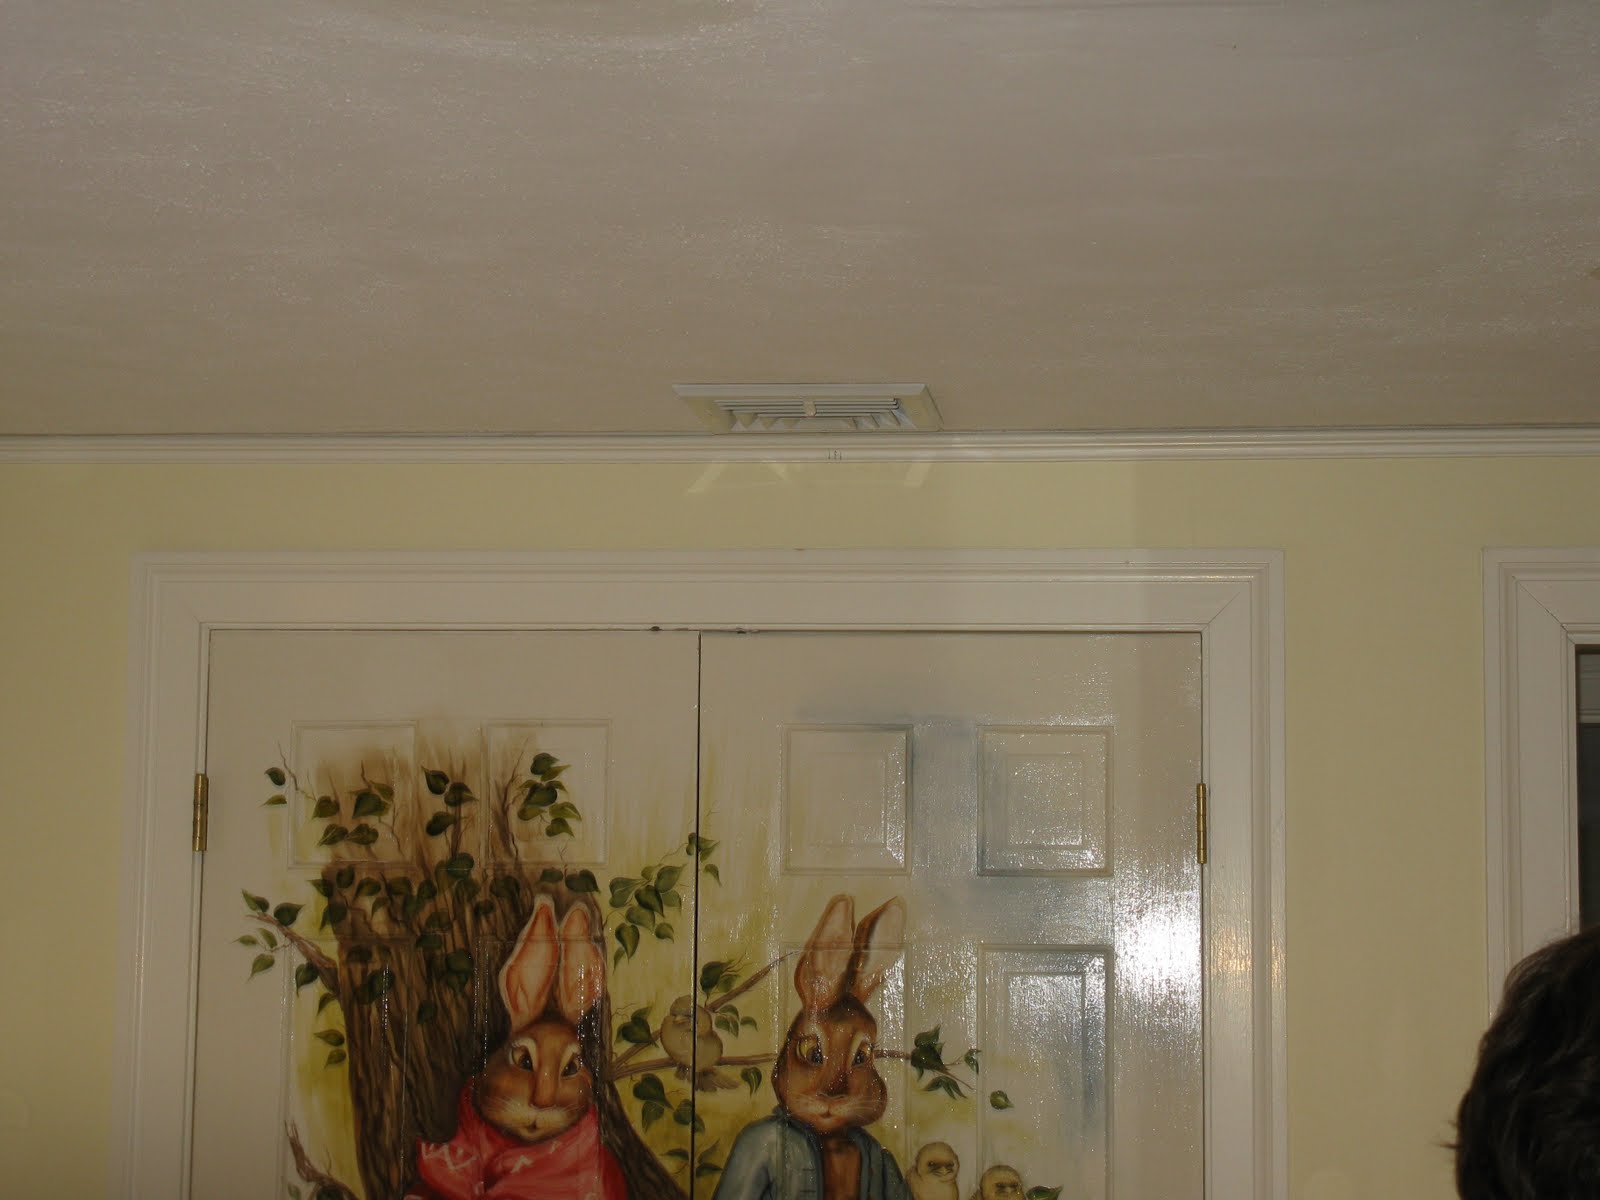
After thinking this through we determined that we had enough duct to completely move the vent to another wall in the room. Centered in the room over this double door closet. Cool Beatrix Potter mural huh?
The photo below shows the approximate location between the existing black duct and the white condensation drain pipe.

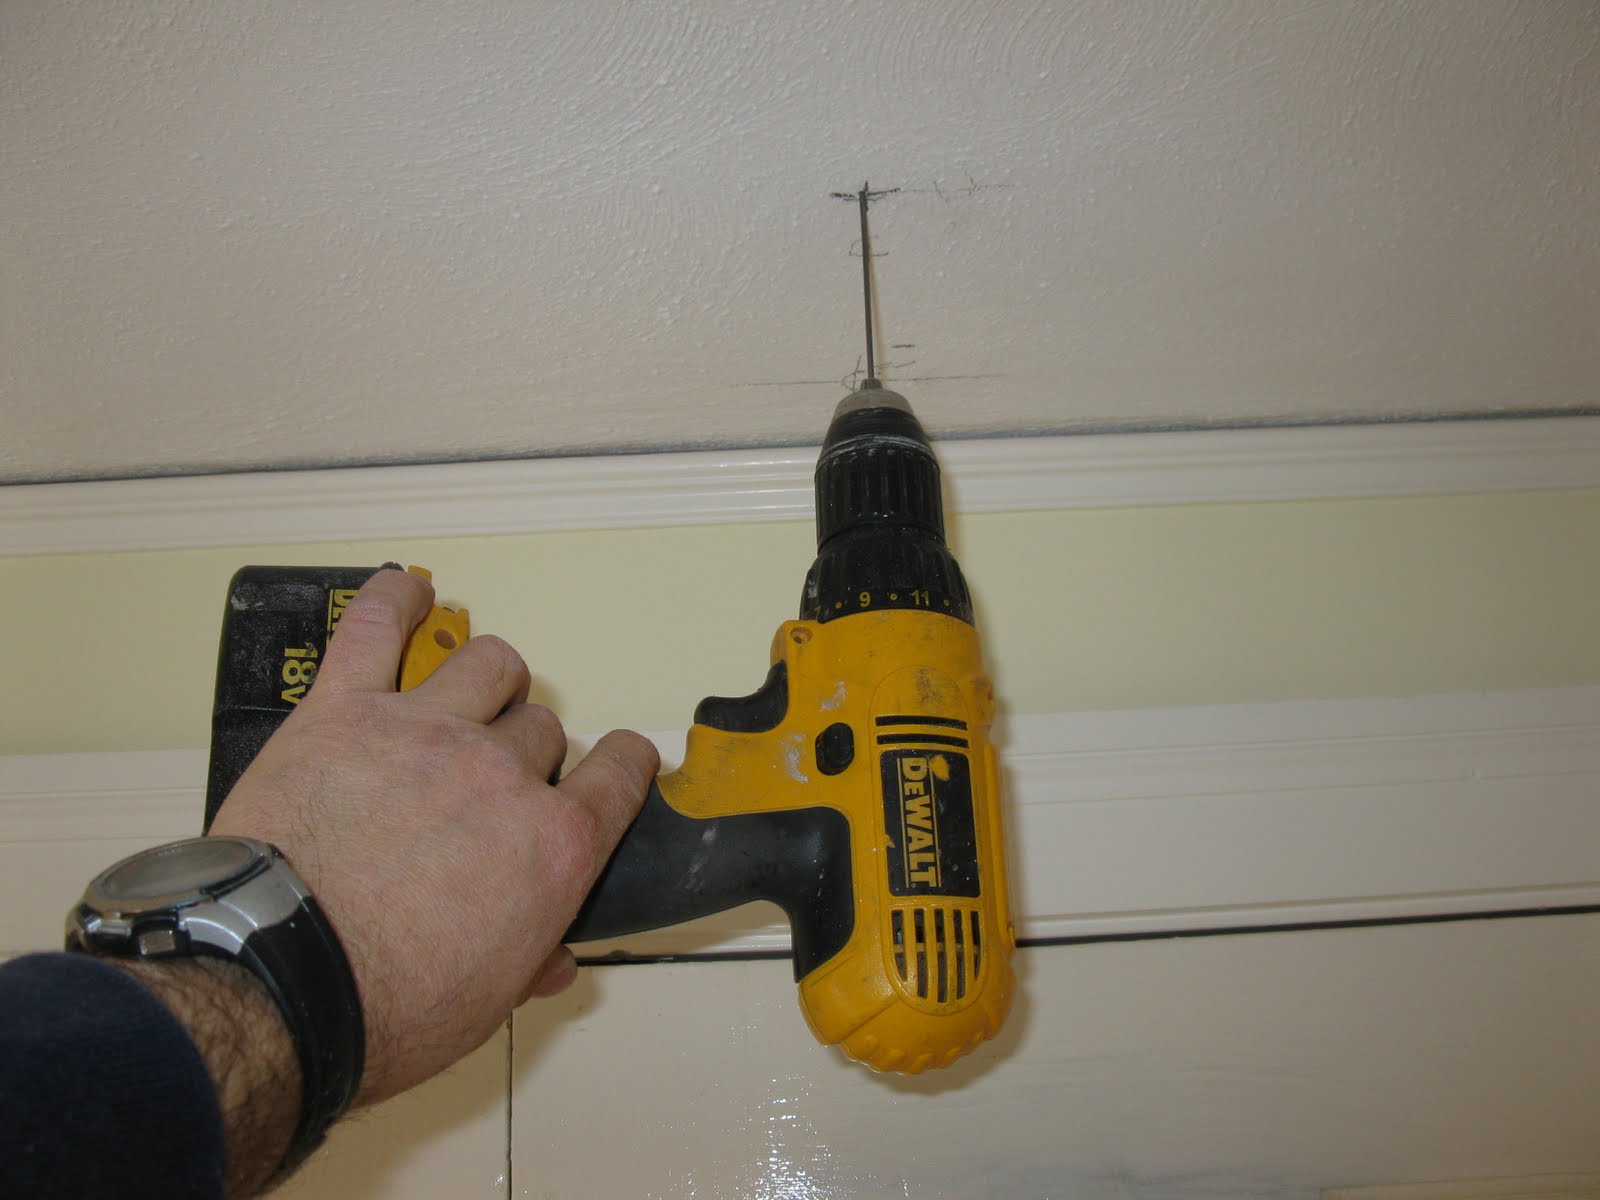
After measuring a few times to find the rooms center I sent a probe up through the ceiling to find it’s location and see if it was viable.
This probe is a neat trick I learned from HVAC installers. I chucked an insulation support rod into my cordless drill and sent it up through the plaster and attic ceiling floor boards.
Care must be taken when using this tip. The rod will go through copper or plastic pipes, wires and other items you don’t want to think about.
Take the time to check for hazards first, drill slow and have someone watch for the rod on the other end.
This tip allows me to probe in finished ceilings without causing a lot of damage. This ceiling is going to be plastered so its a mute point but if it were not this hole is easily filled and made invisible to the eye.
The pencil and arrow mark the rod in the attic floor.
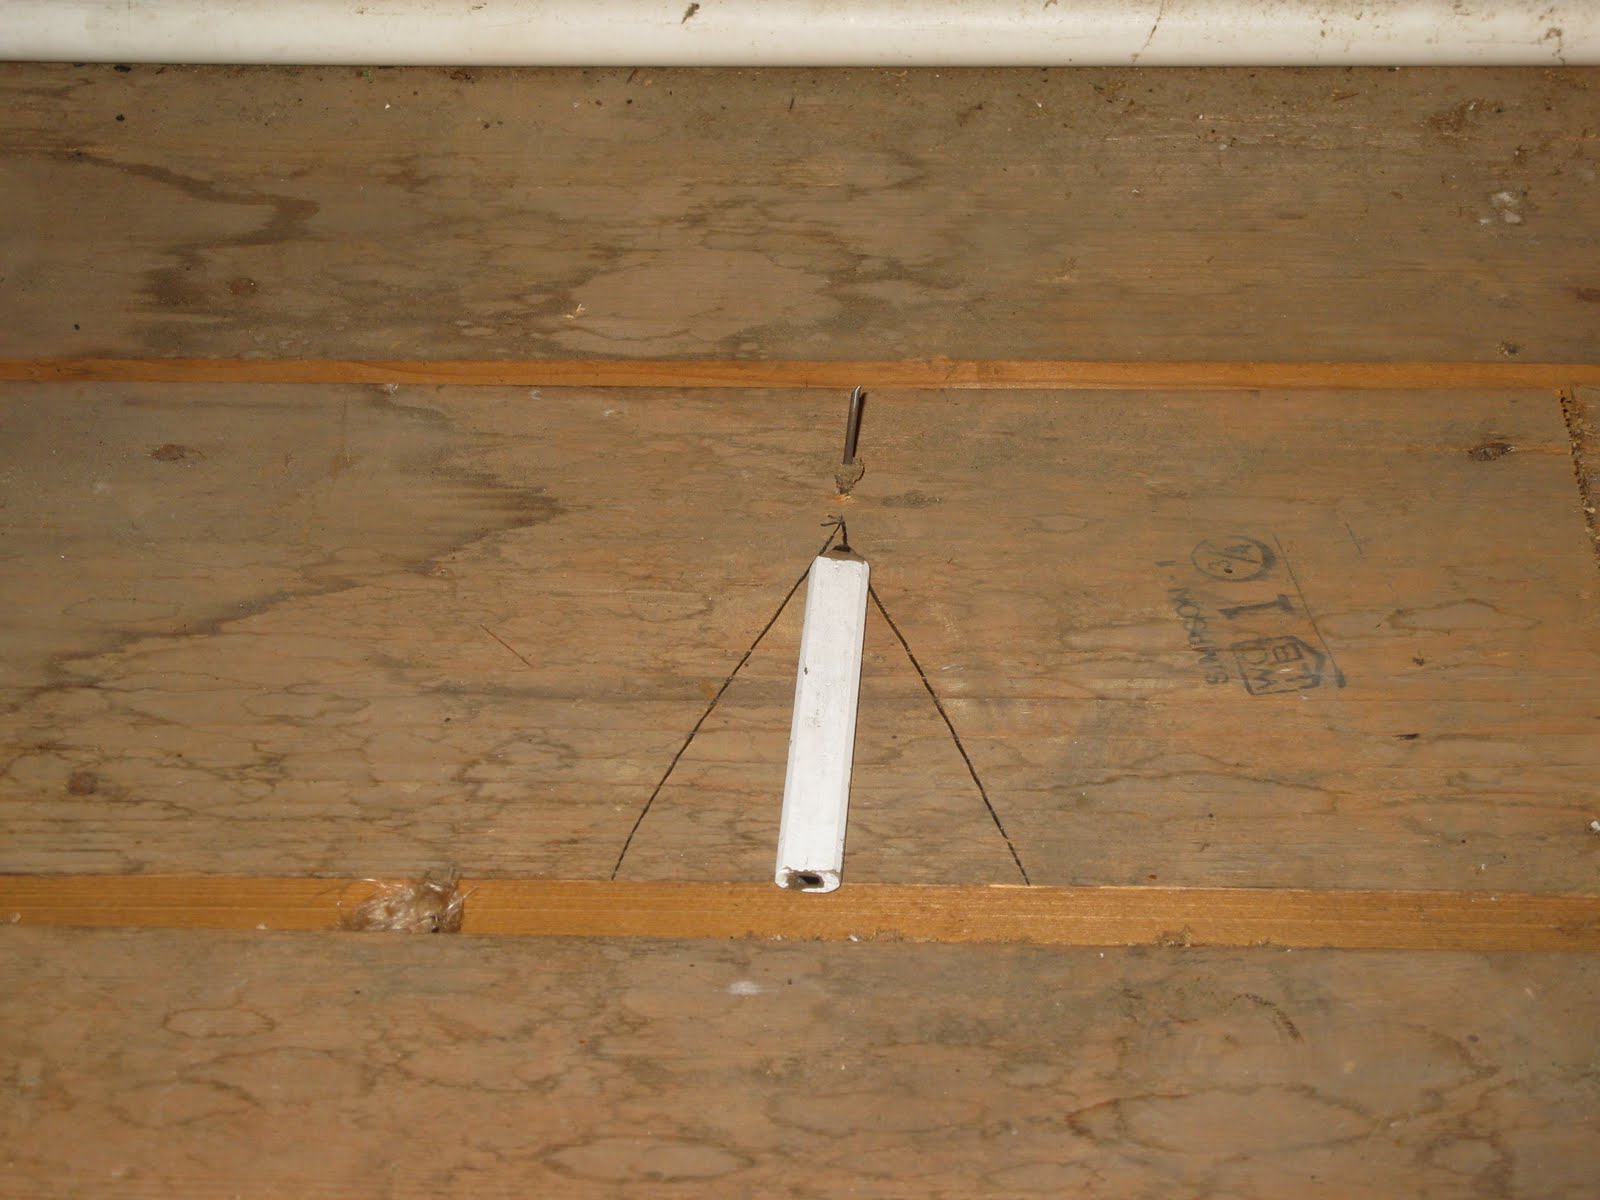
I left the rod in place, sticking out bother ends, while I determined if this location would work.
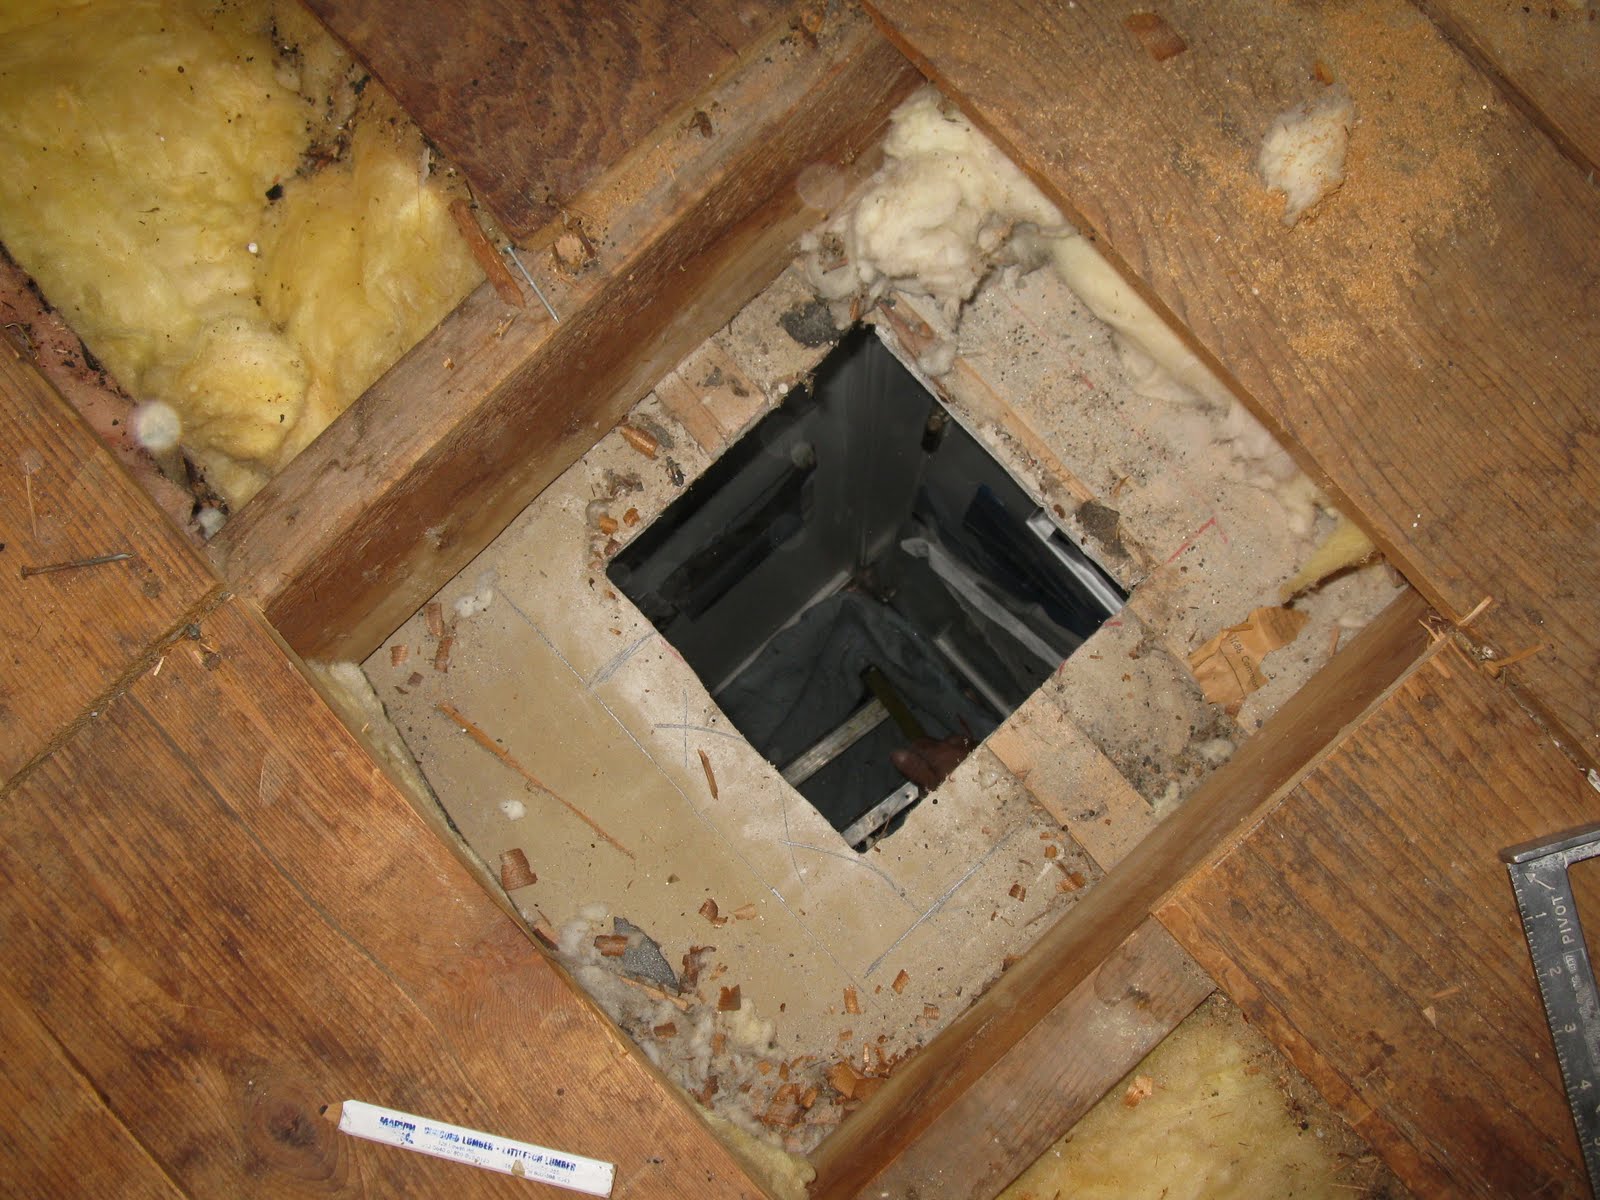
The new location was viable. I measured out the location of the new vent. It fit perfectly between the two floor joists.
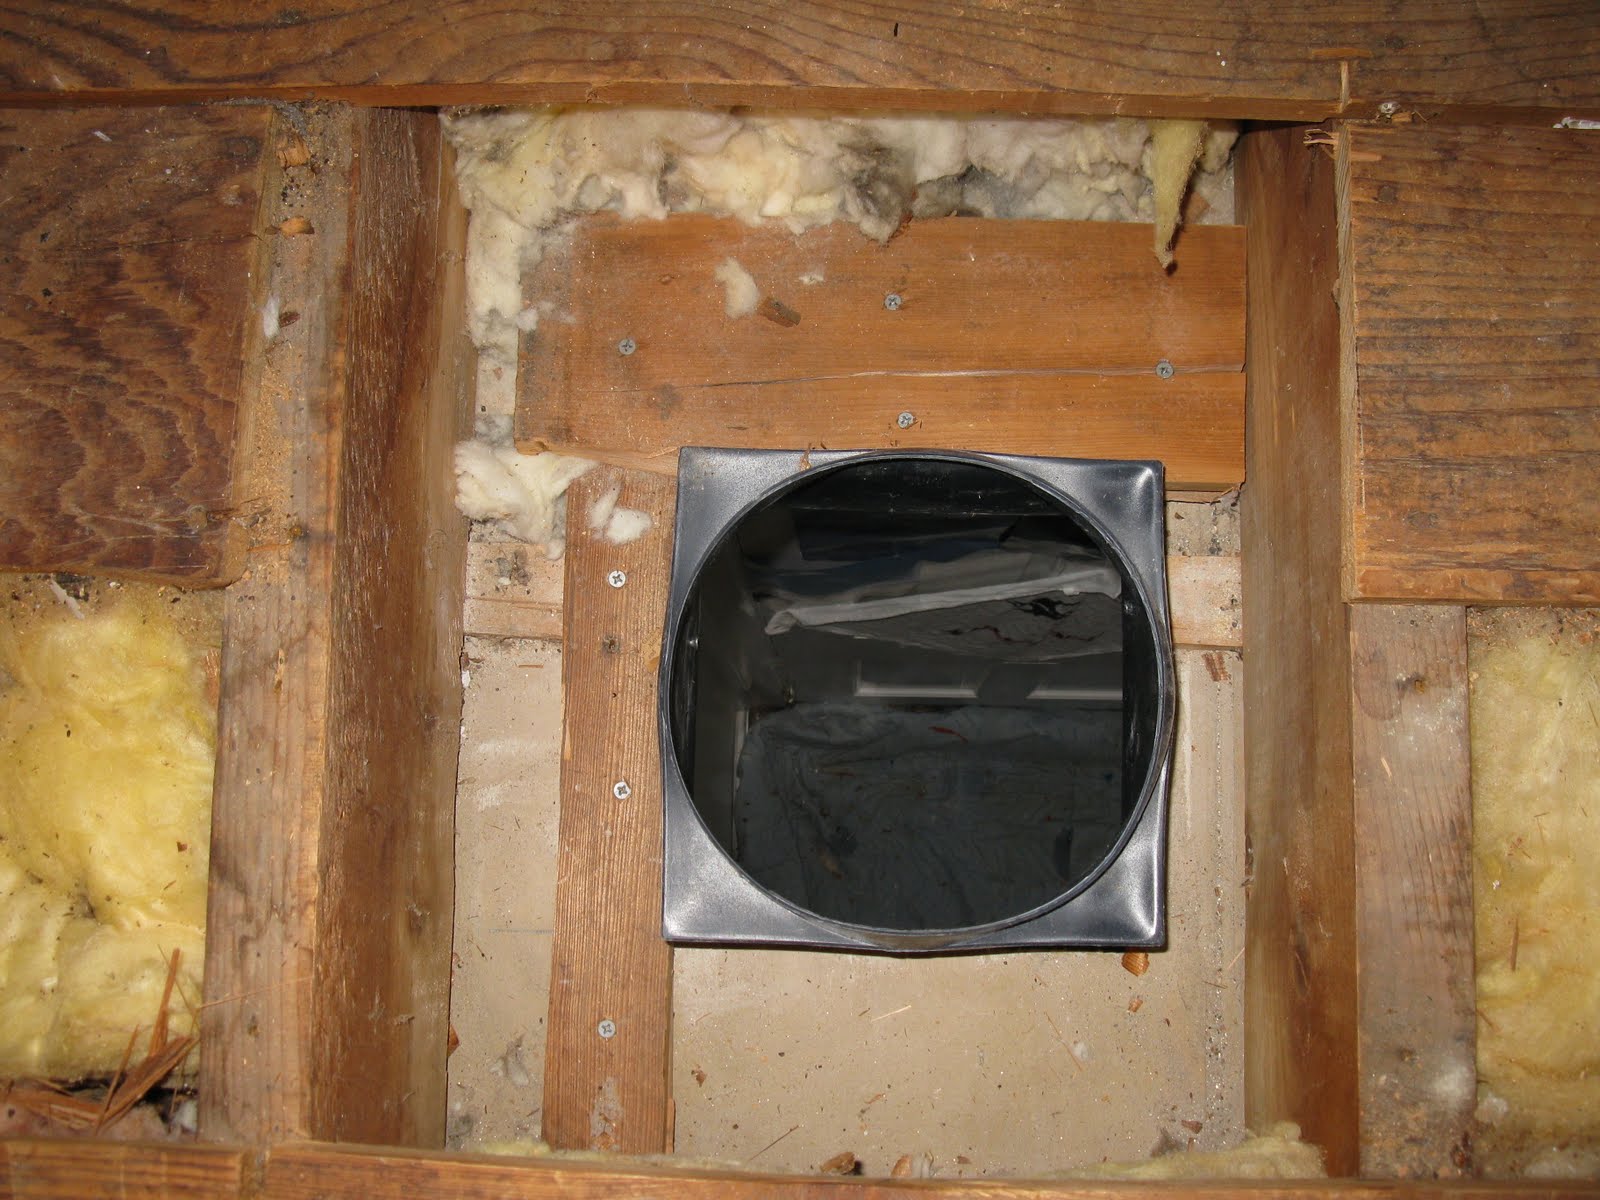
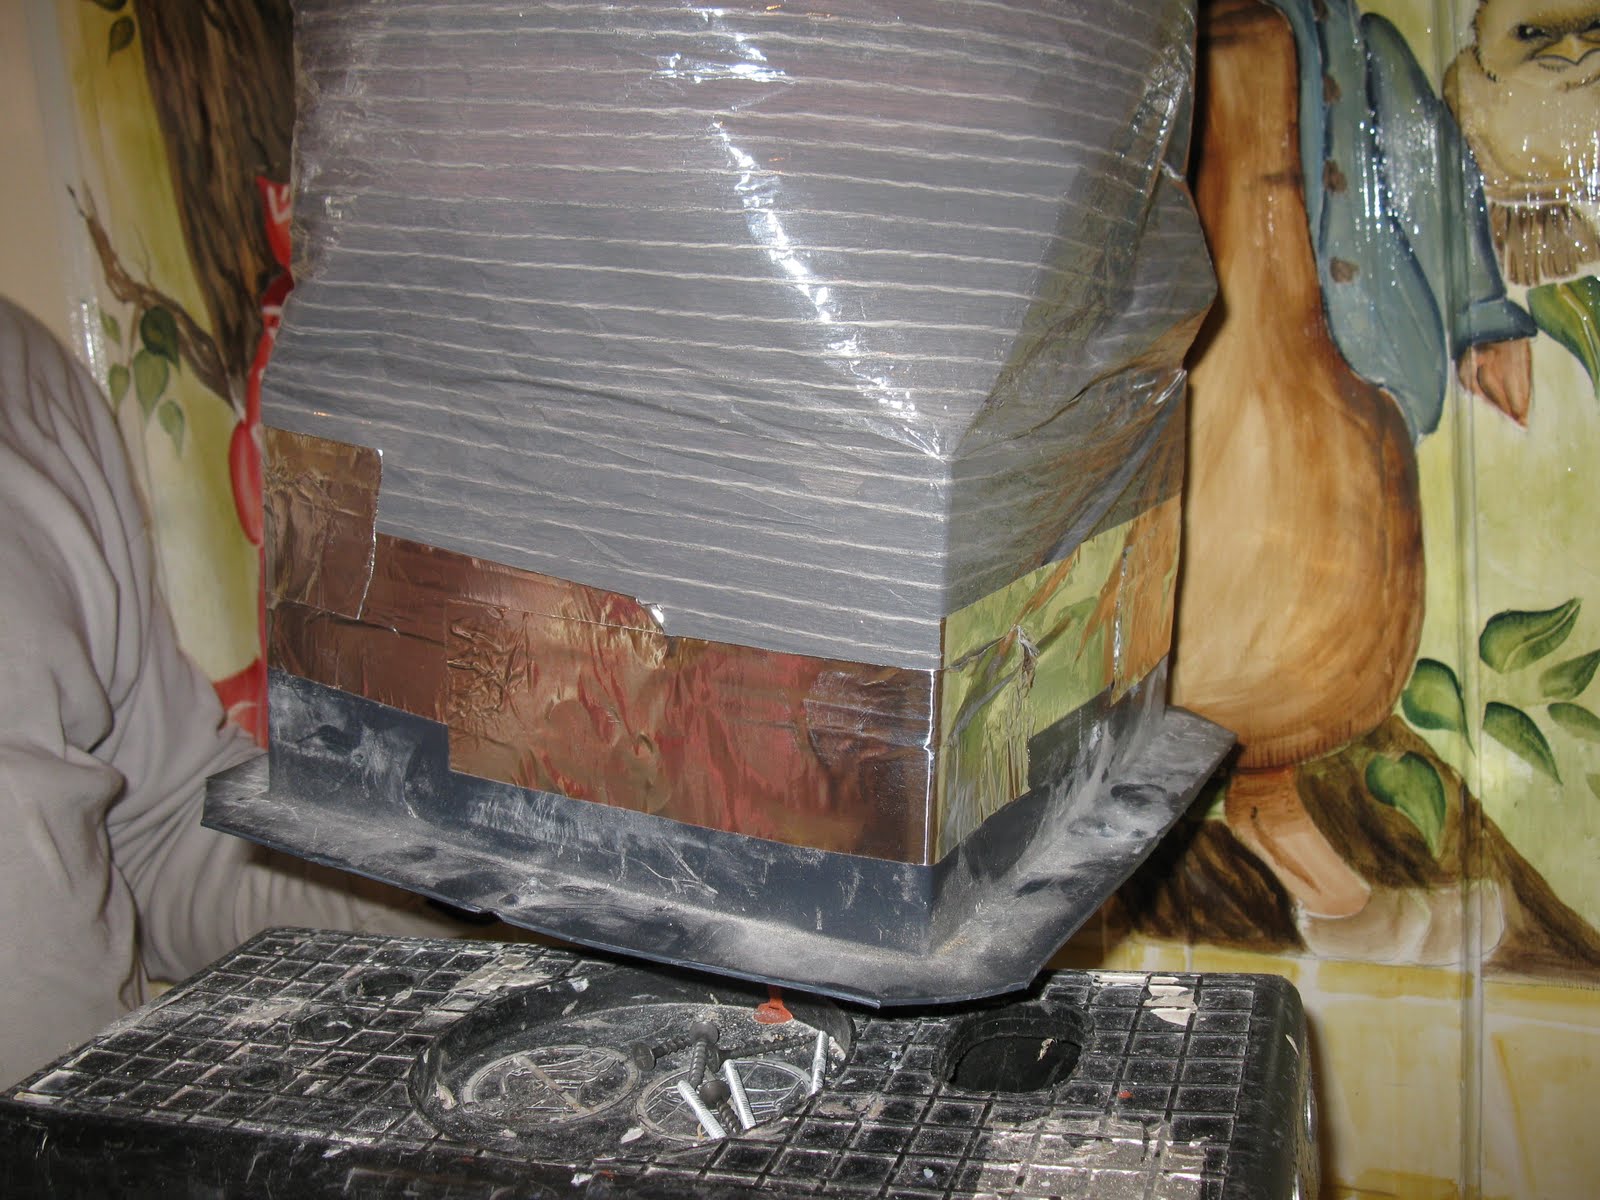
New hole cut, blocking was added and vent box was “squared,” and screwed to the blocking.
Vent box installed with ceiling grille attached from below.
I removed only enough floor to ensure the duct would not rub against it and i could insulate around it.
The new location of the vent.
Overview of the area.
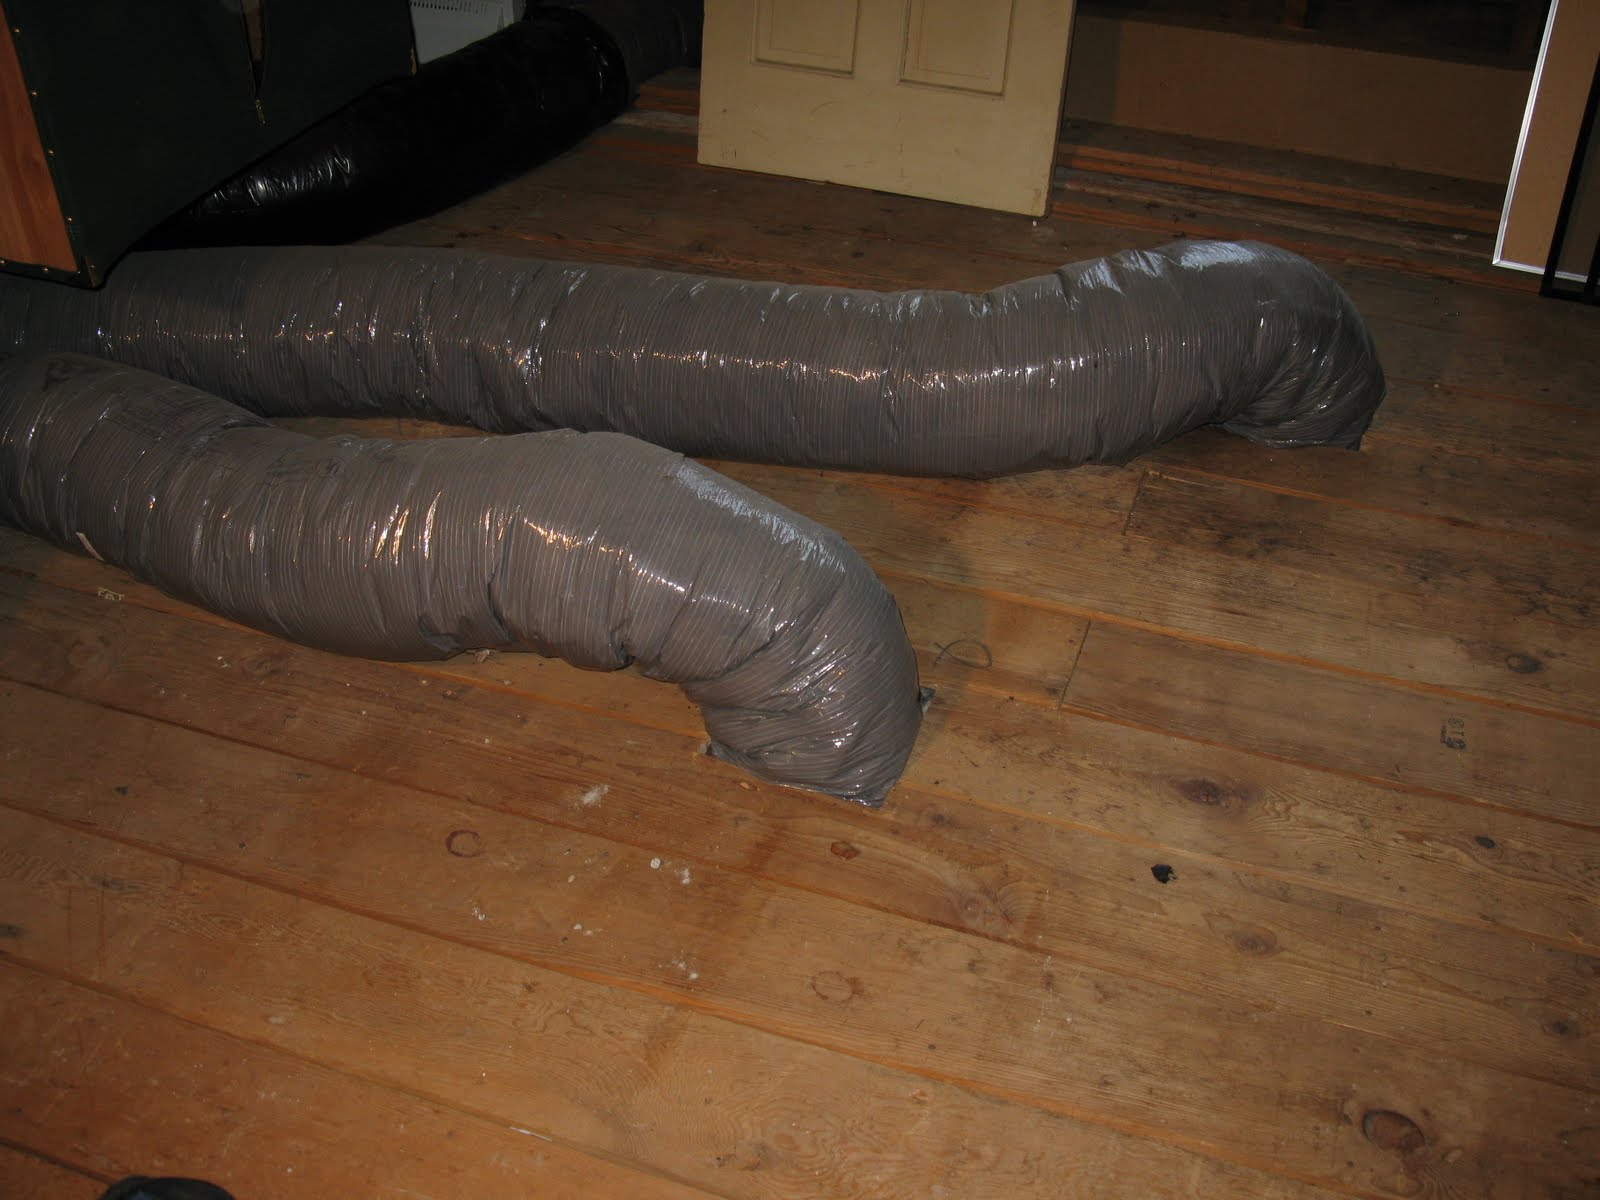
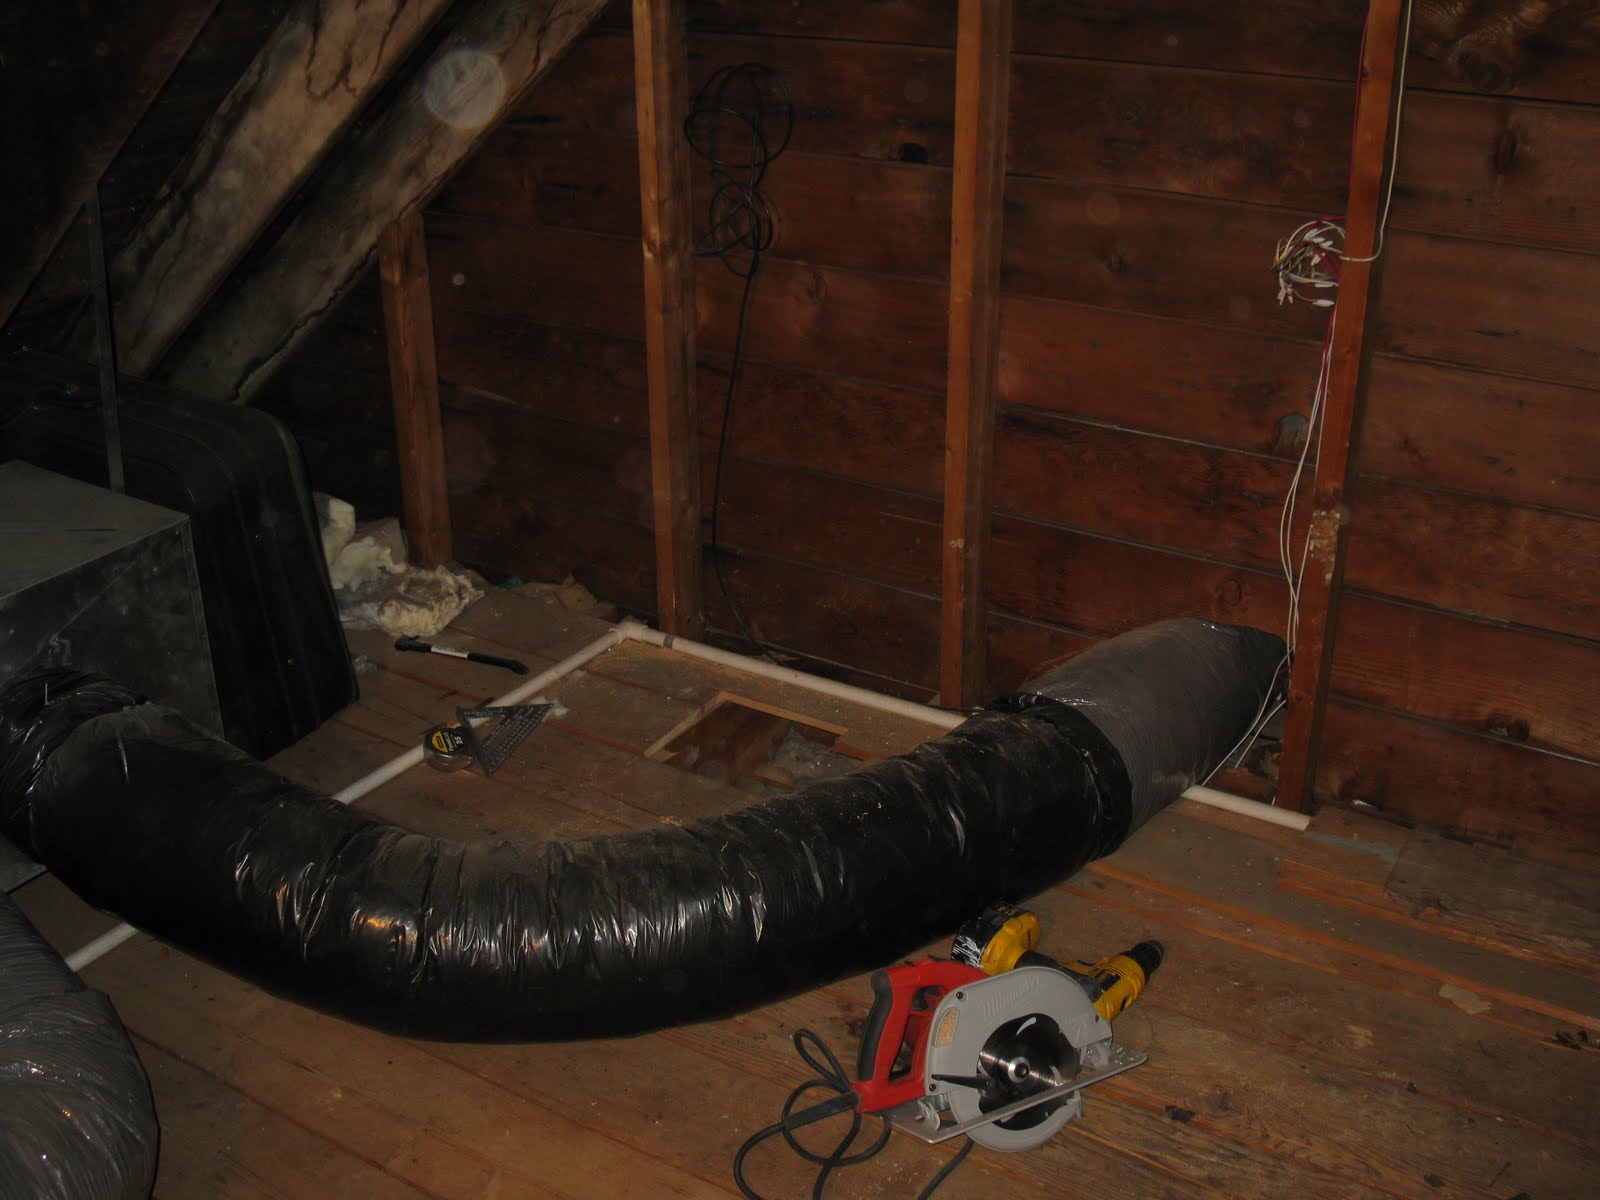
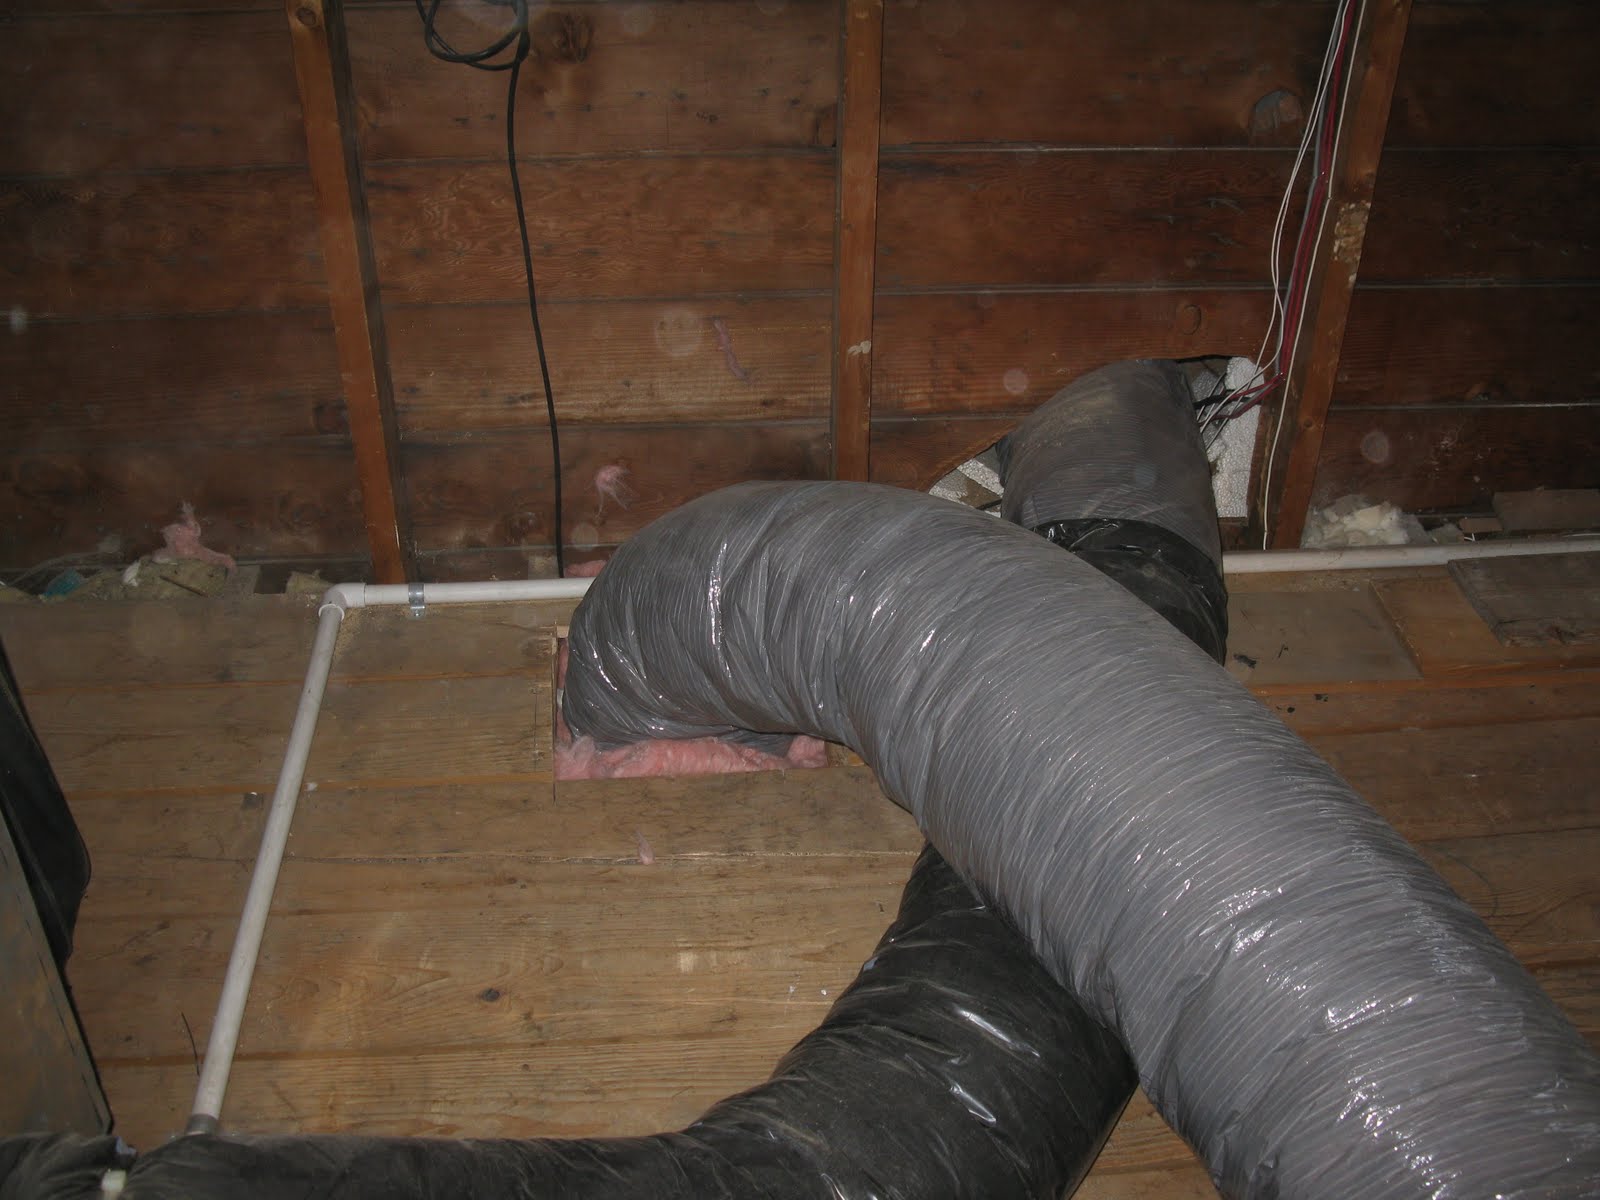
The vent duct was brought over to the new location and installed.
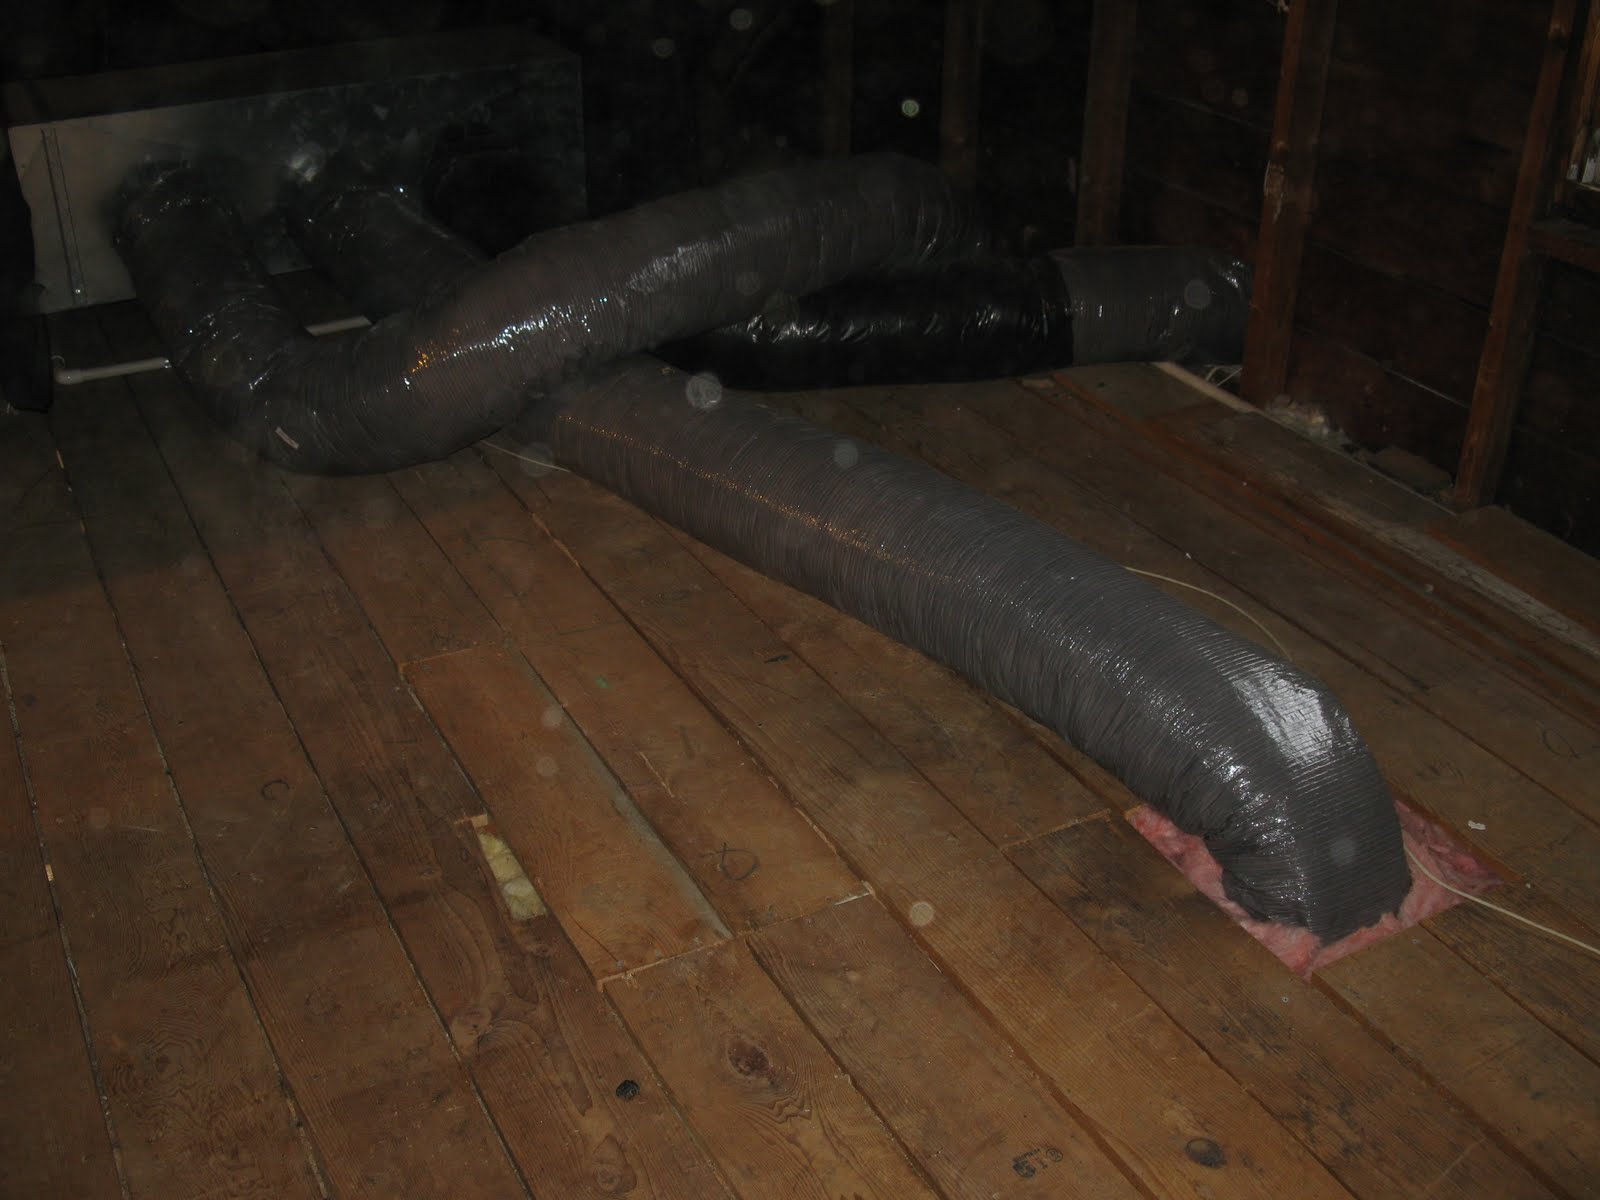
This vent hose / pipe has two layers. The inner layer delivers and contains the cool air and it attached over a round lip on the vent box. The second layer is insulated and if installed correctly should overlap the vent box. We installed both with aluminum foil tape to ensure longevity.
The corner vent grille installed and awaiting the plasterer’s patch.
The closet door new vent location installed.
New vent duct installed and insulated.
View from attic. Time for repair: 2 men @ 4 hours.