

Painting Over Polyurethane Or Varnish Finishes
This article will explain how to paint over polyurethane or varnish finishes. Painting over polyurethane woodwork can be time consuming, and maddening. Improper techniques can lead to your paint finish to fail; bubble, peel or chip.
Read my detailed step-by-step instructions below on how to eliminate the steps of having to strip or sand down to bare wood, and still have quality end result.
Safety Information
It is very likely that you will be using a chemical to etch the polyurethane. When painting over polyurethane is important to provide excellent ventilation [set up a fan] and ALWAYS wear a respirator.
1. Always read the labels, as many oil paints, stains, lacquers and varnishes are extremely toxic.
2. Keep out of reach of children.
3. For your own safety, always work in ventilated areas. Allow fresh air to circulate.
4. Wear protective gear, including gloves, eye-wear and respirators. Always use appropriate protective gear on all exposed body areas, especially the hands and eyes.

5. Leave the working environment regularly to access fresh air.
6. Many products are highly flammable and combustible, so NEVER WORK NEAR HEAT SOURCES and DO NOT SMOKE while working with these products.
7. All solvents should be properly disposed of at your local facility.
8. Vapors are harmful. They may affect the brain or nervous system causing dizziness, headache or nausea. Reports have associated repeated and prolonged occupational overexposure to solvents with permanent brain and nervous system damage. Always follow manufacturers suggested use found on all labels.
9. Rag disposal: Soak soiled rags and waste immediately after use in a water-filled closed metal container.
10. Oil / Alkyd based products: Paints, primers, varnish and stains. These products contain petroleum solvents.

Keep away from heat and flame. Avoid breathing vapors or spray mist by opening doors and windows or use other means to ensure fresh air entry during application and drying. If you experience headaches, eye watering or dizziness, increase fresh air or wear a respirator (NIOSH/Msha TC 23C or equivalent) or leave the area. Avoid contact with skin. Do not smoke or use near open flame.
Inexpensive respirators cost approximately $26.00 at your hardware store. I recommend a NIOSH/MSHA TC-23C-1614 approved respirator.
This respirator will protect you from organic vapors, paint fumes, pesticides, dusts and mists.
Continue reading. . .
What You Will Need For This Project:
For this project there are several different tools that you can use.
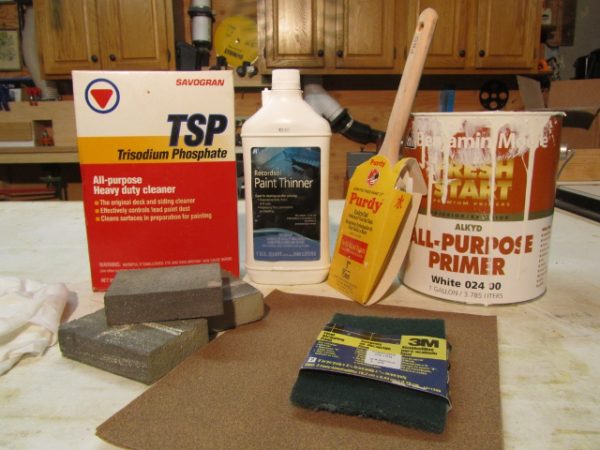
1. 100 Grit Sand Paper
2. 100 grit Sponge sanding block
3. Respirator [See above]
4. Rags
5. Stain Solver [organic cleaner]
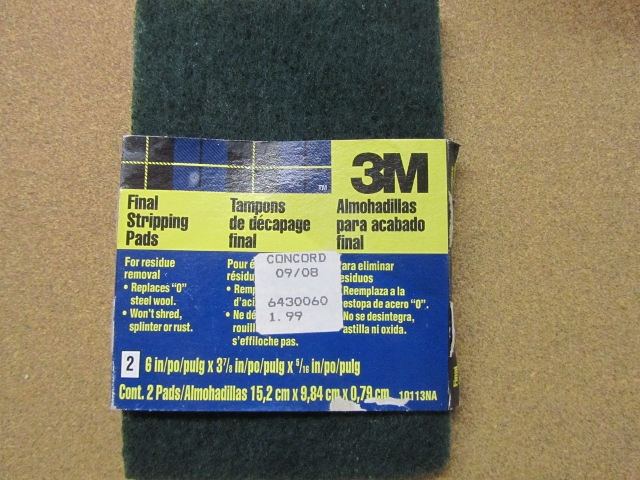
6. Green Scrub pad
7. Fan or proper ventilation
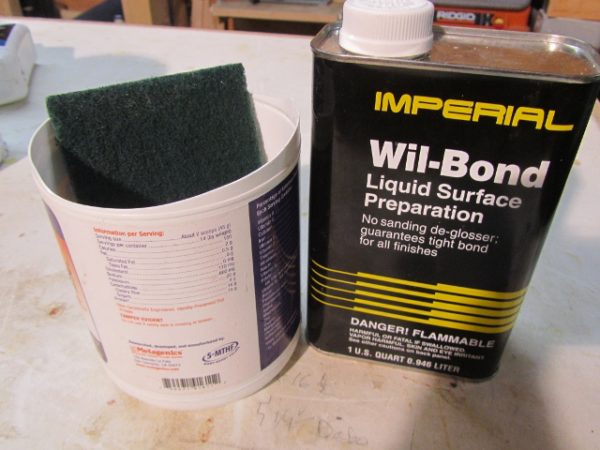
8. Wil-Bond Liquid surface Preparation
9. Oil Base Primer
10. Paint Brush suitable for oil based paints
11. Drop Cloths or sheets [if needed]
12. Box or window fan [if needed]
13. Saw horses or table if working outdoors
What To Buy:
I have provided online links for you to purchase these items online from one dealer.
1. 100 Grit sand paper sheets
2. Drop cloths
3. TSP cleaner2. 100 grit sanding sponge
4. Wil-Bond Liquid Surface Preparation
5. Green scrub pad
6. #00 Steel wool [if needed]
7. Paint brush
8. Oil based paint
9. Paint thinner [for cleaning up mistakes, messes and brushes]
Common Mistakes:
1. Not etching the surface of the wood prior to applying the chemical Wil-Bond
2. Not rubbing the Wil-Bond chemical on until you feel a “drag”
3. Not using #00 Steel wool on heavily waxed surfaces
4. Not painting within 30 minutes
Continue reading. . .
Prepare The Room For Painting:
Prior to performing any of this work you need to decide whether you have to work in place as is the case for window and room trim or remove the item [door, window sash or furniture] to outdoors to a better ventilated space.
Outdoors:
1. Choose a spot where you will not stain or damage landscaping or patios.
2. Work in the shade – direct sunlight will dry your paint too fast and ruin your finish.
Indoors:
1. If you are working indoors I recommend placing a box fan in the window blowing outside. On the other end of the room open a window to bring in fresh air.
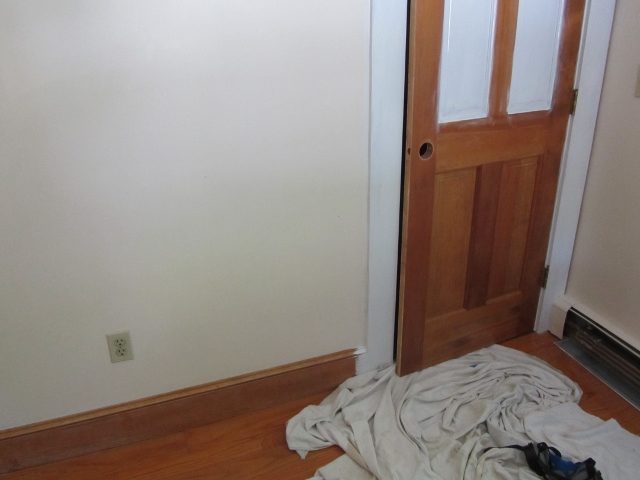
2. Prepare a room for painting; you should first remove all of the furniture. If you don’t have enough extra space in your house to make that possible, then you should move the furniture to the center of the room. Cover it completely with plastic sheeting or an old sheet so it will be protected.
3. Remove any floor coverings like throw rugs.
4. Lay drop cloths down on the floor to protect it from paint spatters, drips, and runs. If you don’t have any drop cloths, sheets can be used in a pinch
5. Place drop cloths or sheets on the floor to protect for spills.
6. Remove electrical wall plates or anything attached to what you want to paint.
Preparing The Polyurethane Surface To Be Painted:
Start with clean surfaces:
1. Use TSP for heavy duty cleaning. TSP is an excellent cleaner for removing heavy deposits of greasy grime, smoke, soot stains and chalked paint from walls, woodwork and floors. It also removes mildew and mildew stains is non toxic and mixes with hot water.
2. Wash all surfaces to be painted.
Continue reading. . .
Etching And De-Glossing the Surface:
The key to painting over polyurethane or varnish finishes is to etch and degloss the finish. The key is in creating a perfect bonding environment.
Etching and De-glossing the poly or varnish finish ensures that the new paint finish goes on smoothly, bonds tightly and lasts longer.
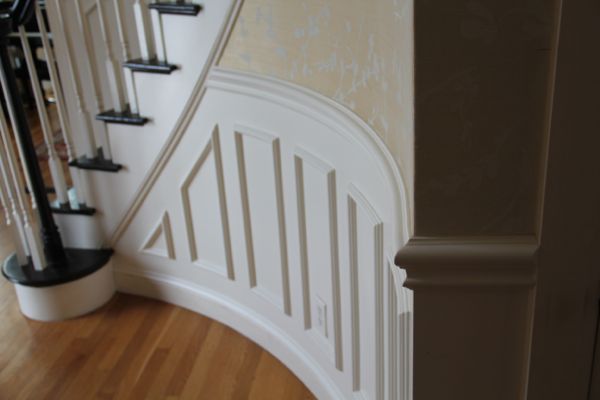
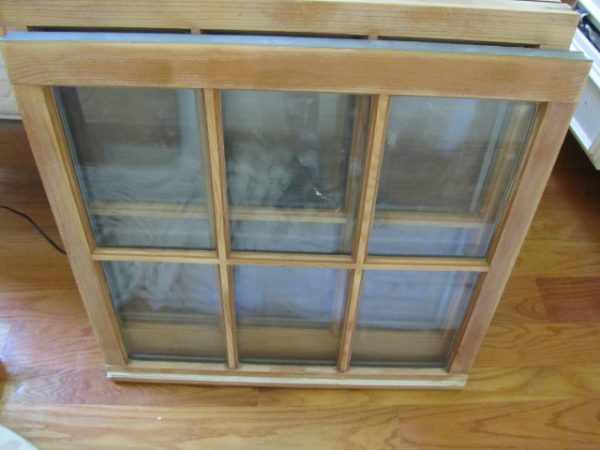
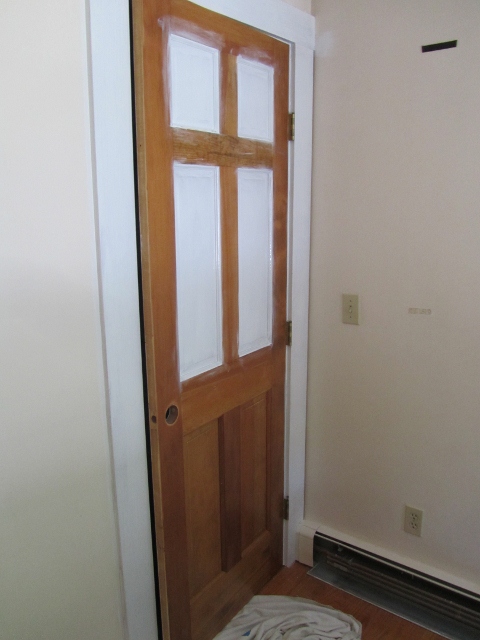
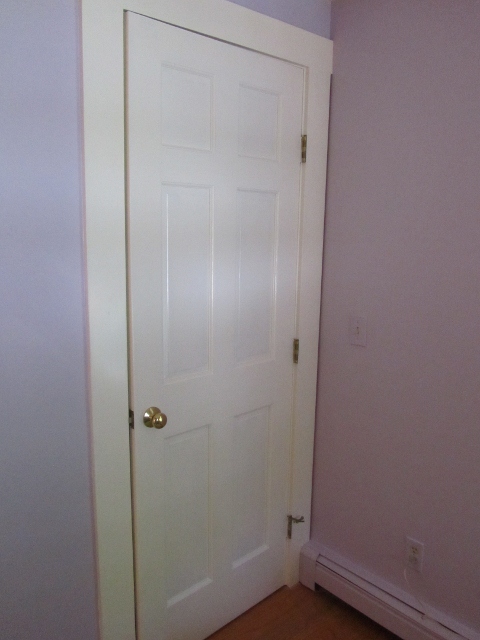
1. Sand all surfaces lightly too etch the finish. Use the sanding sponge on contours and details on woodwork like door panel molding or baseboard trim caps.
2. You know you have etched the surface when you can see light scratches in the old finish. This is an important step and a common mistake. Take your time to sand everything lightly
3. Sand all at once: sand everything that you will be priming.
Tip: Use soft sanding blocks to sand detailed molding or profiles in your woodwork. [Example: door panels, baseboard trip caps.]
4. Vacuum all sanding dust.
5. Wipe down all of the woodwork with a clean, damp rag or sponge.
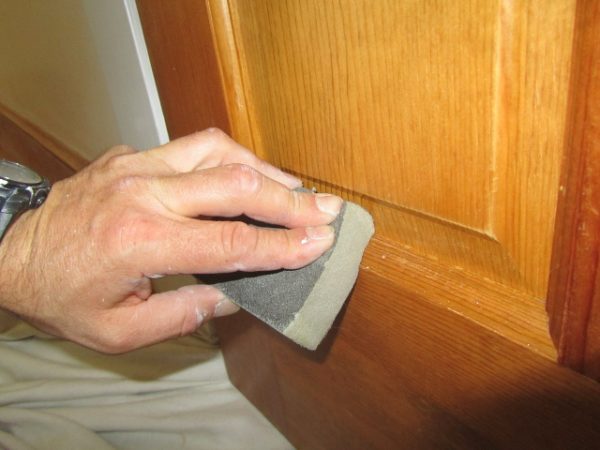
6. Apply Wil-Bond Liquid Surface Preparation to the poly or varnished wood. There are other brands out there but experience has shown me that this brand works best!
7. Follow the Wil-Bond directions on the can. Below is a summary of these directions:
Continue reading. . .

Applying Wil-Bond:
• Saturate a rag with Wil-Bond and rub over the surface until the rag “pulls” or “drags.”
• Change the rag frequently as it picks up grease and dirt.
• Promptly dispose of these rags in a metal container. [They are a fire hazard]
• On heavily waxed surfaces use #00 Steel Wood saturated with Wil-Bond.
• Treat as much surface as you can prime in 30 minutes. The “tact” will only last that long.
Tip: Use the 3M green scrub pads to apply the Wil-Bond to contoured and detailed areas, such as moldings and window mullions.
Tip: Use a plastic pail or make one by cutting the top off a clean recycled container. Pour the Wil-Bond in your container and dip the green pad in to saturate.
Applying Primer
Make sure you have all of your priming supplies set up and ready to go. [oil paint, brush, paint thinner] Remember once you start applying the Wil-Bond chemical you have 30 minutes to apply primer.
Tip: Work in a left to right fashion and in a methodical manner.
For example:
- Do one side of a door at a time,
- One window sash at a time.
- Treat and prime one wall of baseboard at a time. [30 minutes]
9. Apply primer to woodwork: apply the oil based primer with a paint brush suitable for oil based paints. Prime all of the treated woodwork
10. Prime all of the surfaces you have applied Wil-Bond to with-in 30 minutes.
11. Apply Wil-Bond to a new area and prime.
12. Continue in this fashion until your project is primed.
Tip: You will need to keep your primer and paint brush handy.
Applying Paint
You may paint with latex, oil-base or any other paint or enamel.
Tip: To keep the brush from drying while prepping the wood wrap it in plastic wrap or a plastic bag to keep the air from drying it. Keep a rag over your primer bucket to keep out debris.
Conclusion
In the professional circles of painting contractors there is a long standing saying that “even a good paint job requires great preparation!” Painting is 80% prep and 20% applying the paint.
Follow these detailed steps and you can ensure that your paint will adhere and last a long, long time.