
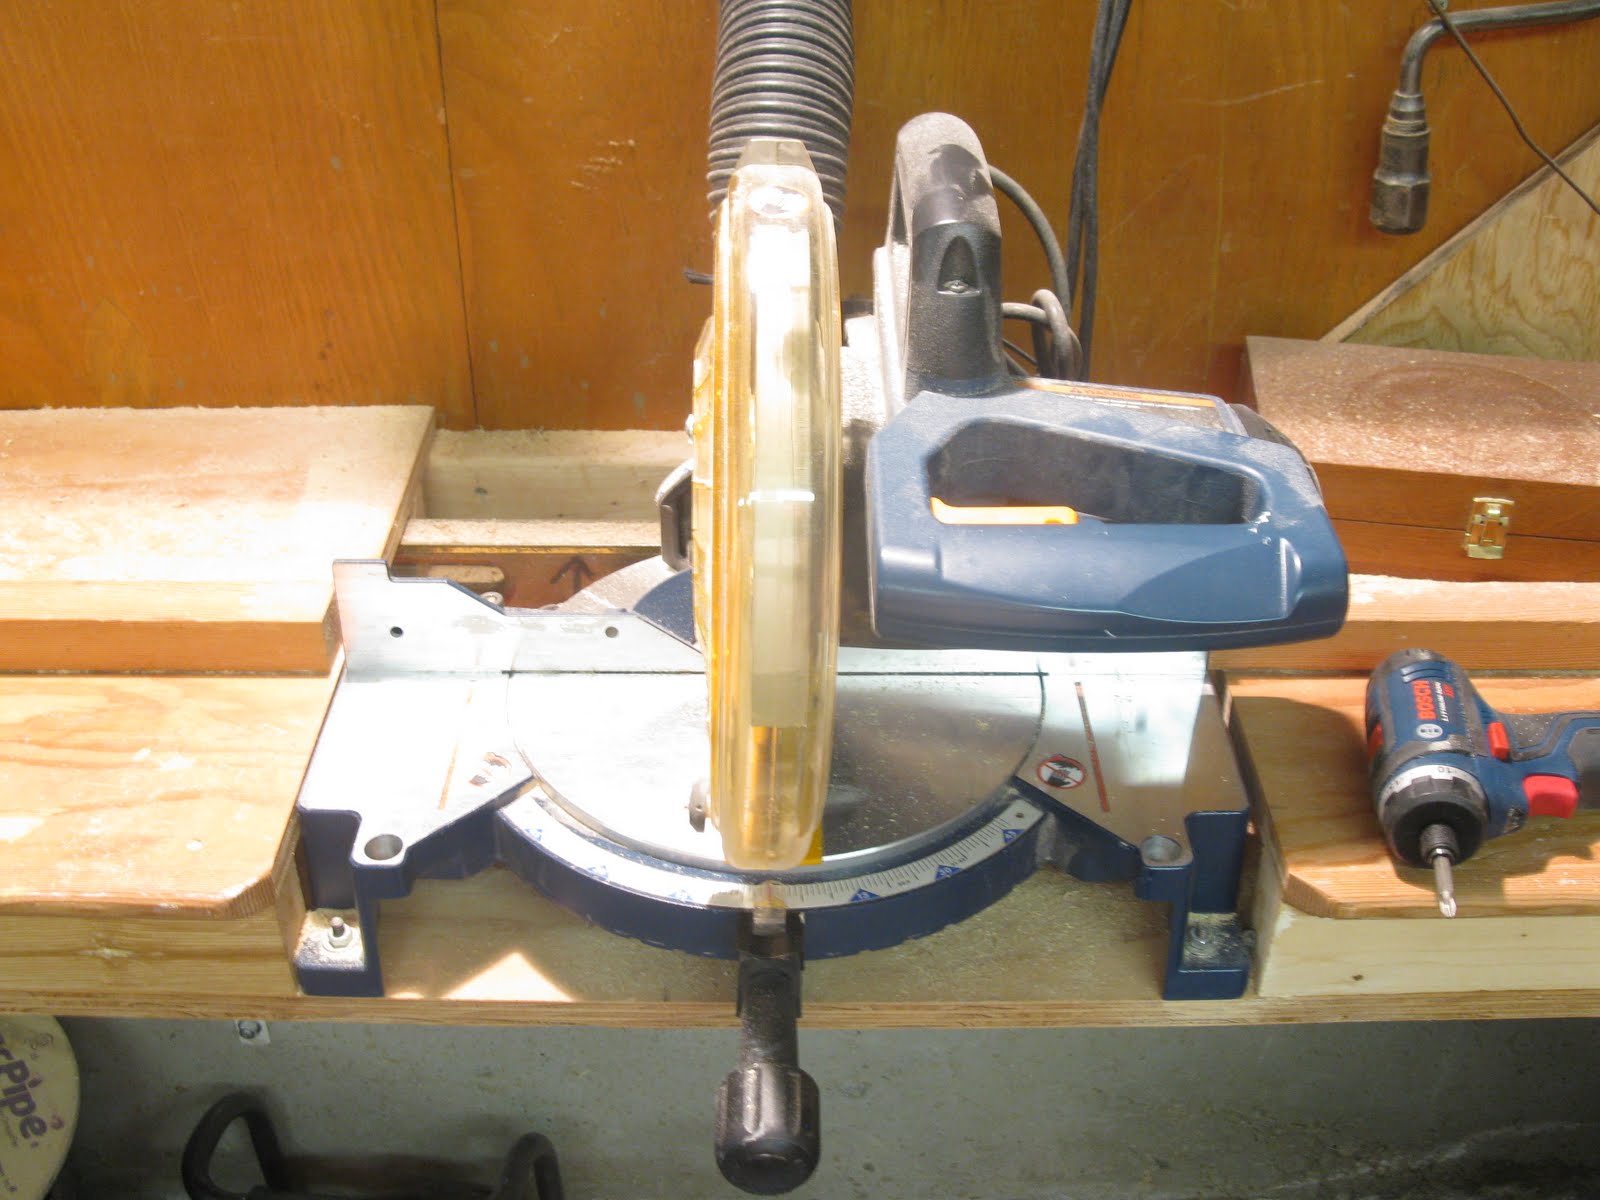
Upgrades for Your Miter-saw
A miter saw that is adjusted and set up properly will give incredibly accurate cuts. Performing a miter saw tune up is easy. Here’s a few tips you can do to increase the performance of your miter saw:
1. Install a 60 -80 -100 tooth carbide blade.
A good quality, multiple tooth blade is probably the best single upgrade you can make to your miter saw and can make a crucial difference in the quality of your cuts.
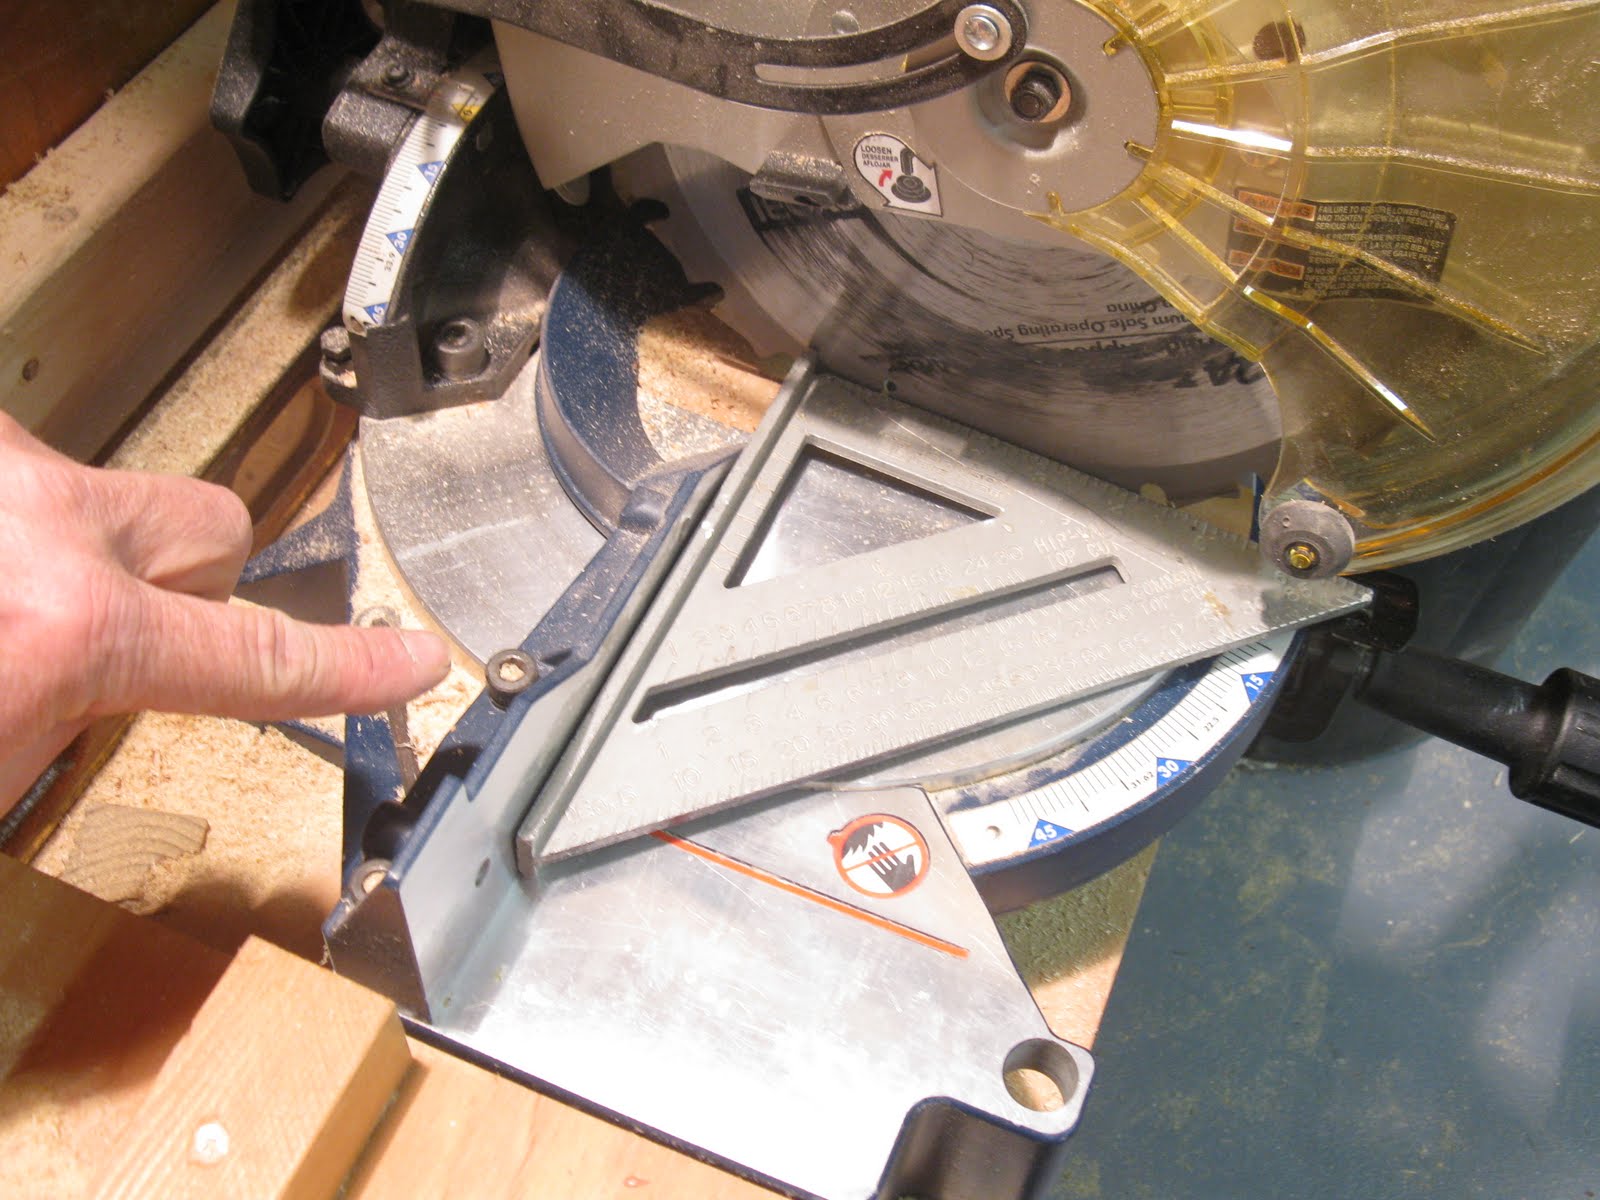
2. Adjust the saw fence so that is is [90 degrees] square with the blade.
Every tool manual shows how to make these adjustments. Also check to make sure your degree indicator is set to zero. Many models have a small screw that allows you to reset the degree indicator.
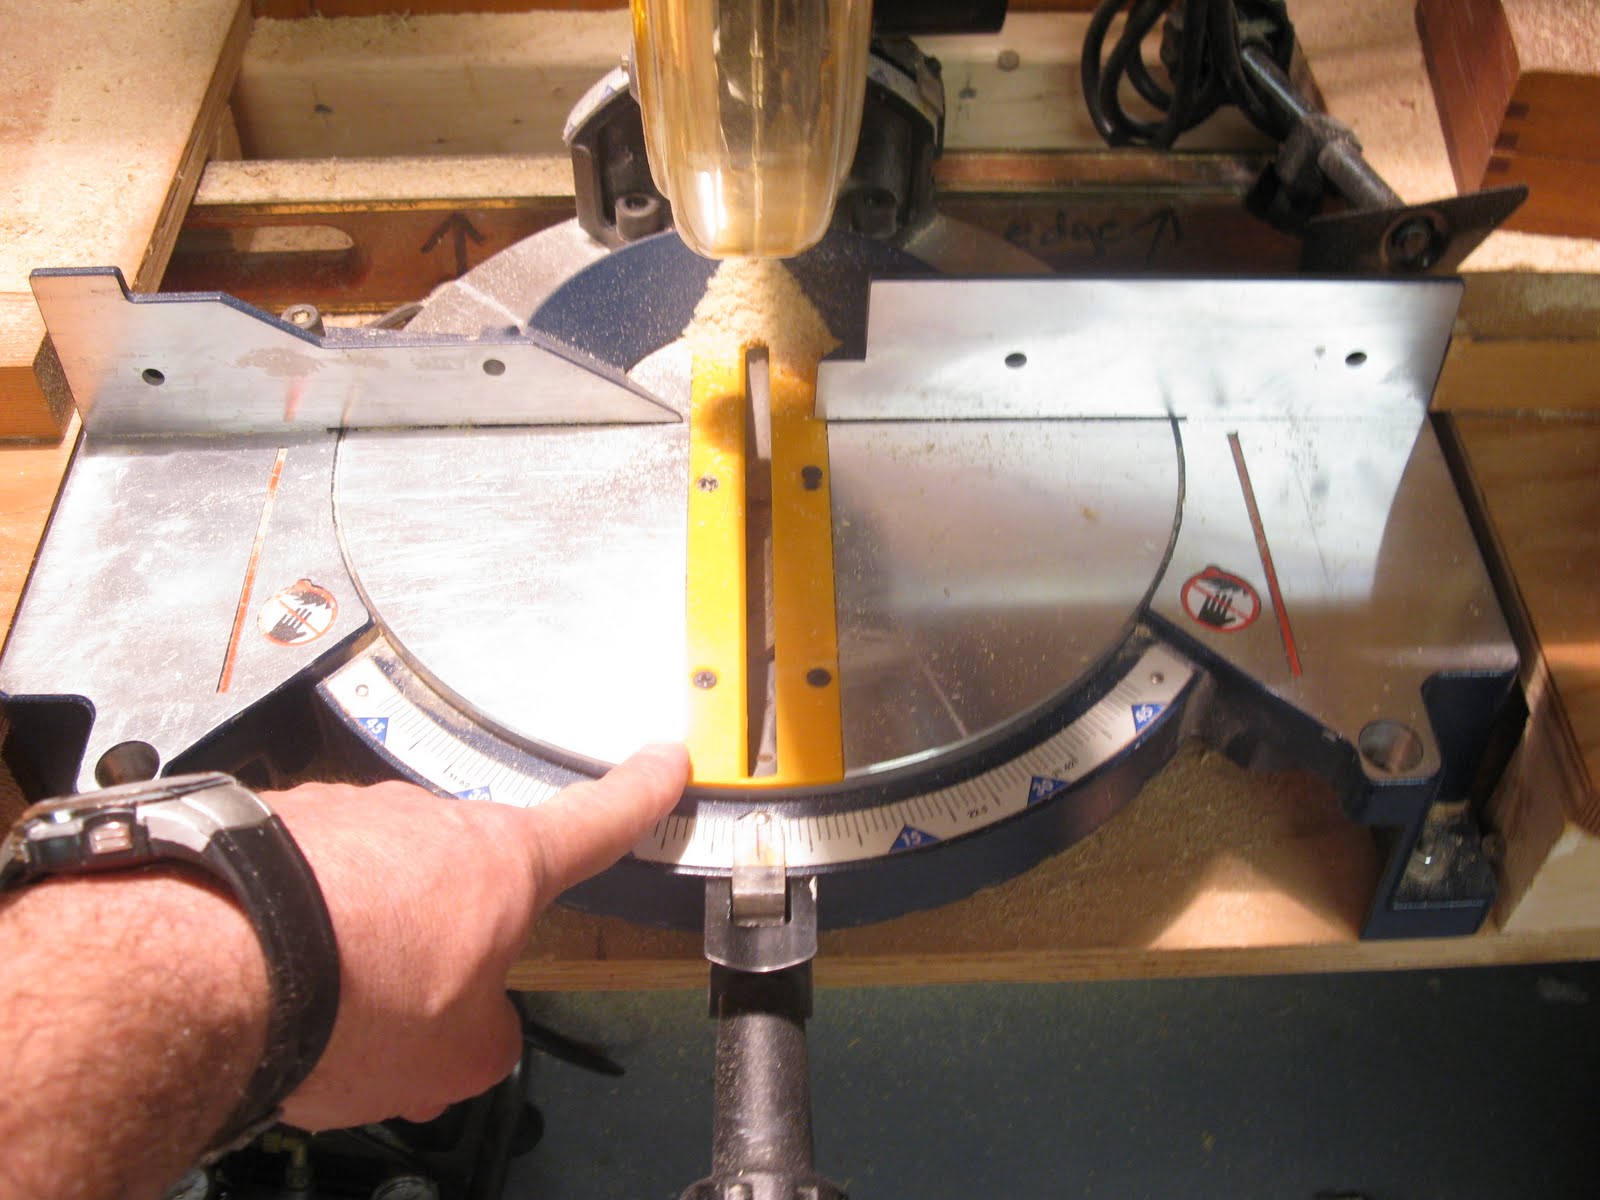
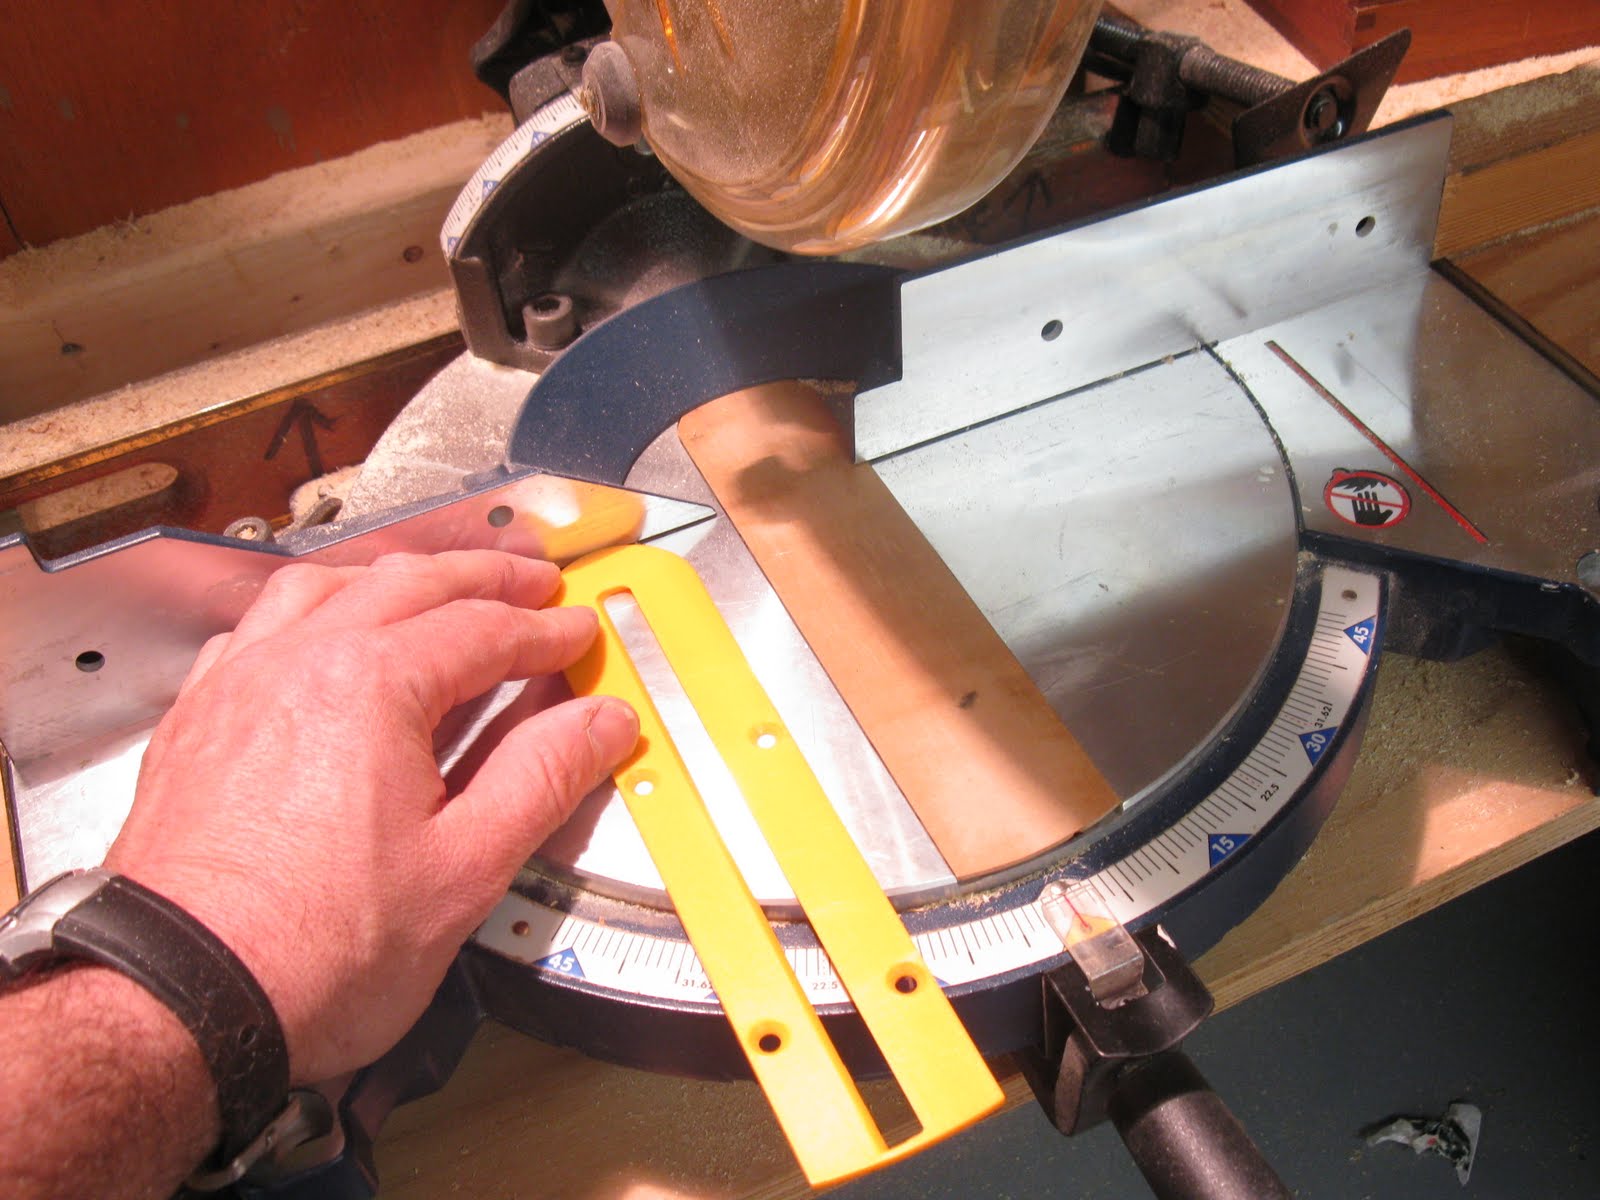
Below I am checking to male sure that the rear fence is square [90 degrees] to the blade when set at zero degrees.
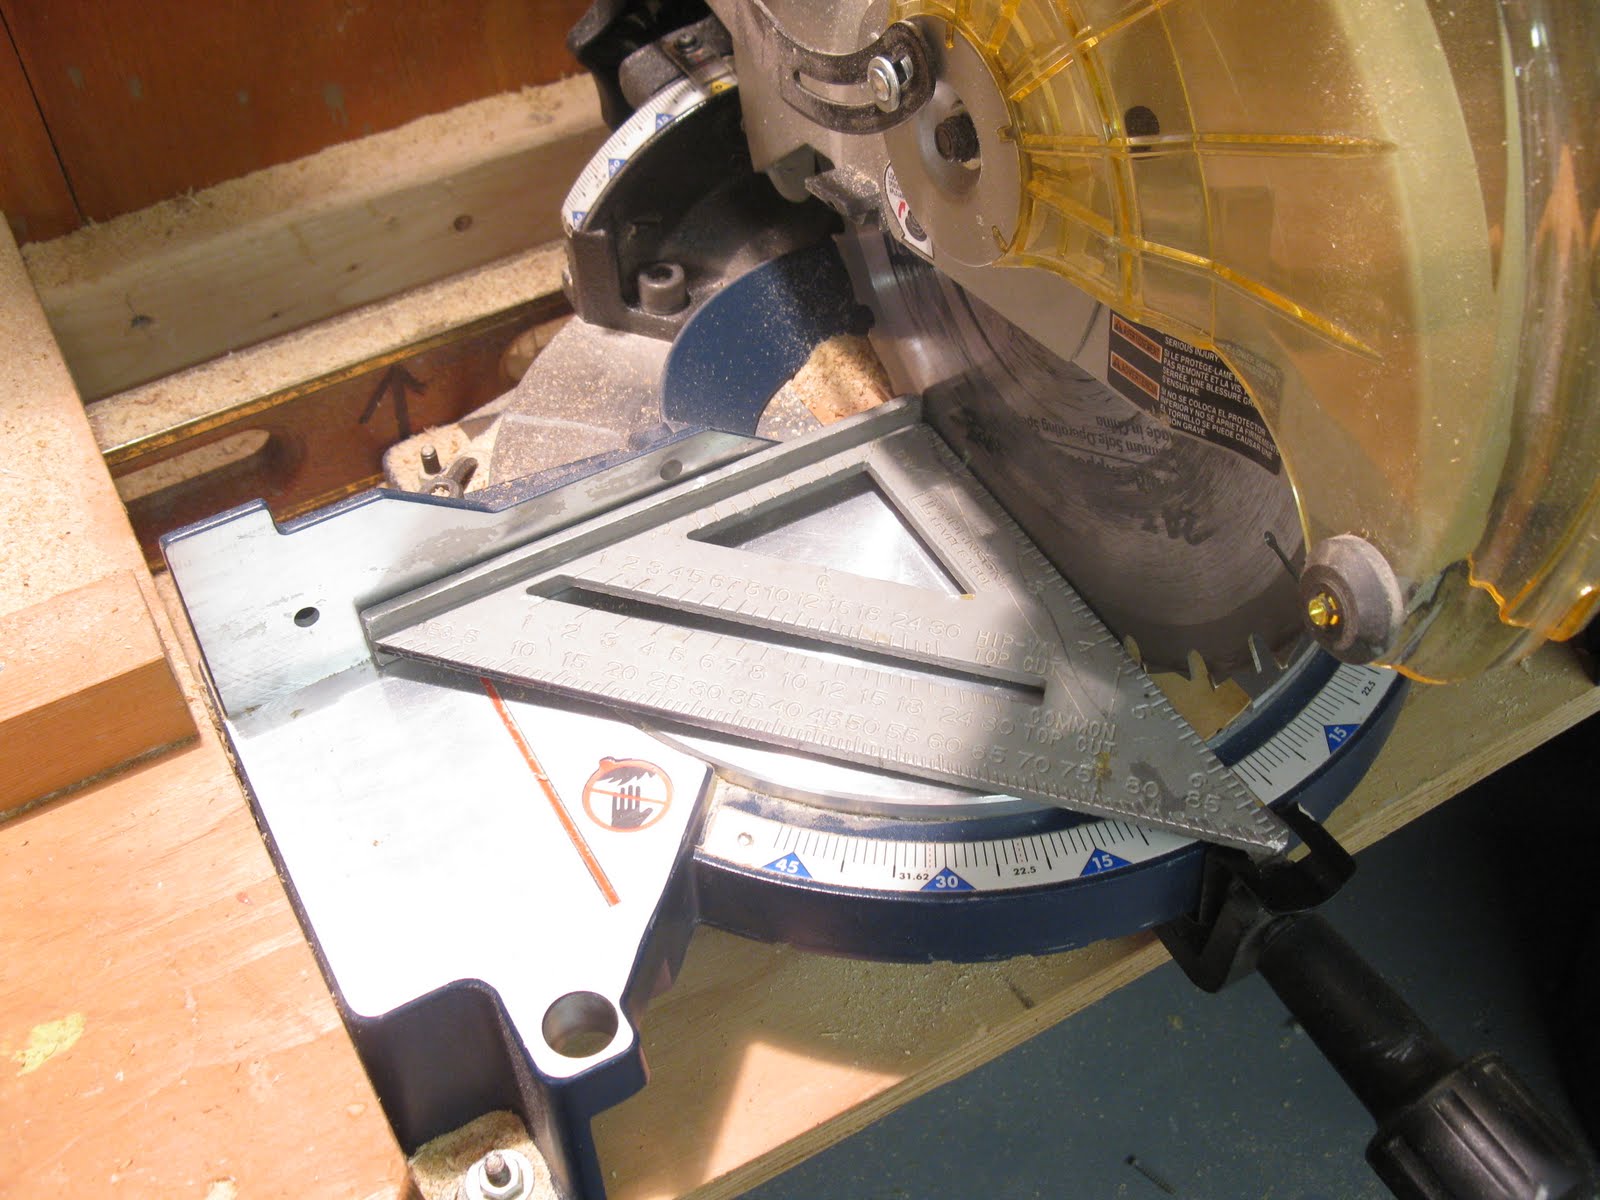
If this fence were off I would loosen the two nuts [see index finger] and adjust the fence in or out to get it back in square.
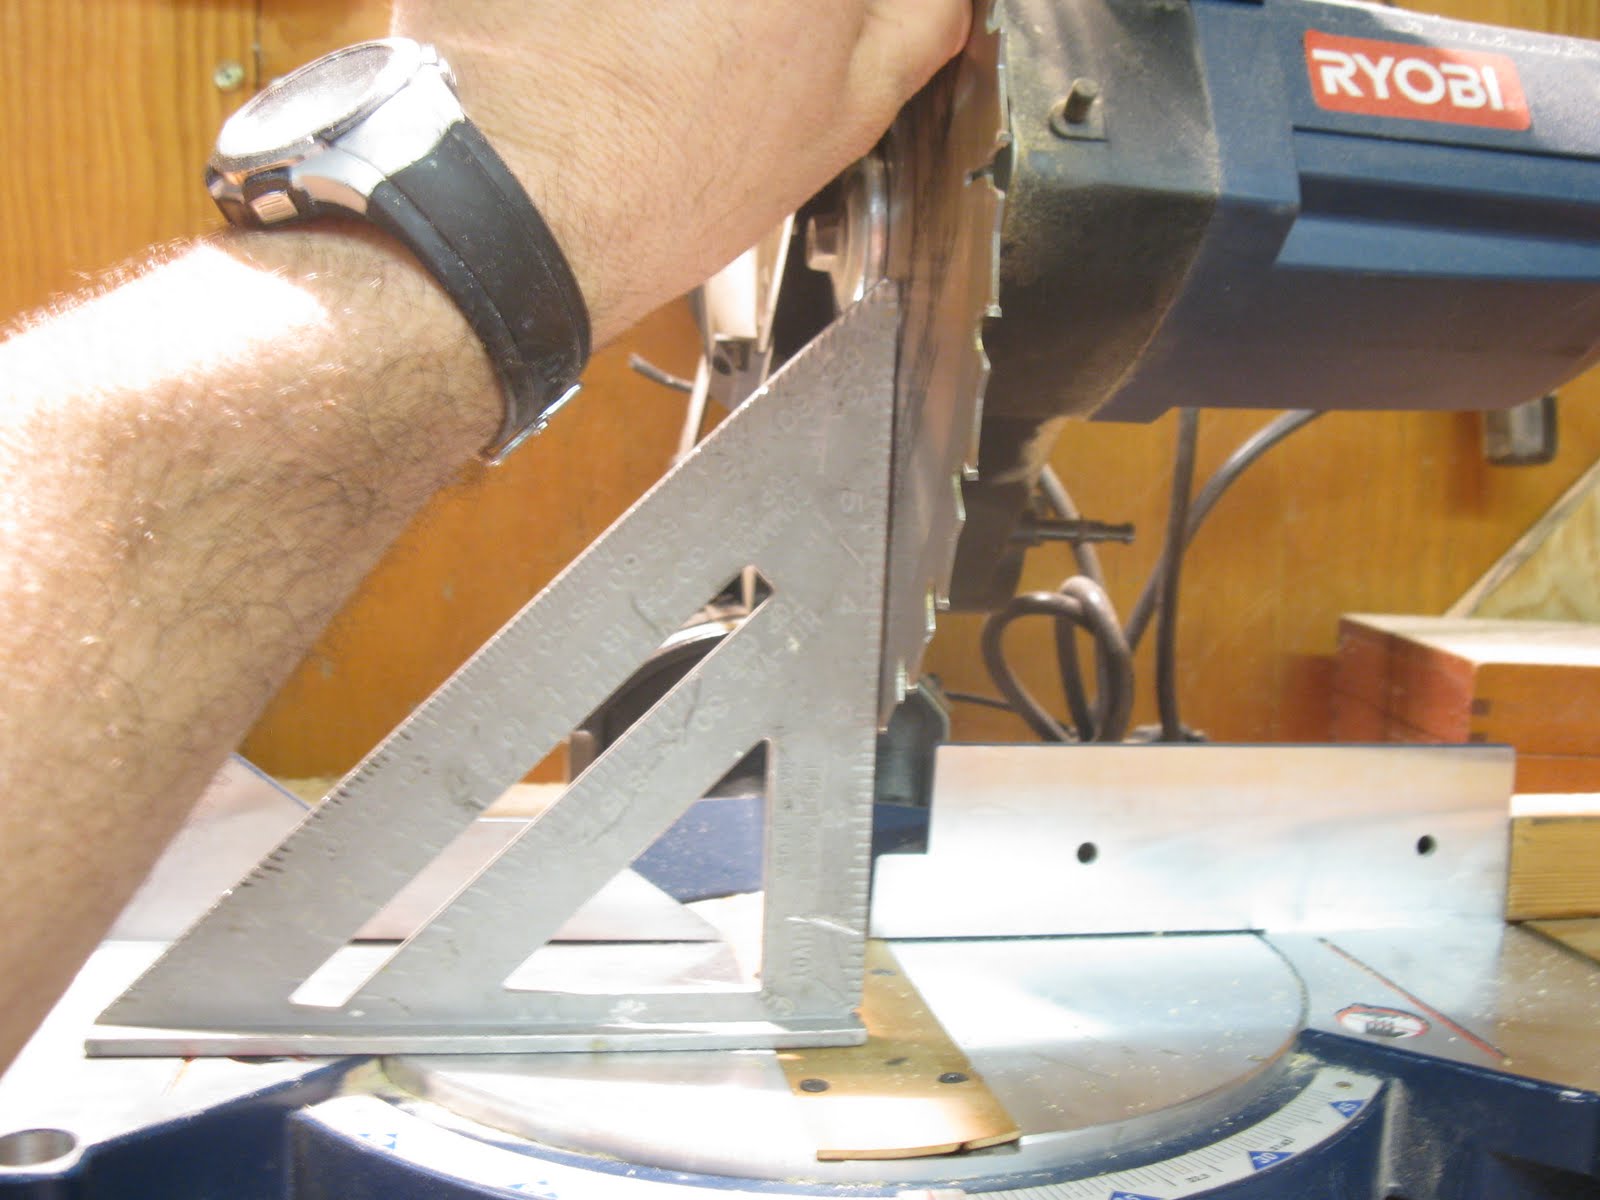
3. Adjust the saw blade so that it is perpendicular with the table.
Many saws offer you the ability to “plumb” your blade. This adjustment assures that your cut is a true 90 degrees and not a slight bevel.
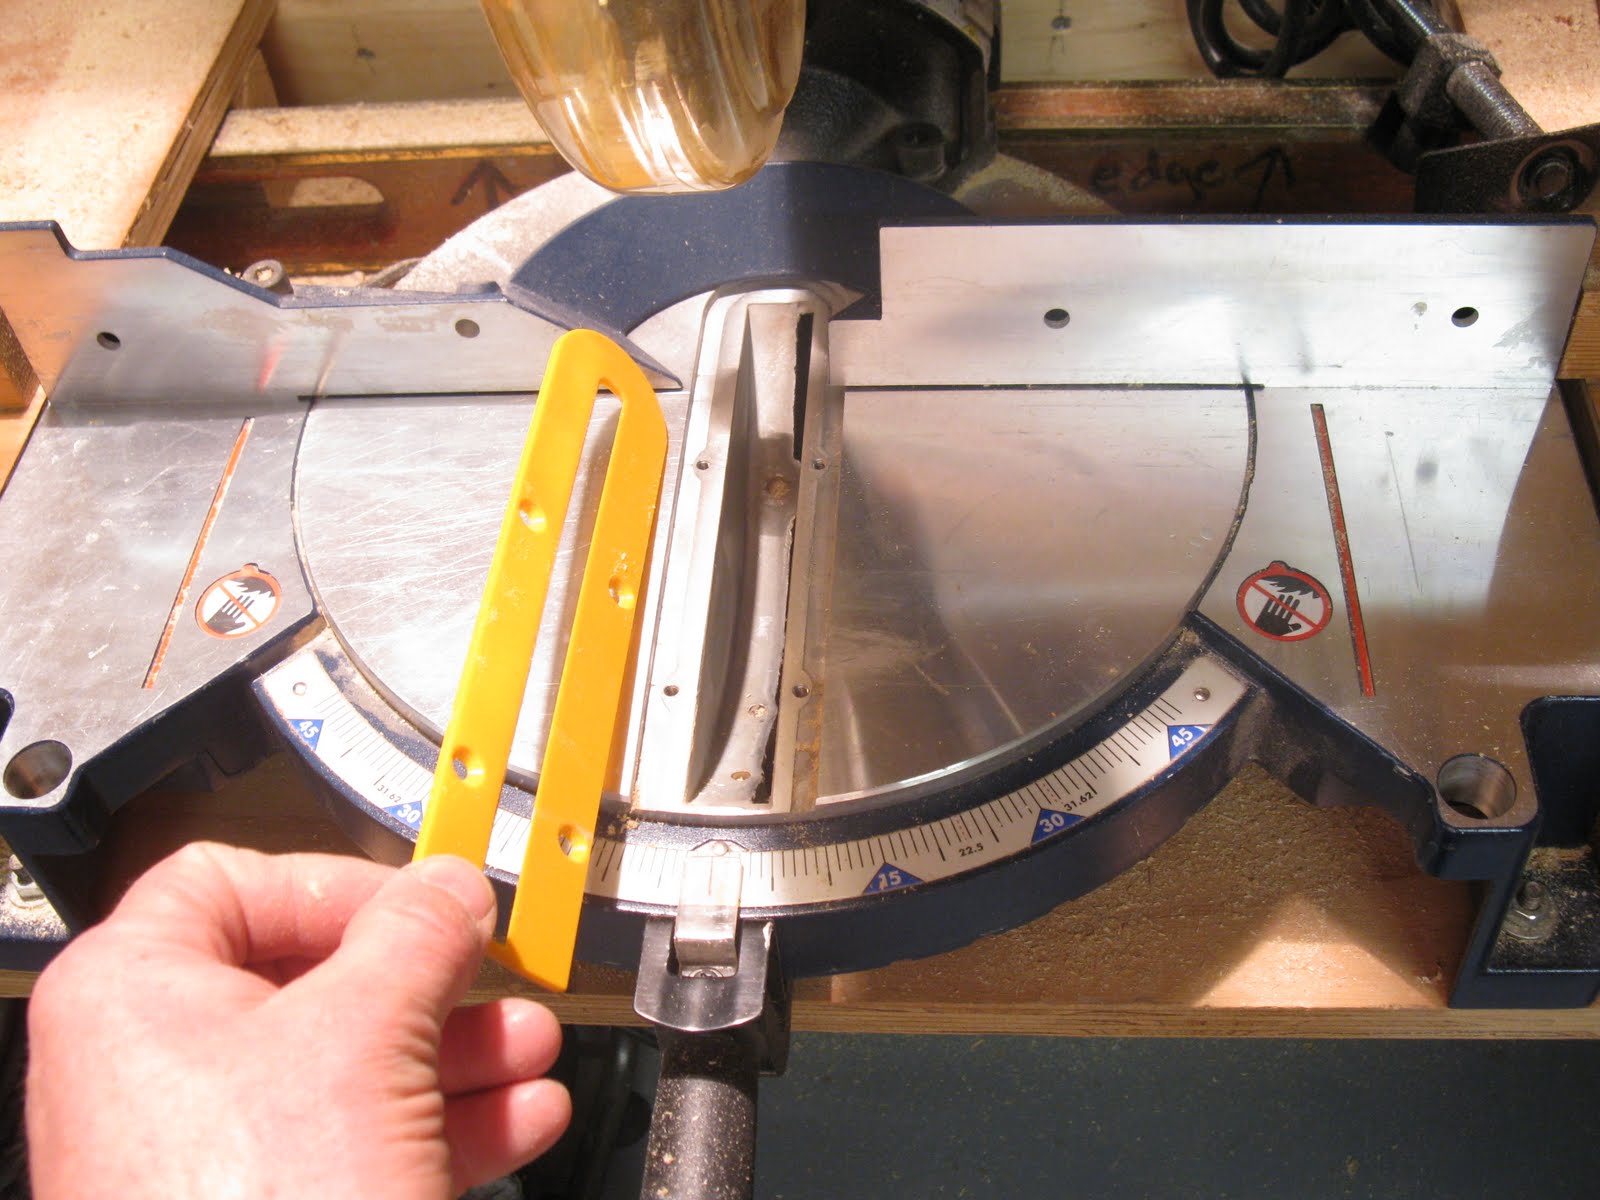
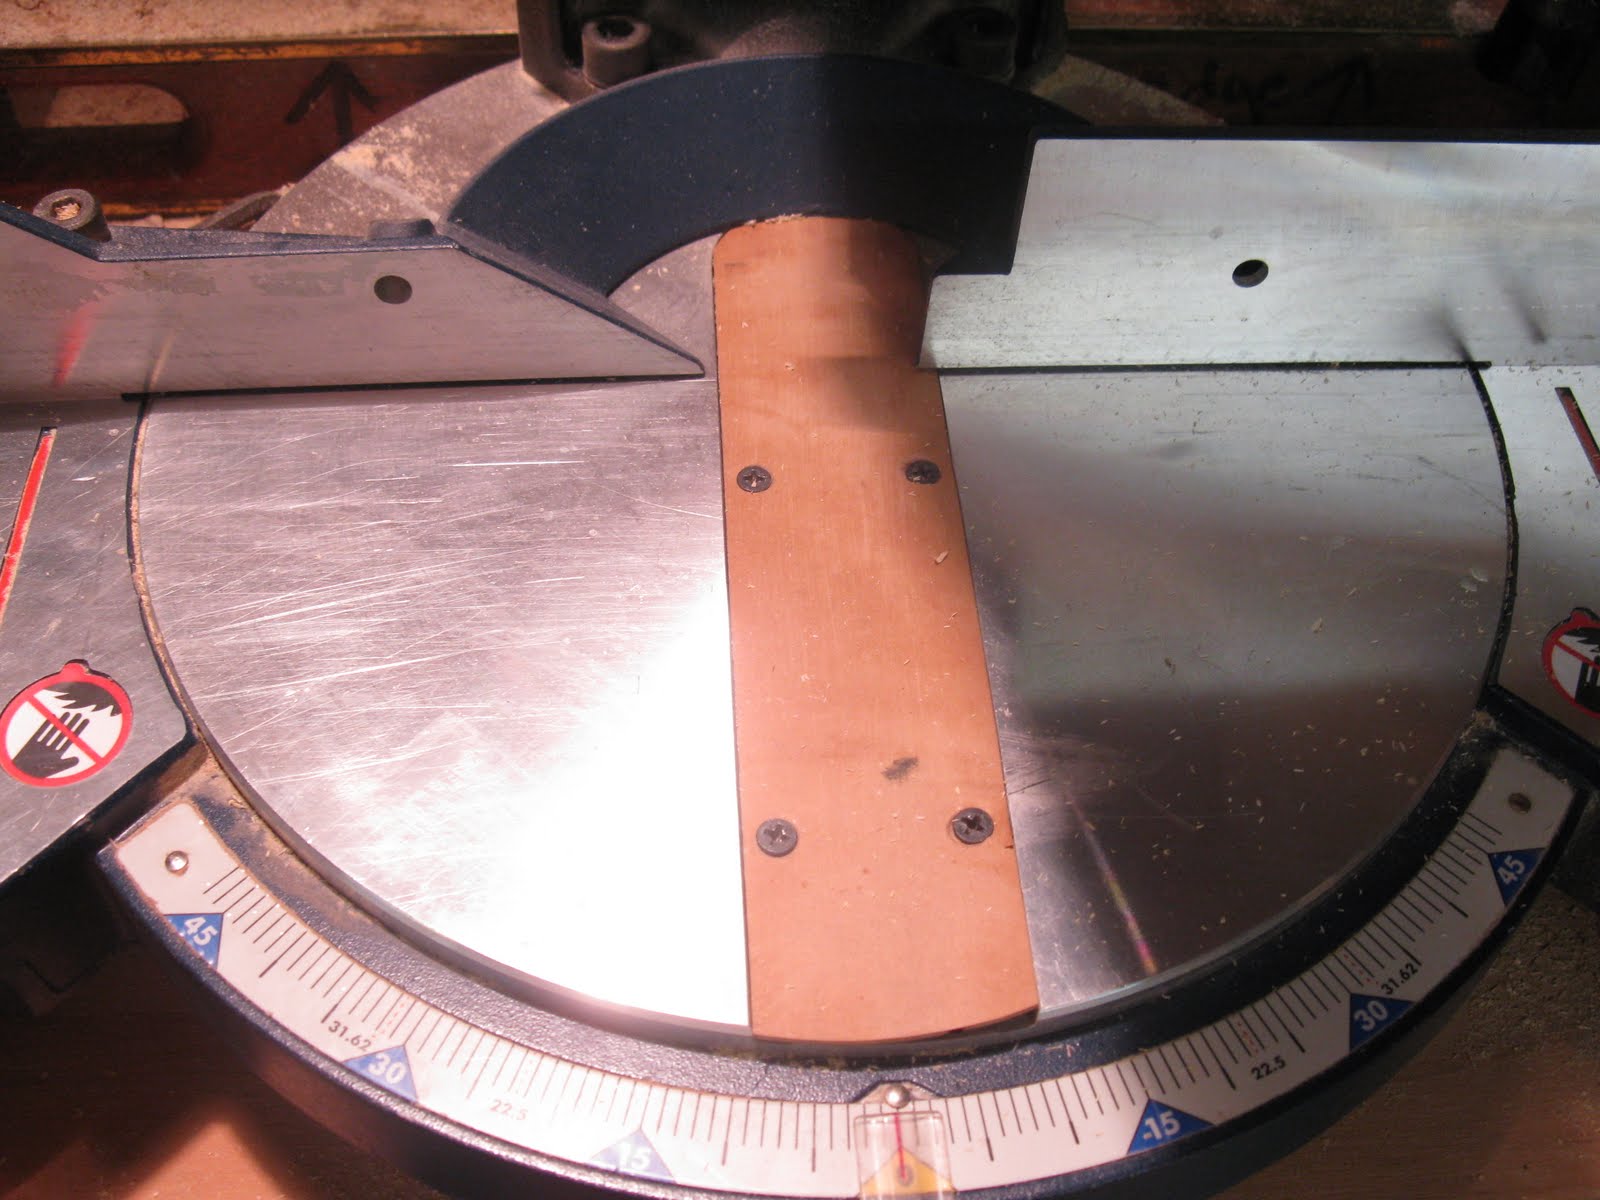
4. Make and install a zero clearance insert.
A zero clearance insert prevents tear out. Tear out occurs when the blade exits the wood. the wood is unsupported next to the blade and the wood fibers tear apart. To avoid this you need the table [insert] next to the blade.
The yellow insert that came with the saw is way to wide.
I removed it to use as a template for the new zero clearance insert.
I traced it’s profile onto a piece of scrap 1/2″ MDO plywood.
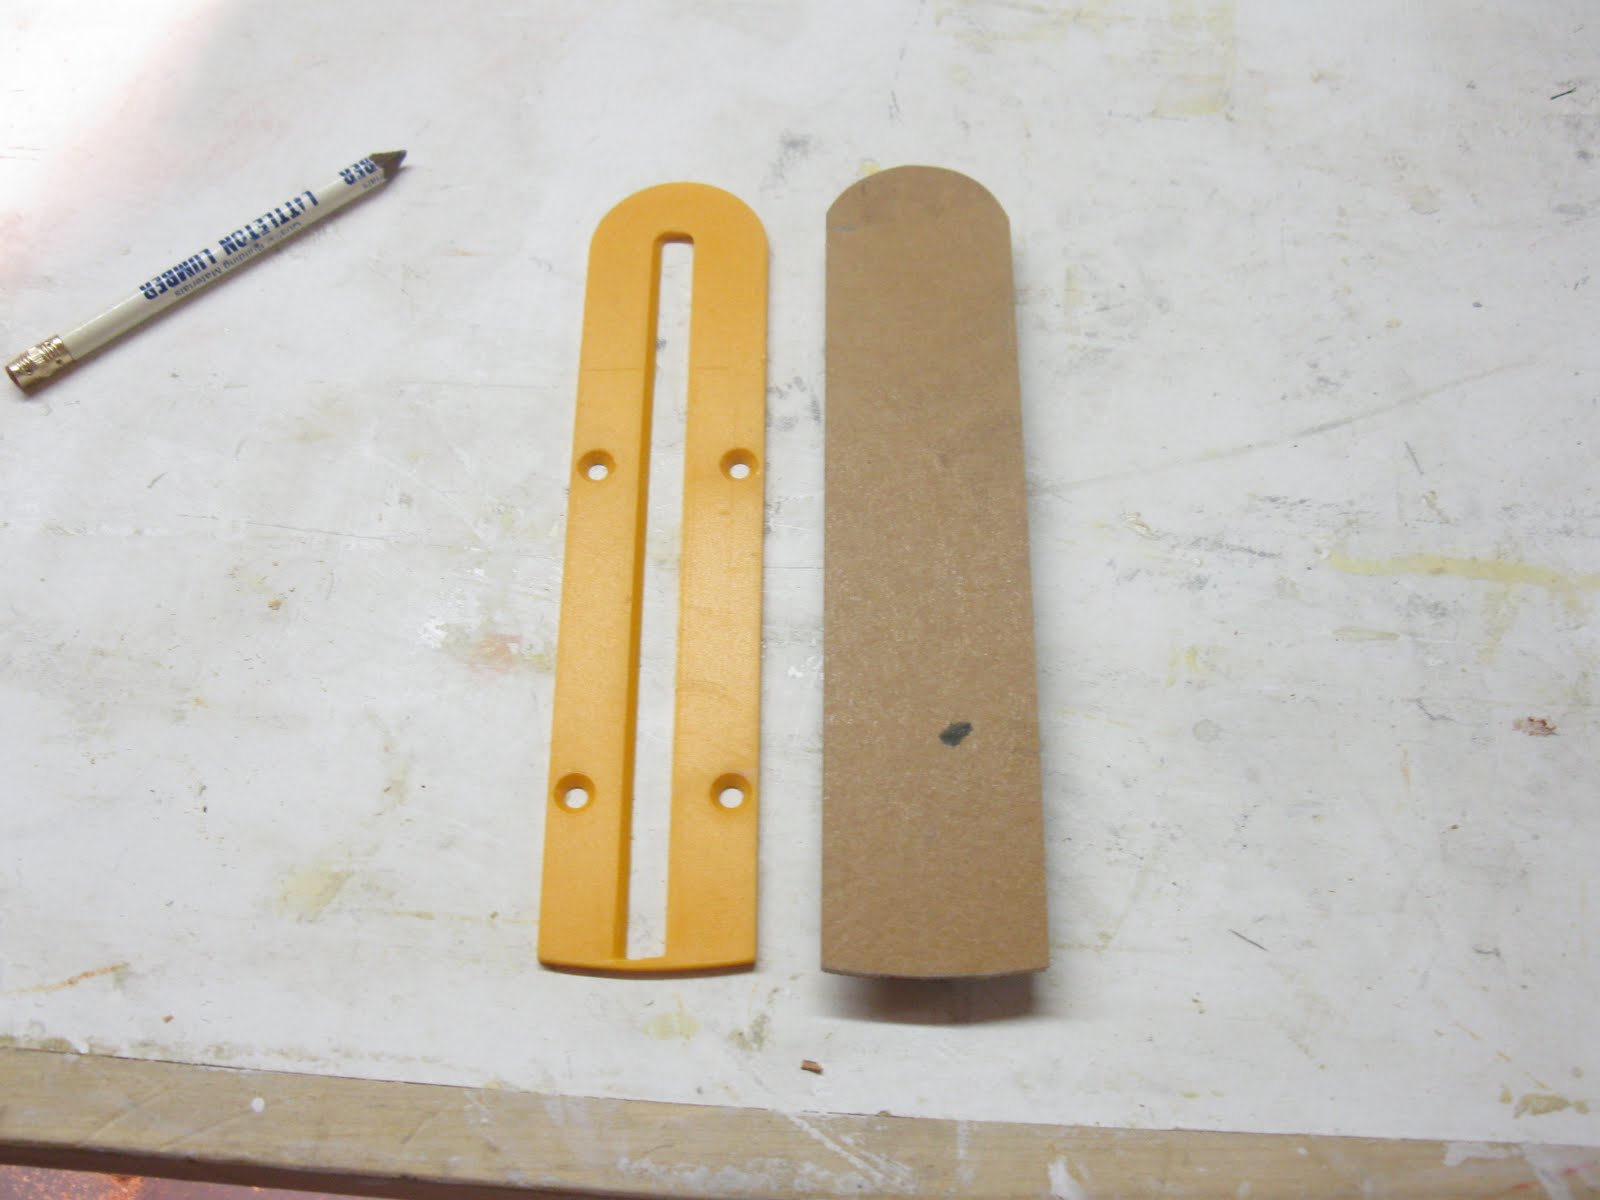
The yellow insert was very thin. I had to relive the underside edges on the plywood in order to get it to fit.
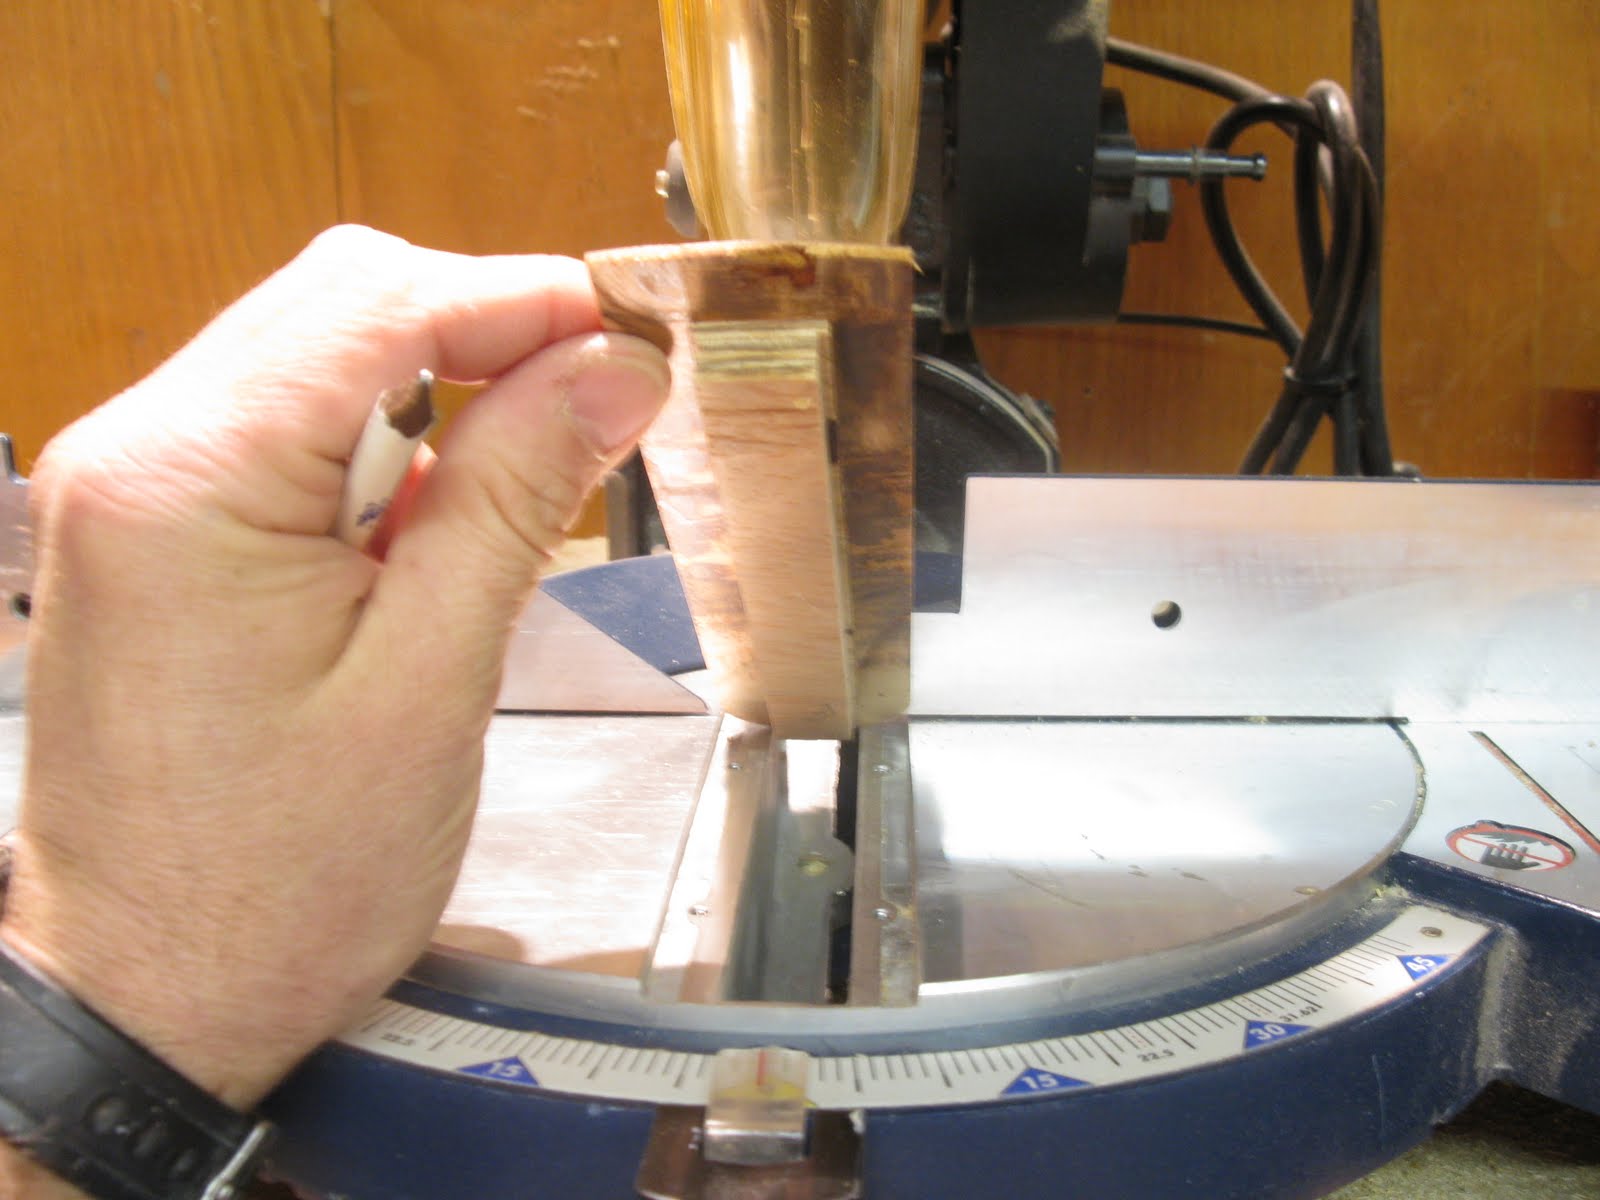
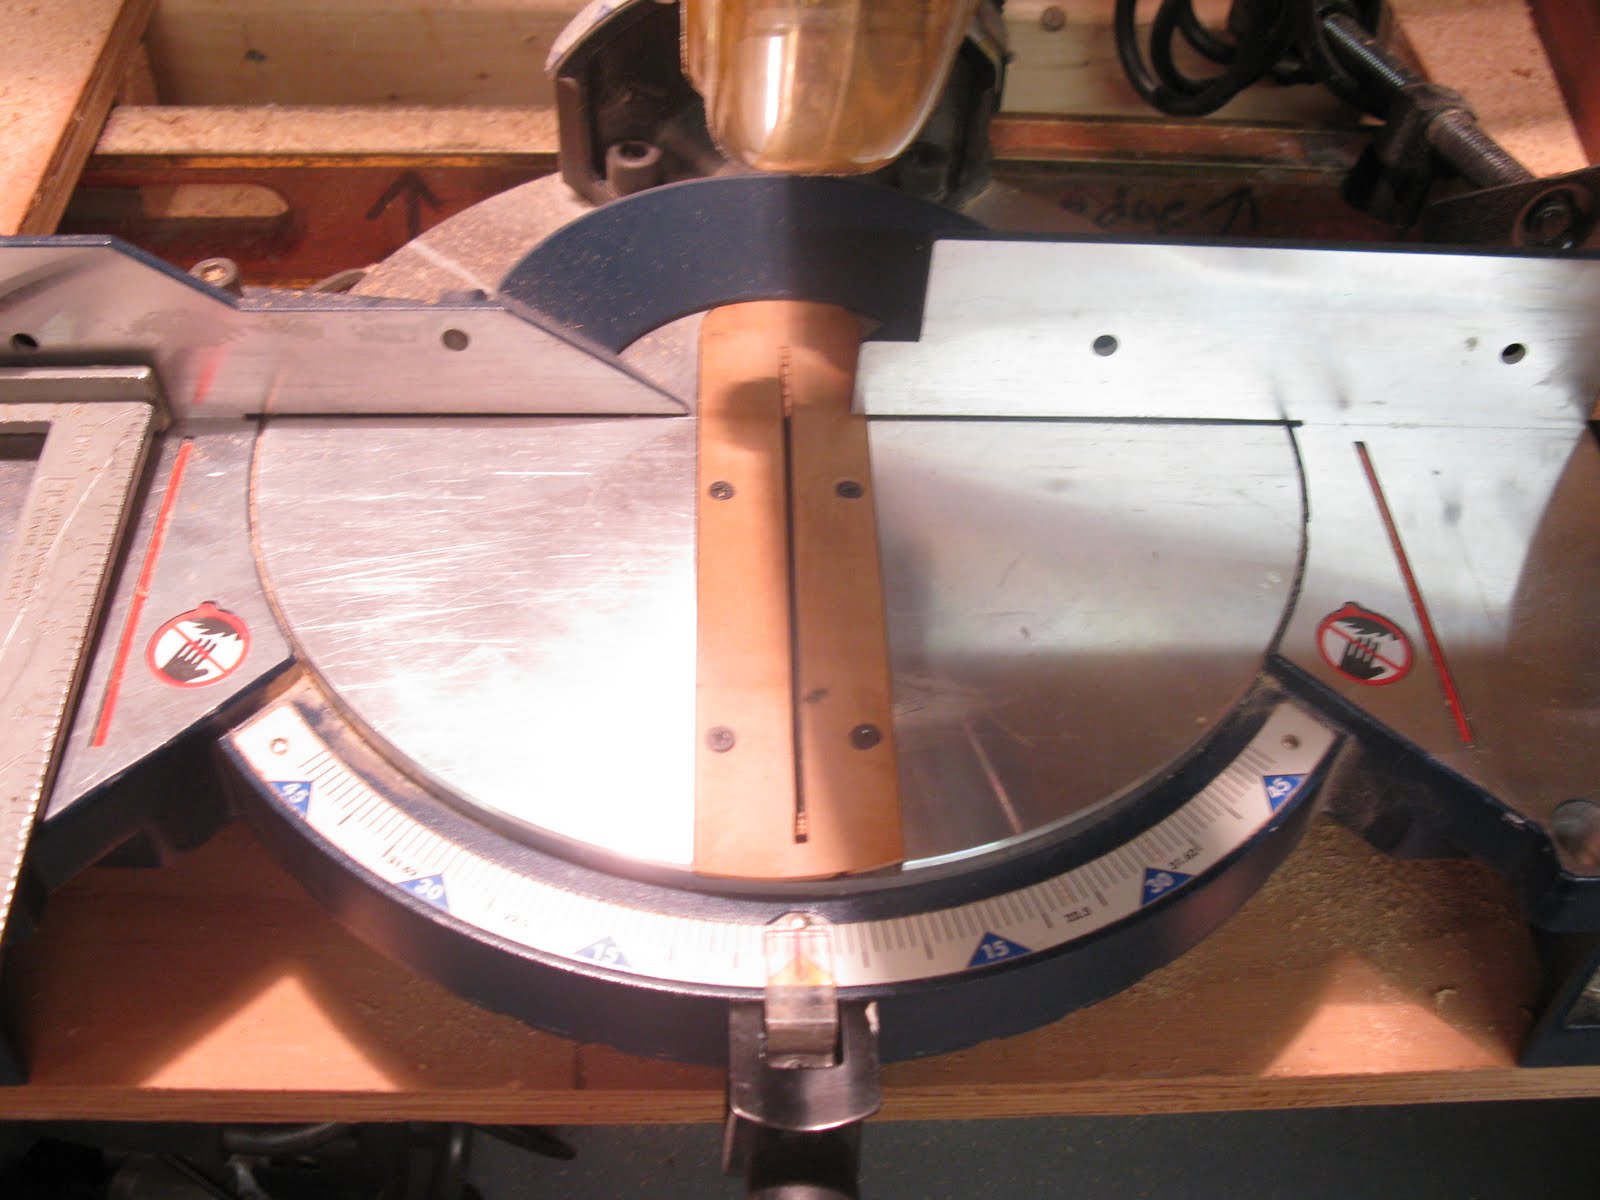
Test fit.
I counter sunk the screws and tightened them below the surface of the plywood to avoid scratching the wood to be cut.
Once the zero clearance insert is secured in the saw turn on the saw and slowly cut into the insert. Now your ready to make nice cuts with no tear out!
See more Mitersaw tips

