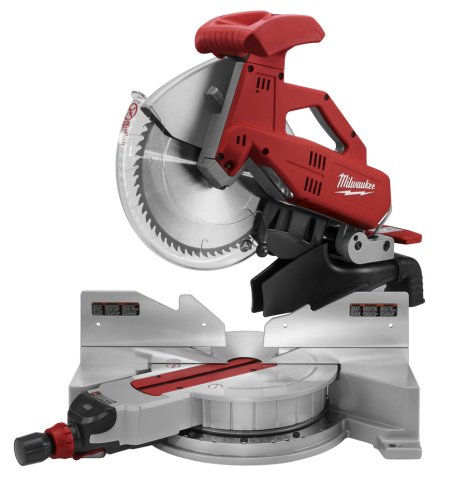
Making Small Cuts On A Miter Saw
“Cut it but leave the line!” I head that plenty of times!
When cutting trim on a miter saw sometimes it’s easier to slowly work your way closer to the cut line by nipping away at the wood and moving the board slightly.
Miter Saw Safety:
Allow the saw motor and blade gets up to speed before starting your cut. Then lower the blade slowly and steadily through the board until the cut is complete.
After the cut, hold the saw carriage down in this position and release the switch, allowing the blade to come to a complete stop before raising it.
Always maintain a firm grip on the workpiece until the blade stops spinning. When holding the board, keep your hands away from the blade.
Making Small cuts on the miter saw:
What I mean by “making small cuts” is trimming the board a little to get a piece of wood to fit.
Method one:
With the saw turned off aligning the blade with the cut mark on your workpiece, then raise the blade, turn on the saw and cut. This gets easier with practice.
Method Two:
Cut a little beyond the line scoring the board, leaving extra length on your workpiece. With the blade raised, move the wood slightly and slice off a little at a time working your way into the cut line.
Don’t reach under the blade while it’s spinning.
Let the blade come to a complete stop at the end of each cut before lifting it.
The photo above shows several shallow cuts to the right of the cut line. I slowly made these shallow cuts to move closer to the cut line.
Method Three:
An alternative to this is, and a great way to shave a little off the end of a board is to, lower the saw [turned off] so that the edge of the blade’s teeth are just on the waste side of your line. Hold the work securely against the lowered blade, raise the blade, turn on and cut.

