Turning Red Cedar on a Lathe
It’s a creative talent to take a piece of wood from its rough shape and literally turn it into a piece of art in 30 minutes. I have been using a lathe for the last four years, on and off, and mostly have turned out random candle holders, Shaker peg racks, and bowls.

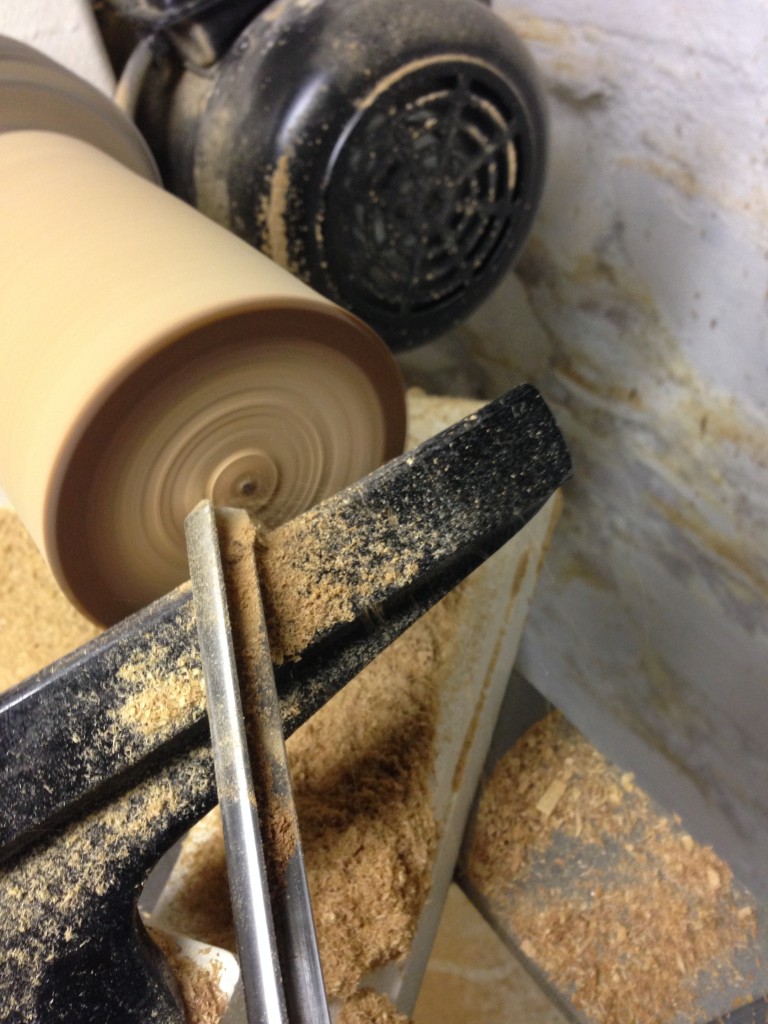
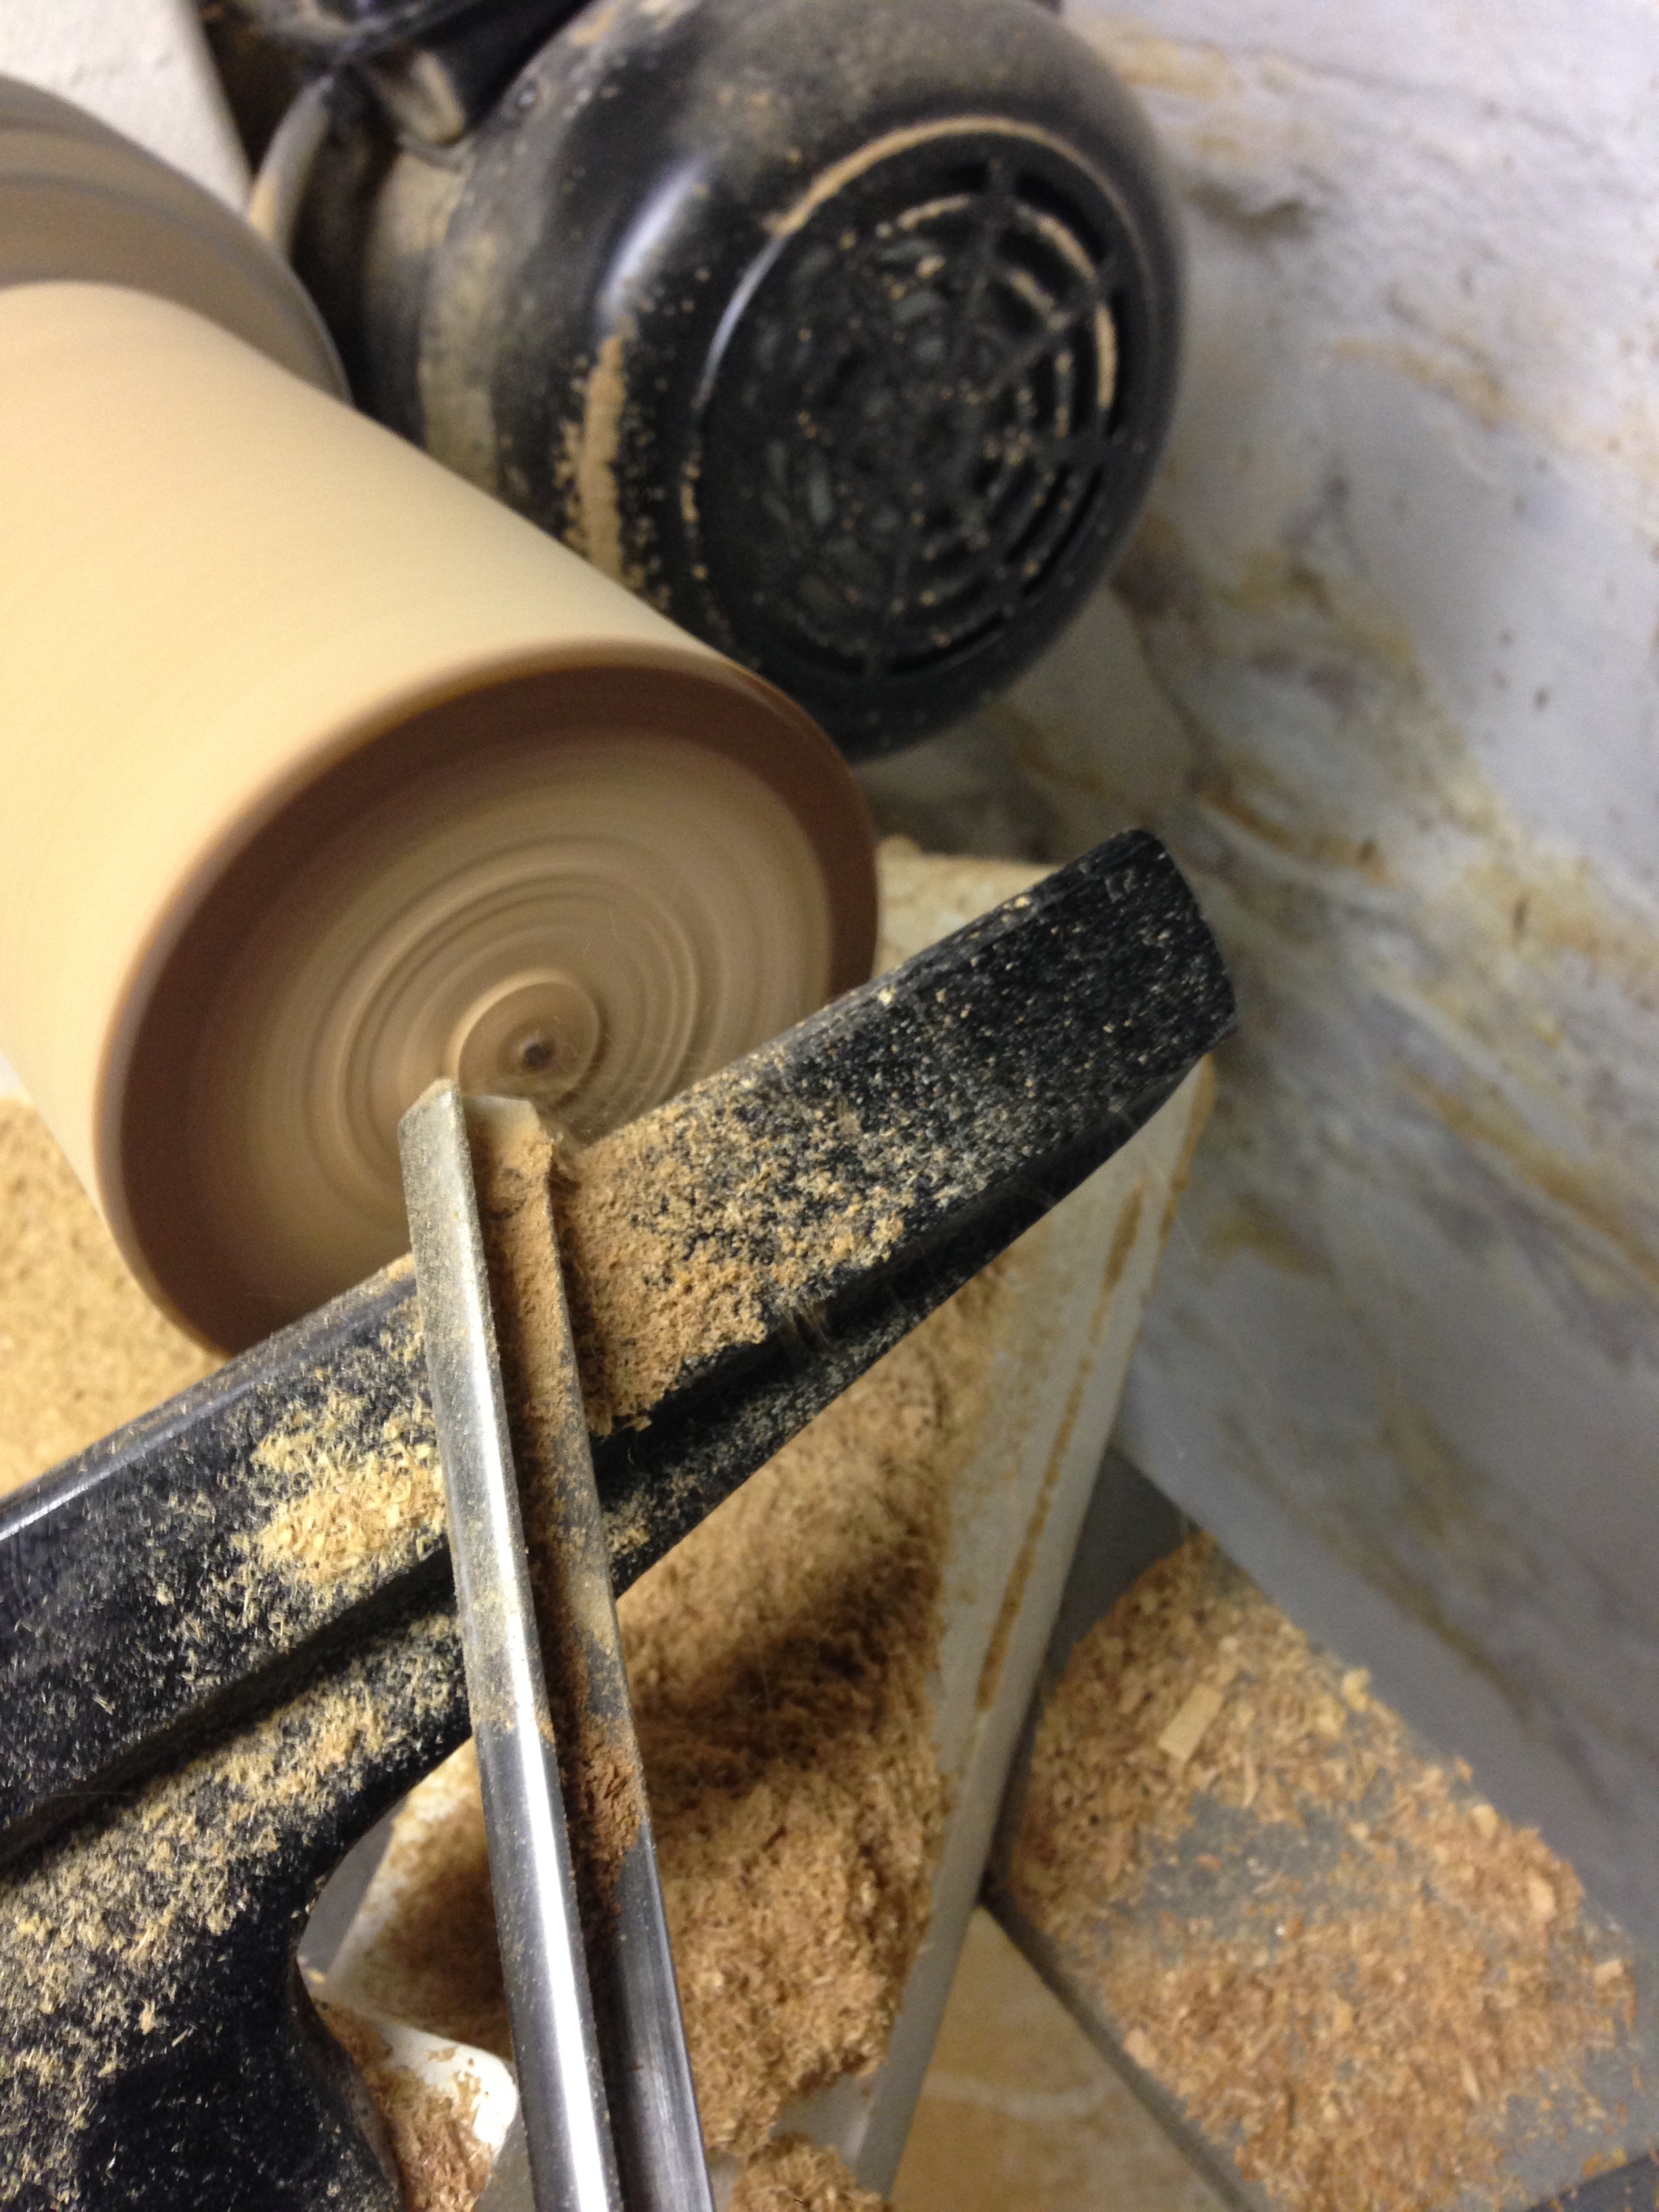
Turning the inside
Making a Candle Holder
To make a turned red cedar candle holder, you’ll first need a lathe. Lathes are fairly inexpensive to get your work done properly, but if you think you will be advancing in the turning world and make a career out of it, a larger, more powerful, i.e., expensive is the better choice.
I have recently purchased a JET 14” x 42” lathe, and I have had a no complaints with this purchase.
Start Out With “The Block”
I started out with a red cedar block and find the center points on each side. Once your exact centers are found, the block will be positioned and then fastened between the head stock, and the tail stock of the lathe.
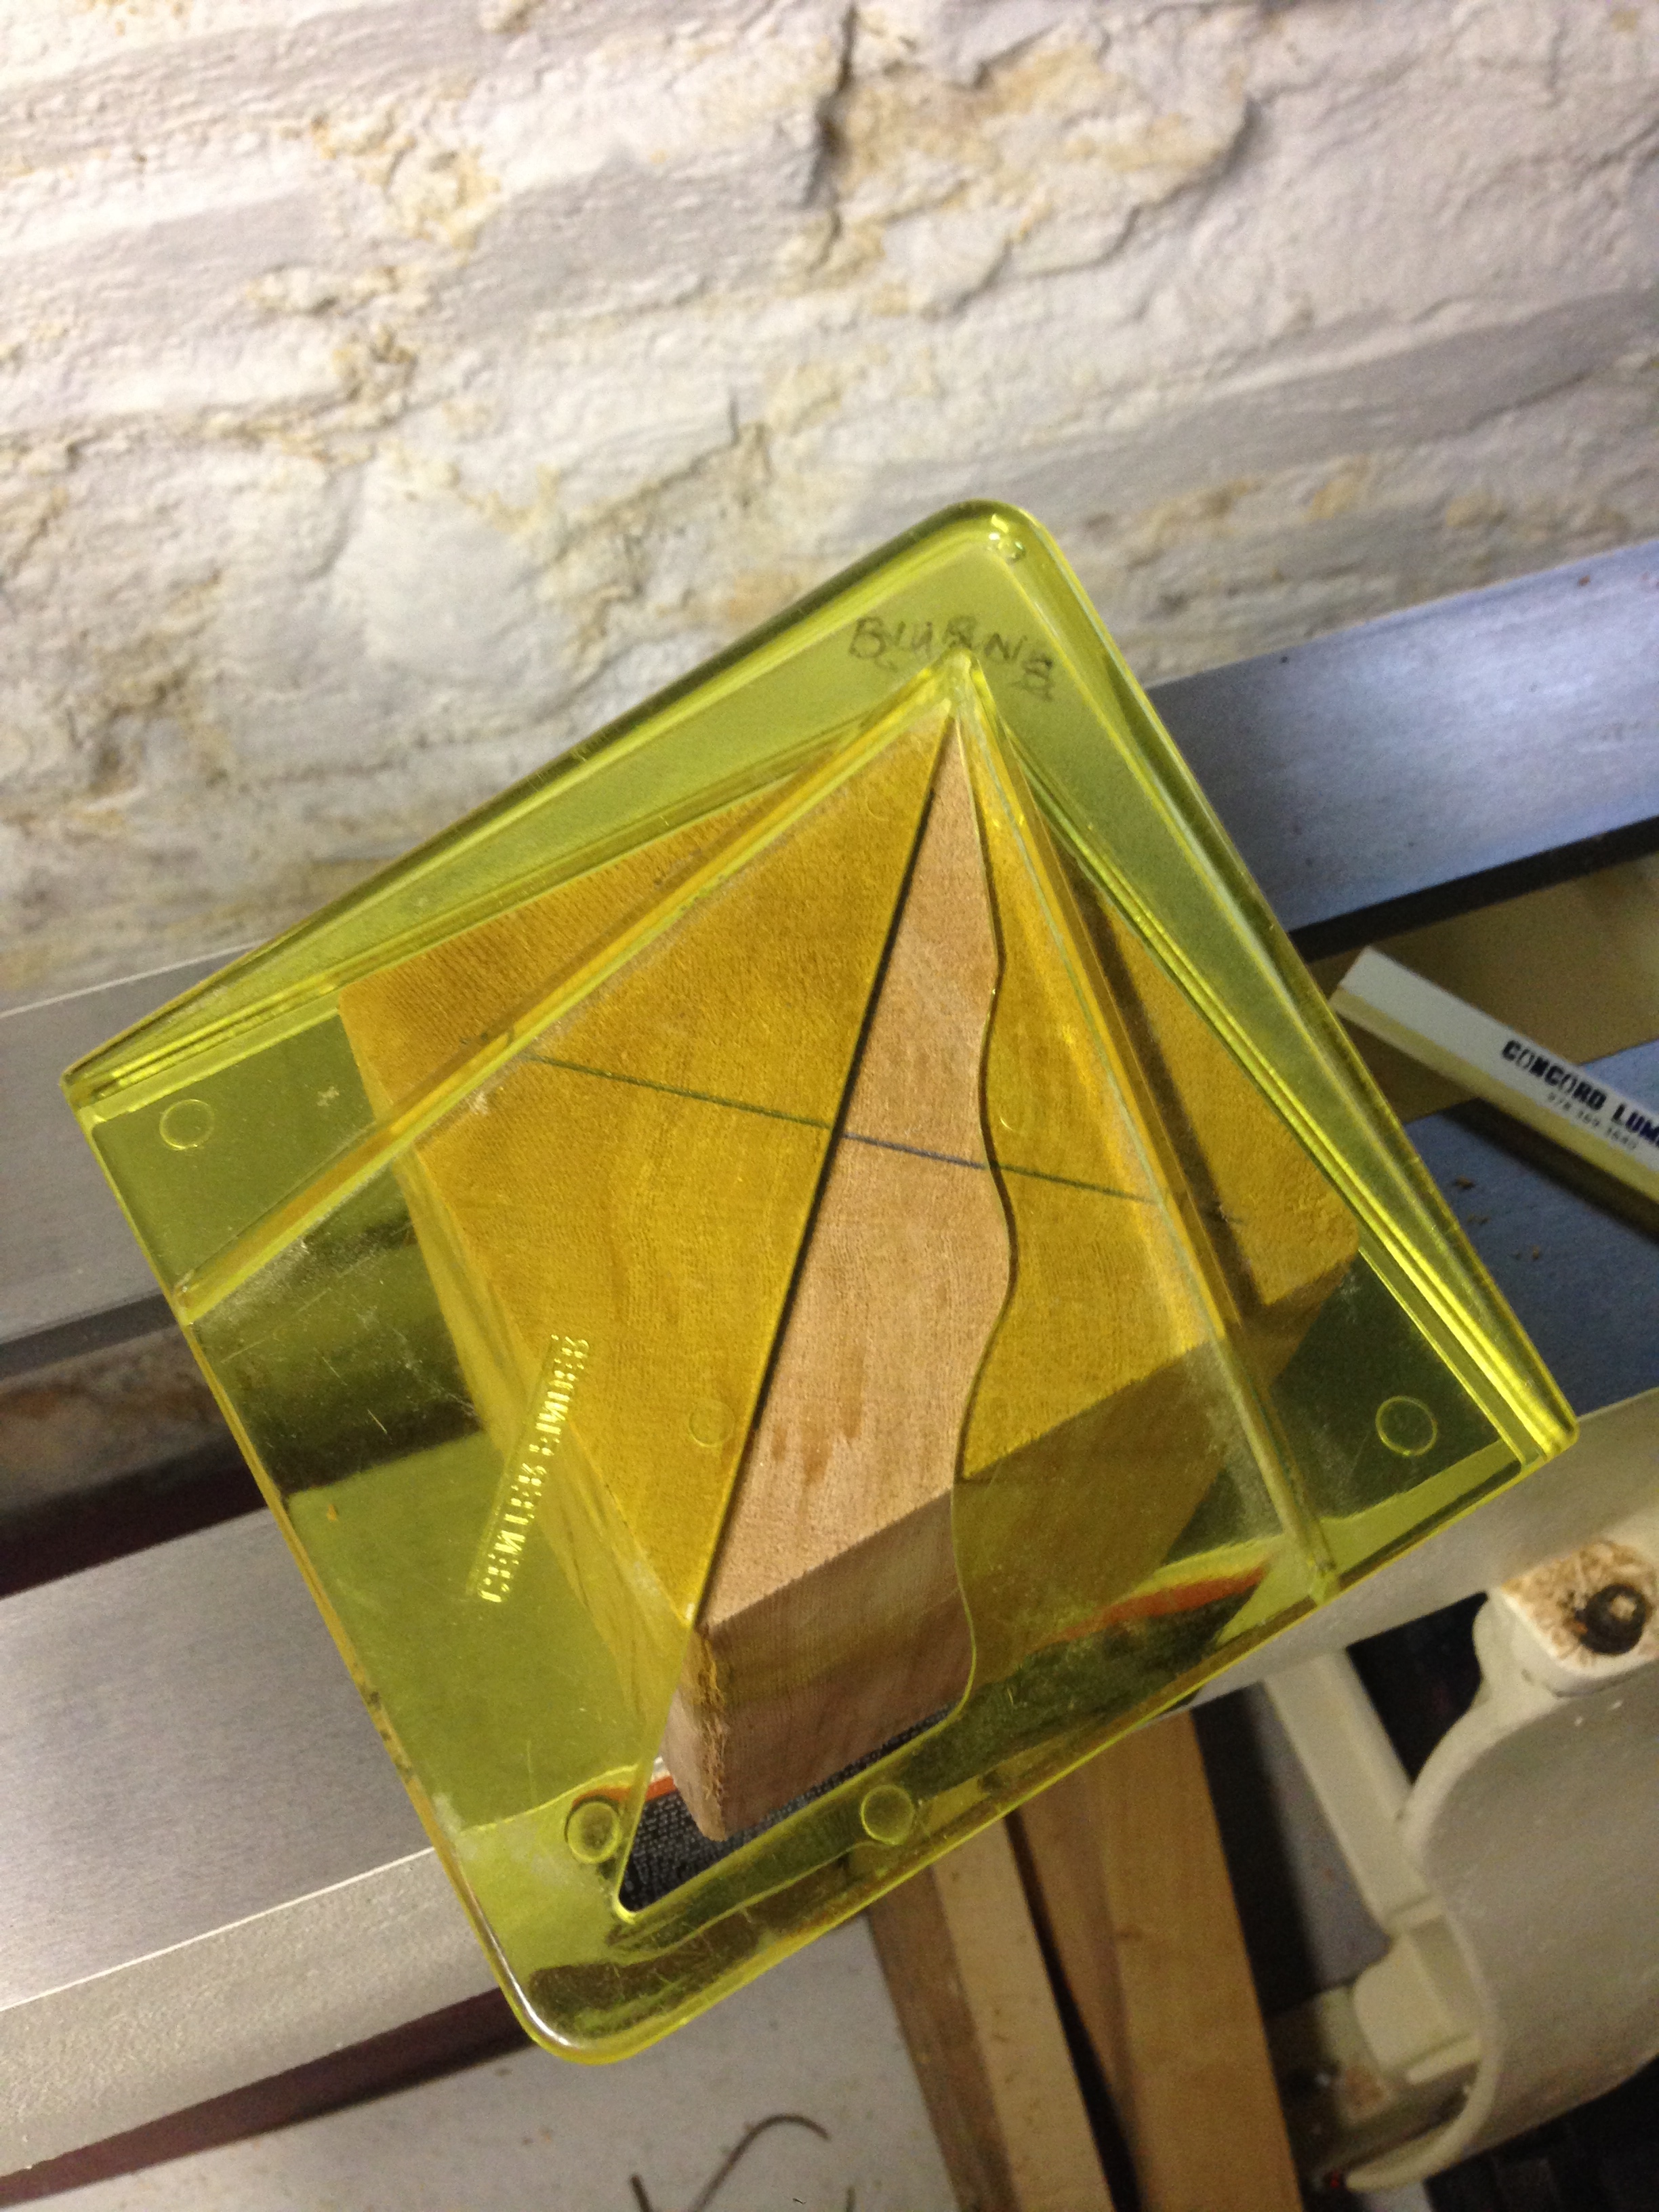
To find center, using this quick and easy center finder.
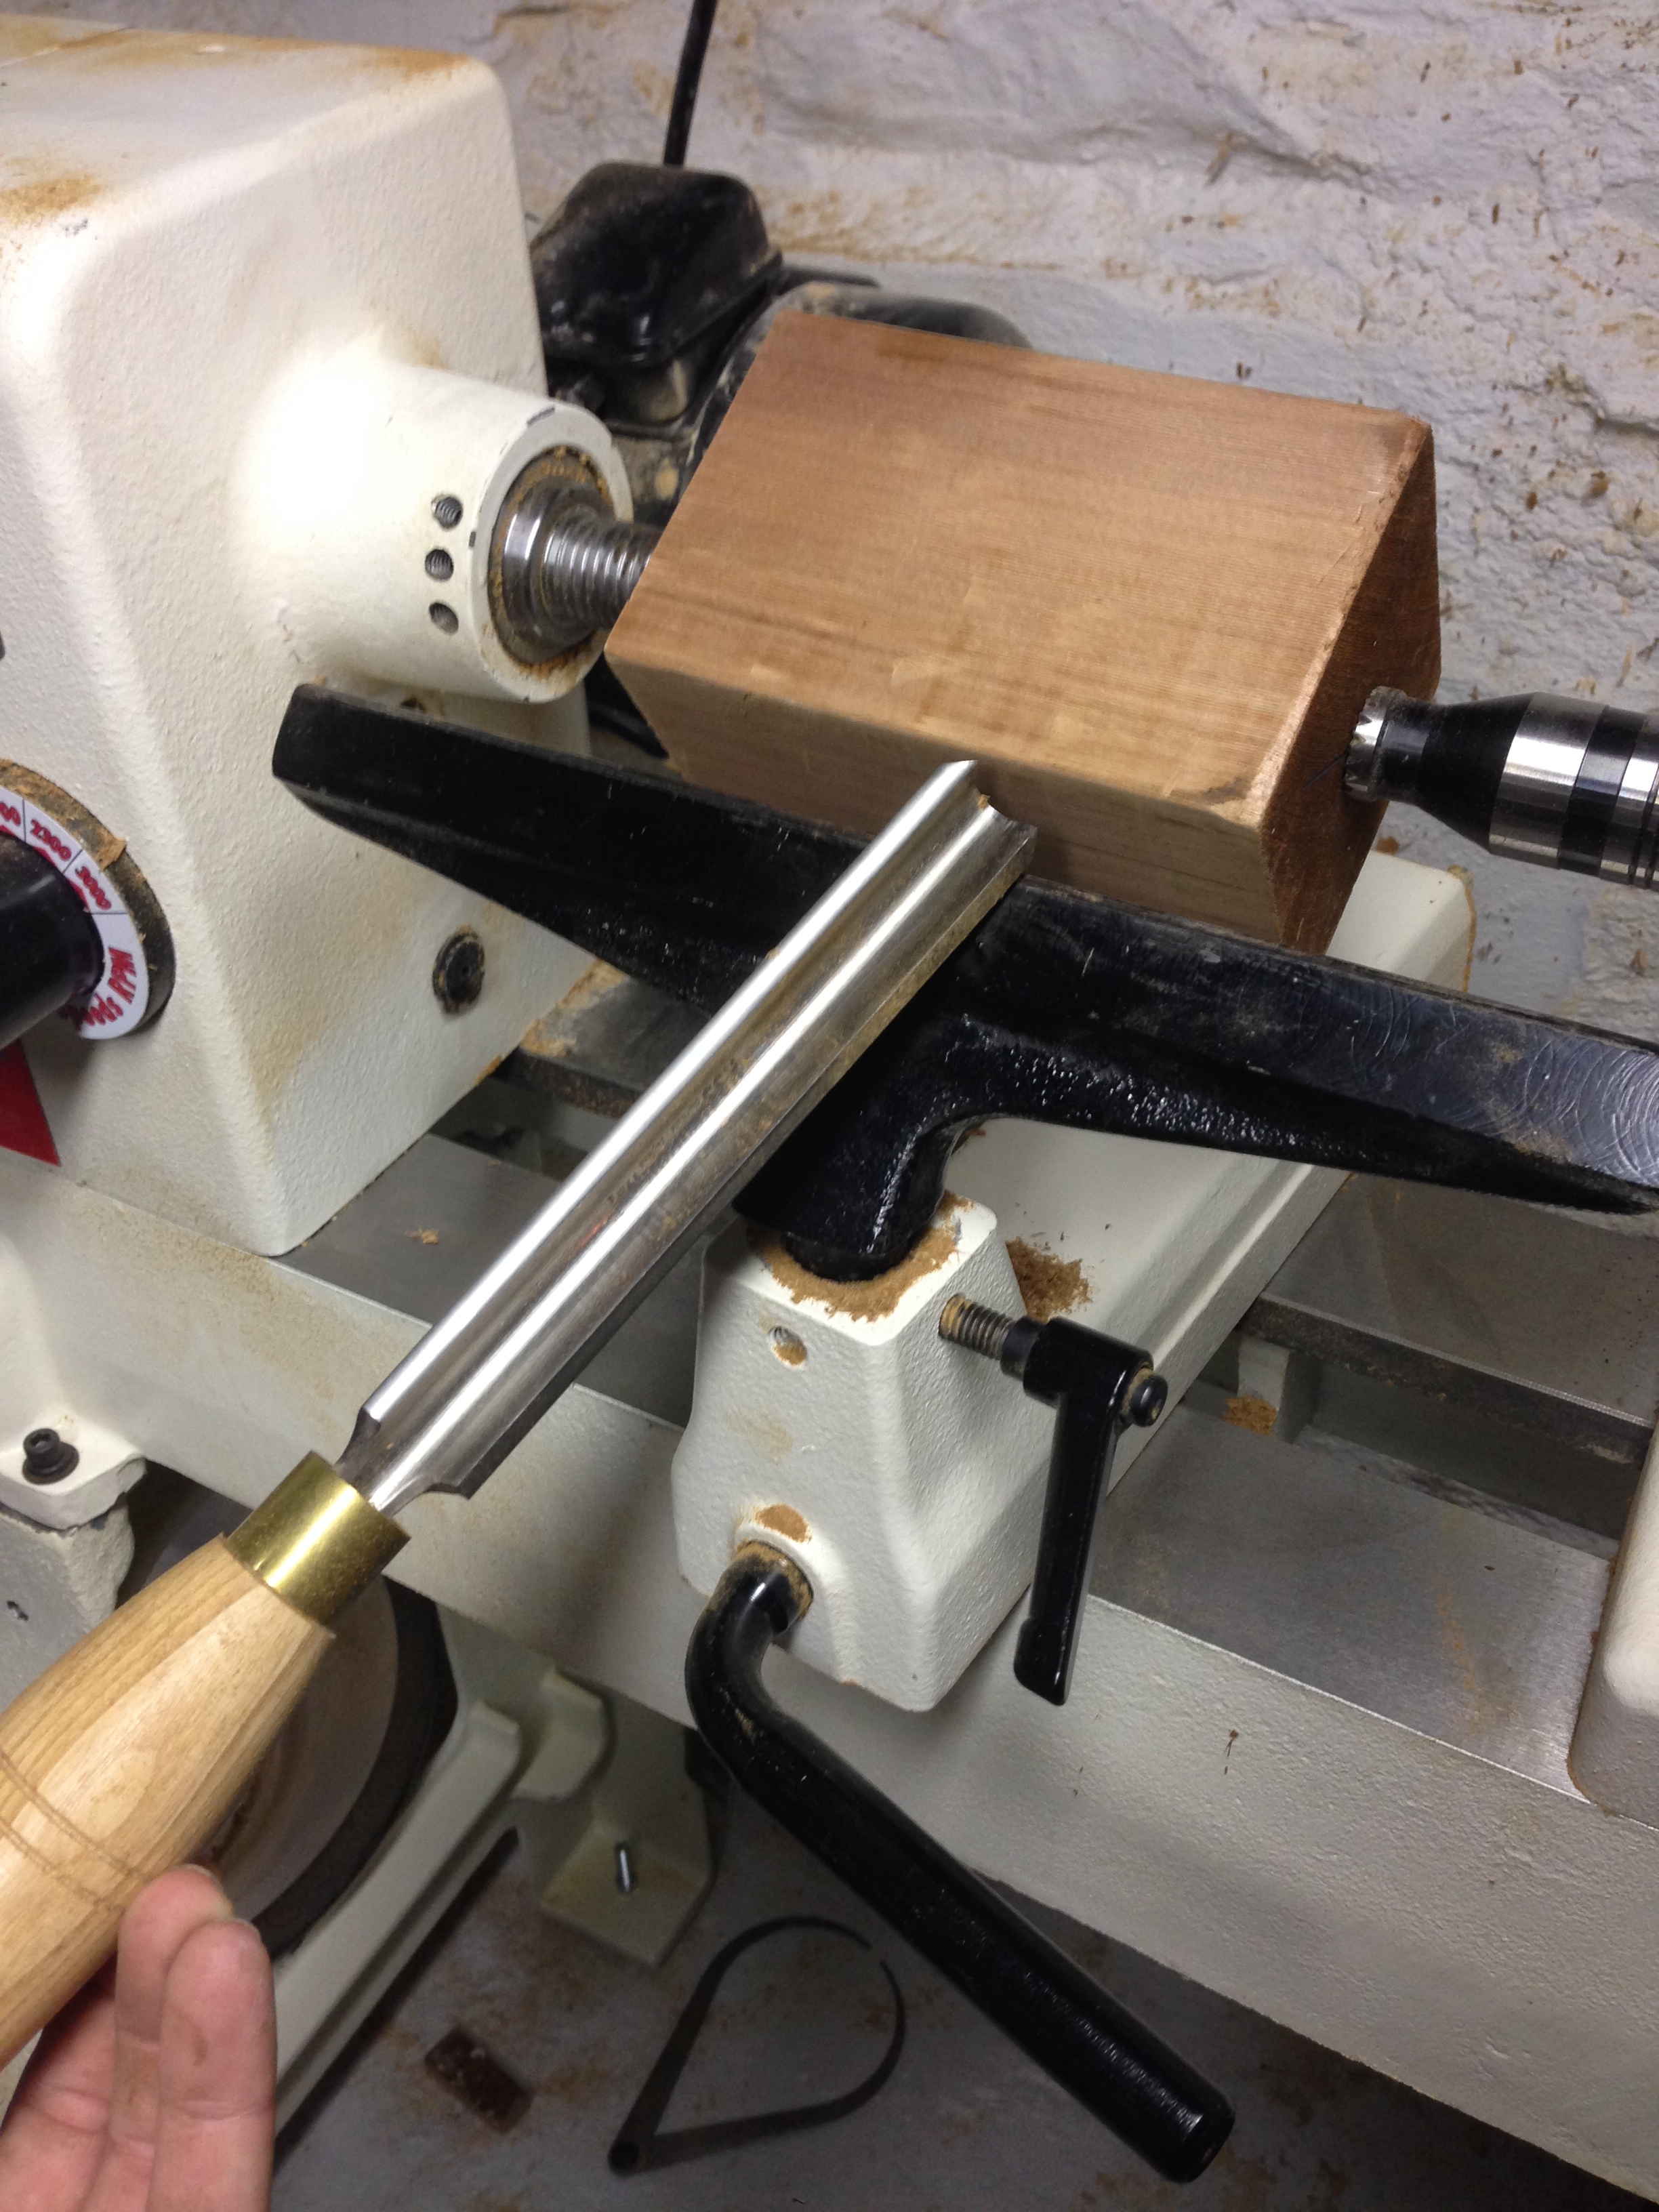
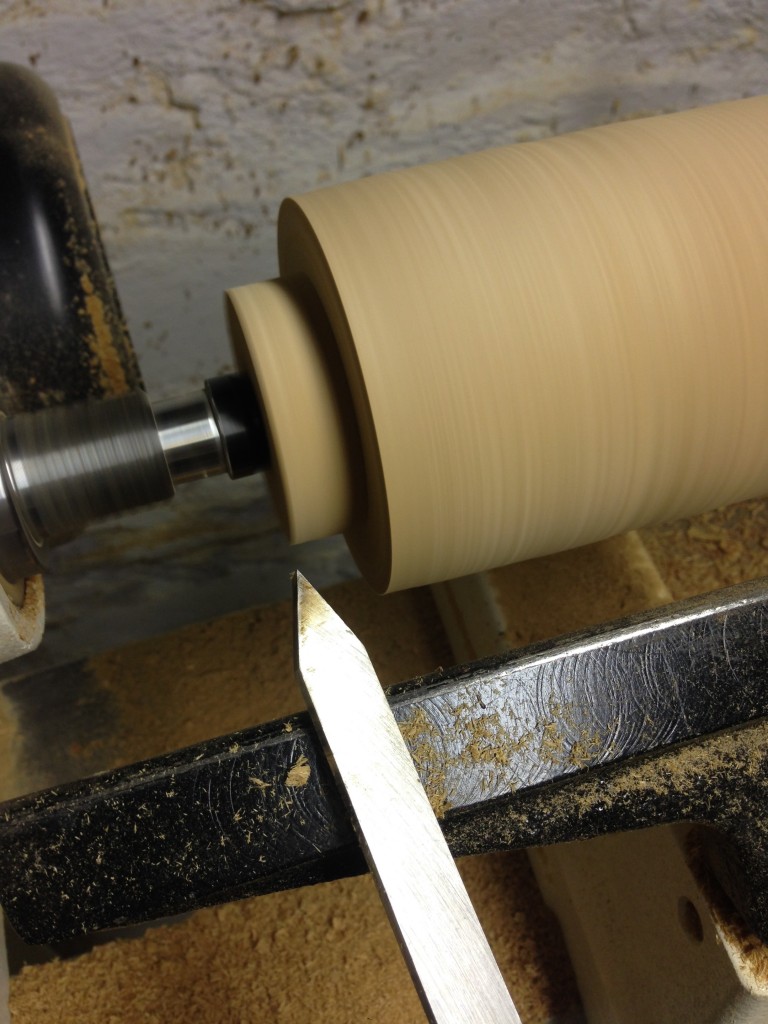
Using the roughing gouge to begin turning.
Roughing the Block
While using a roughing gouge on the tool rest, I position myself for making sweeping paths from right to left . Once the block is fully round, I now detail my design points for the shape that I want to make. With this project a simple small chamfer is at the base, with a gradual cone shape to the top, but with more complex turnings such as a baluster, a drawing is used for reference. Calipers are used here for the first design phase of the turning and will come in handy at the finishing of the piece.
Shaping the Outside of the Candle Holder
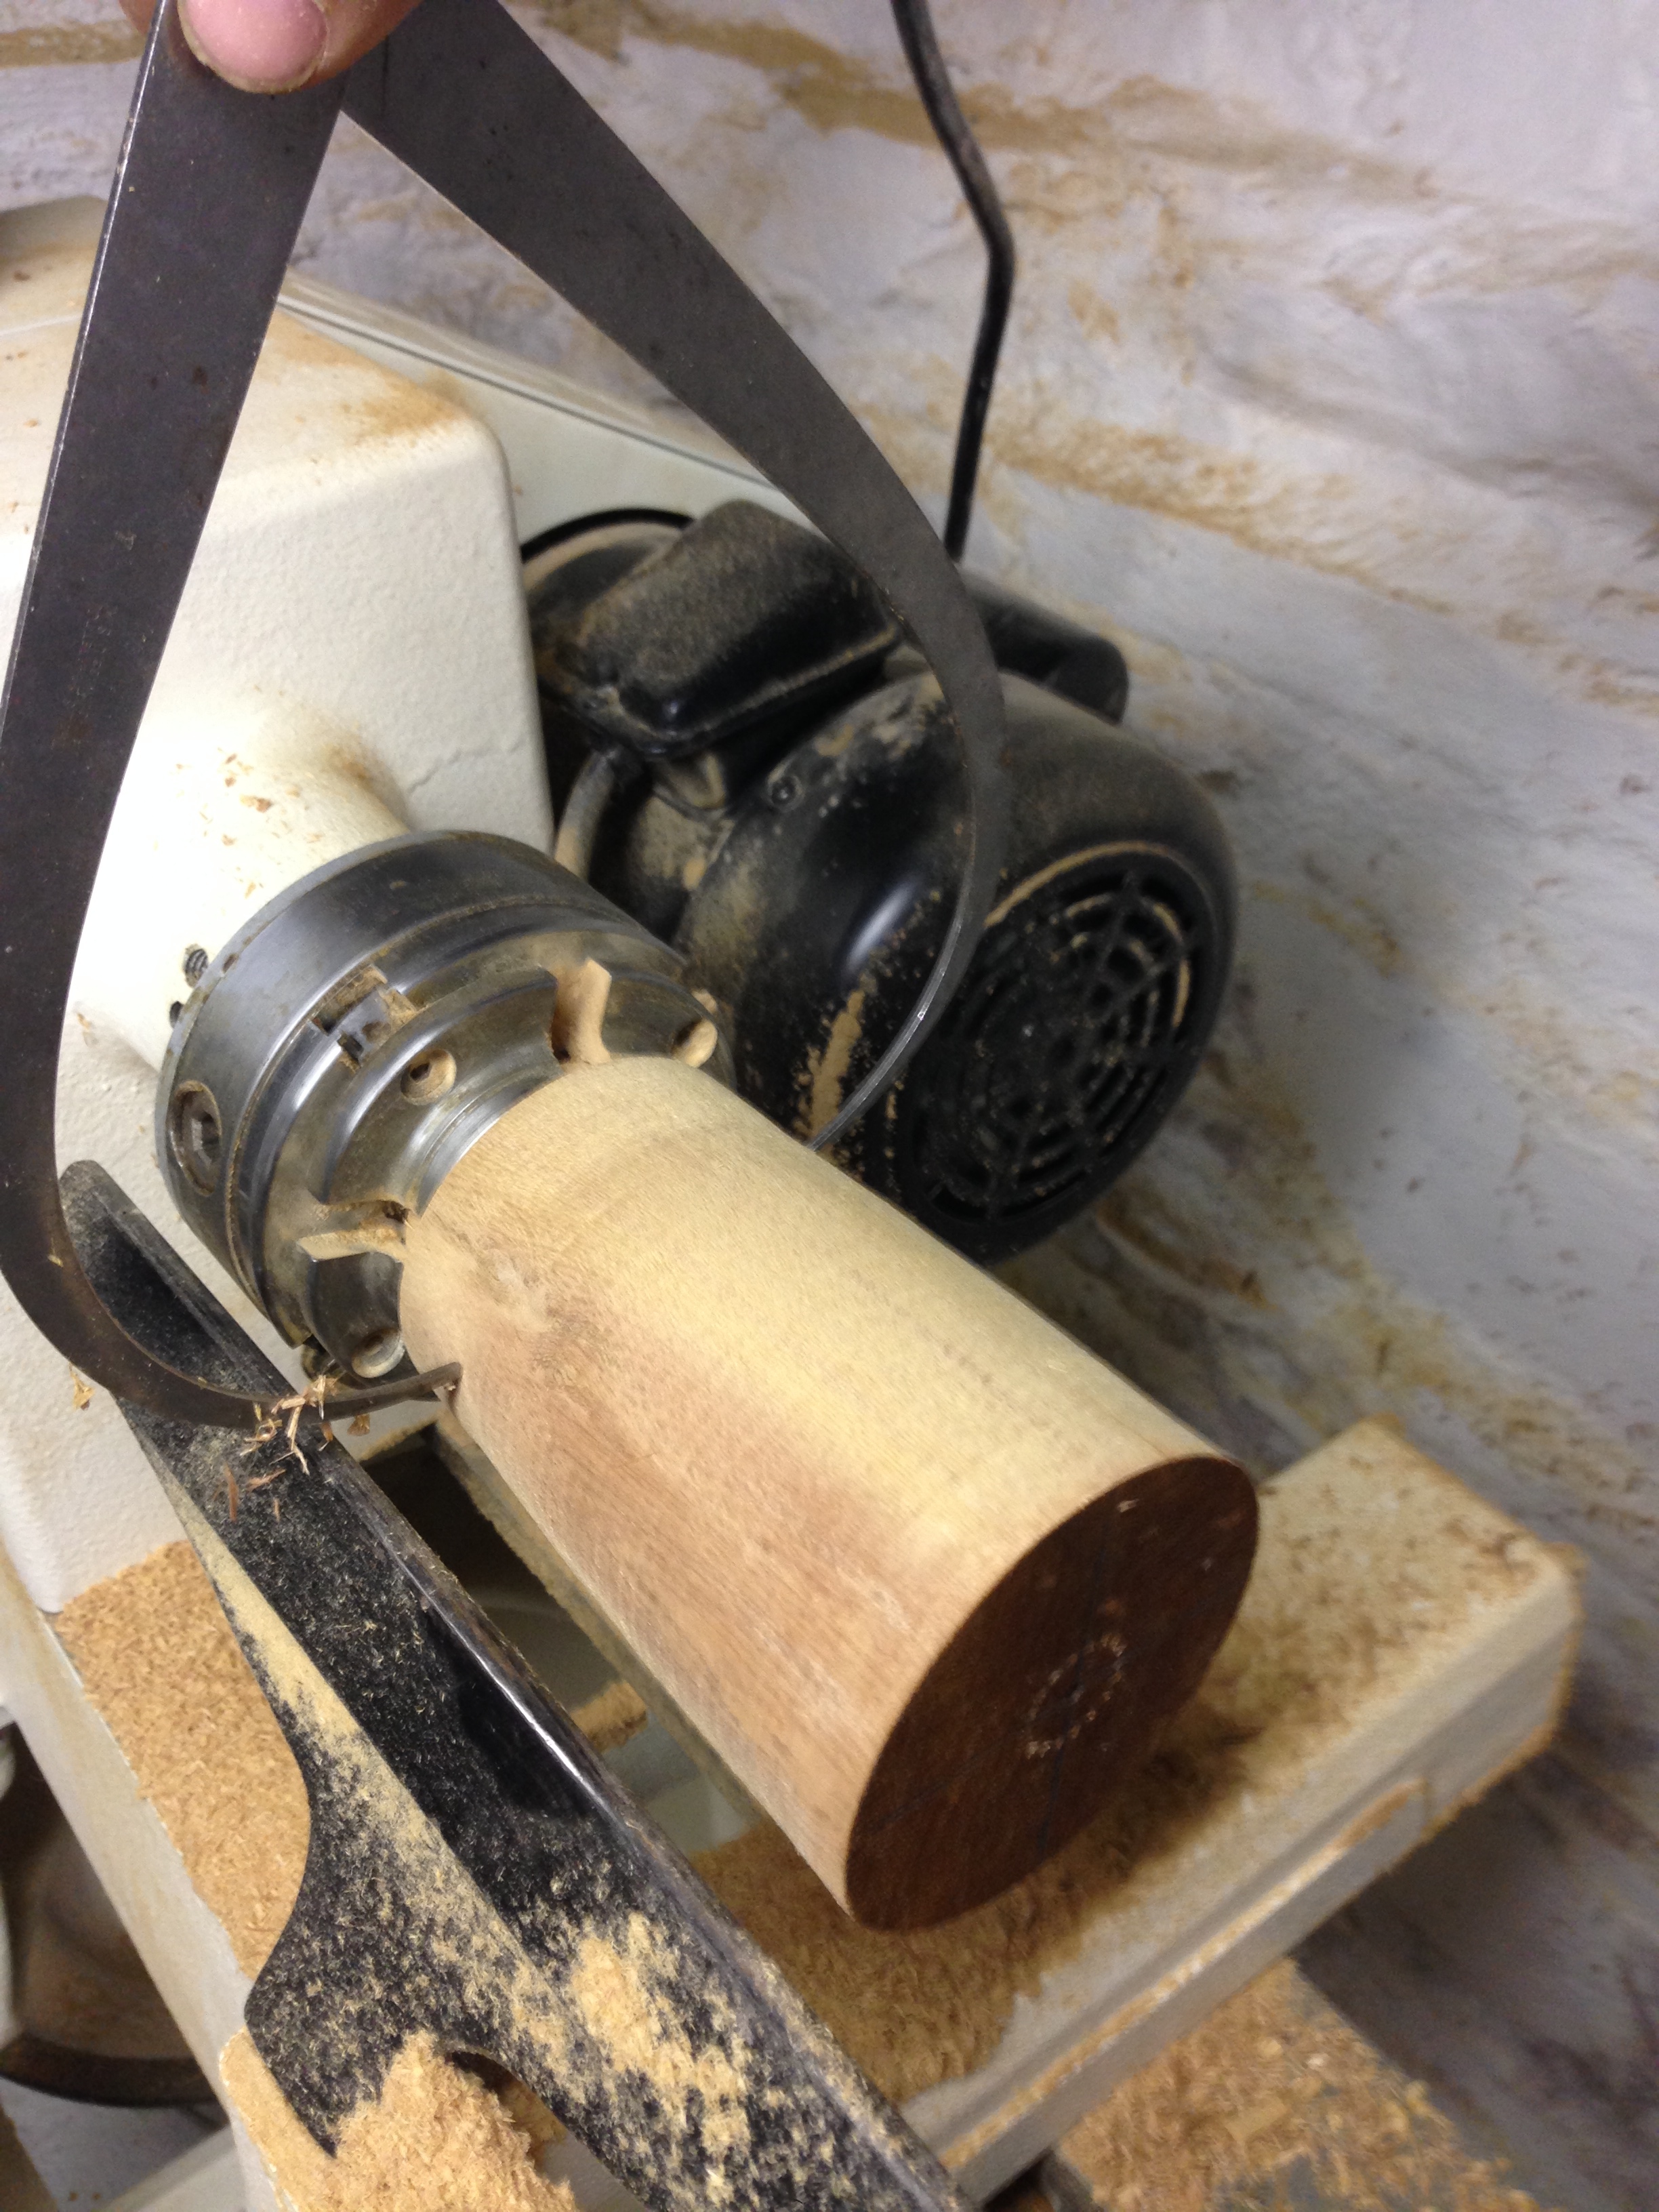
Going to my bowl gouge, a narrower gouge tool than the roughing gouge, I shape the outside of the candle holder. I leave a 2 ¼” base at the bottom so my bowl chuck can grab the base of the piece to turn the inside.
Removing the piece from between head stock and tail stock, I screw my bowl chuck on the head stock and tighten it. The base gets tighten with a hex wrench and my tool rest is positioned in the same position as before.
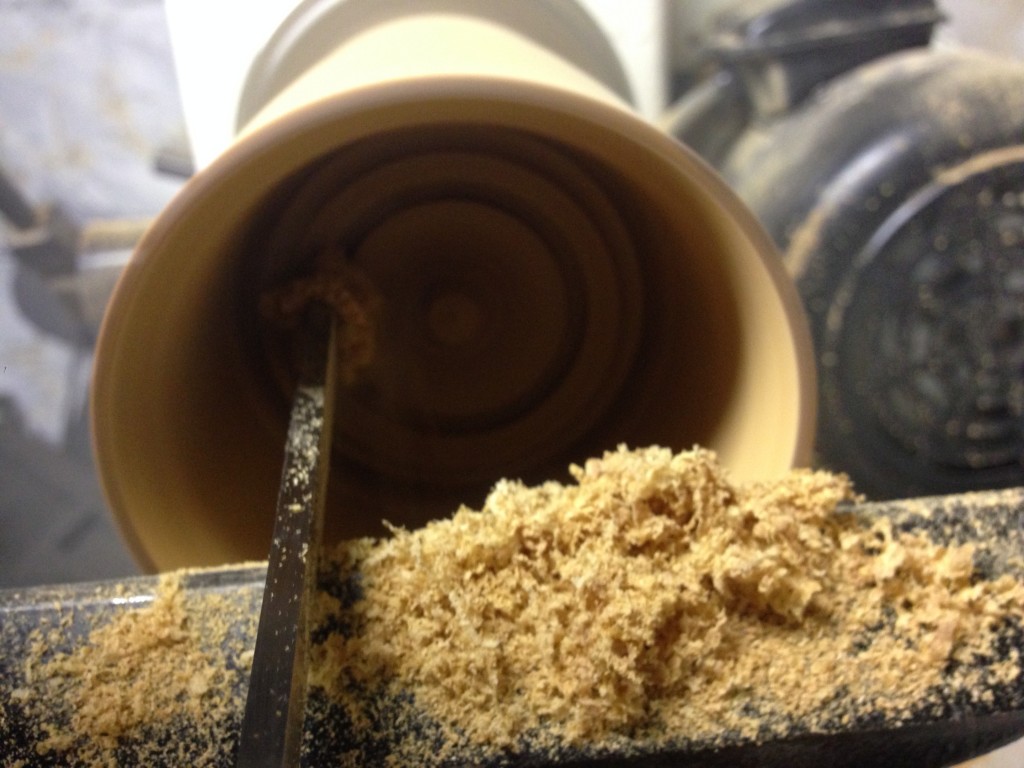
When tightening the piece to the bowl chuck, the piece sometimes becomes off kilter and a quick swipe on the outside to realign in true form. Once the piece is turning true, I turn the tool rest to the top and use my bowl gouge to begin the inside. Holding the gouge in the center and sweeping to the outside, it takes many passes to carve out the inside. I use my parting tool, a very narrow piece of steel to make reference marks on how deep I can carve out the inside. I switch back from the bowl gouge to the parting tool to complete the inside leaving about ¾ “ to ⅞” on the bottom and about ⅛” in thickness throughout the body. Calipers are the best tool to determine sizes for turning and reference to go back to the exact dimension needed.
Calipers sizing almost finished piece.
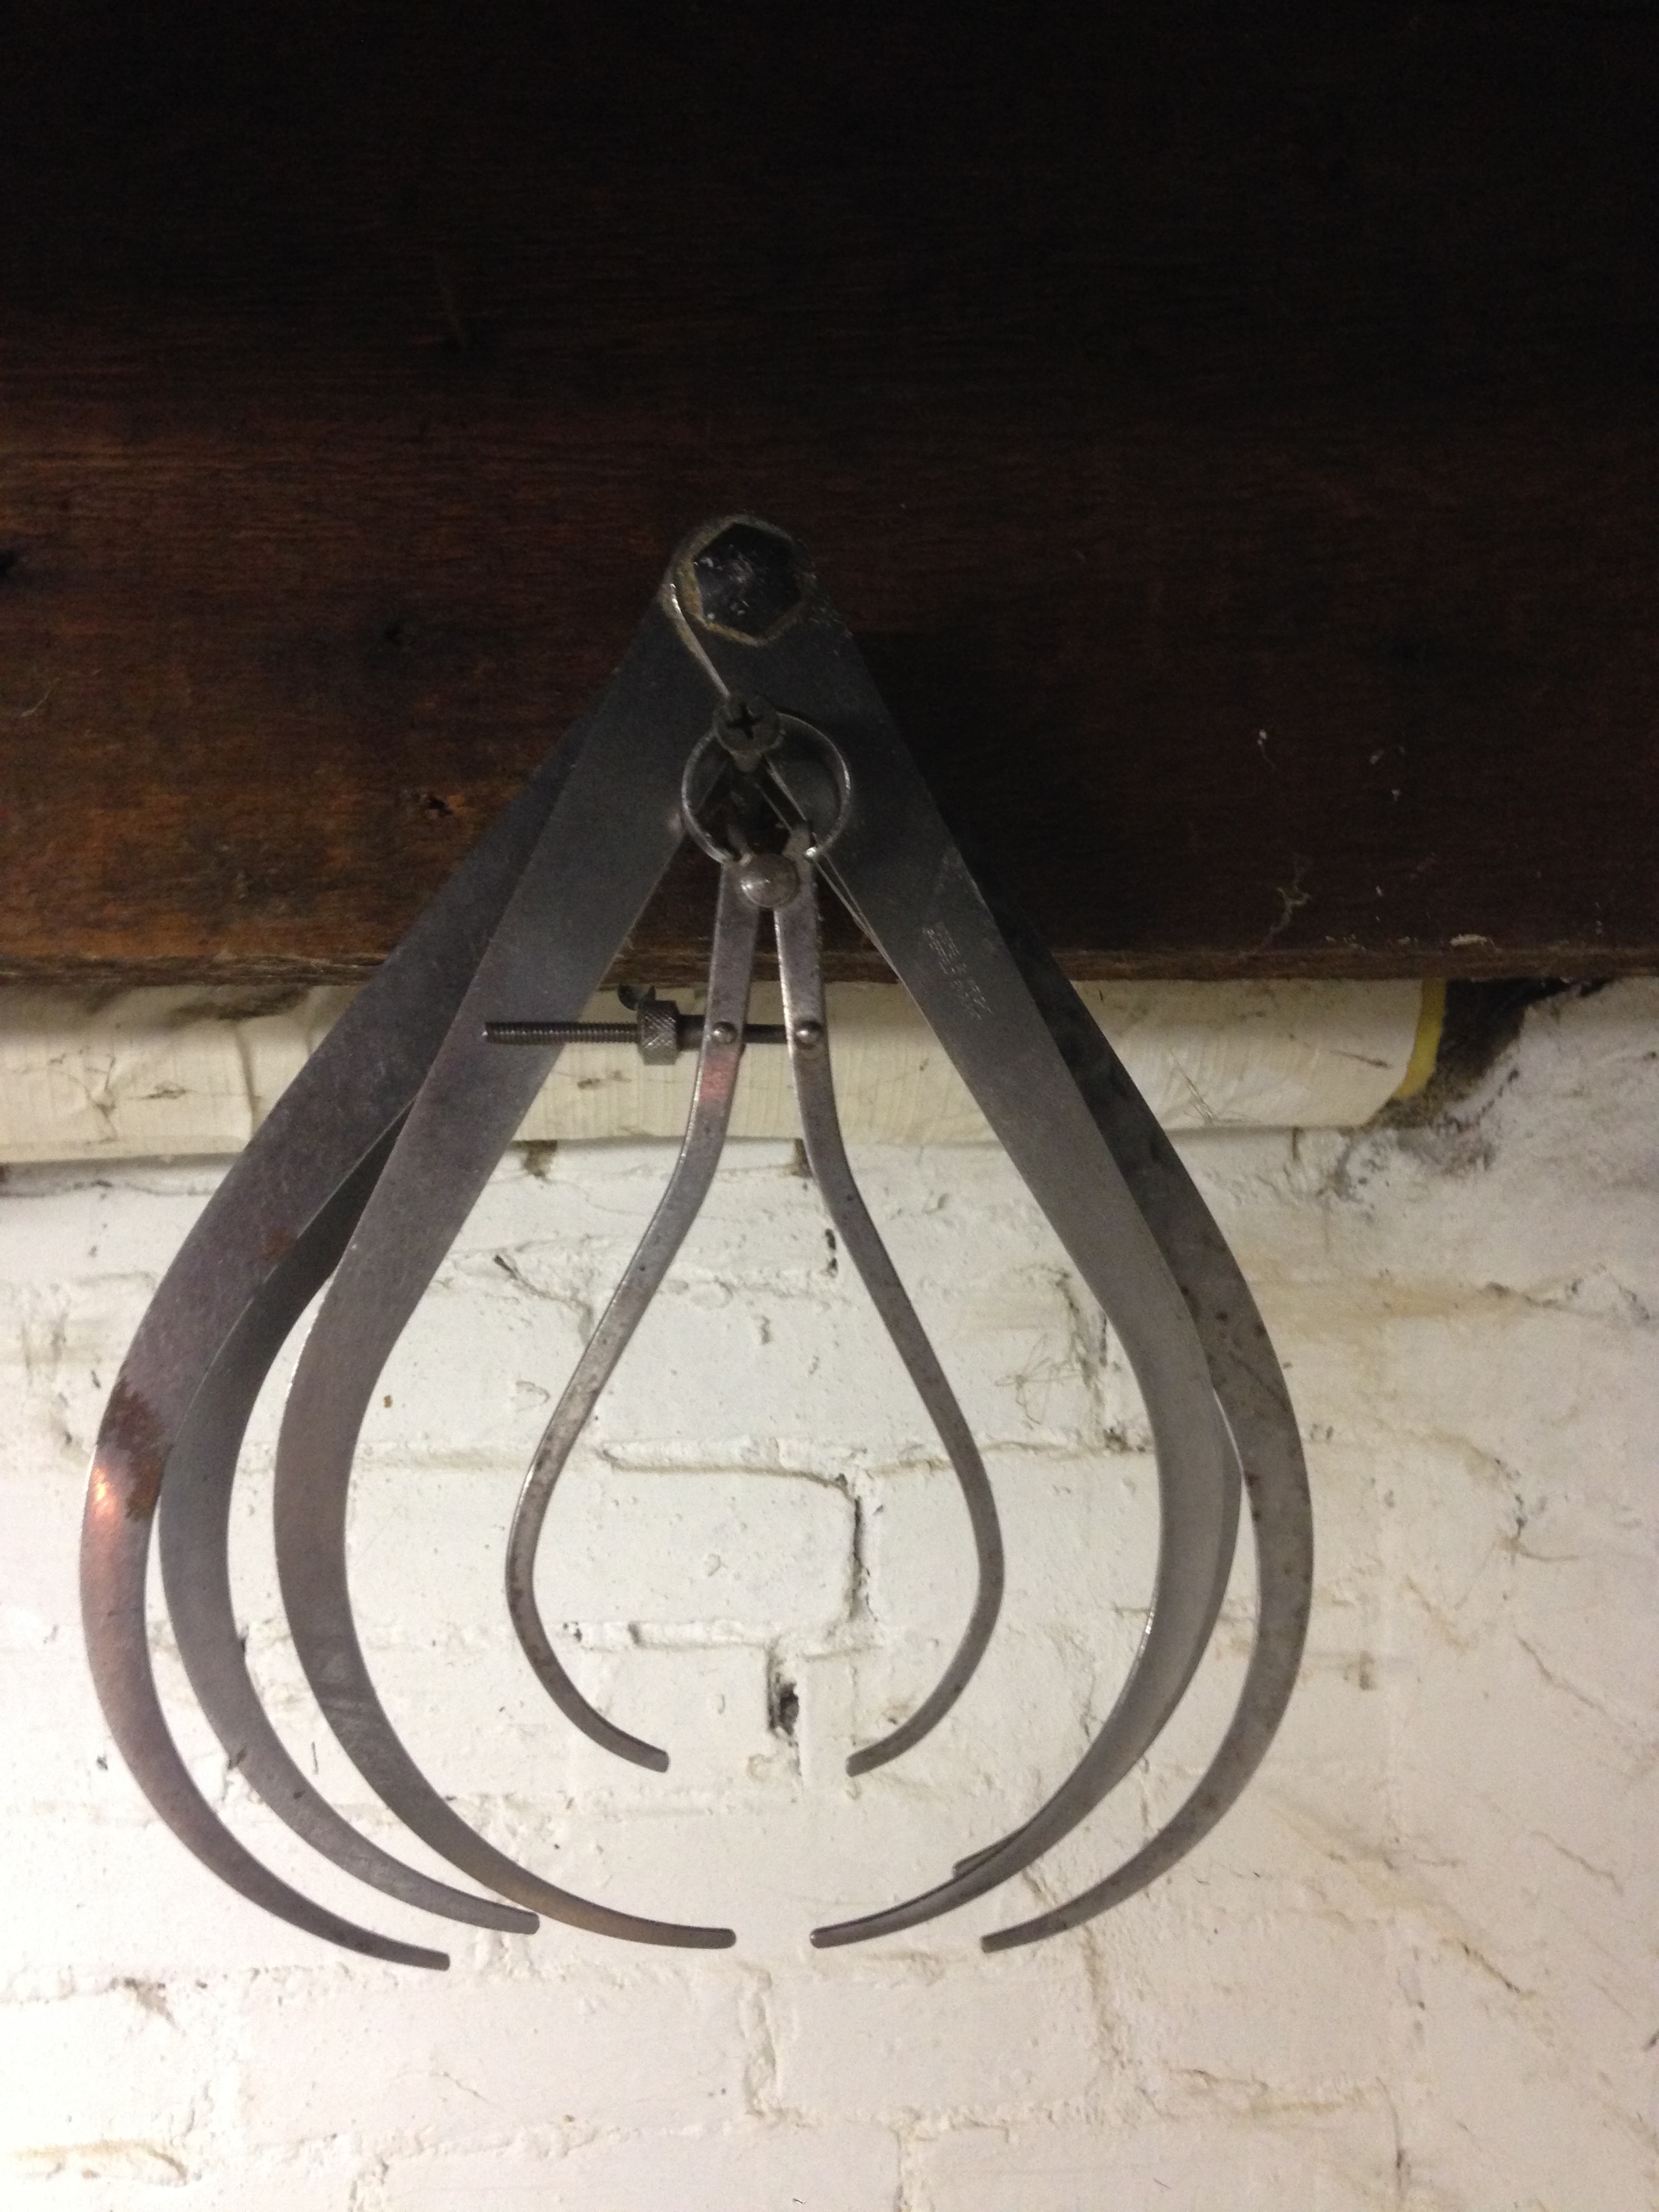
Calipers
Complete the Base
Before taking off the bowl chuck I use my parting tool to complete the base, going into the bottom at a slight 15 degree angle for the completion of the base.
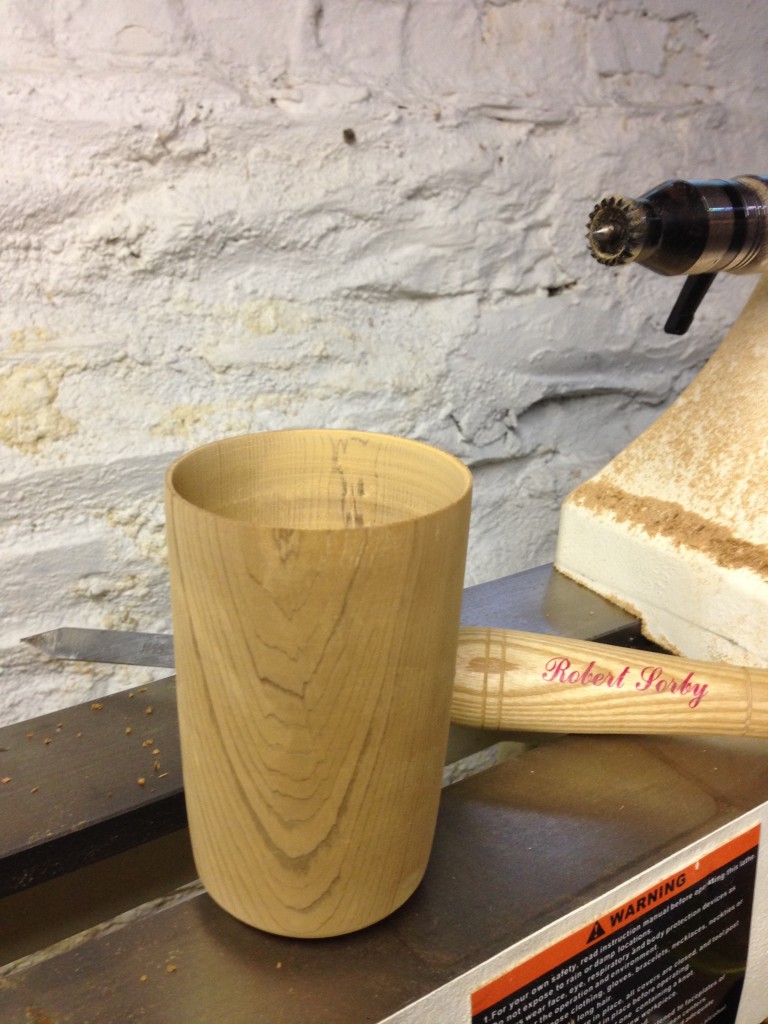
I leave a ¼ to ½” stem at the bottom to be cut off with a Japanese Saw, and chisel at the end. A quick 180 grit sandpaper on inside and outside pass, and then to 220 grit is enough to remove and imperfections in the wood. I leave this candle holder natural with no oils or treatments, but using mineral oil, and rubbing it on while still attached the lathe is the easiest and preferred method.
Turning the inside.
Dust and Eye Protection
Red Cedar is soft and imperfections will happen when turning softer woods, from tool marks, or a kick back in the lathe. When turning and sanding this red cedar candle holder, dust mask should be worn.
Eye protection is a must since chips and saw dust are flying at fast pace. It is also best to have a well ventilated area, and a vacuum running to keep dust particles and shavings down to a minimal.