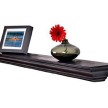
Live Edge Wood and Gas Pipe Shelf

Creating a Weathered Wood Patina
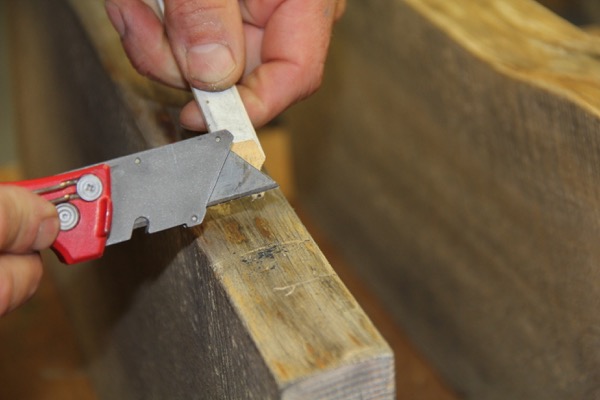
Once the live edge was clean I noticed that it was much lighter than the other flat parts of the board. In order to simulate an aged look, I took a carpenters pencil and used a utility blade to scrape the graphite off and onto the wood. Once I had a good sprinkling, I smeared the graphite into the wood grain, creating a dirty, aged patina.
I did this to the cut ends, and any part of the board that was considered too light. After done I rubbed it in with some sand paper and a rag.
Drilling the Hole
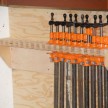
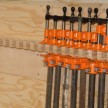
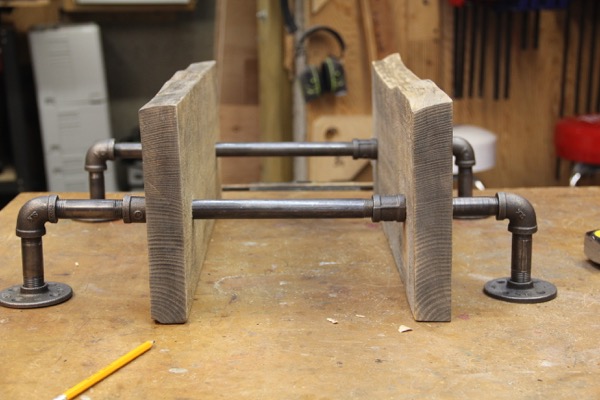
I assembled the flange, pipes and elbows to establish where the pipe would enter the shelf, that location measured 3-3/4” out from the wall. For proportion purposes I used that same measurement and measured in 3-3/4” from the edge and made a mark for drilling. I marked two holes, one both boards.
Using a drill press and a7/8” Forstner bit I drilled four clean, uniform holes.
Note: In retrospect I wish I had moved the pipe locations [holes] out closer the board edge. This would have allowed more shelf storage room.
Assembling the Pipes
With all four holes drilled I oriented the live edge out, assembled all of the pipes, and hand tightened all of the fittings.
Tip: try to rotate the wall flanges so all of the screw holes are oriented the same way.