How To Install an Awning
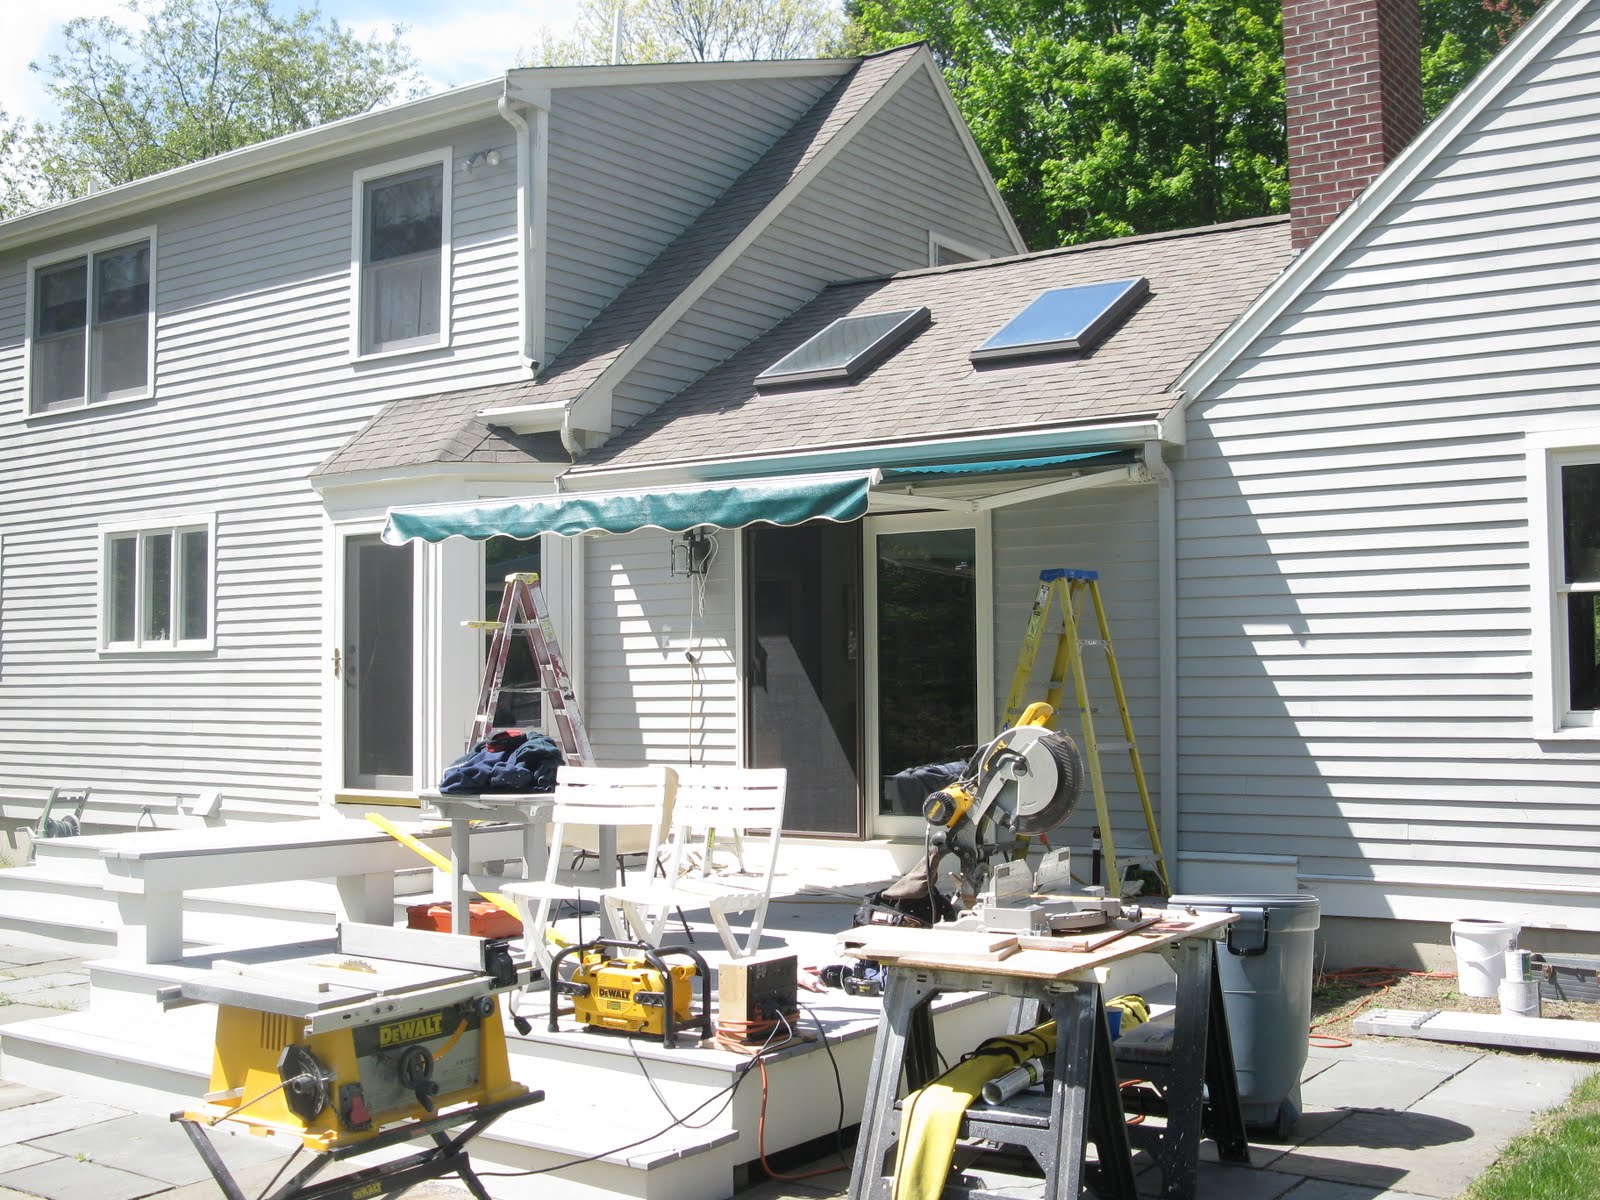
Today was a first. A longtime client of mine asked me to install a SunSetter Awning on her house above her deck door. This article discusses installing a Sunsetter awning and some tips and techniques I learned.
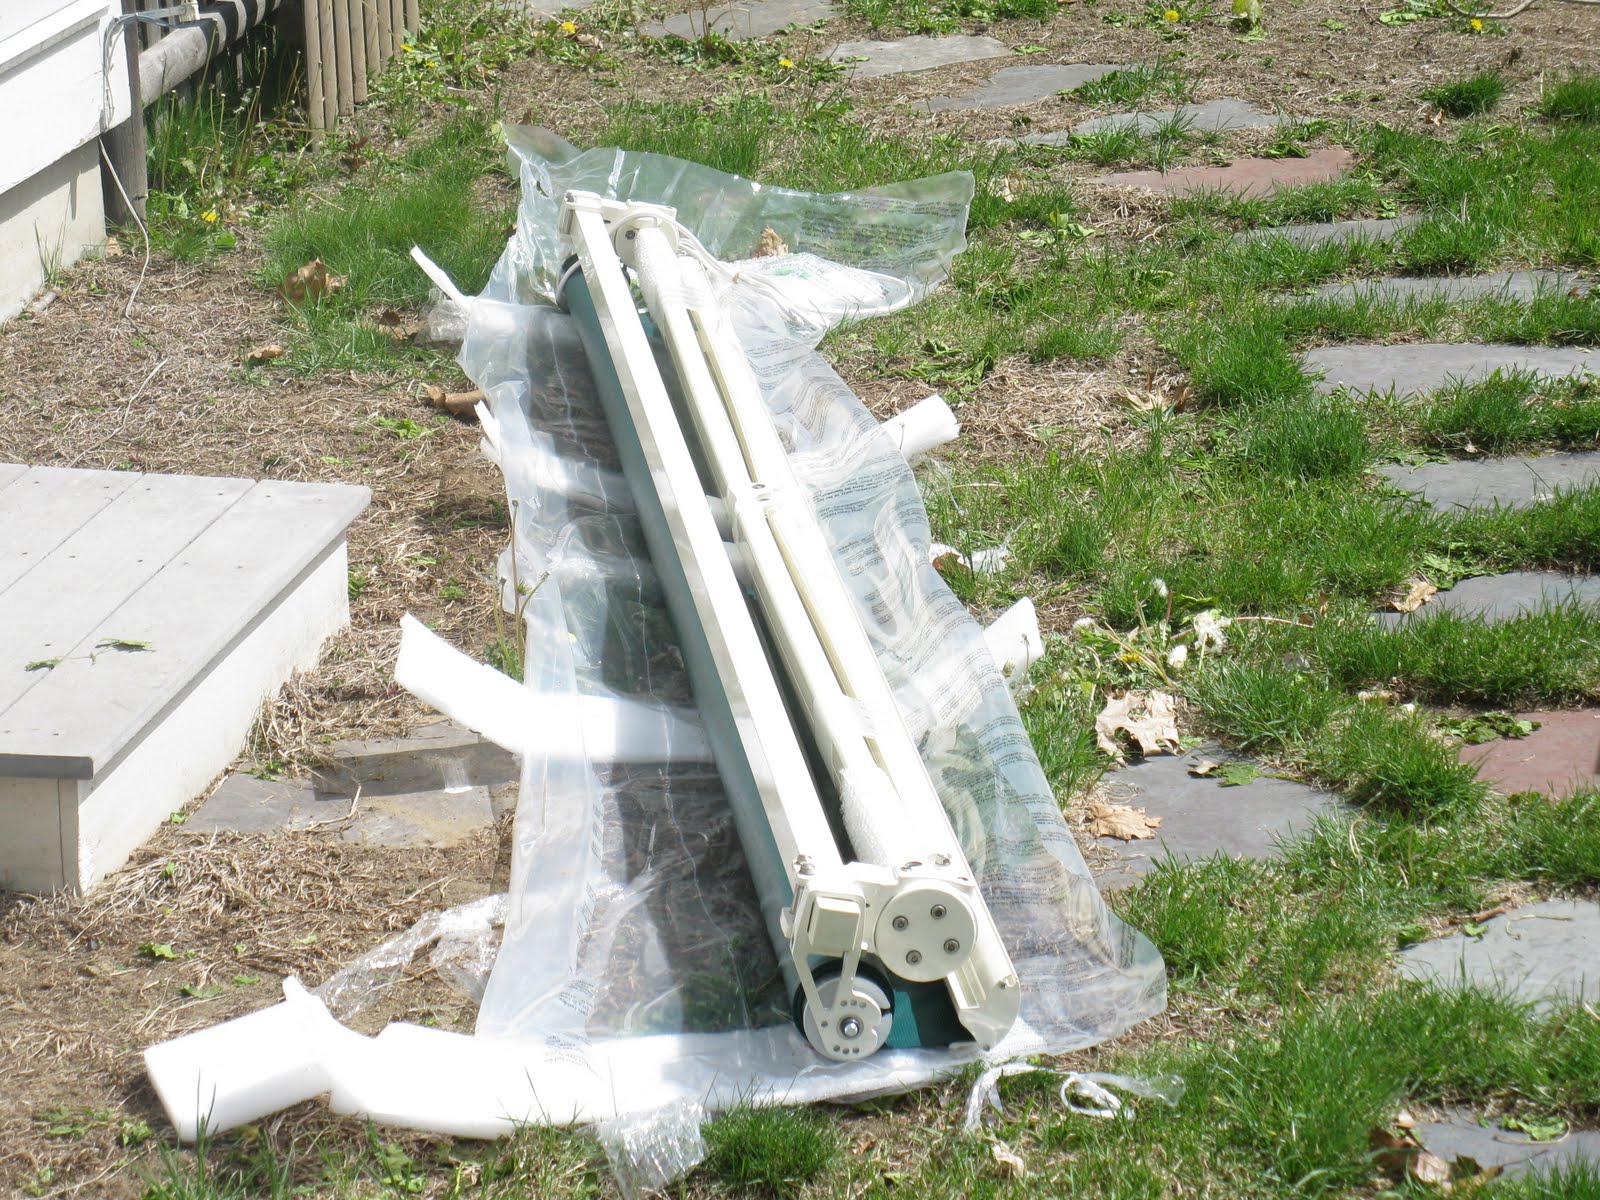
The awning came carefully and smartly packaged with all the fasteners needed for my install. Before Installing A Sunsetter Awning make sure to read the directions first and to measure twice.
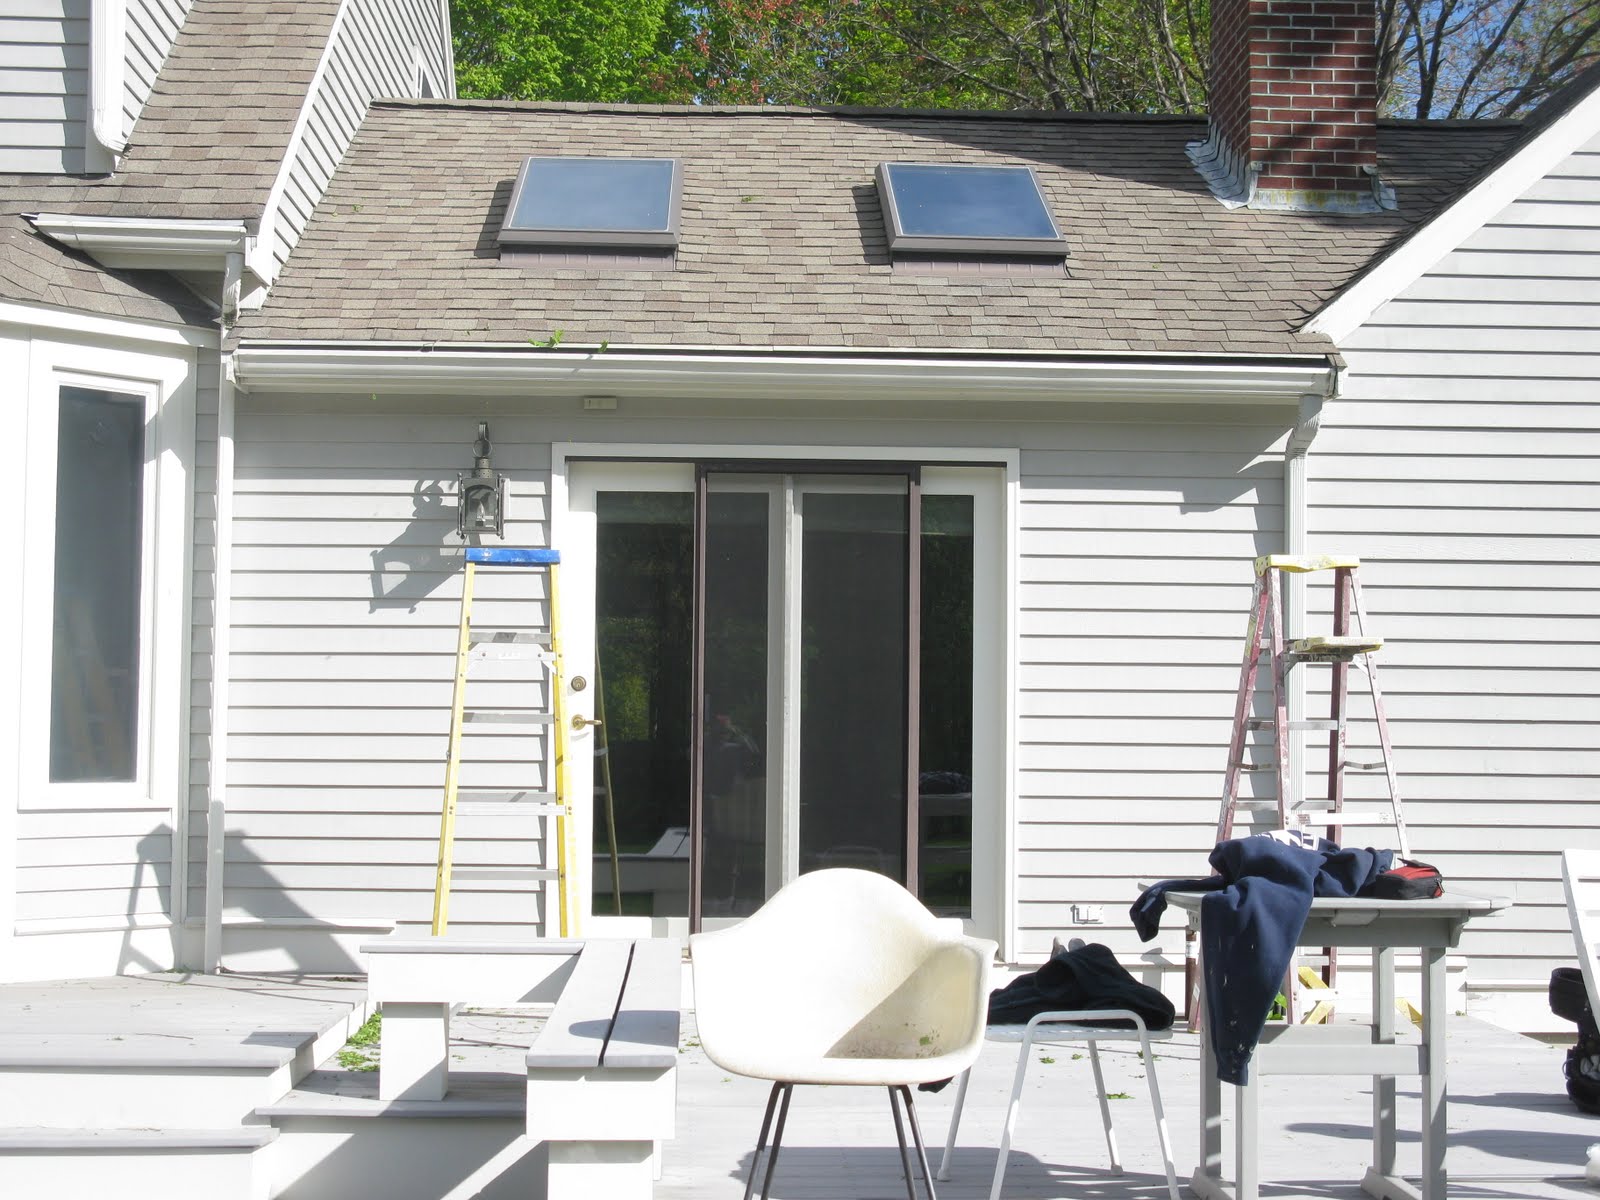
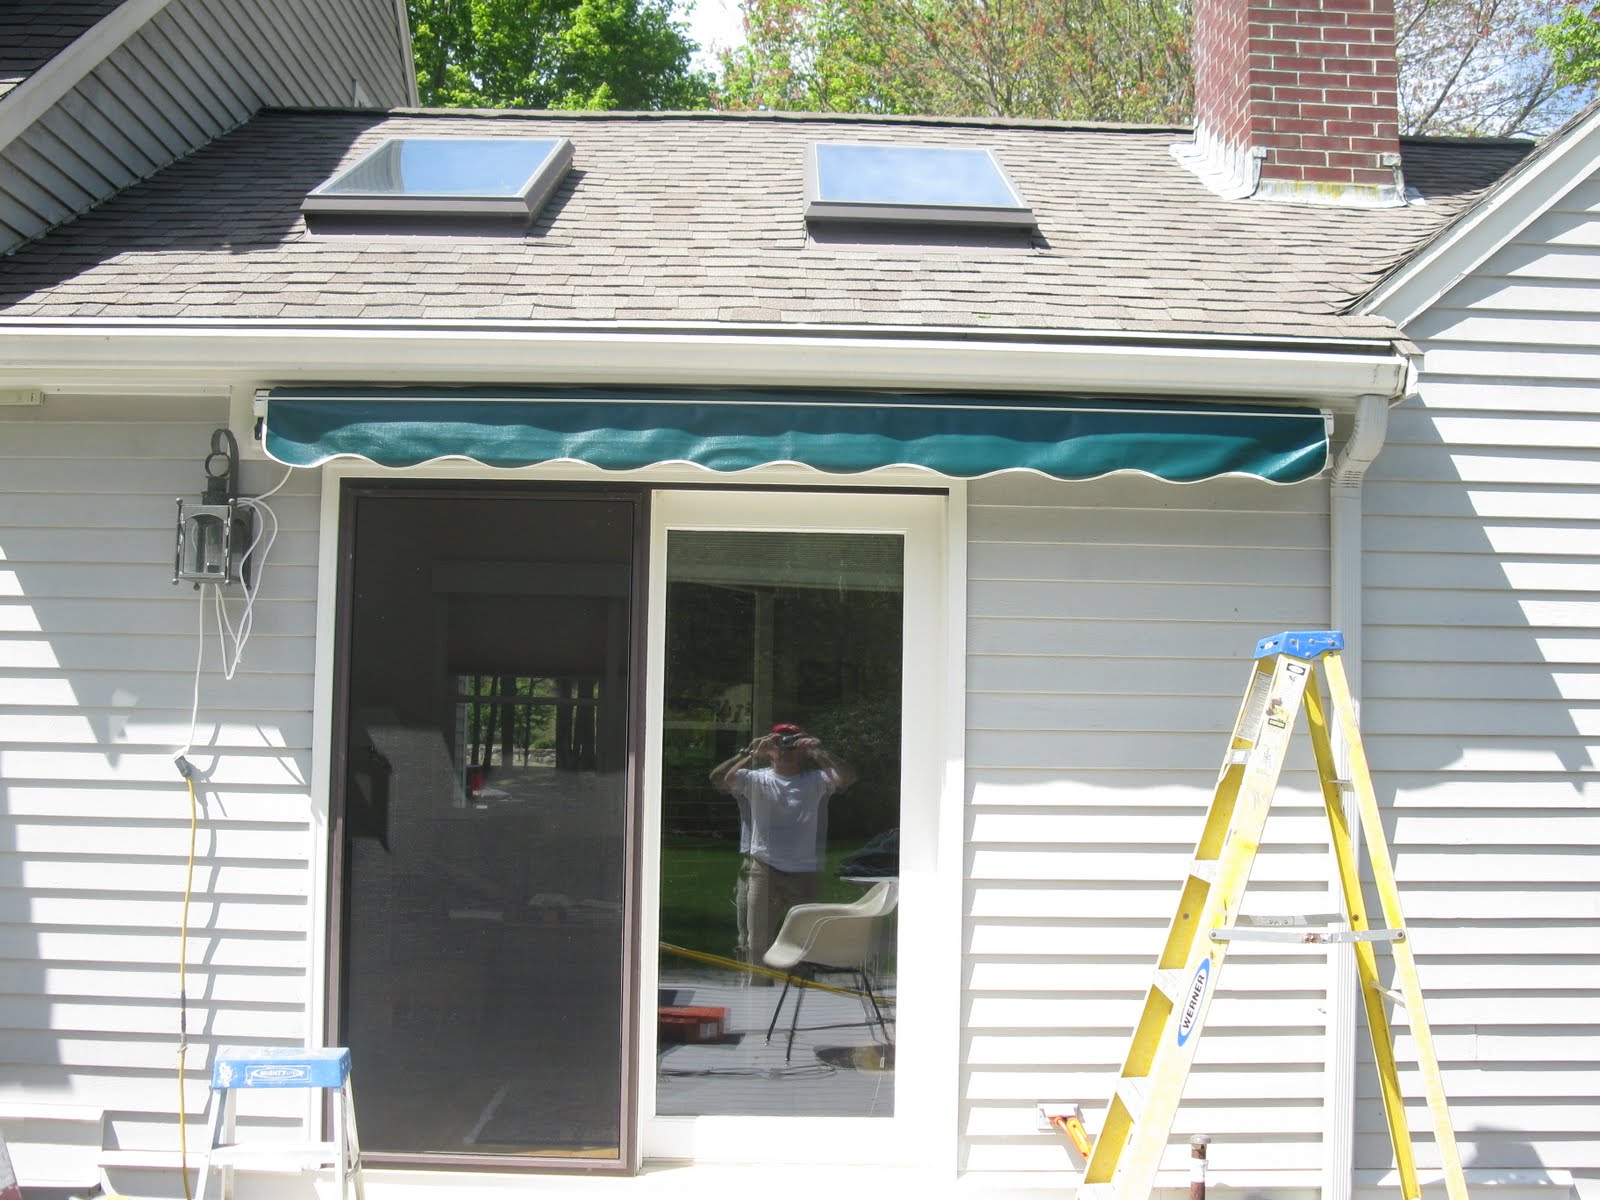
The awning needed to be mounted a minimum of 6’6″ off the floor level. This meant using all of the available space above the door.
I did not like the idea of shimming the slanted clapboard siding to make the the awning brackets plumb so I removed the clapboards and installed a flat mounting board.
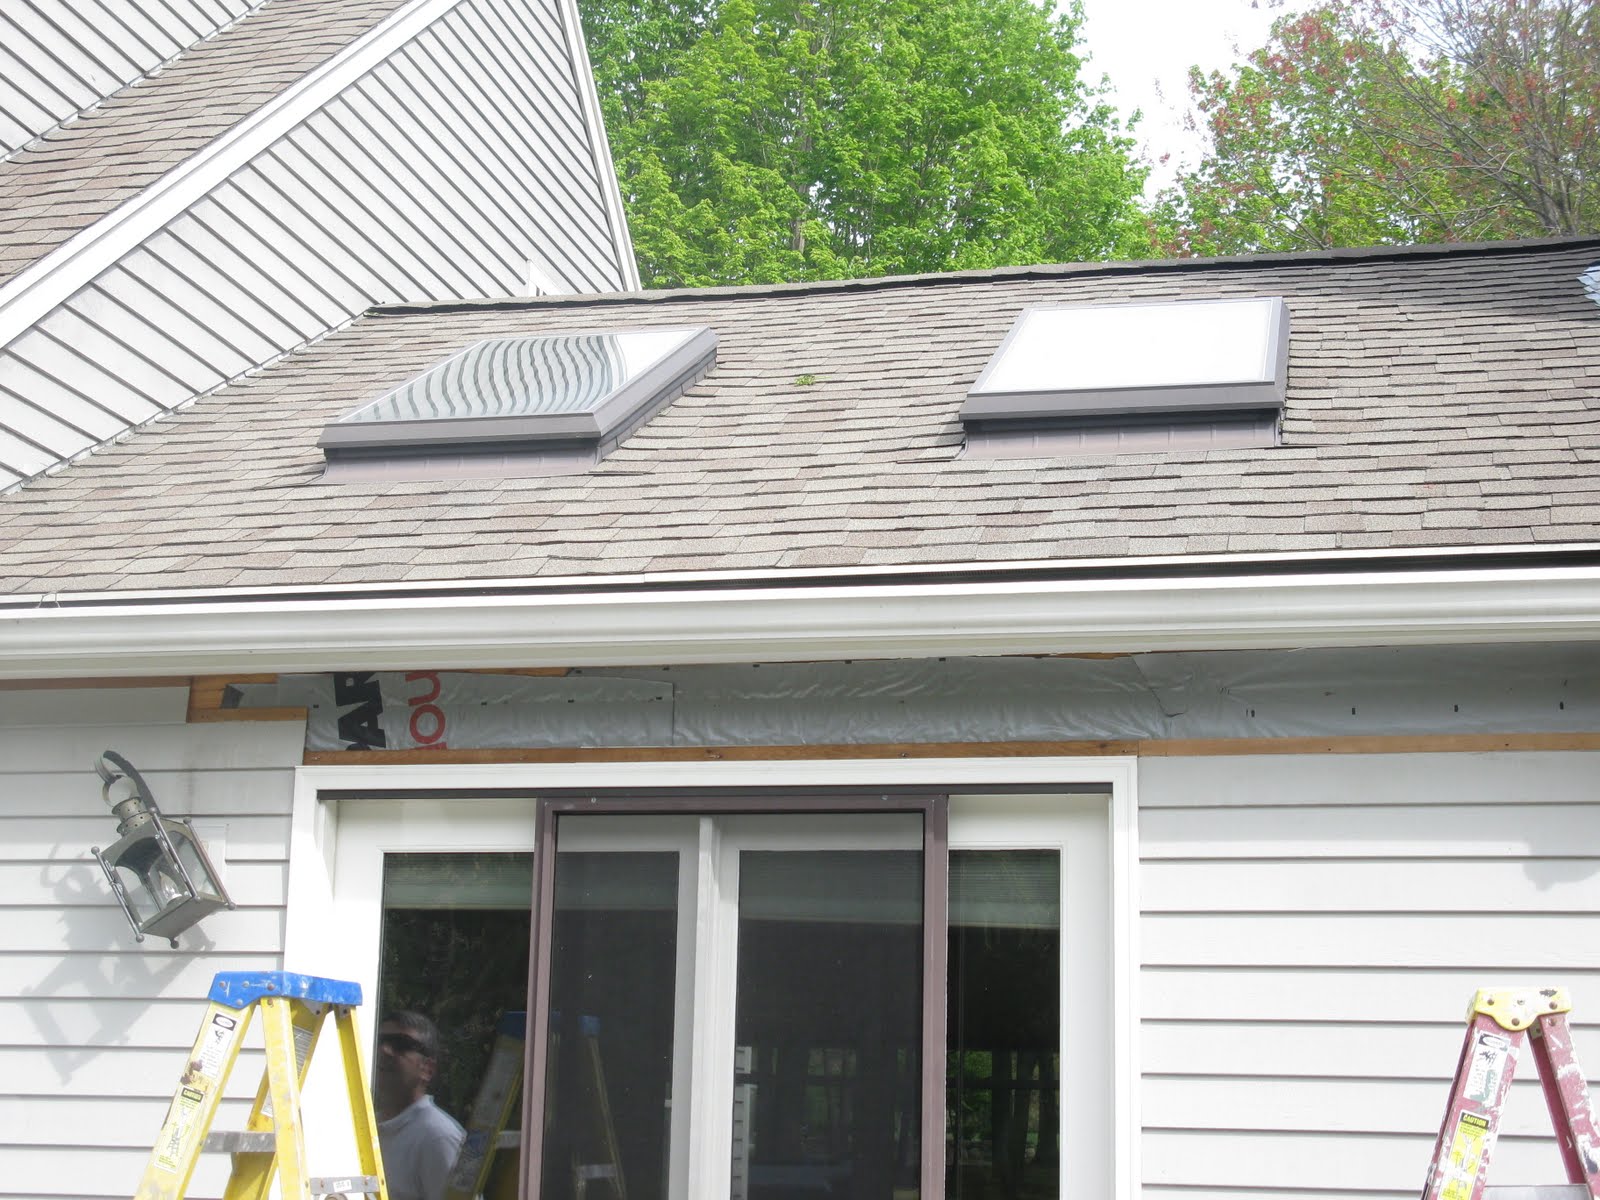
With my flat trim mounting board installed tight to the house I was assured that the brackets would fit tight and flush to the house.

We installed the awning mounting brackets with lag bolts into the sliding doors solid framing header.
Clapboards were reinstalled to close in the trim and the all seams caulked. We painted the trim board and did some other repairs while the paint dried.

The awning bolted easily to the brackets.
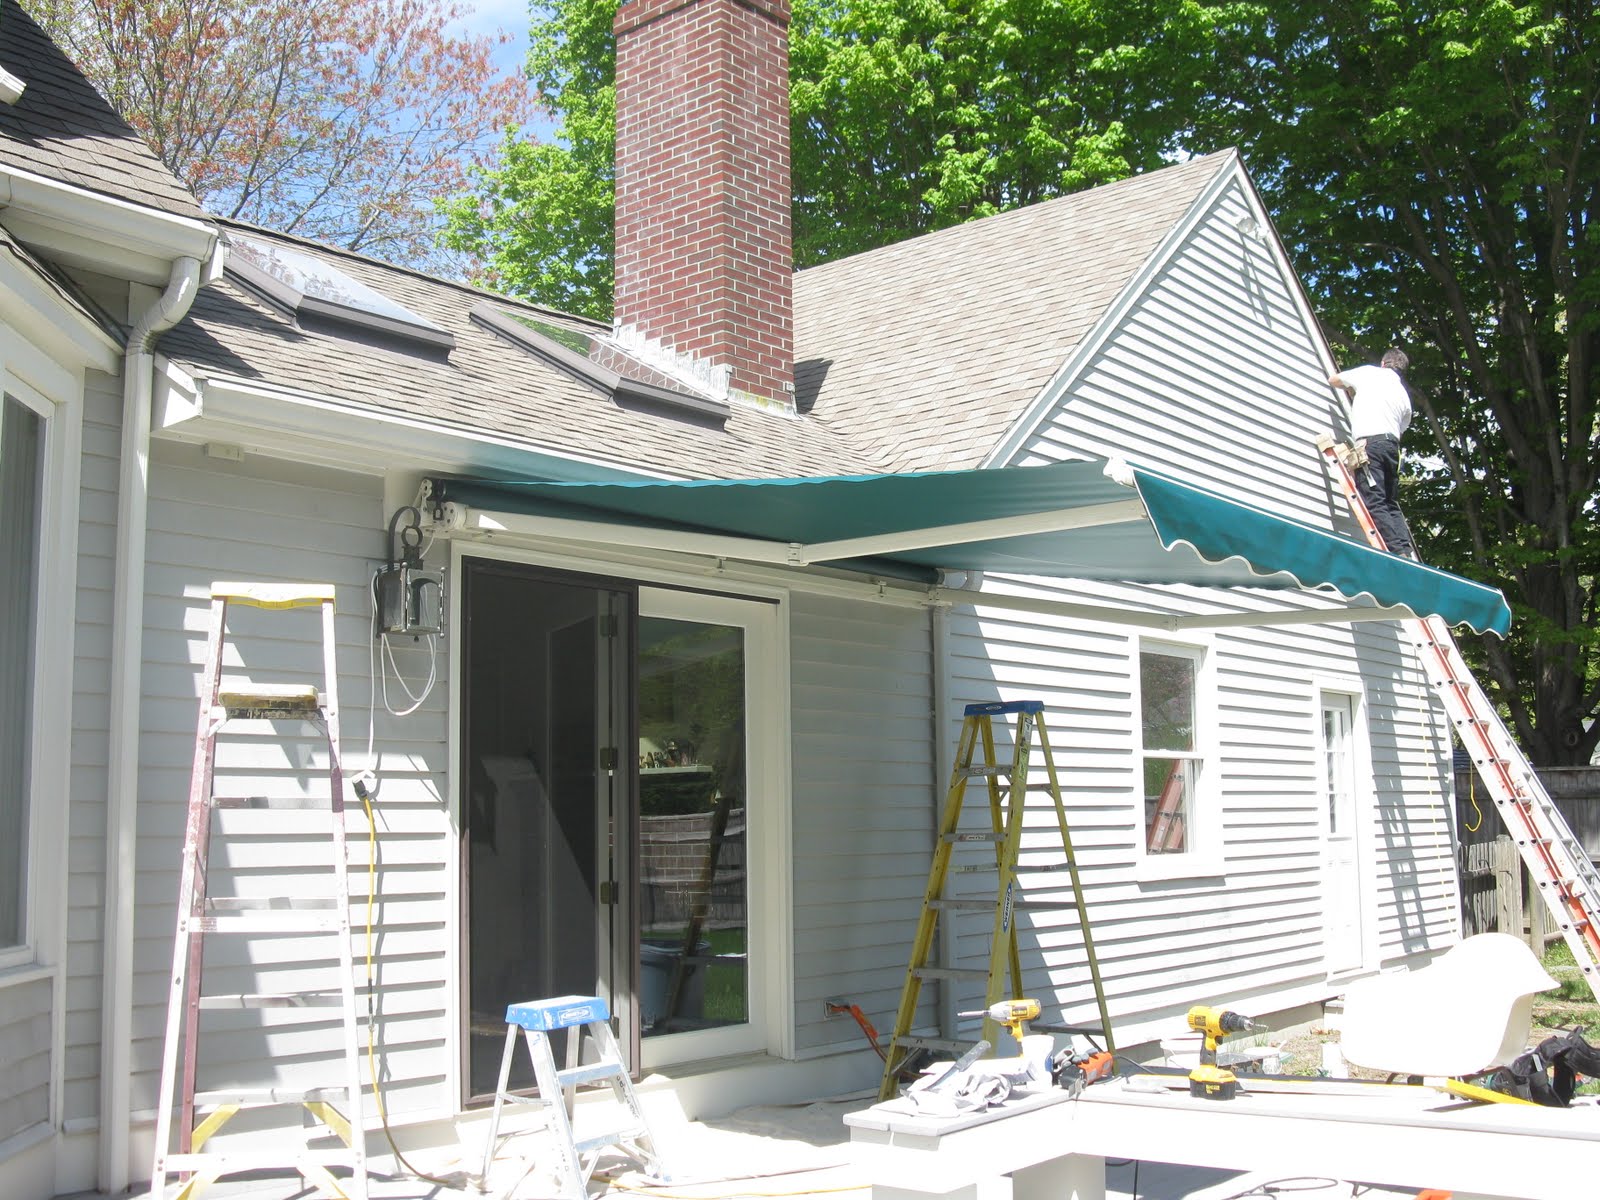
Awning in action.

The only fussing we had was getting the awning to stop at the correct position. the directions clearly detail how to do this and once we reset the factory stops the awning operated perfectly.

Fully open.
Now it’s time to clean up and Margaritas in the shade!