


Installing Shaw Epic PLUS Hardwood Flooring
Installing Shaw Epic PLUS Hardwood Flooring isn’t much different from traditional hardwood flooring. A couple important items to note when purchasing pre-finished or engineered flooring like this though. First, warranty. For a manufacturer to uphold their warranty, installation must be in accordance with the manufacturer’s guidelines. Incorrect installation or improper product selection for a condition may void the warranty. This is why it’s always best to consider professional installation.
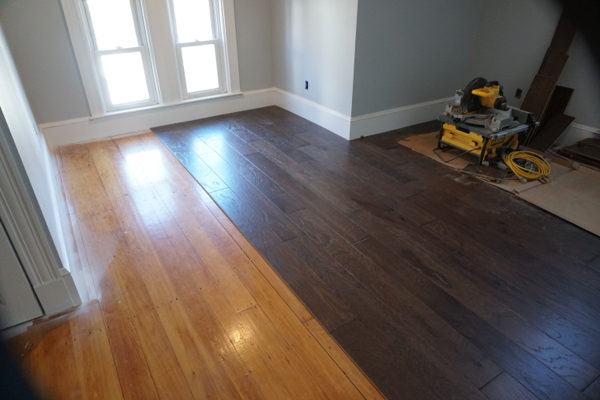
For example, when applying Shaw Epic PLUS with Stabilitek over an exisiting flooring Shaw recommends running the flooring perpendicular to the old floor. Client preference may trump this recommendation, as shown above.
When deploying any new product to your team, make sure you, the project manager, and the subcontractor are on the same page. Manufacturer requirements may vary and traditional methods may not be appropriate. Be sure you communicate clearly those requirements in advance of sub-contracting installation.
Second, as we discussed in the Choosing Hardwood Flooring article, job preparation is key. With Shaw Epic Plus hardwood flooring you have several different methods of installation available. This product can be fastened, glued down, a combination of both, or installed as a floating floor. With each scenario there are a few unique considerations. Refer to our Choosing Hardwood Flooring and Shaw Epic PLUS with Stabilitek article for details on sub-floor prep and always refer to manufacturer’s installation instructions.
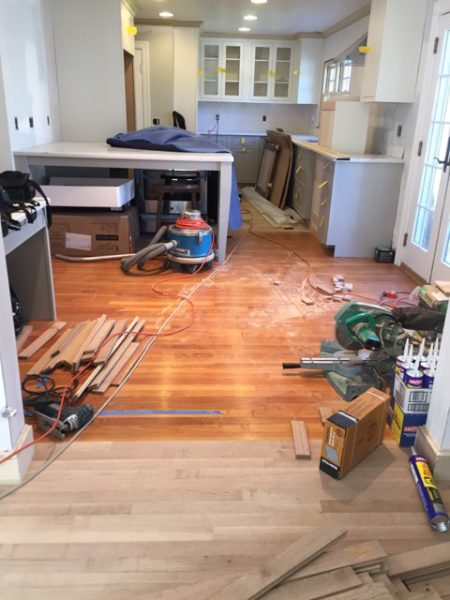
Room Prep and Layout
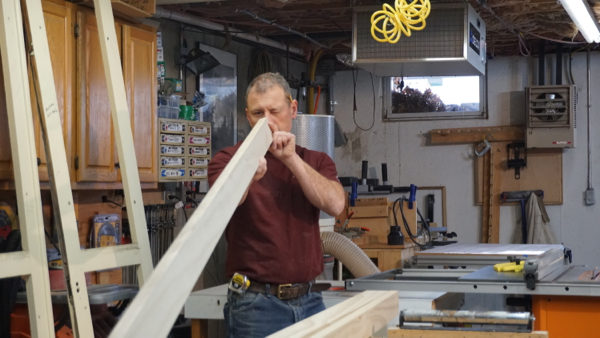
First, undercut door casings about 1/16th higher than your flooring off the top of subfloor. Also, you’ll want to check all doors to ensure the added height of the new floor will not impede on any door’s swing. Both tasks can be accomplished using a piece of scrap to set your height for casing and door adjustments.
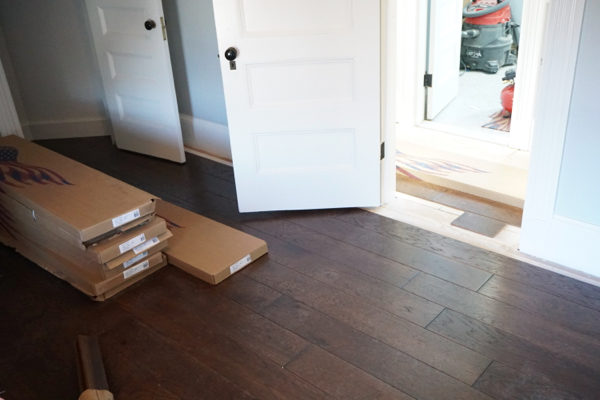
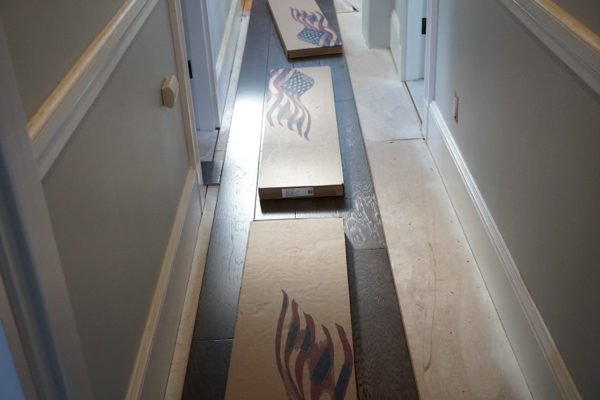
Before you even think about laying down your first board, mix your boxes. Best practice is to mix cartons of material to ensure a consistent random pattern of flooring. Be sure to inspect boards in well lit areas to identify defects and inspect color. Also, review transitions pieces. Stage them in the room and select flooring boards that best complement transition pieces. Earmark these boards to ensure transitions blend in nicely with the rest of the floor.
Inspect the flooring during the installation. Any planks with visual defects are “culled out” or replaced using the added 10 percent material ordered for the job.
The final step for layout and room prep is to start the boards in a staggered pattern no less than 6″ between seams. Continue this pattern during installation. The most efficient way to ensure this pattern is to make each first cut at least 6″ larger or smaller than the previous course, stagger appropriately, choose random sizes to prevent a patterned appearance, then use the other half of the first cutoff to complete the course. Ideally you can minimize waste and only make 2 to 3 cuts per course.
Benefits of Engineered Products
The benefits of engineered products are clear when you start to lay down the boards. Warped and twisted boards are few and far between. The typical adjustments made to boards that hook can slow down production. Engineered products are true and reduce modifications in the field.

Here is where engineered flooring shines in my opinion as a contractor. Typical engineered floors are often composed of MDO or MDF type materials. Which by nature are much more stable than actual ¾” medium hardwoods, like oak. Shaw’s Epic Plus with Stabilitek is actually an HDF core. These products can withstand greater changes in humidity and temperature than actual wood, so less shrinking or swelling. Most importantly, the floor will look more like the day it was installed several months down the road. So less call backs!
Glue Down Installation
When exclusively gluing down flooring you need a clean, well prepped substrate when installing Shaw Epic PLUS Hardwood Flooring. To achieve a strong bond both the floor and the material must be clean. Properly gluing down a floor is time consuming. You must trowel the adhesive. This is slow AND messy. The proper trowel will depend on the glue you select. A 1/4″ V-notch trowel is common. Spread only 2 to 3 courses at a time. Ensure you can install those courses within the skim time of the adhesive.
Finally you must press down firmly on each board while installing Shaw Epic PLUS Hardwood Flooring as outlined in the manufacturer’s instructions. If possible, weigh down flooring during curing, not a requirement per Shaw, but a personal preference on our part. Just remember items left on the floor can be a trip hazard!
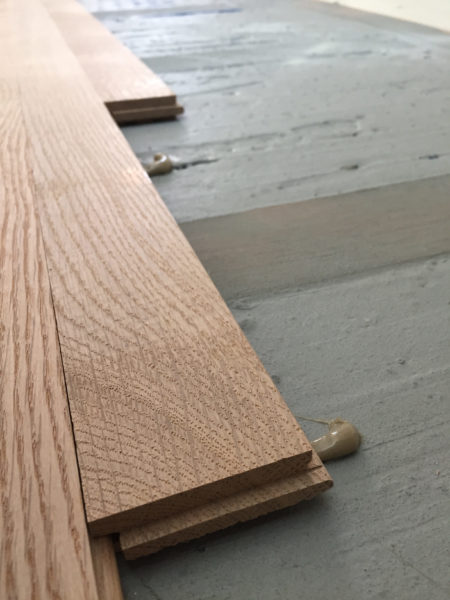

Conversely glue is a great addition to a floor being nailed or stapled to the subfloor. I prefer using glue in select areas to create a solid floor as you can see in the solid hardwood flooring installation above. Using a caulking gun to neatly dispense glue as needed is fast and enhances a fastened installation. Thresholds, high traffic areas, and terminations almost always get a little extra love with an adhesive. Again this is a personal preference, Shaw does not require adhesive with nail or staple installations.
Nail Down Installation
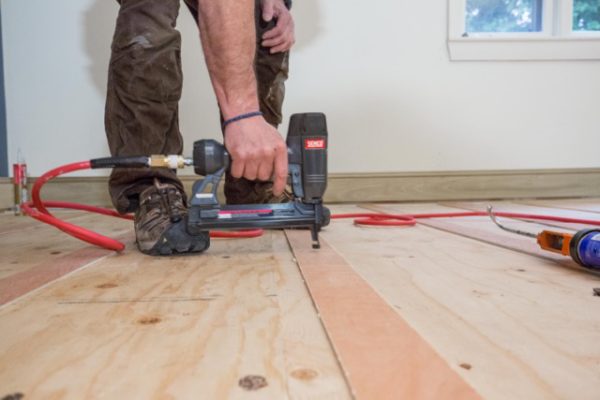
In a nail down installation, proper fastener, schedule, and air pressure setting is critical to properly installing floor. Your fastener needs to conform with the manufacturer’s recommended staple or cleat. See Shaw Epic PLUS installation instructions for requirements. Schedule for fasteners is 1 to 2″ from the end joints. And 6″ along the length of the board. As you fasten the boards be sure to check for proper depth on staples and cleats. Air pressure set too high will overdrive. Pressure set too low will leave fasteners protruding from the tongue. This impedes on proper tongue and groove connection.
Floating Floor Installation
Floating floor installation is just what it sounds like. The flooring is NOT attached to the substrate in any way. An underlayment is spread on the floor, and the tongue and groove boards are adhered to one another during installation. There are few scenarios where we recommend this type of installation. But for the few, sometimes the floating floor is the way to go.
Primarily you’ll use a floating application where you cannot fasten to the subfloor. Even an engineered floor will move a lot in this scenario. Standard 3/8″ to 1/2″ spacing around the room prevents buckling. Spacing should be increased 1/16″ for every 3′ of the room that extends beyond 25′.
Overall installation considerations…
Overall installation considerations require knowing the homeowner’s preferences and budget. Matched with a sound understanding of the conditions the material will be installed into. Regardless, remember to follow best practices for any floor installation, whether pre-finished or standard solid hardwood flooring:
- Acclimate flooring to Humidity
- Control Dust
- Prep room and sub-floor
- Plan layout carefully
- Mix boxes for uniform color
- Mock up transition pieces
- Utilize appropriate installation methods
- Check layout throughout install
- Follow manufacturer recommendations
This product can be fastened, glued down, or installed as a floating floor. With each scenario there are a few unique considerations. For details on sub-floor prep and installation, always refer to manufacturer’s installation instructions.
The key is to match the substrate, conditions, and client’s needs to your installation method. Communicating clearly with your team will avoid misunderstandings and maintain the aforementioned goal. Finally, preventing dramatic swings in humidity and temperature will ensure you prevent the cause of most common call backs.
Installing Shaw Epic PLUS Hardwood Flooring Video Review
This is a sponsored conversation written by me on behalf of Shaw Floors. The opinions and text are all mine.