
Adding Wainscoting Molding to a Curved Wall
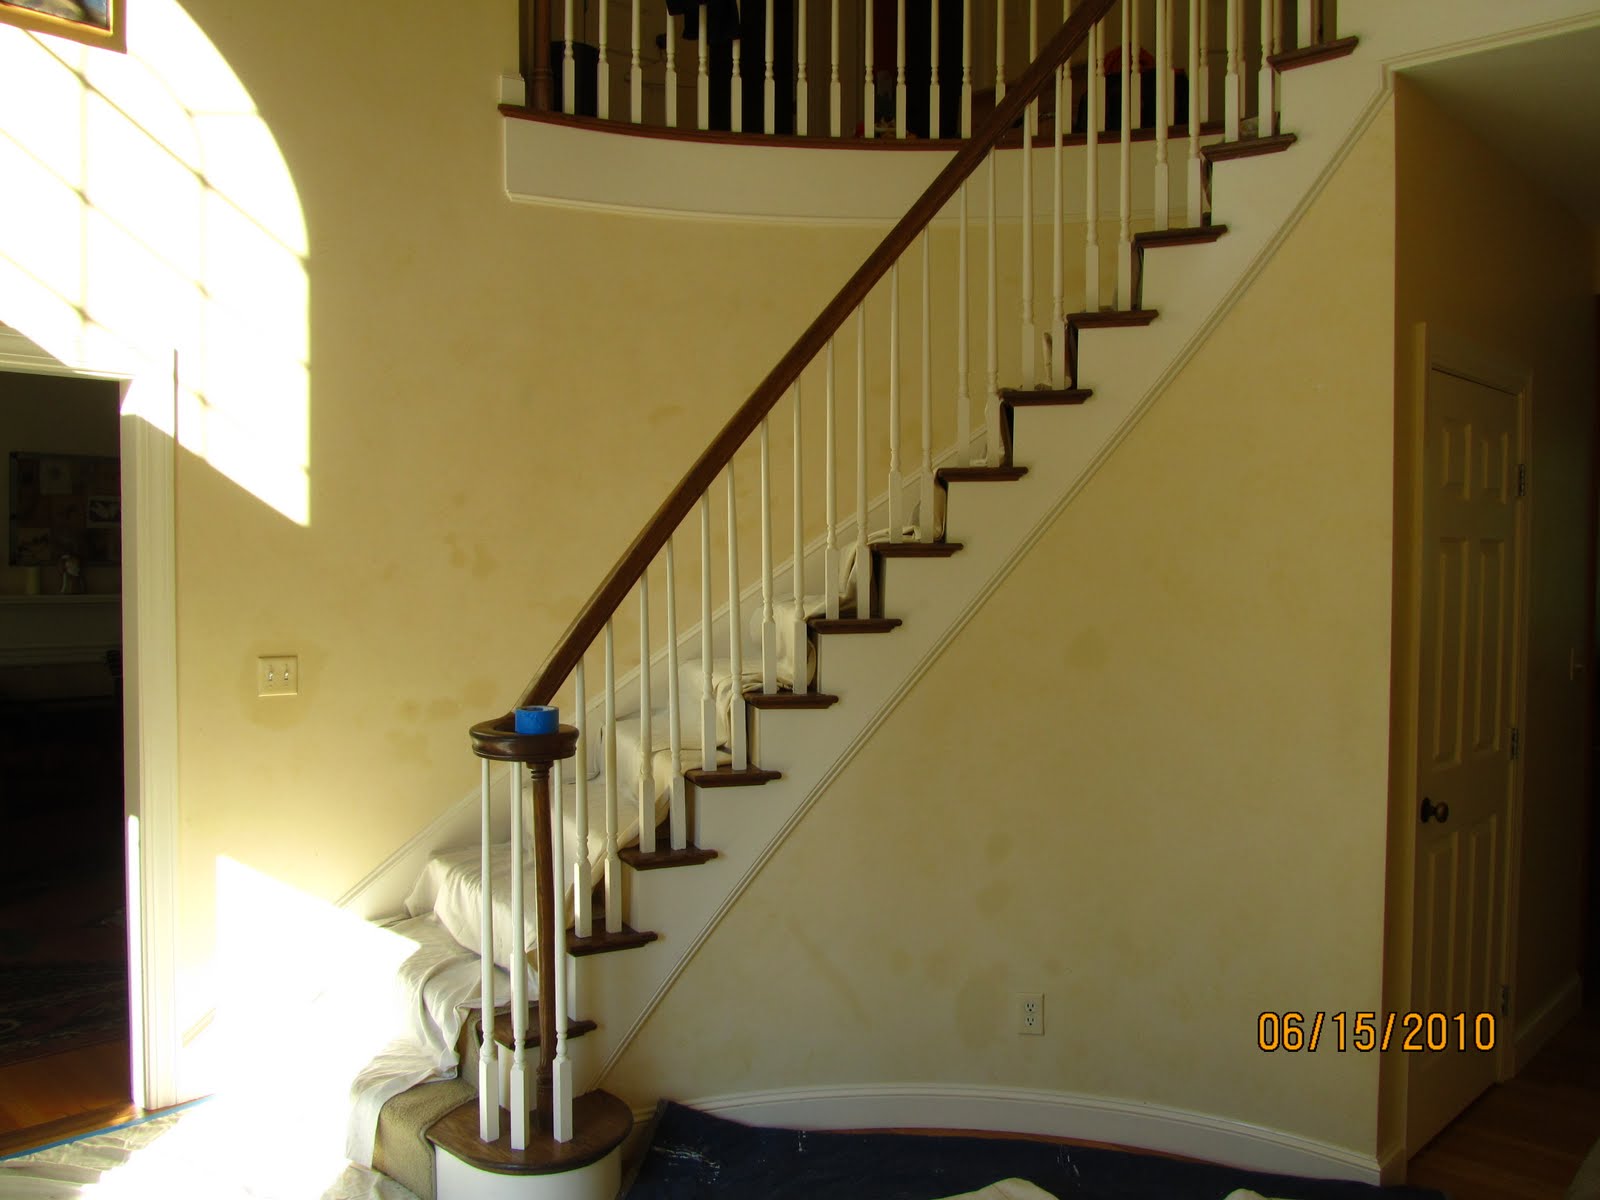
The picture below is a front entryway of a friend of mine. She wanted to dress up her front entry way by Installing Molding To A Curved Wall. the molding applied to the wall will basically be a faux wainscoting. New paint and wallpaper will dress it up once finished.
I was asked to install the faux wainscoting. This basically entailed attaching moldings to the wall to create the effect and look of wainscoting panels. Wainscoting adds instant elegance to almost any room, but it’s pricey.
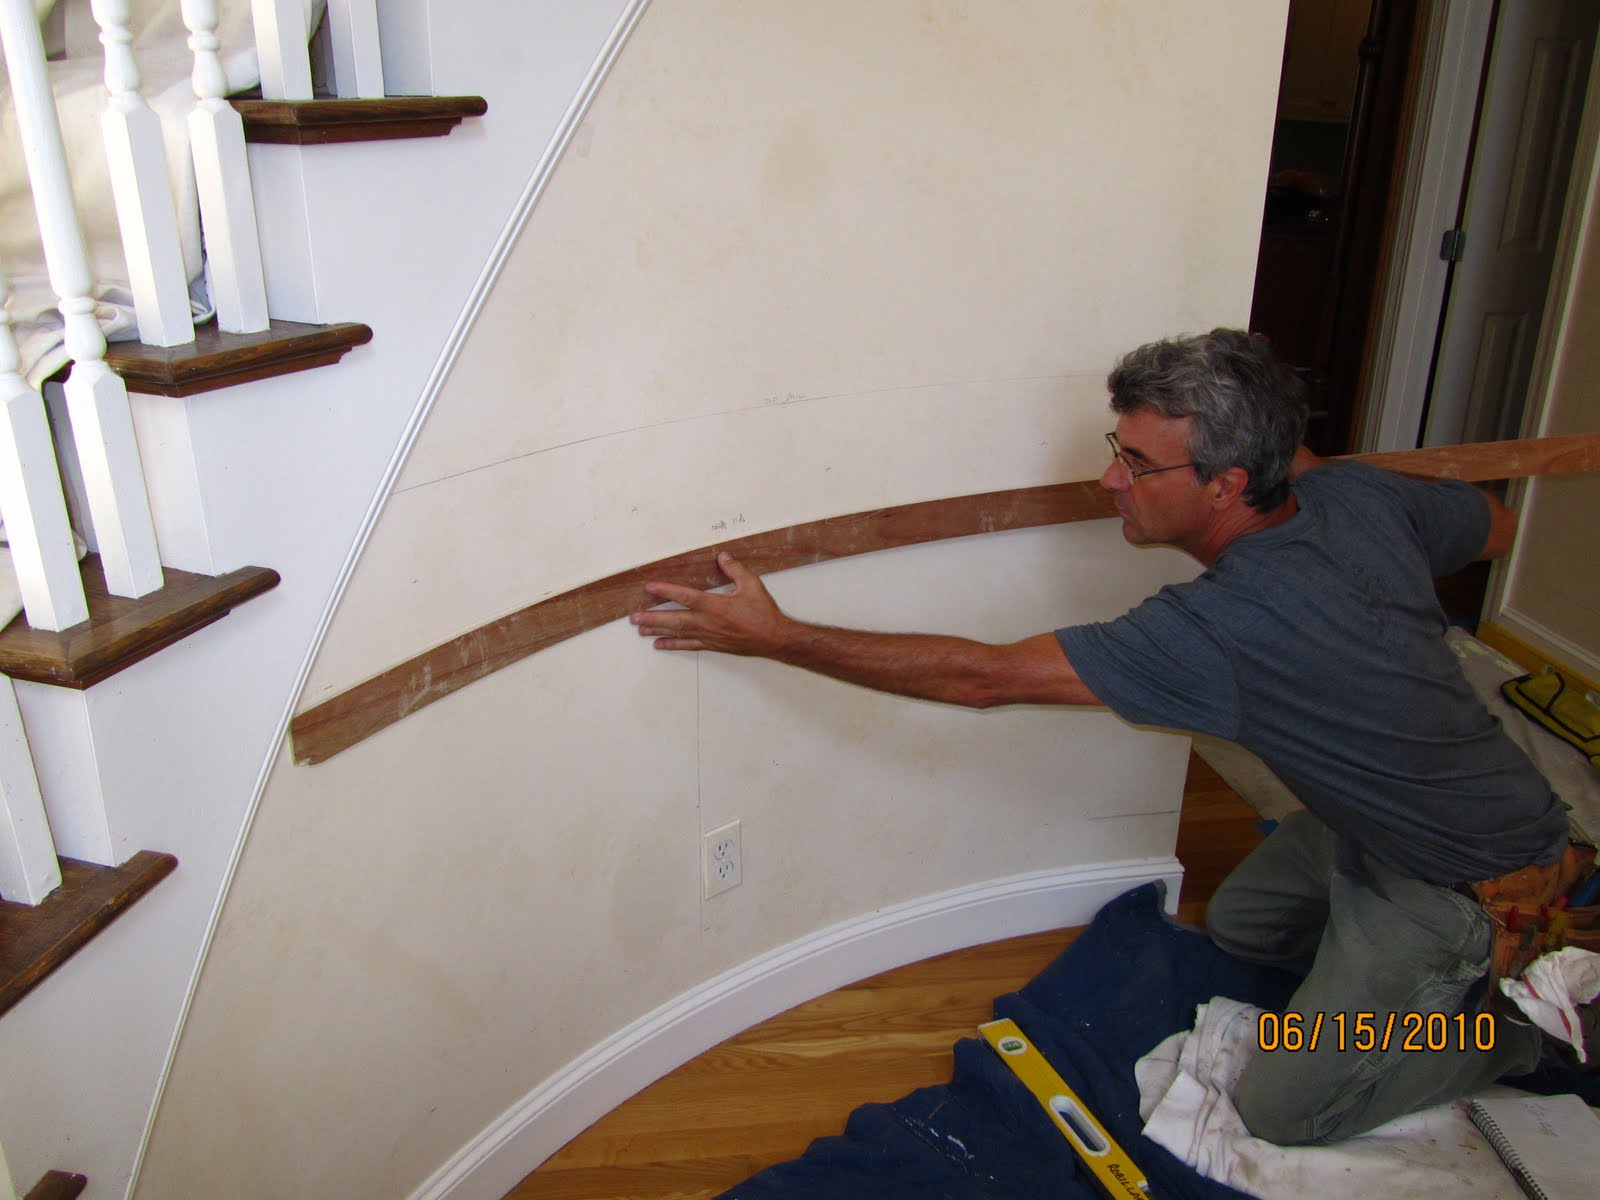
Faux wainscoting is a great way to add some instant class to your home and within budget. The interesting part of this project was the curved stair walls.
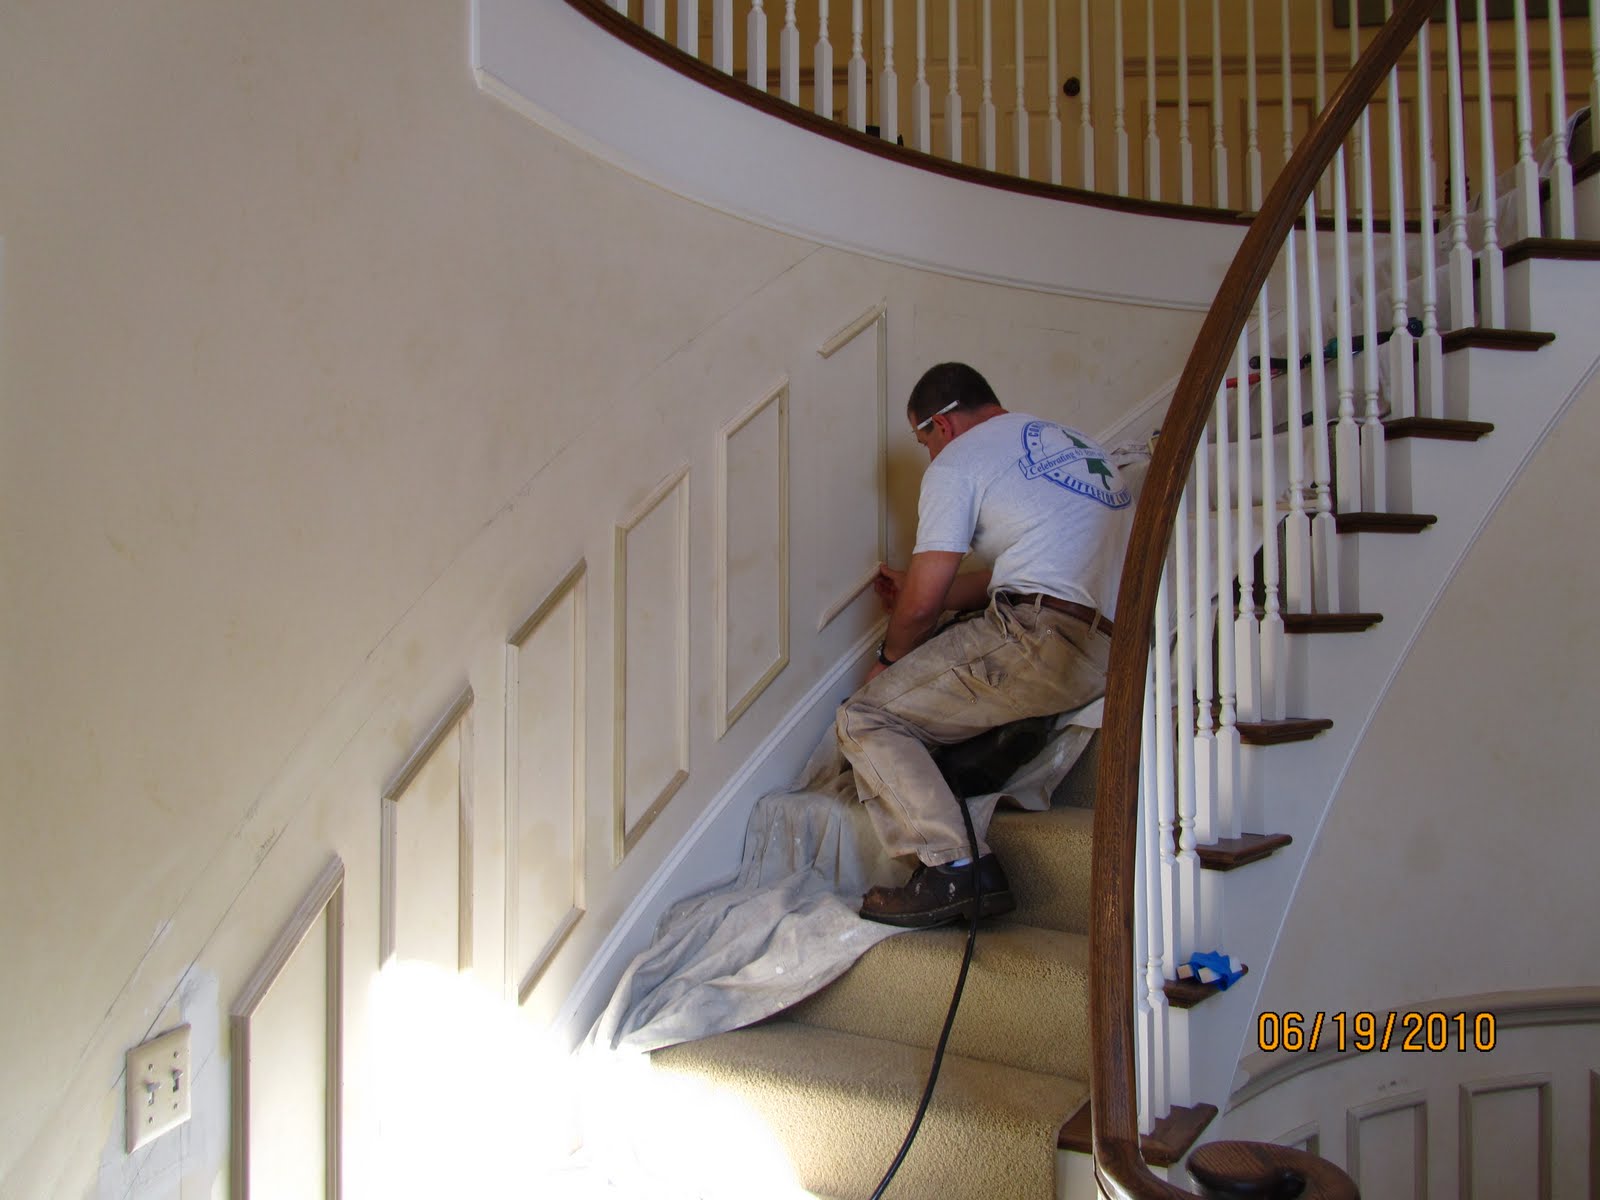
We used Luan plywood ripped to 3″ strips as template material as well as to measure and mark the curved wall. Luan plywood is a cheap version of mahogany plywood and comes in 1/8″ and 1/4″ thicknesses in a 4′ x 8′ sheet. It is very flexible and perfect for curved wall applications. Below Finish Carpenter George Gussler is laying out the horizontal lines to the faux wainscoting panels.
Installing Molding To A Curved Wall meant using Duraflex moldings from ResinArt. These flexible moldings are a simple and economic alternative to curved wood applications where wood mouldings won’t work.
Some other flexible molding applications are:
- Half Round Windows
- Elliptical Windows
- Arches and Arcs
- Bowed Windows
- Radius Drywall Corners
- Curved Stairwells
- Round Columns
- Trim Ceiling Domes
Below I am bending the molding with simple finger pressure.
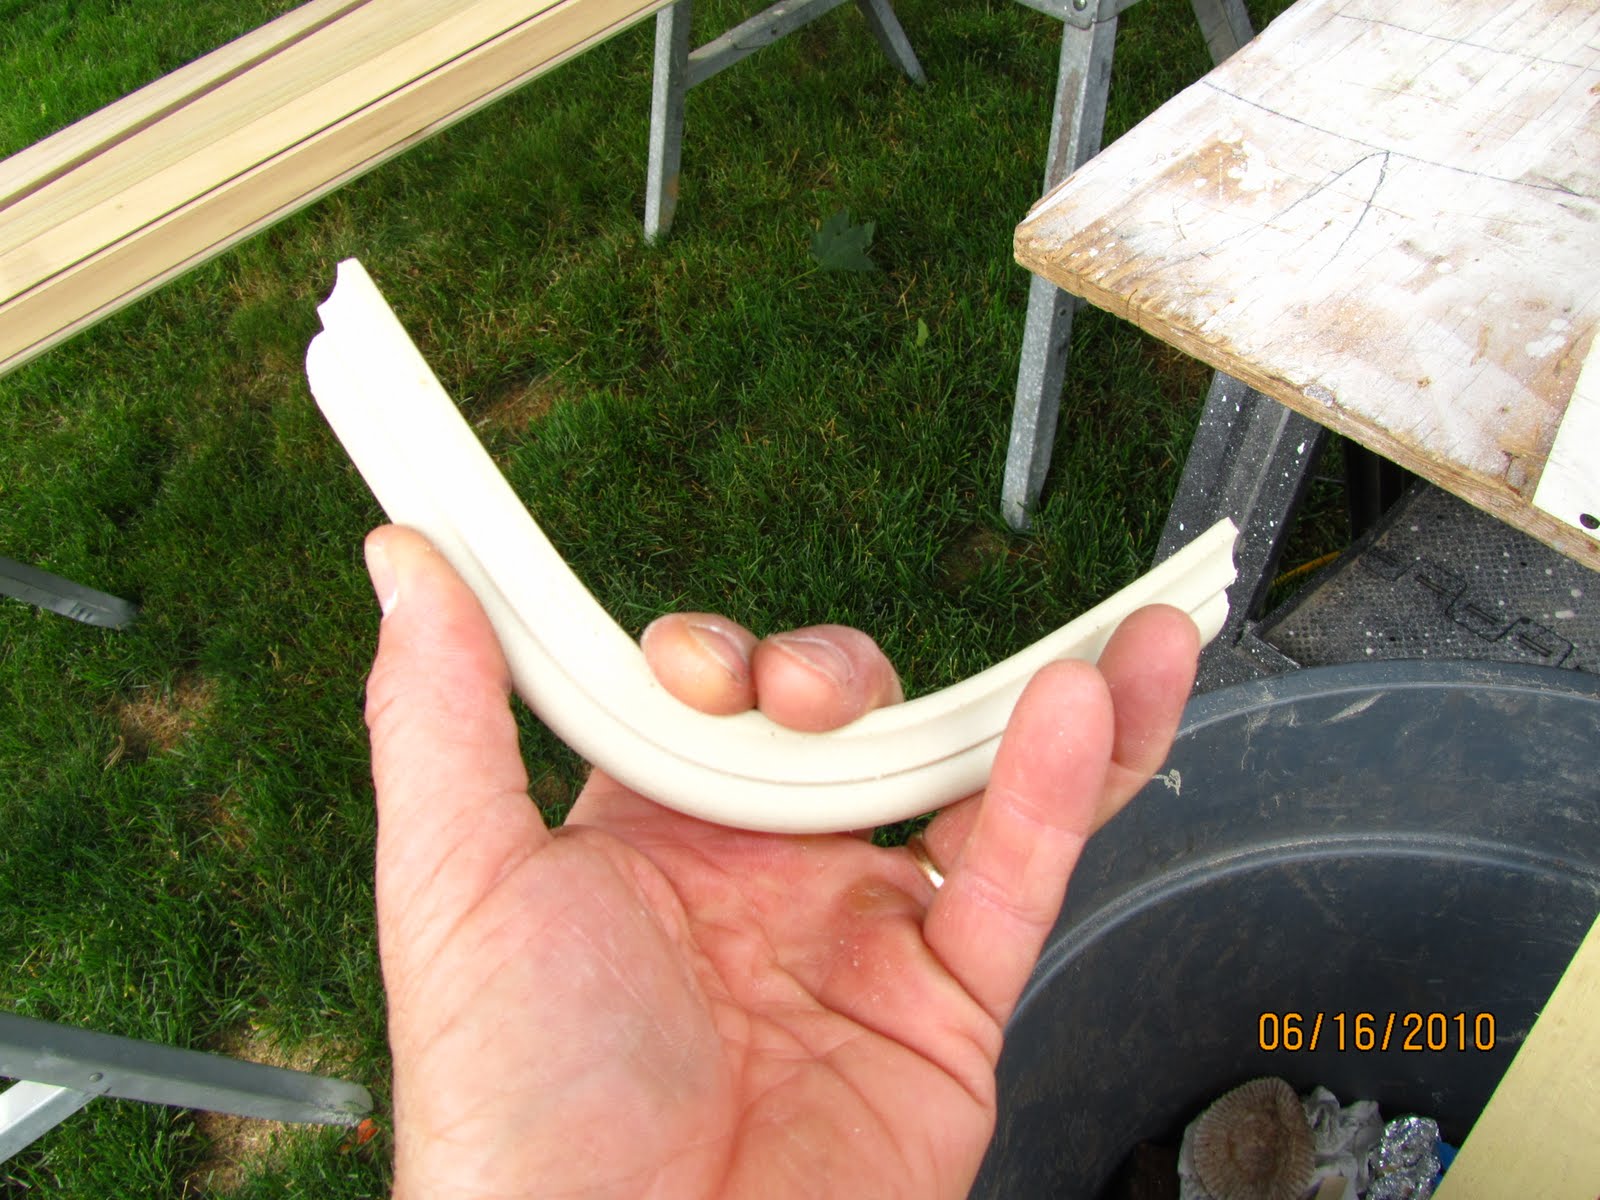
The moldings come in a box, in ten foot sections. When I compared the flexible molding to the wood molding they were nearly identical.

The flexible molding has appearance of real wood, uses standard woodworking equipment to install and cuts, sands, shapes and finishes like wood. When cutting these flexible moldings care has to be taken to provide additional support. If not the molding flops and bends which cna affect the quality of the miter cut.
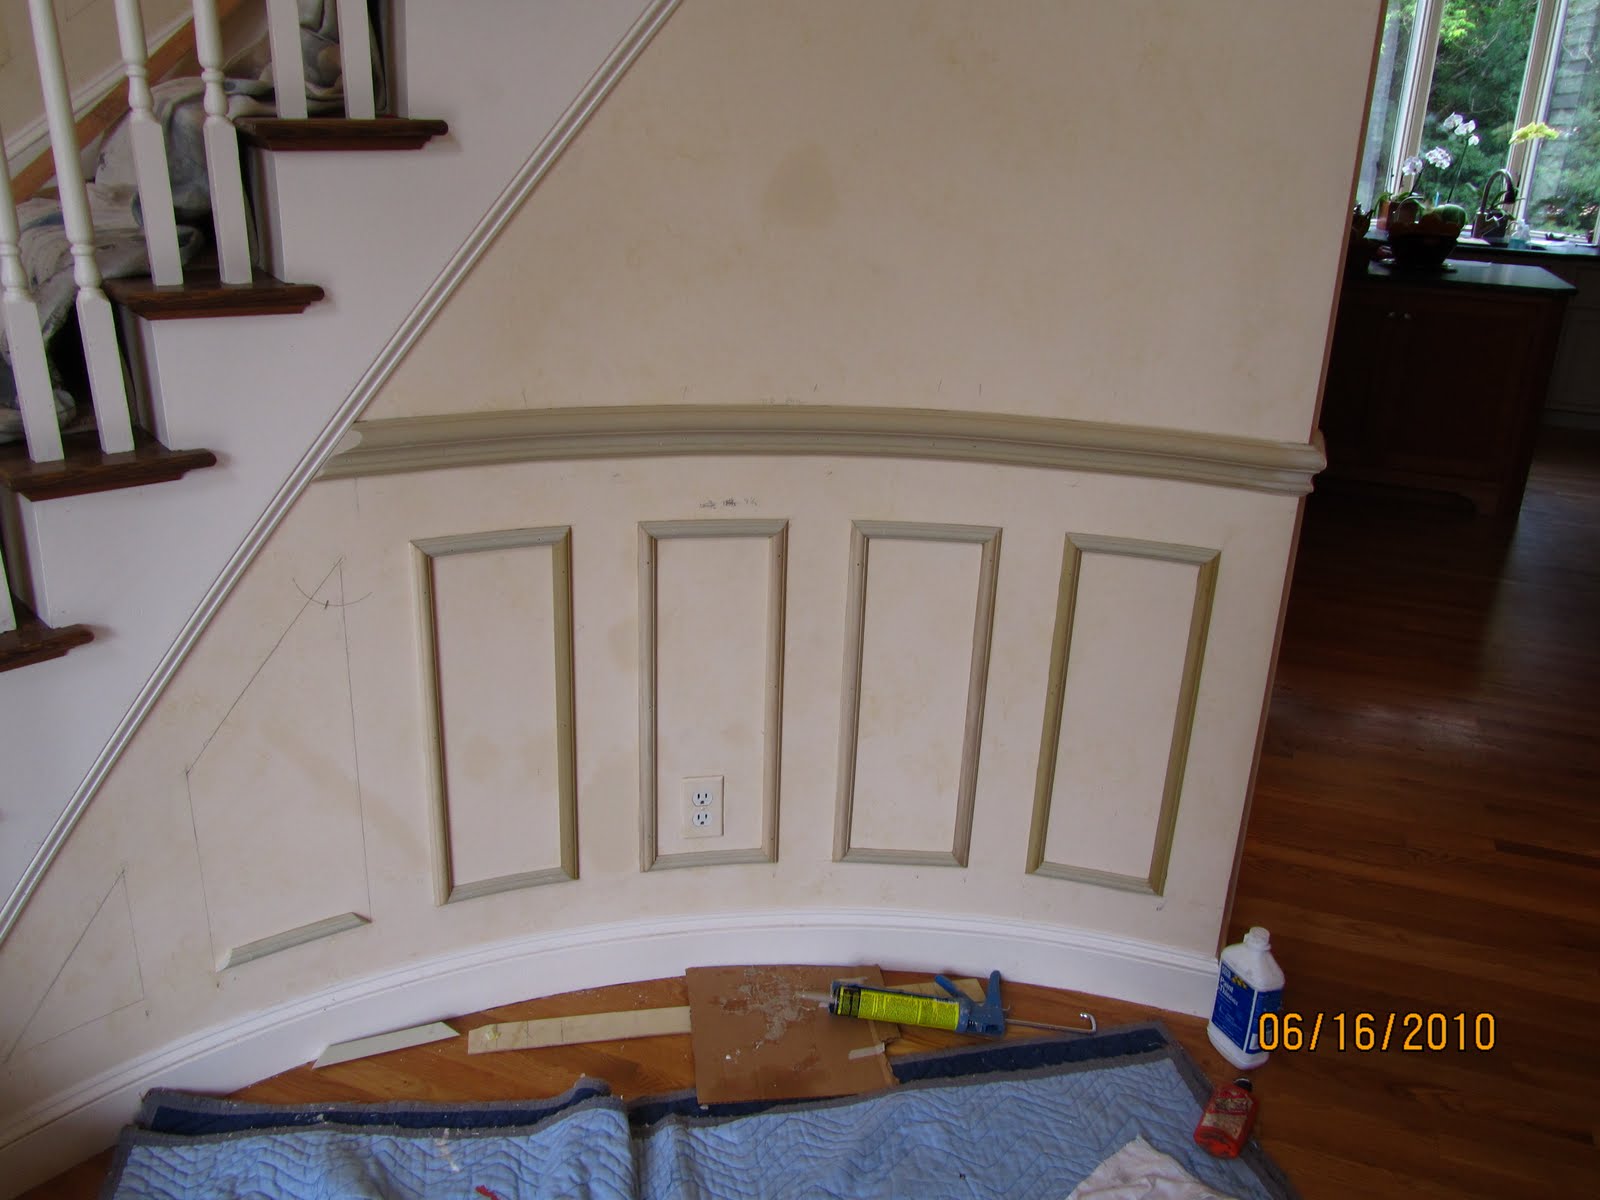
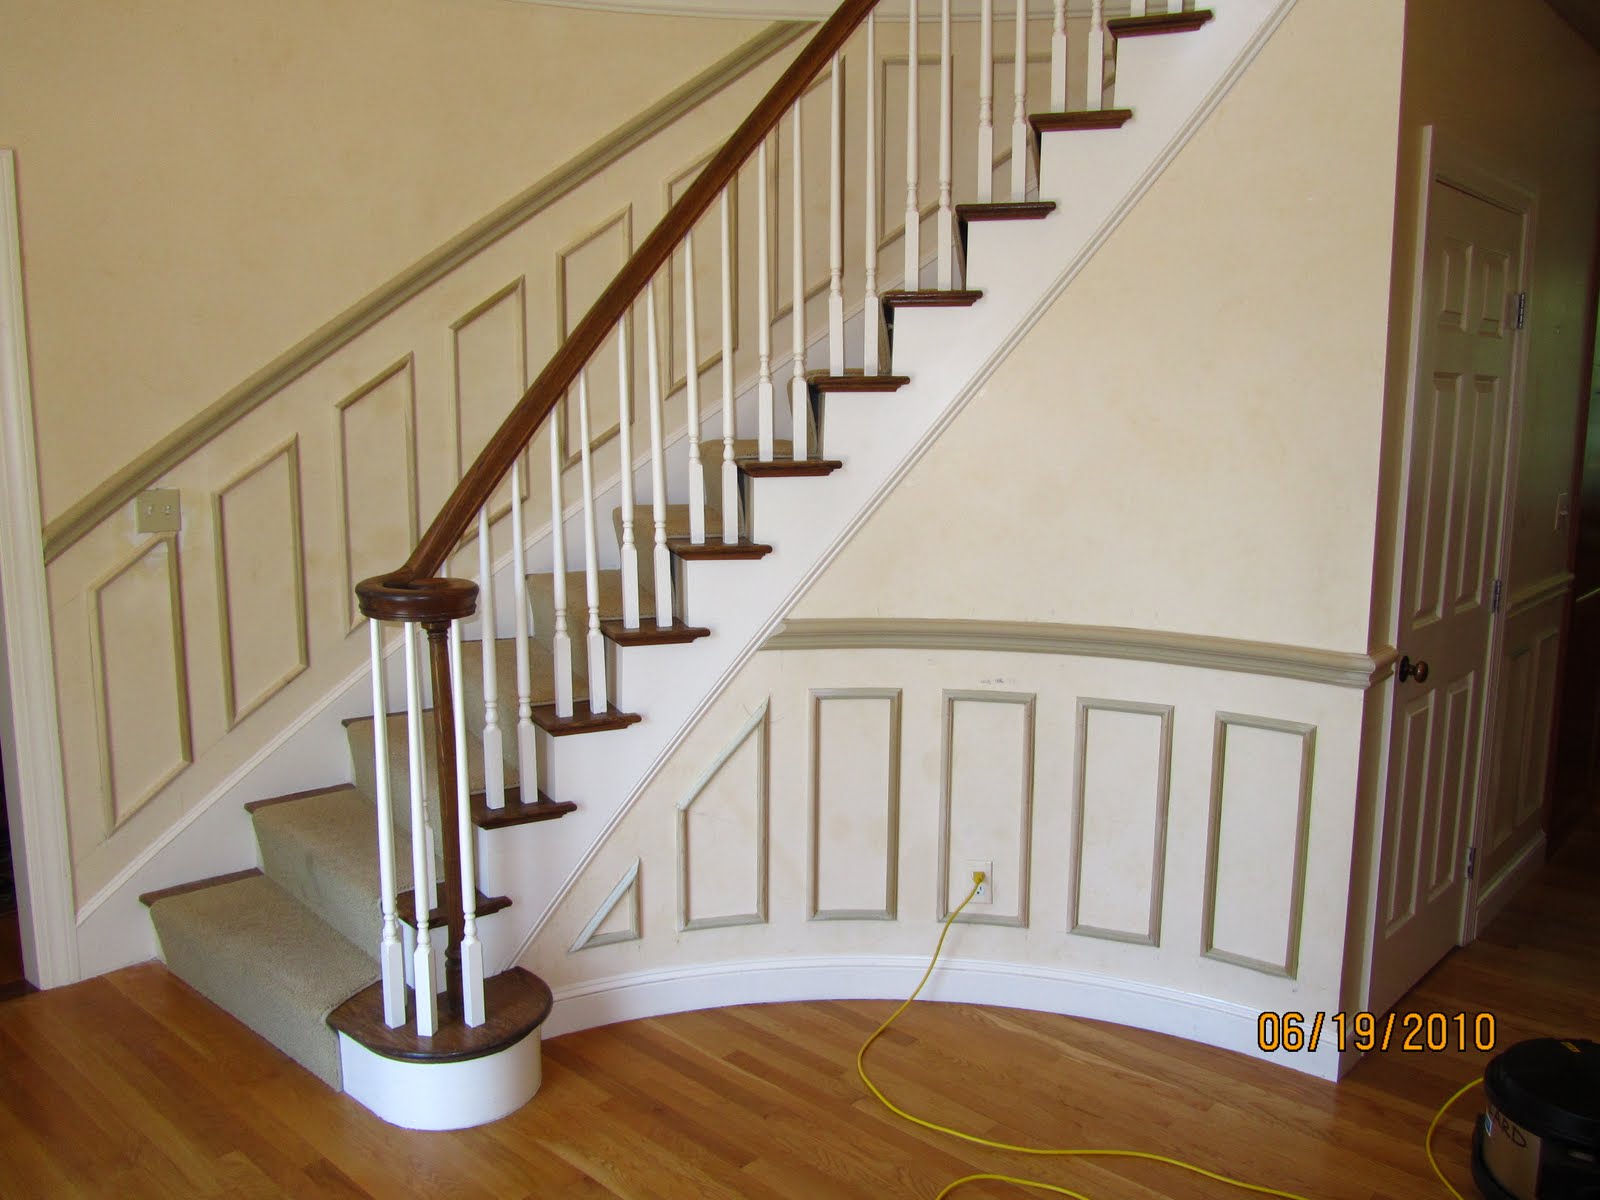
The photo below shows a combination of wood and flexible moldings. The flexible molding costs three times that or the wood so I used the wood on all of the vertical pieces.
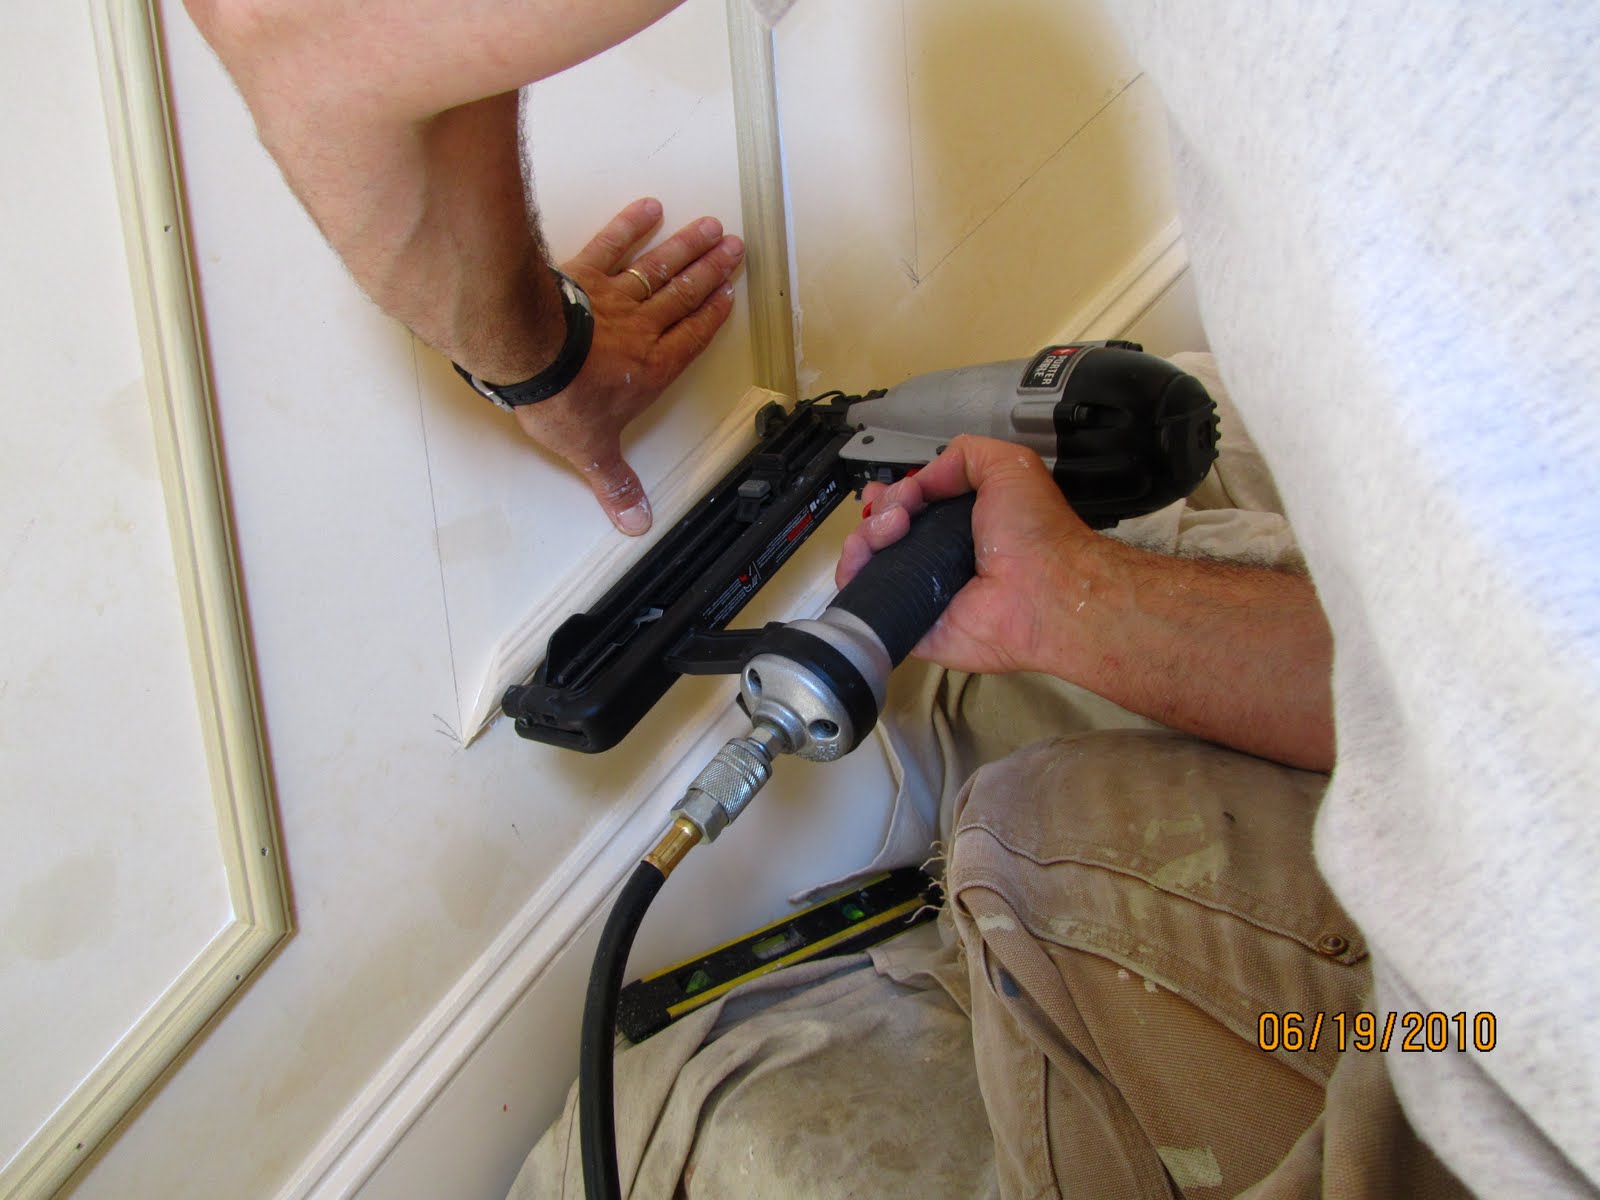
I used polyurethane construction adhesive to glue the flexible moldings to the walls, and adhesive latex caulk for the wood. Both types of moldings were also secured with a pneumatic 16 gauge finish nailer.
TIP: To provide better nail holding install the finish nails at different, opposing angles. The angle holds the drywall or plaster better than installing the nail straight into the wall.
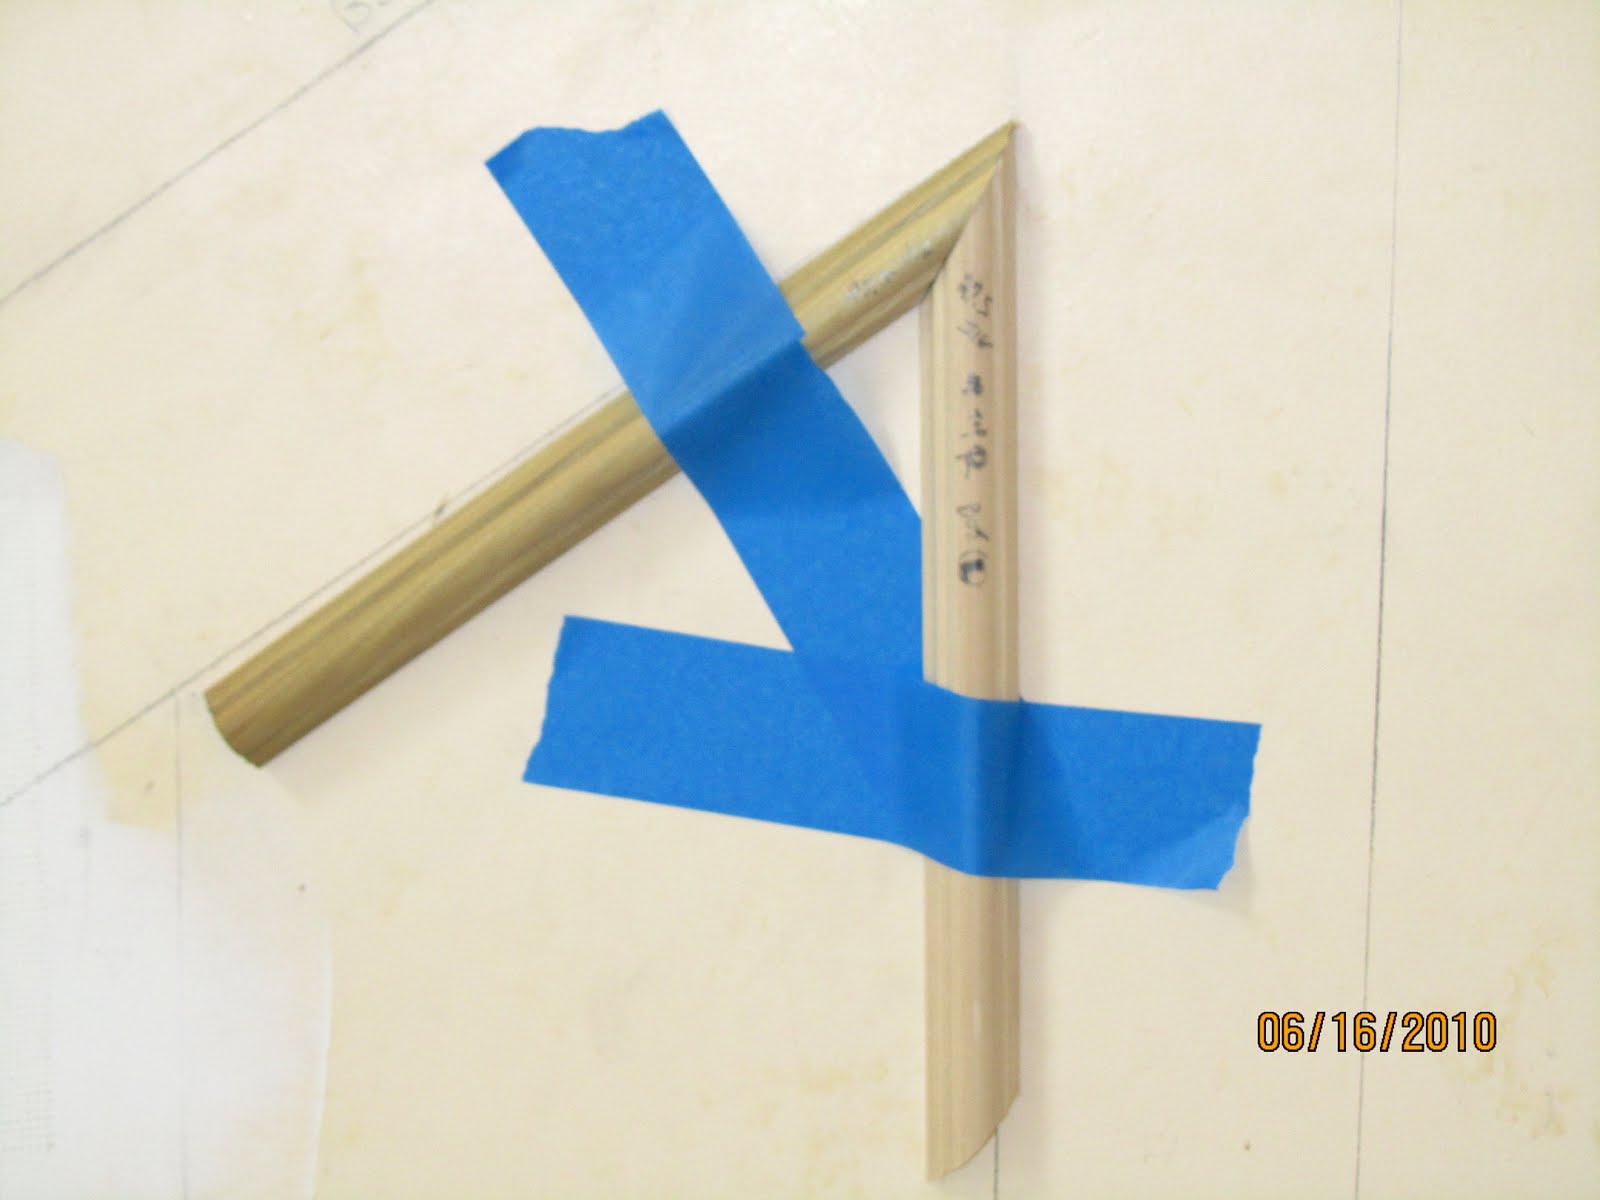
The chair rail was cut back at the smaller stair molding.

Blue tap and a wood wedge help hold a miter tight until the glue dries. This is a perfect place for a spring clamp.

The luan strips were used to lay out the stair wall as well.
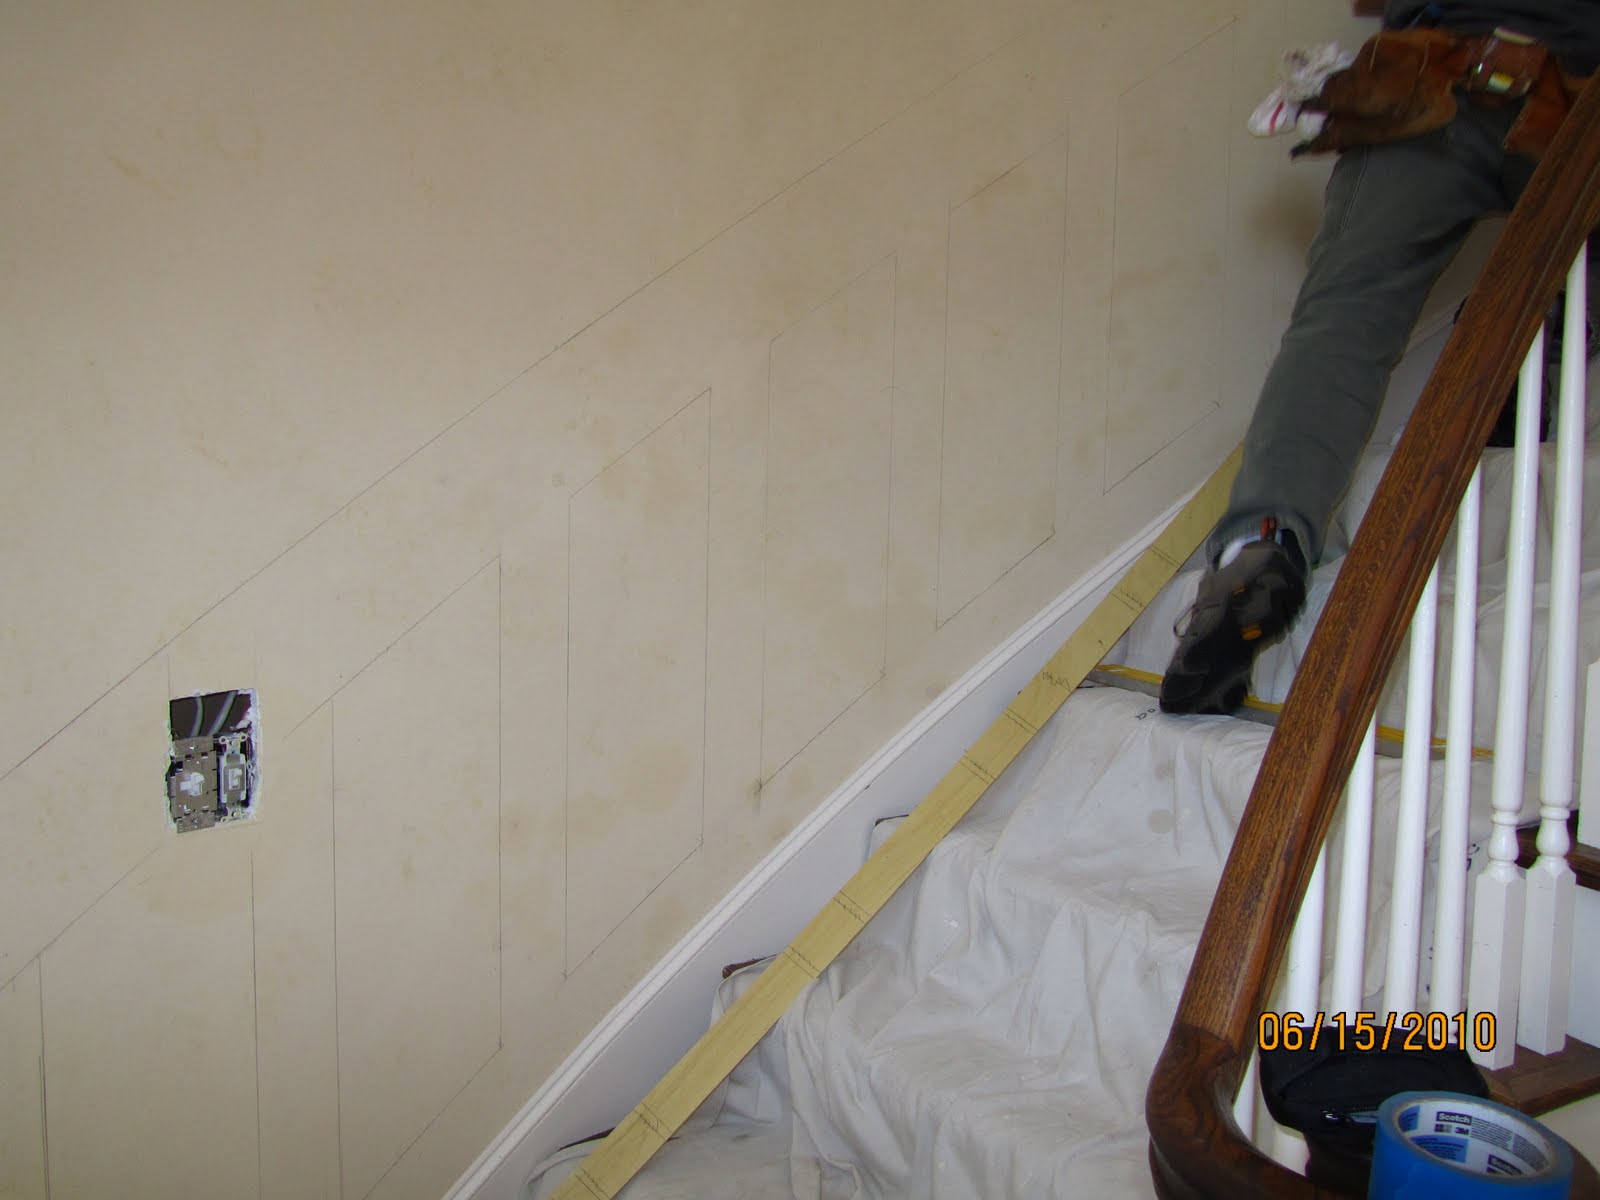
Below George is marking the chair rail height.
These angles are too tight for a regular miter saw. In order to make this cut you need a jig.
This is what my jig looks like. See my post onacute angle jig and learn how to make these sharp angle cuts.

TIP: Use scrap material to practice cut and help determine the correct miters.
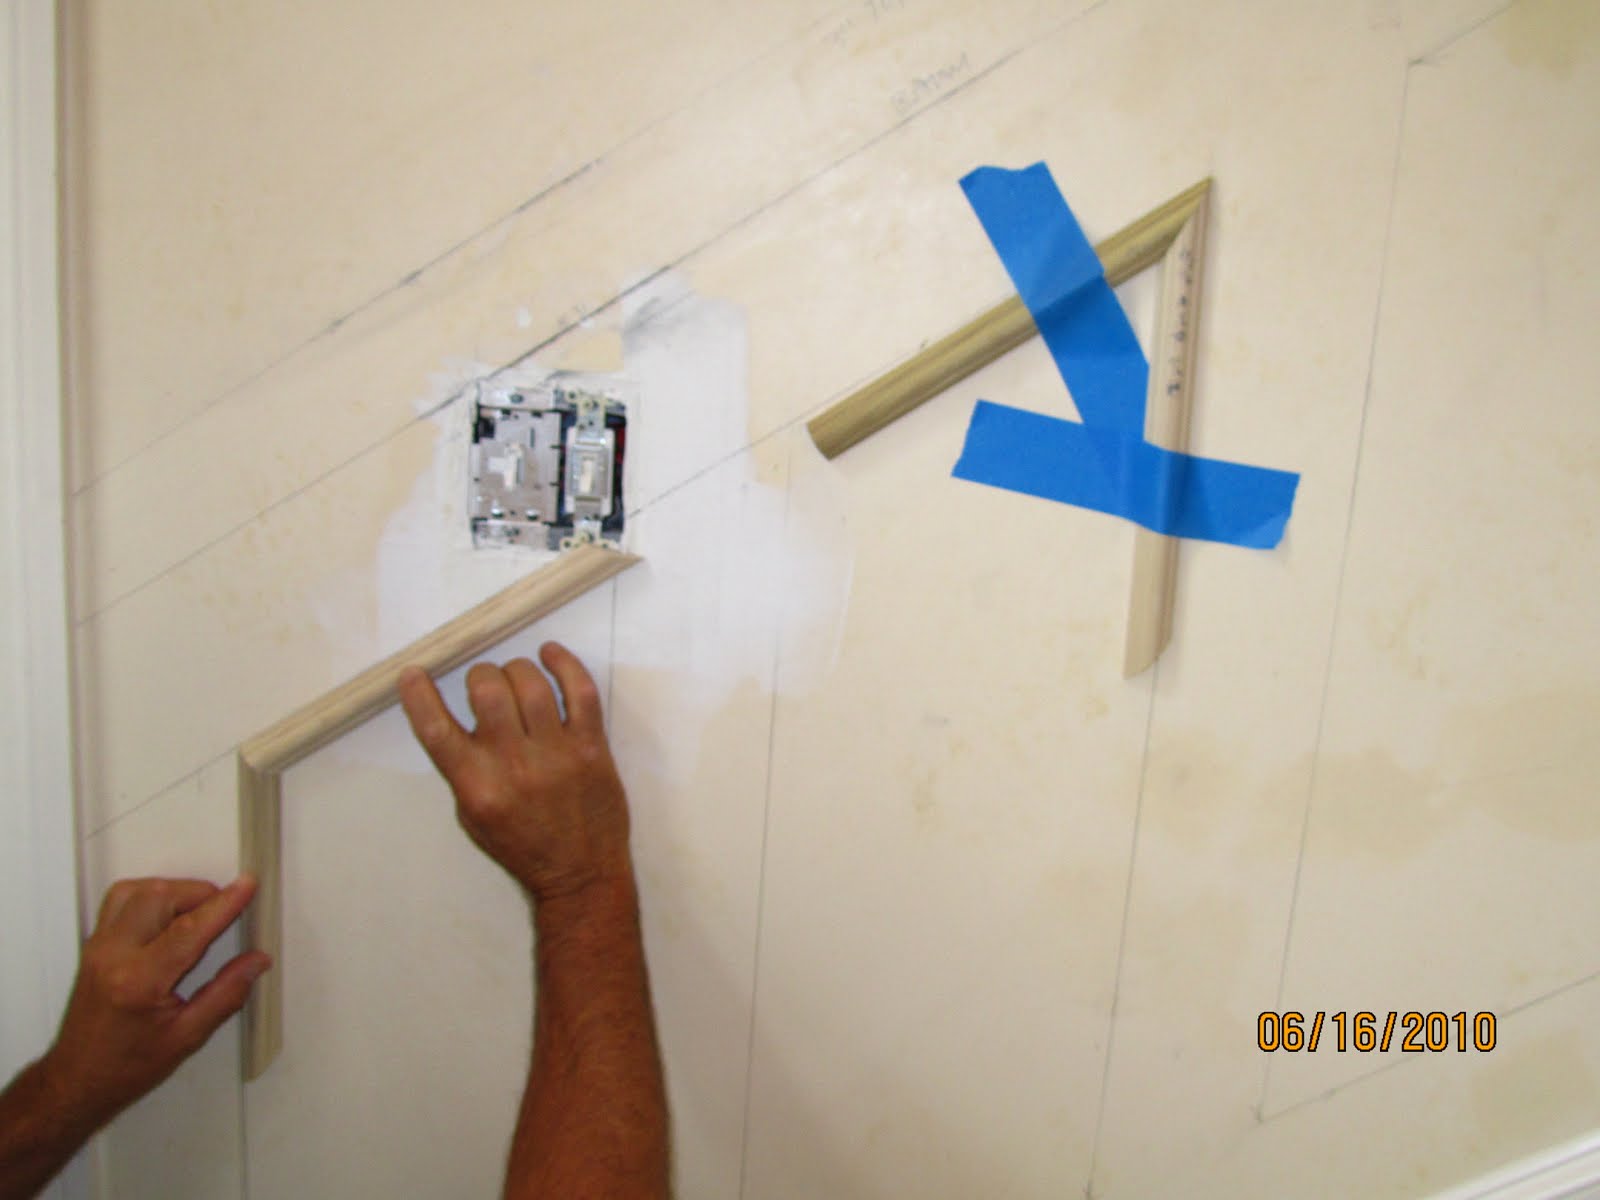
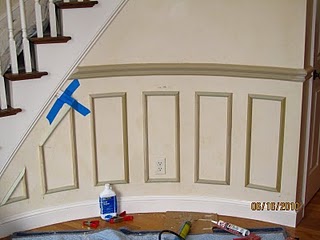
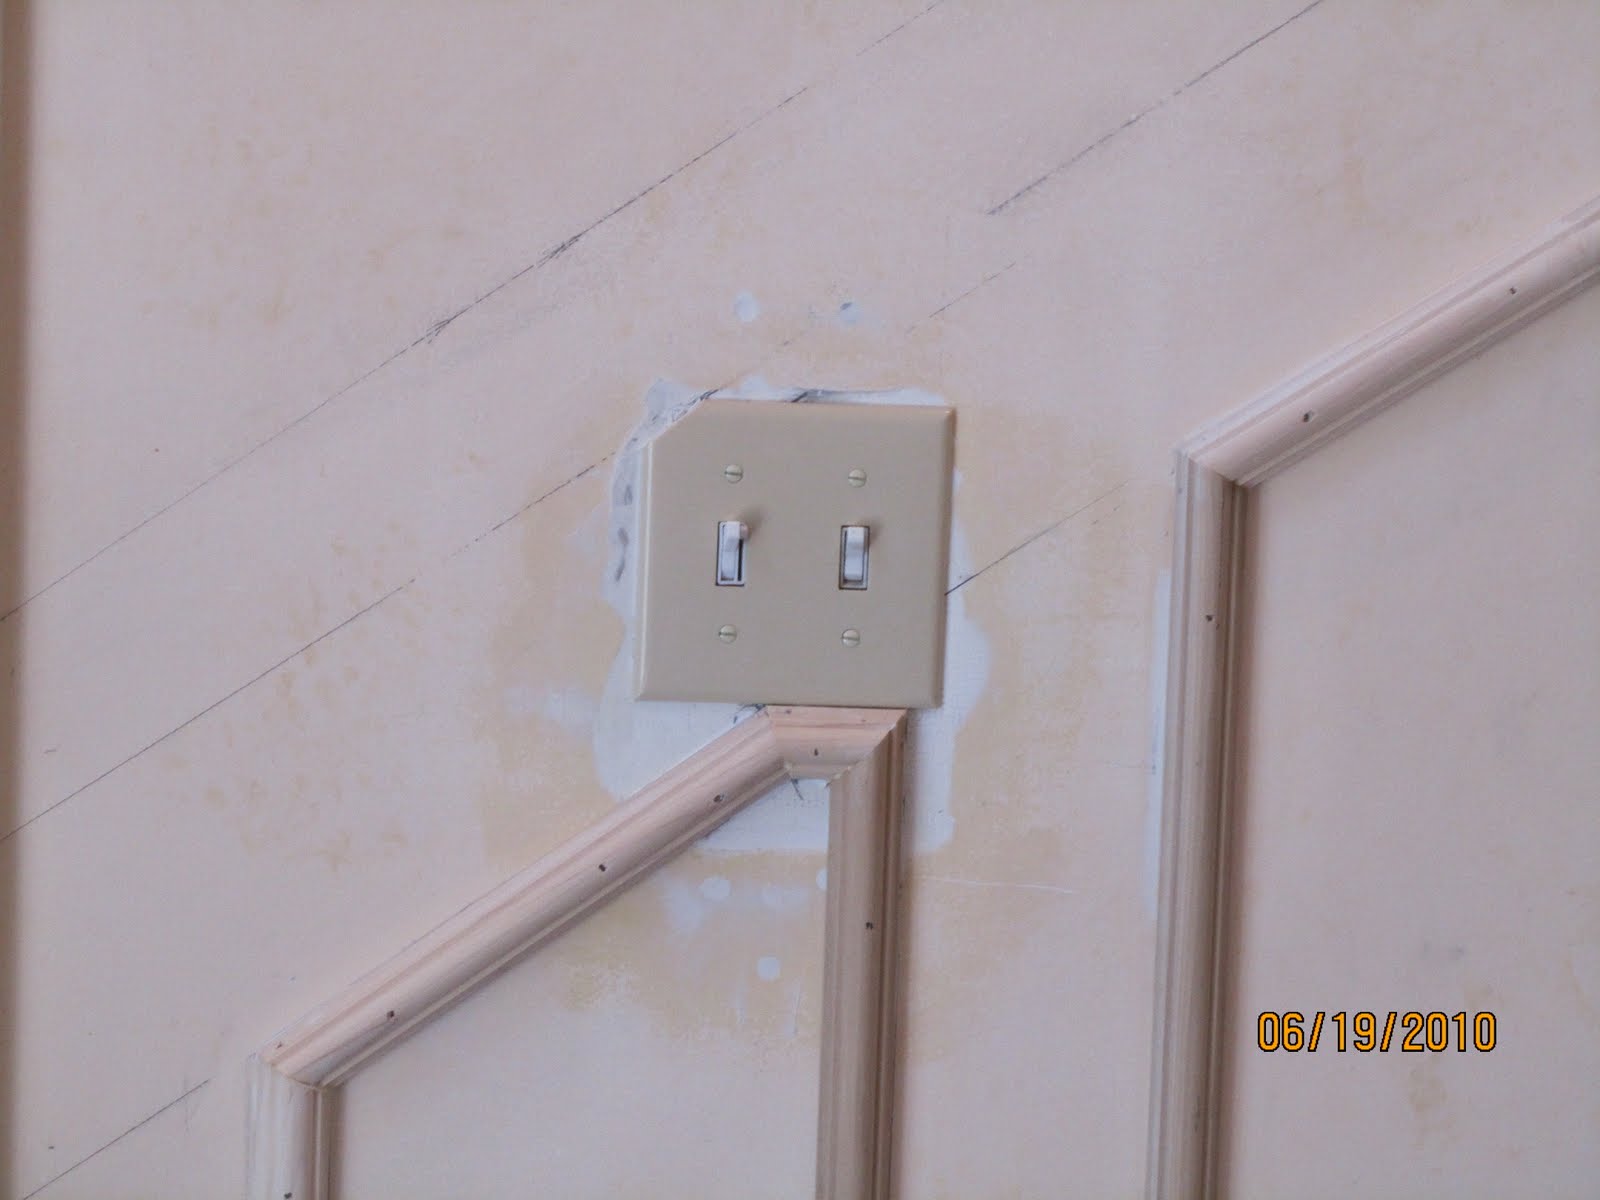
In order to make the faux wainscoting panels and chair rail layout correctly we had to raise the light switch.
Even after moving the light switch we still had to modify our wainscoting panel slightly.
Finish nailing the wainscoting molding.
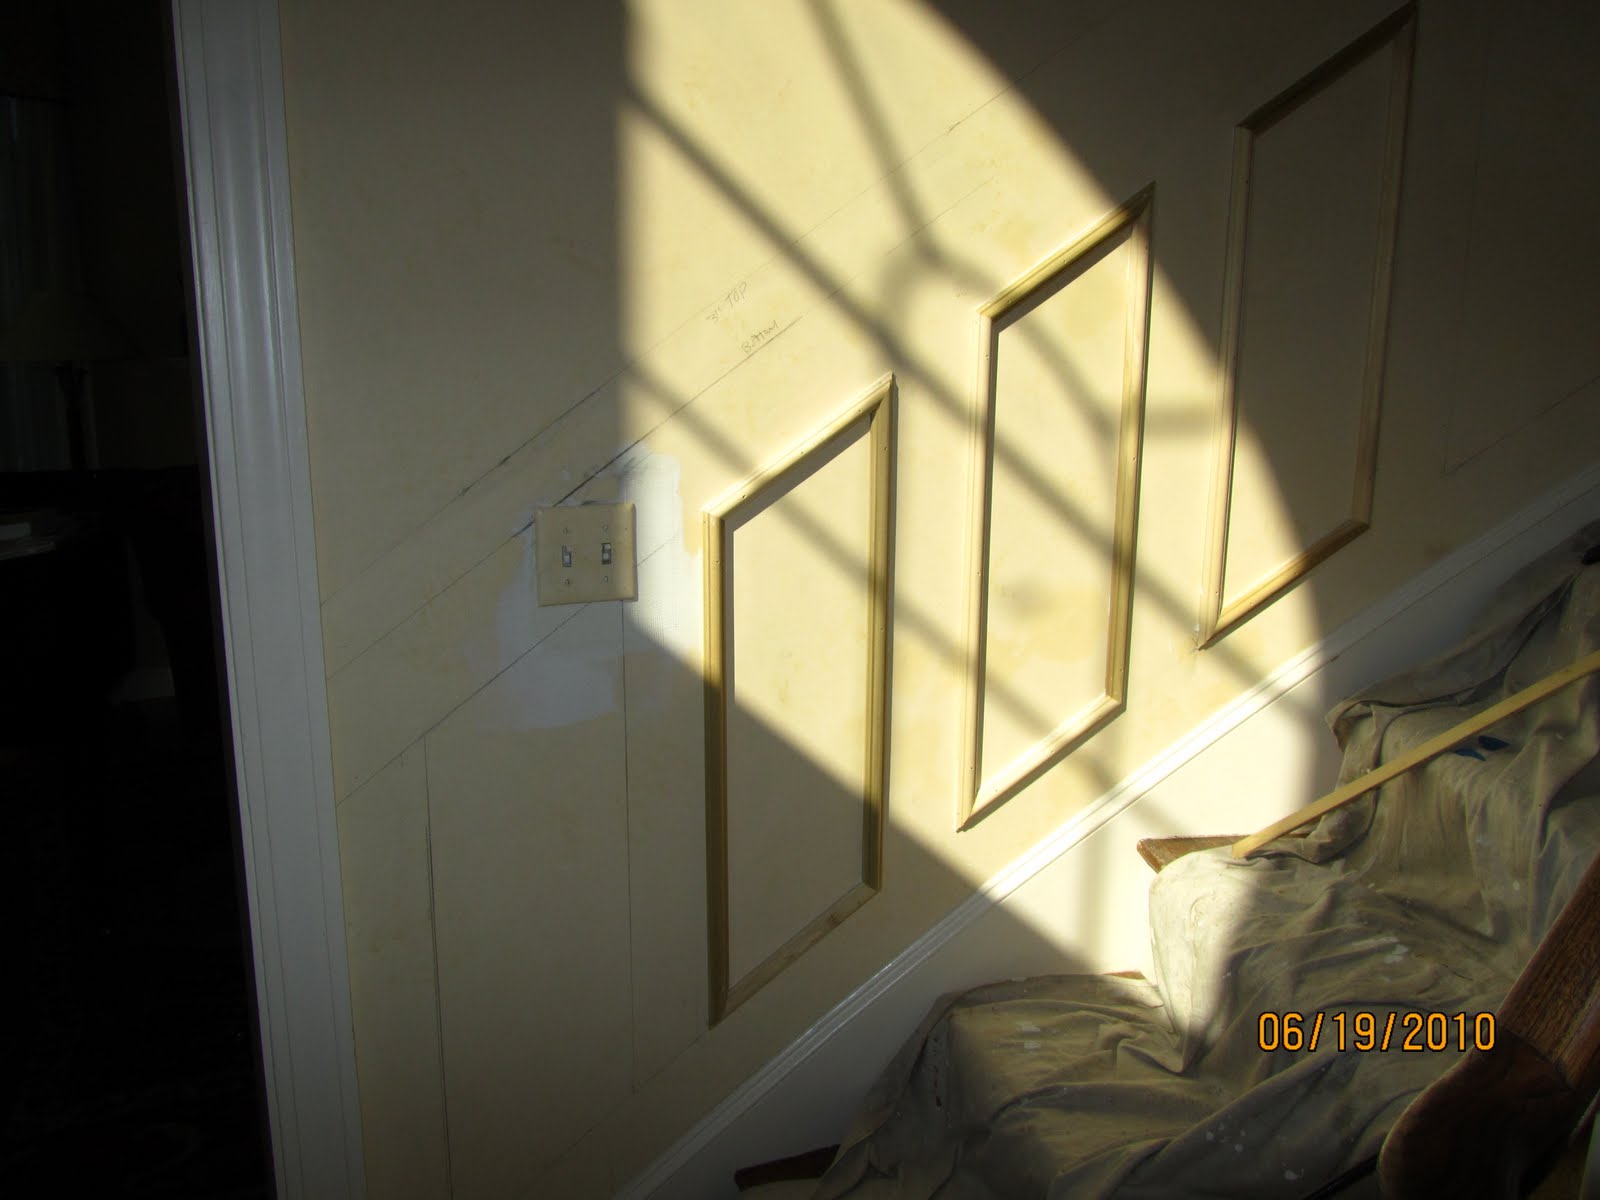
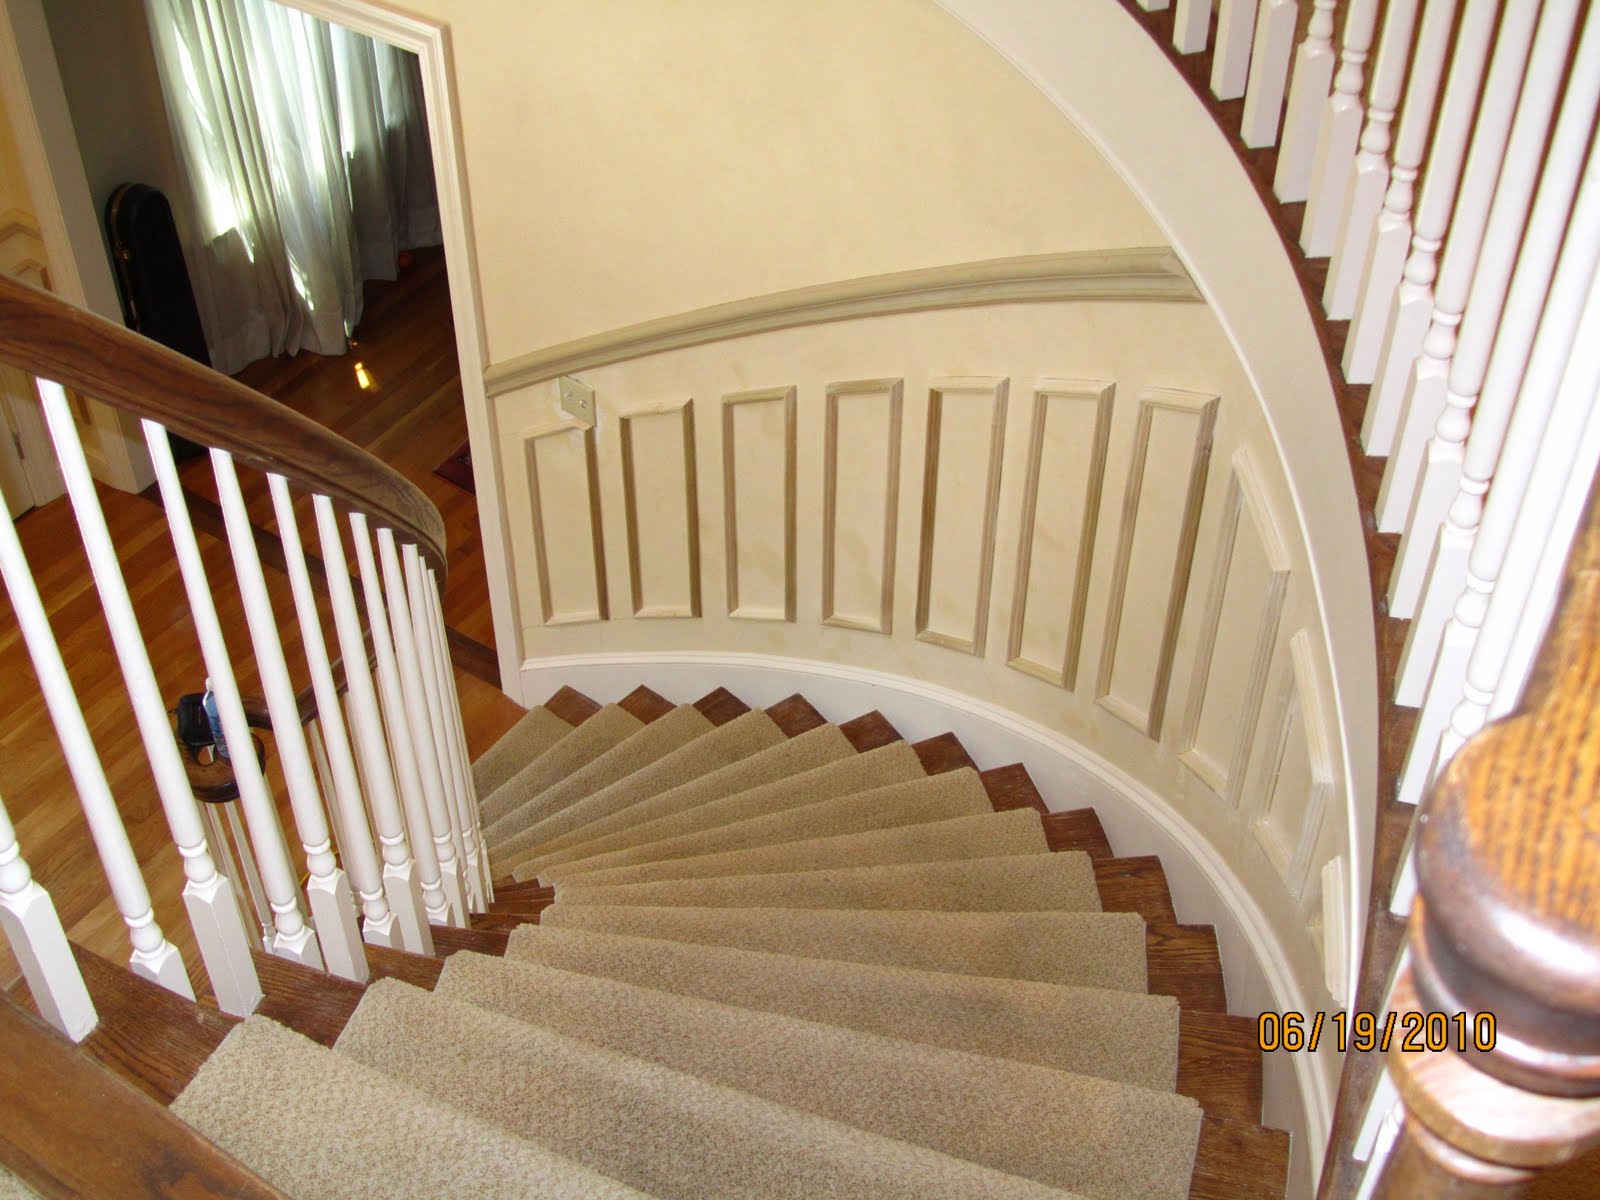
Almost there! the faux wainscoting panels are spaced 4″ apart and are 4″ above the baseboard and 4″ below the chair rail. [shown below]
Installing the chair rail. The chair rail is also a flexible molding and is a larger and slightly different profile than the wainscoting molding we used.

Finished and ready for paint!
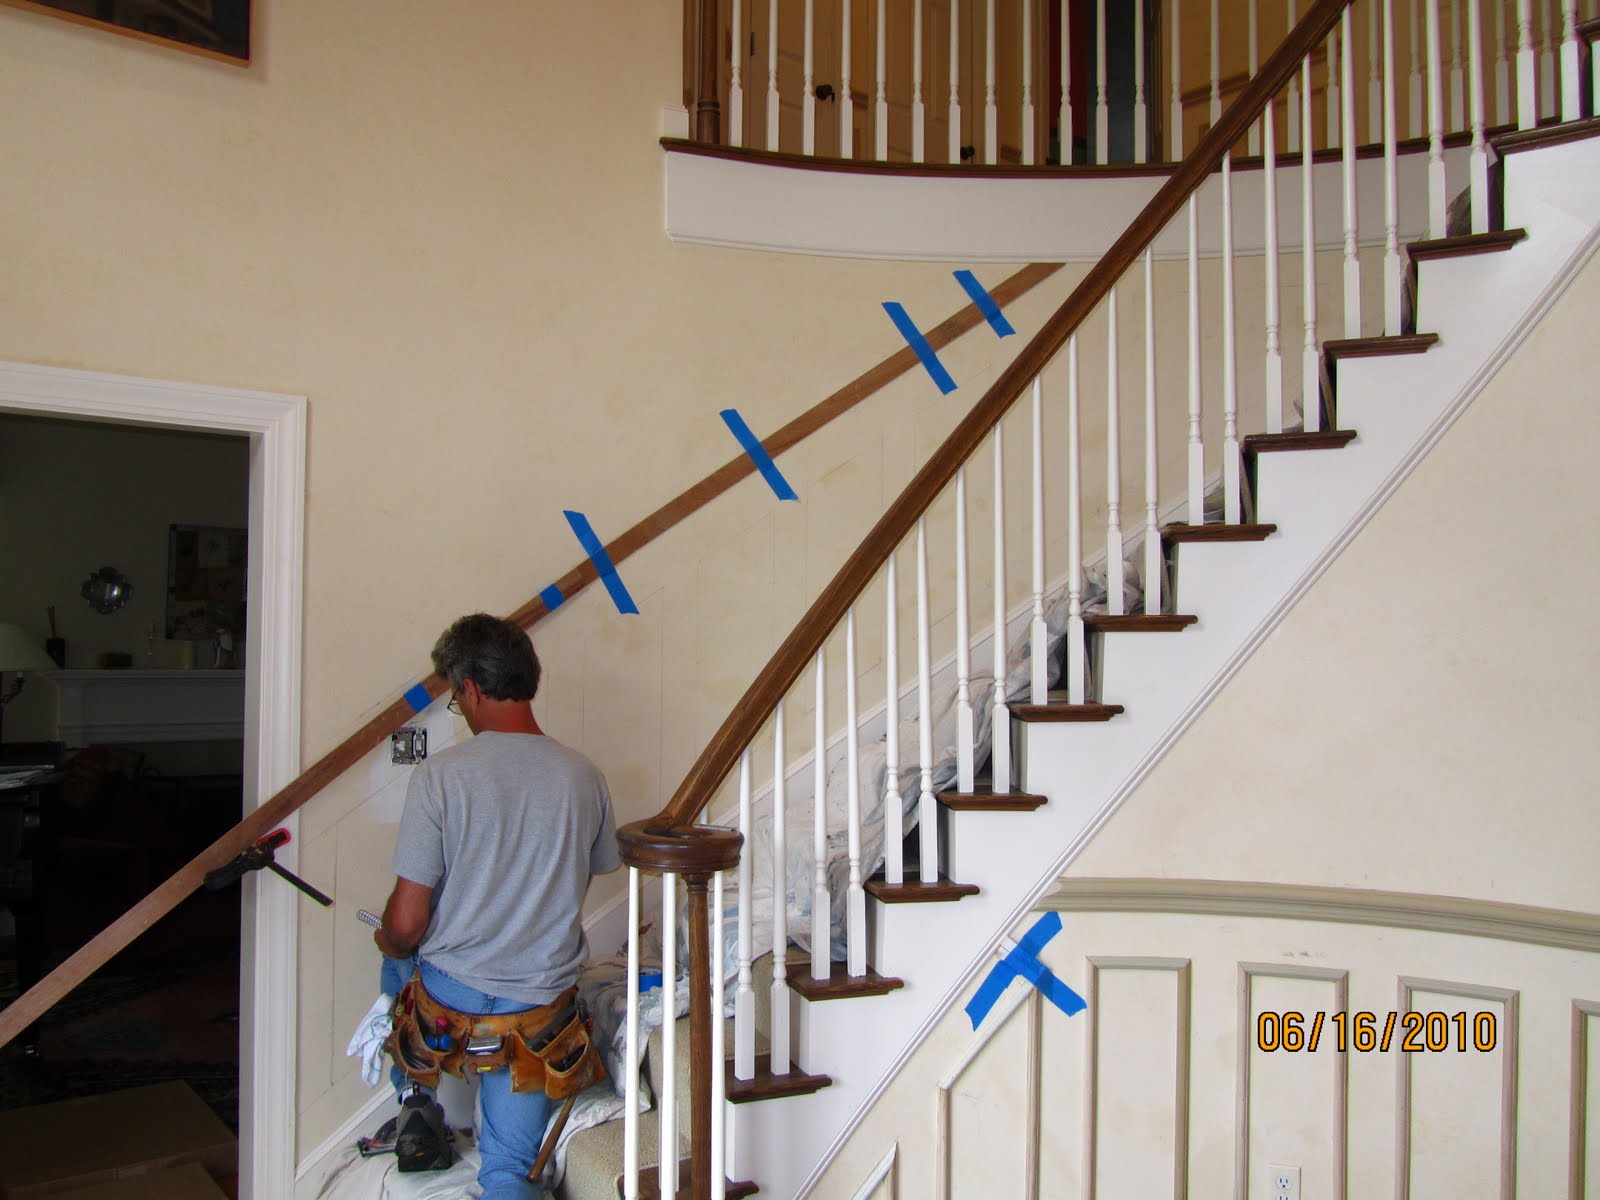
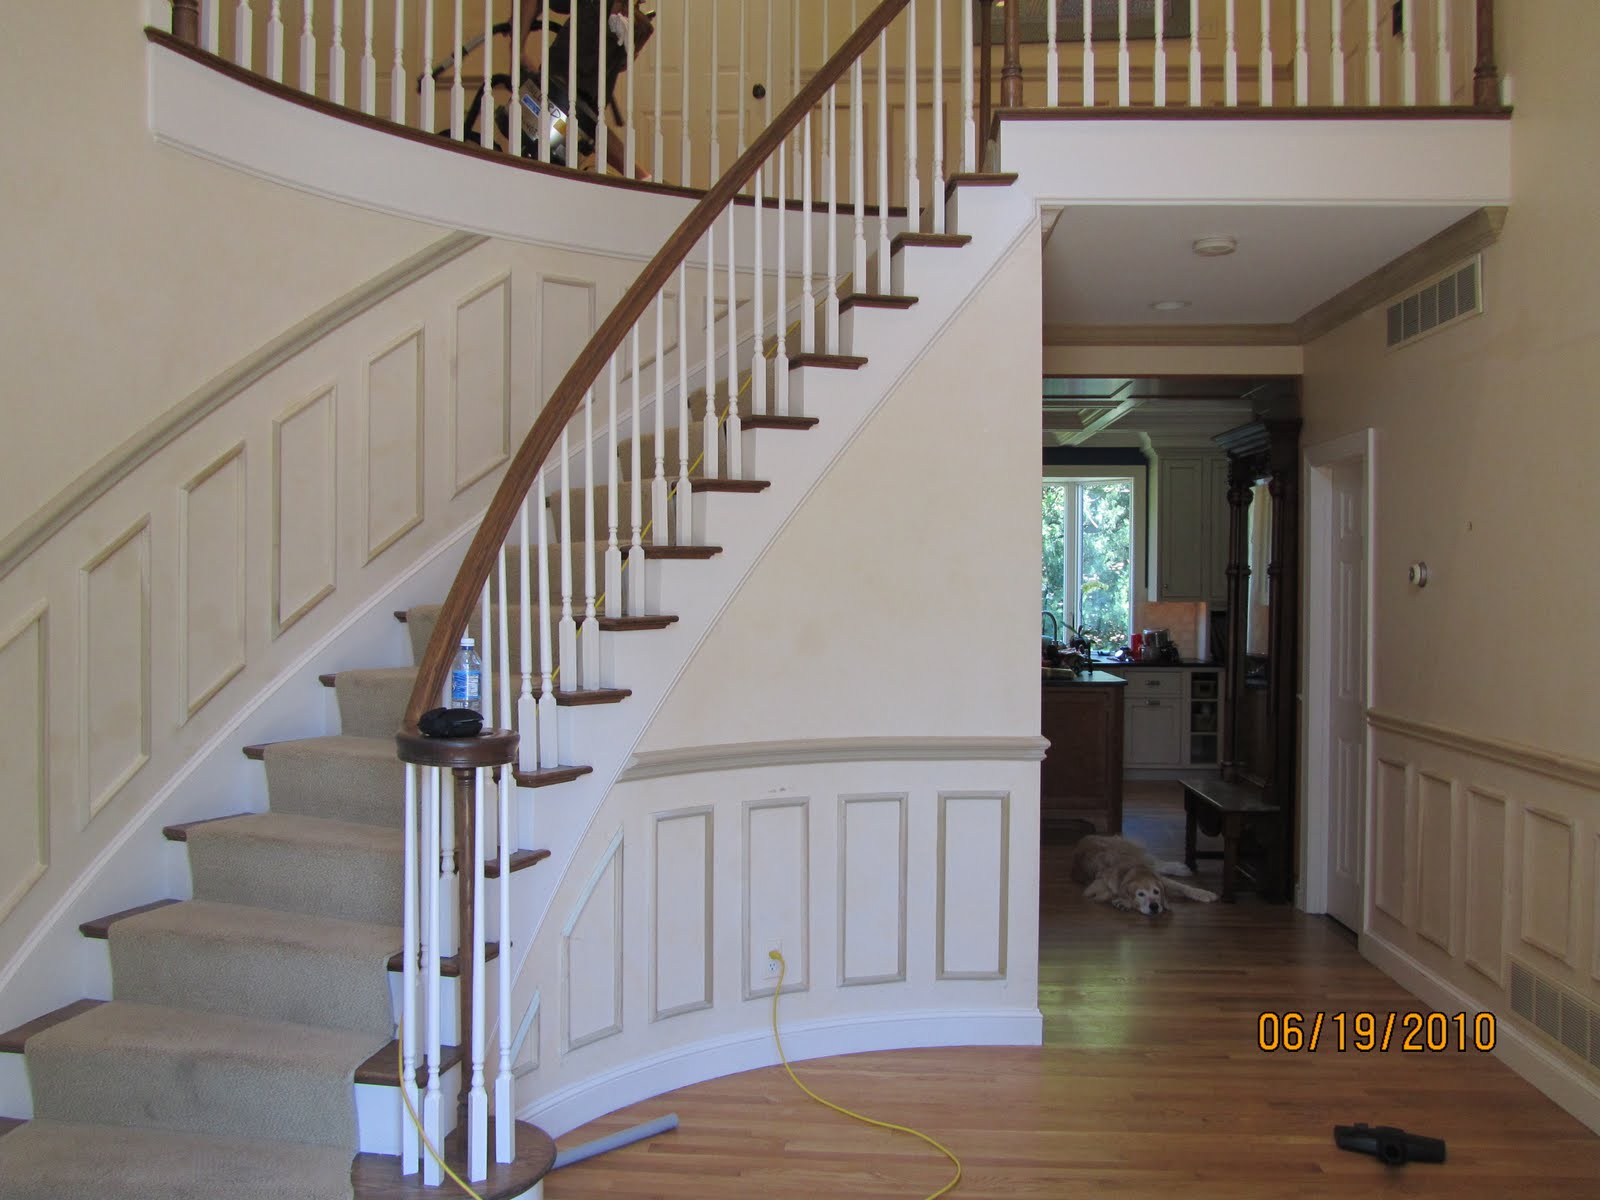
This is the view visitors will see when they enter the front door. Not in view is the second floor landing. We installed faux wainscoting on those walls as well.

We also installed a crown molding in the ceiling under the landing, and behind the stairs. I will follow up this post with a finished photo once the paint and wallpaper are installed.
See my post on faux wainscoting

If you enjoyed this post, make sure you subscribe to my RSS feed or receive updates via email