


Image: installcrown.com
Installing crown molding in commercial spaces often brings up the concern of steel studs.
Installing crown molding to metal studs seem to be the norm in more and more condos that we work in as well. Hand nailing crown molding into steel studs does not work and using an air gun makes for a very dangerous situation and installing angled nails just into the blue board is also not a quality installation and will show gaps and separations after the first heating season.
Screwing the molding with self tapping screws is no bargain since it causes a huge hole and eliminates the adjustment tolerances that nailing provides.
The best approach I’ve seen for installing crown molding to metal studs is to fasten wood cleats to wall and ceiling area with self-tapping metal screws and then install the crown molding onto the wood cleats.
Alternatively another option is to install a two piece molding, screwing a flat, decorative piece to the wall and the second crown molding will secure to the flat piece, hiding the screws.
While installing molding at our current Winchester project, we used 2 ½” self tapping drywall screws every 16” to secure the wood cleat.
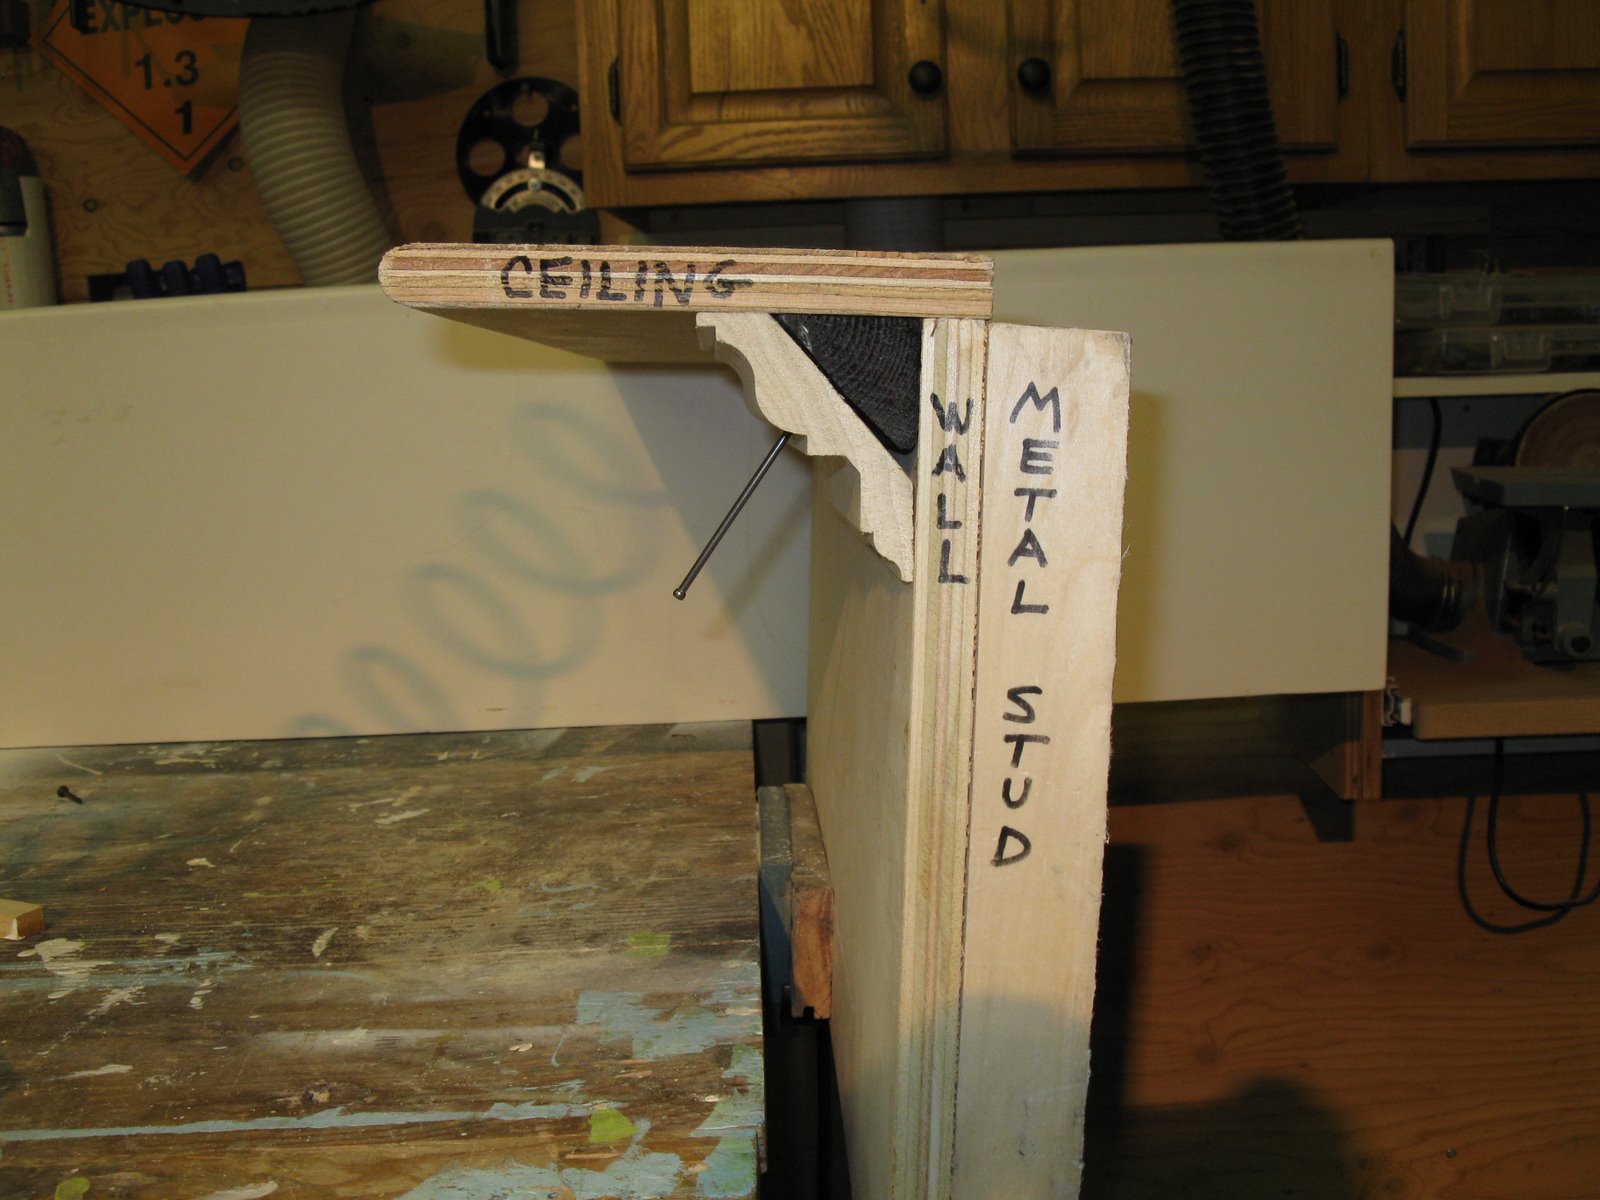
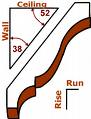
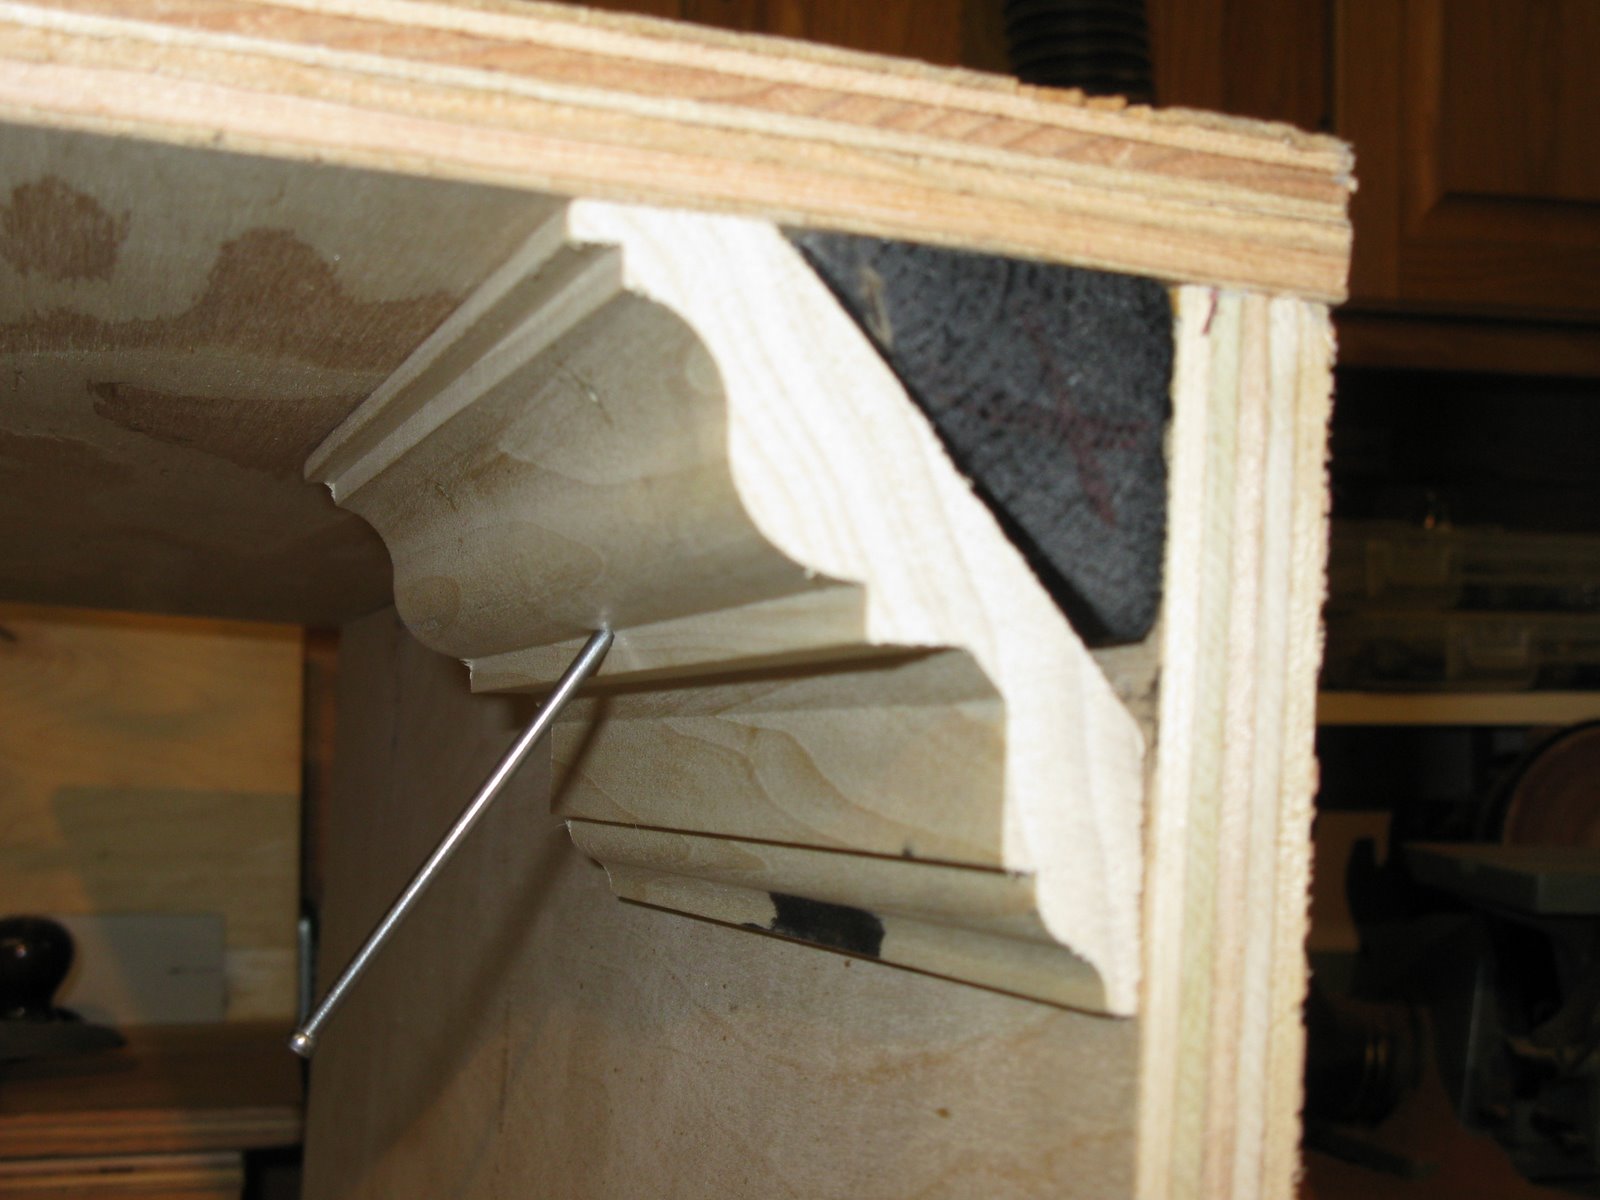
The cleats were cut from 2×4 studs and were sized to fit in the triangular hollow behind the crown molding. Having the continuous nailer provides great securing options near inside & outside corners and at any joints.
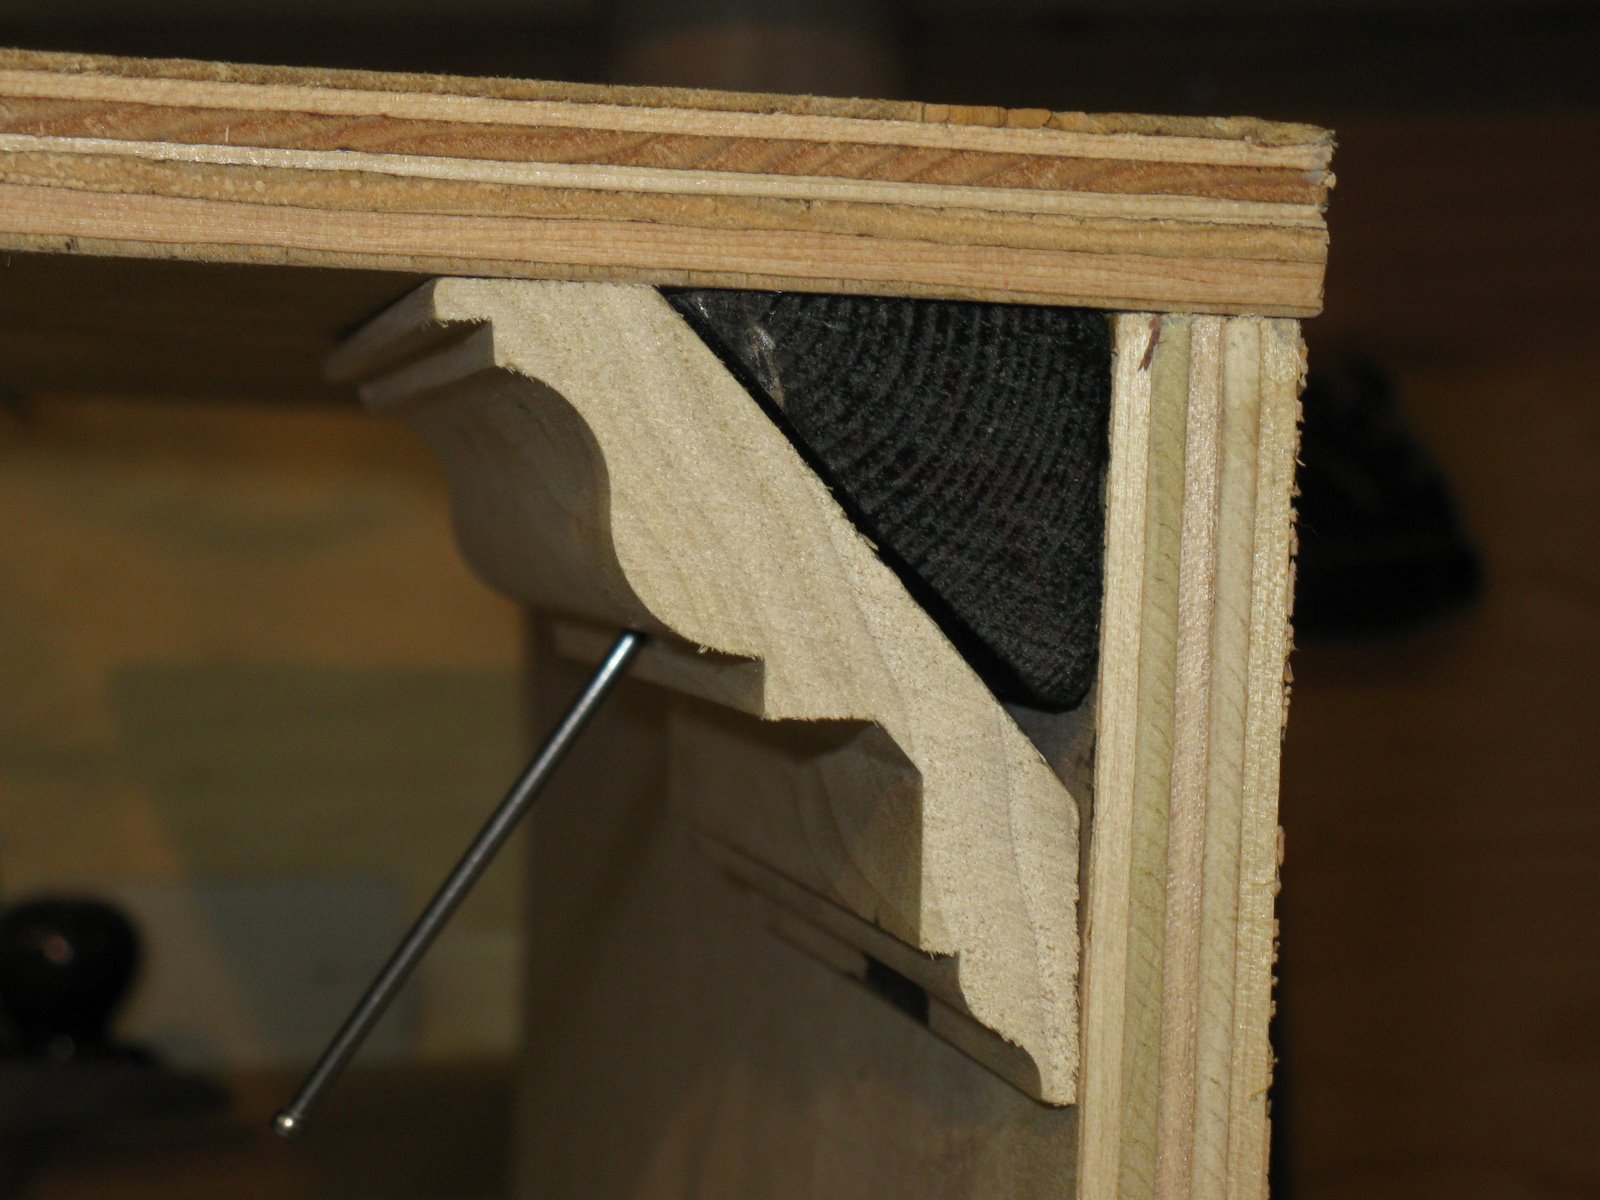
Make sure the cleat is approx 1/8” to 3/16” smaller than the hollow behind the crown and NOT touching. This allows for the crown molding to be sucked tight to the wall and ceiling connections. Use 8 and 10 penny finish nails to secure the crown molding.
This approach takes a bit more time than a regular crown install over wood studs but the continuous nailer provides a superior job

~ a concord carpenter