
Lux Programmable Thermostat

I recently installed a LUX TX500E Programmable Thermostat.
The LUX comes pre-programmed with a default schedule that’s designed to you money in heating and cooling costs. LUX claims that this thermostat, if used properly, can save you approximately $500 in energy costs per year.
I like the programmable function because it allows me to progr
For example:
- 5:45 AM Temperature set for 68 degrees
- 8:30 AM Temperature set for 62 degrees
- 6:30 PM Temperature set for 68 degrees
- 1130 PM Temperature set for 62 degrees
- 5:45 AM back to 68 degrees again . . .

By using the presets properly I am able to lower the temperatures during the day when no one is home and at night when everyone is sleeping. If someone over rides the thermostat by raising or lowering the temperature it will automatically reset to at the pre-determined preset time.
I like the LUX thermostat for its features, price [$28.00] and ease of
installation. This is an easy DIY project. I purchased mine here: SLux-Products-TX500E-010-Programmable-Thermostat

Easy Installation:
Read ALL of these instructions carefully before beginning installation. You’ll need a #1 Phillips head or a real slotted screw driver, wire strippers and a 3/8″ drill bit and drill.
How to Install A LUX Programmable Thermostat
1. Turn OFF the electricity to all heating and cooling components. Leave off till you’re done.
2. Remove the cover and front portion of your old thermostat to expose the wiring connections.
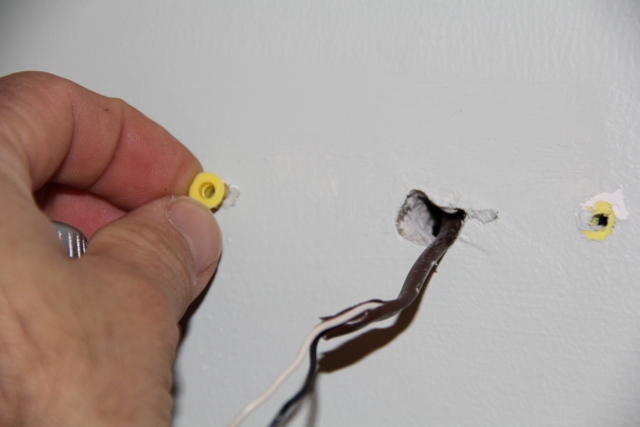
3. Write down the letters printed near each wire terminal that is used, and the color of the wire that is connected to it. Using the labels, provided with the LUX, attach a label to each of your wires so that the letter matches the marking on your existing thermostat.

4. Make sure the wires do not fall back inside the wall
5. Remove the old thermostat.
6. Make sure the wires have 3/8” of clean, bare copper exposed.
7. Attach the new LUX thermostat to the wall hopefully using the same holes. If the holes do not line up, drill a 3/16 in. hole at each screw opening, and insert the plastic anchors provided.
8. Hold the base against the wall. Route the wires through the hole below the terminal block. Position the base for best appearance (to hide any screw holes or paint marks from an old thermostat).
9. Attach the base to the wall with the two screws provided.
10. Connect the wires. Don’t over tighten the screws.
11. Put batteries in LUX unit and attach to base plate.
12. Set your clock and then the program.
Enjoy the savings!!!!