

Most outdoor fountains are made to stand up to the elements, but precautions have to be taken to ensure that water does not freeze in your fountain and cause it to crack, or damage your pump during the cold winter months.
The best case scenario would be to drain and disassemble your fountain and place it in a shed or garage to completely protect it from damaging weather.
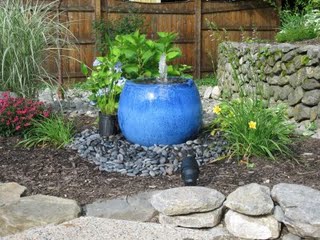
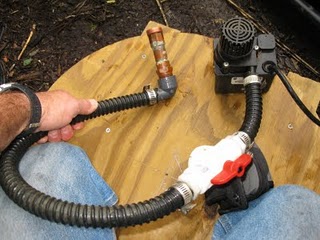
Below I am using a submersible pump to drain the fountain and underground basin of water.

It helps to have an access panel to the basin below. [panel on lower right of photo.]
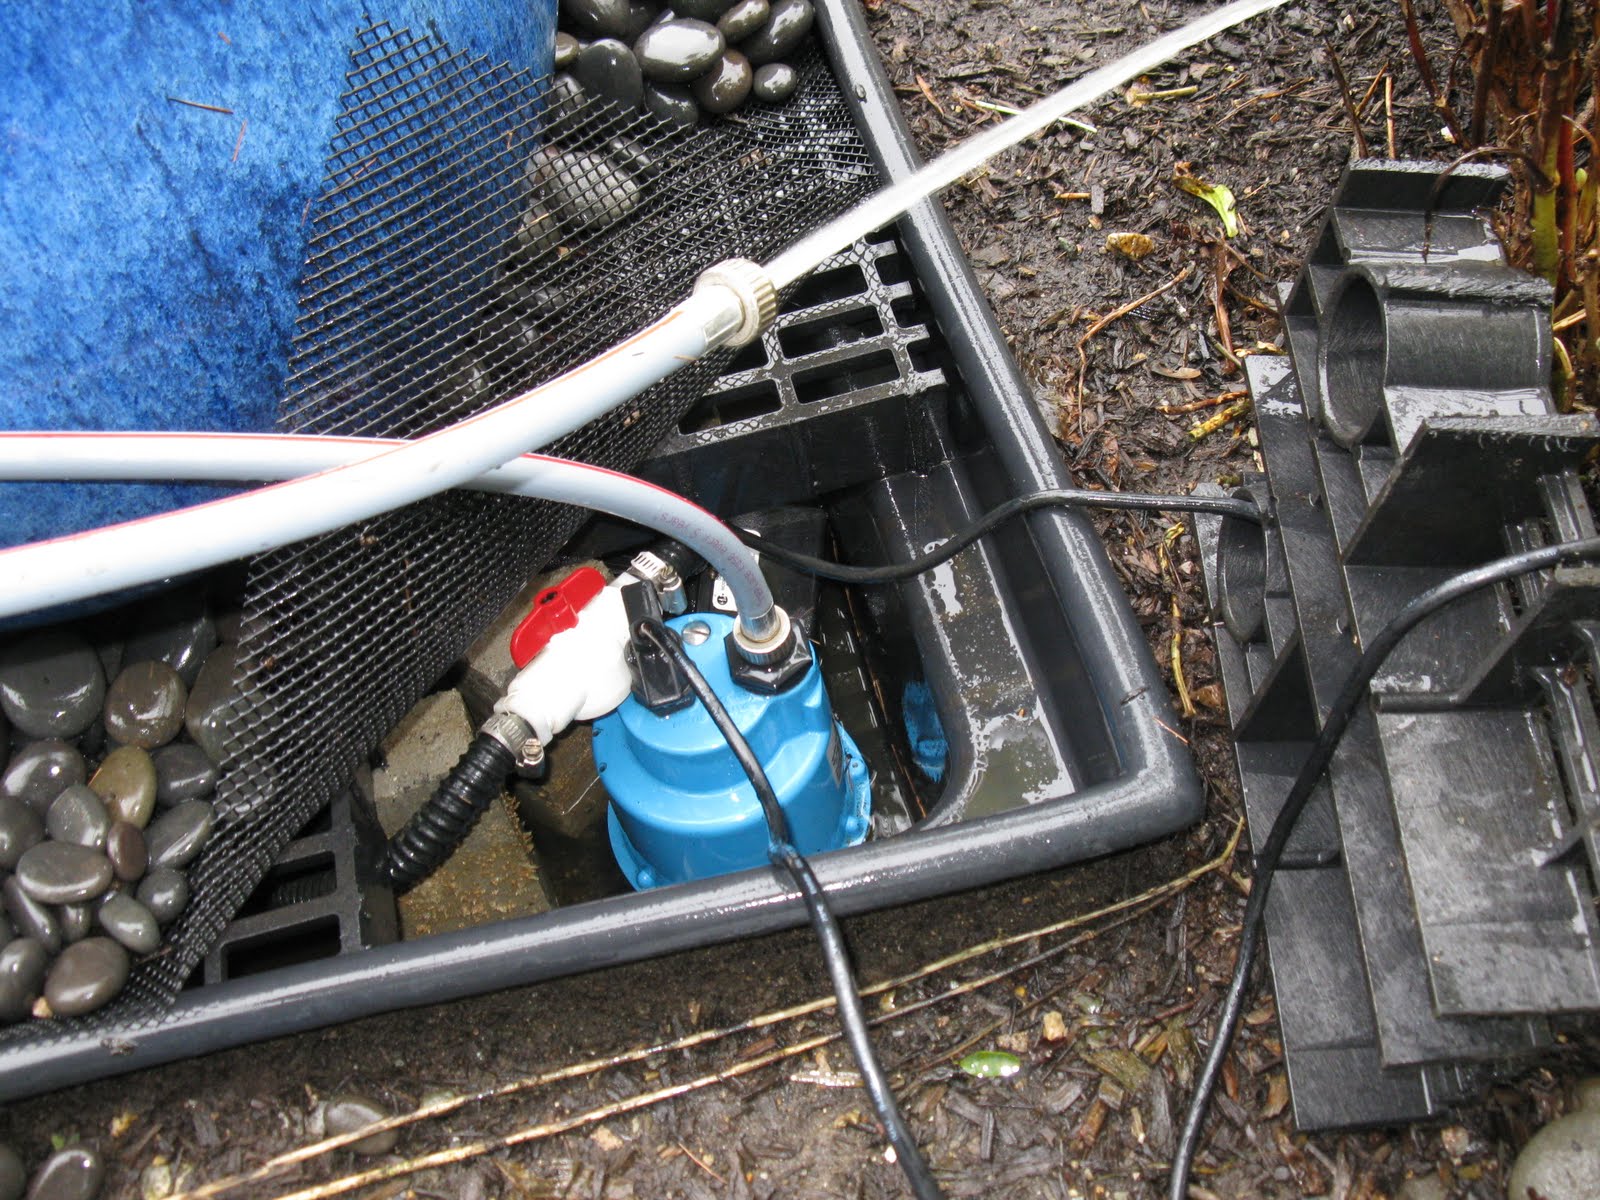
Drain the basin, clean it and cover it.
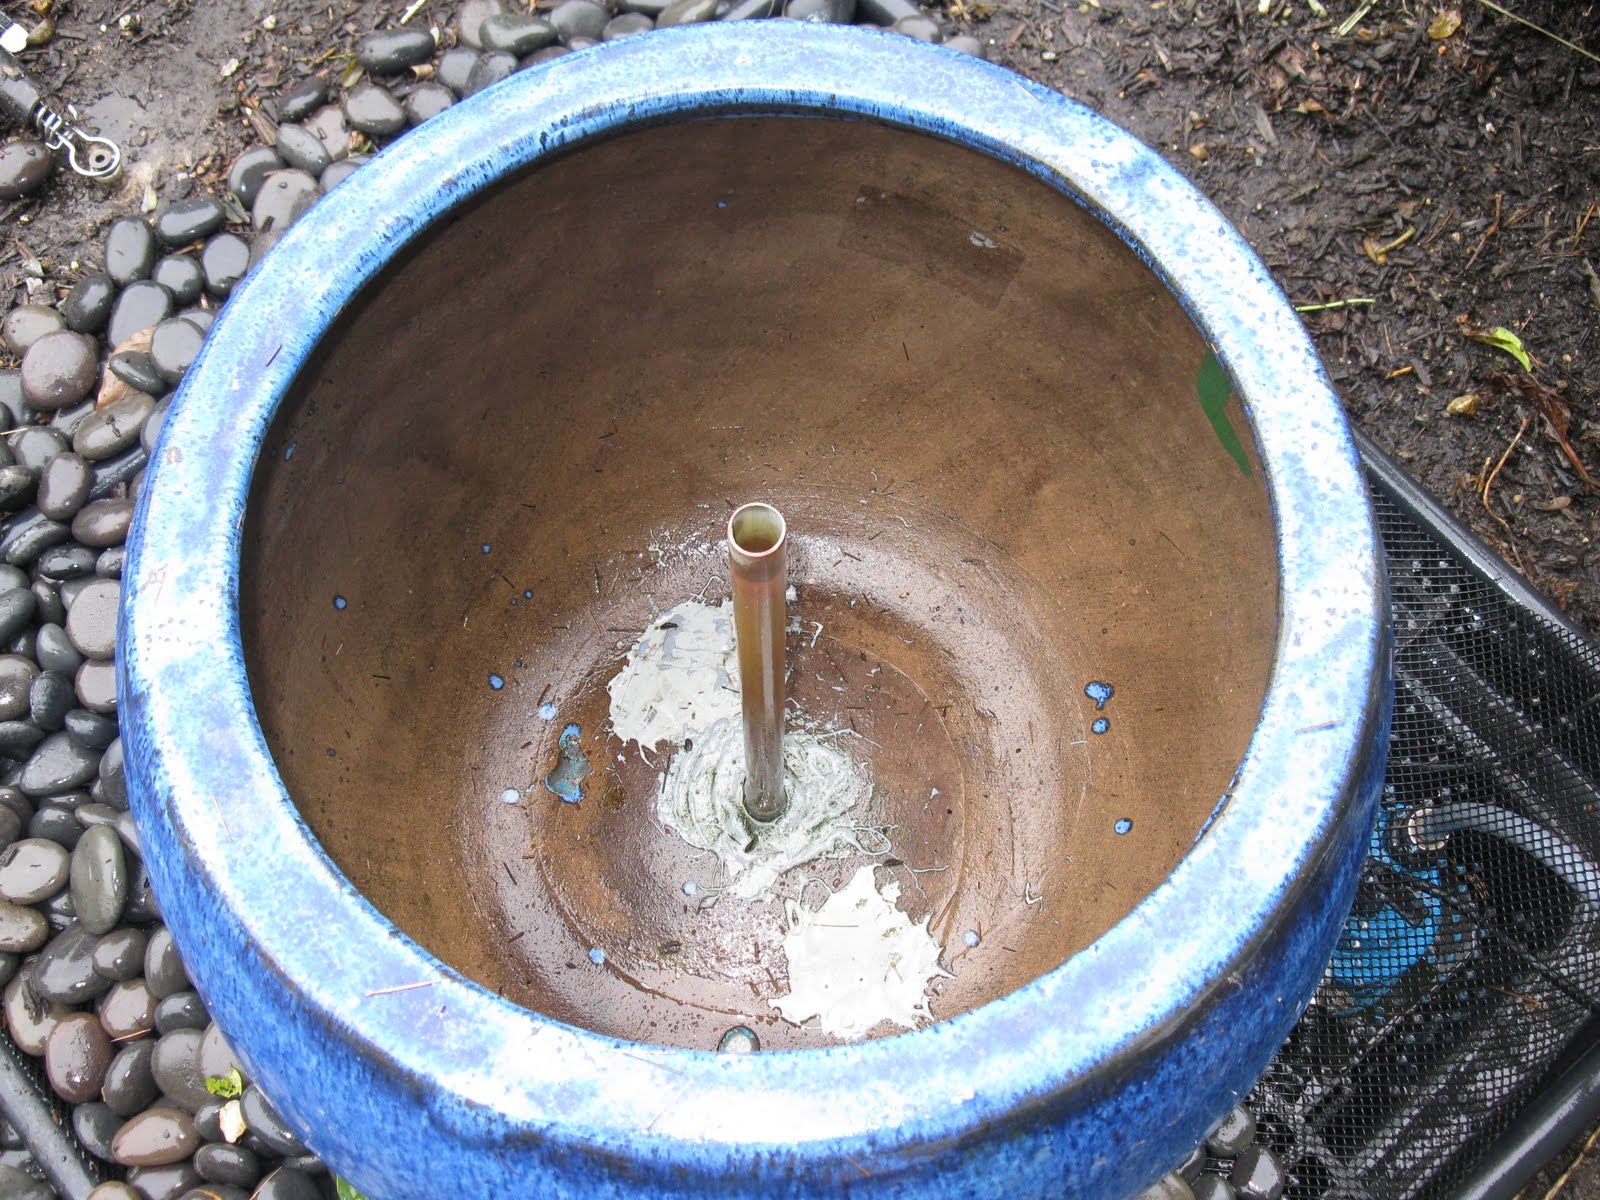
I designed my fountain with a disconnect [copper fitting] so I could easily remove and store it. See link on how I made this connection at Build a disappearing water fountain

Prior to the first freeze of the season, YOU MUST drain your fountain of all water and preferably remove the pump and bring it indoors.
Fountain covers are an excellent way to protect your fountain from harsh conditions. They come in many sizes to fit most fountains, even very large ones. There are many retail covers available your fountain or you can with a tarp or plastic. This is important to keep moisture from accumulating and freezing in the basin.
I preferred not to remove my basin and to build my own cover for it. See below.
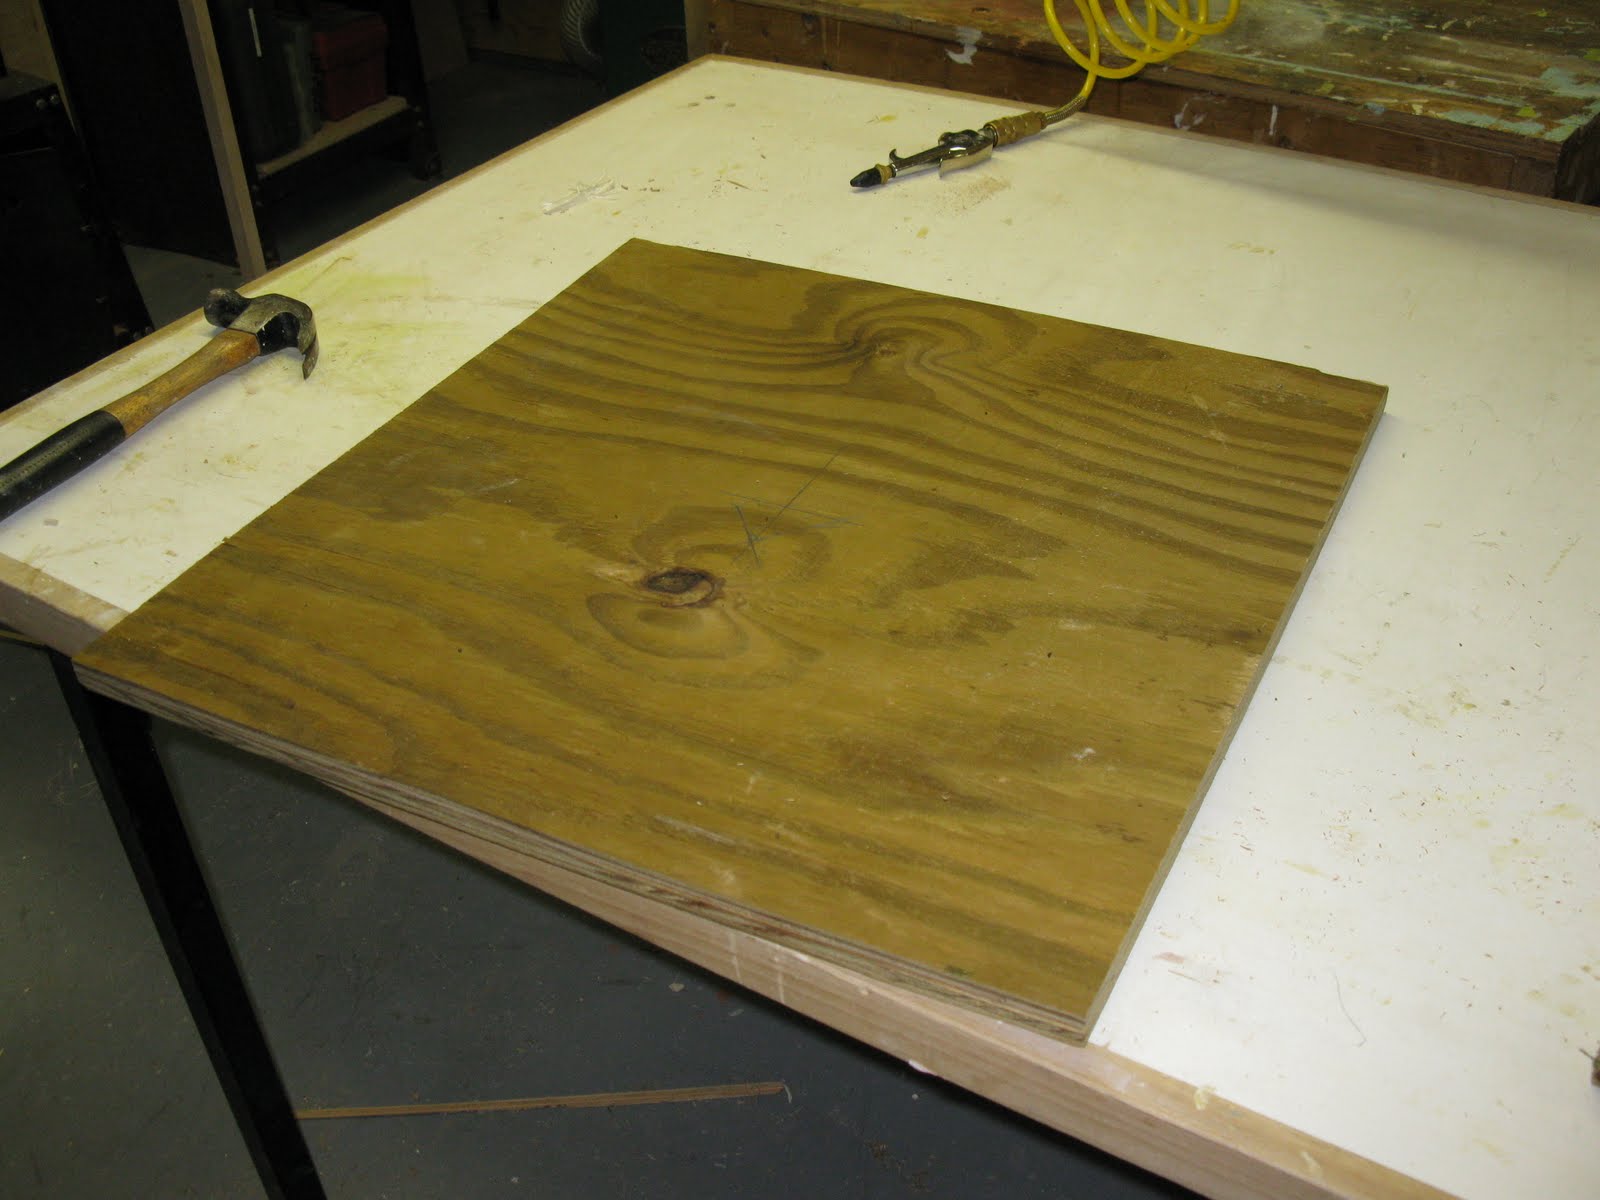
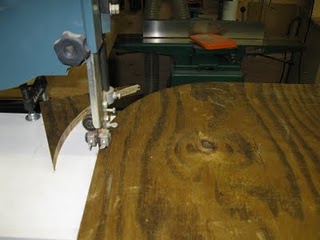
I selected 3/4″ pressure treated plywood from my scrap pile to make a cover. Although a square cover would suffice I had some spare time and made a round one on my band saw.
Cutting a circle on the band saw allows you to get a consistent circle.
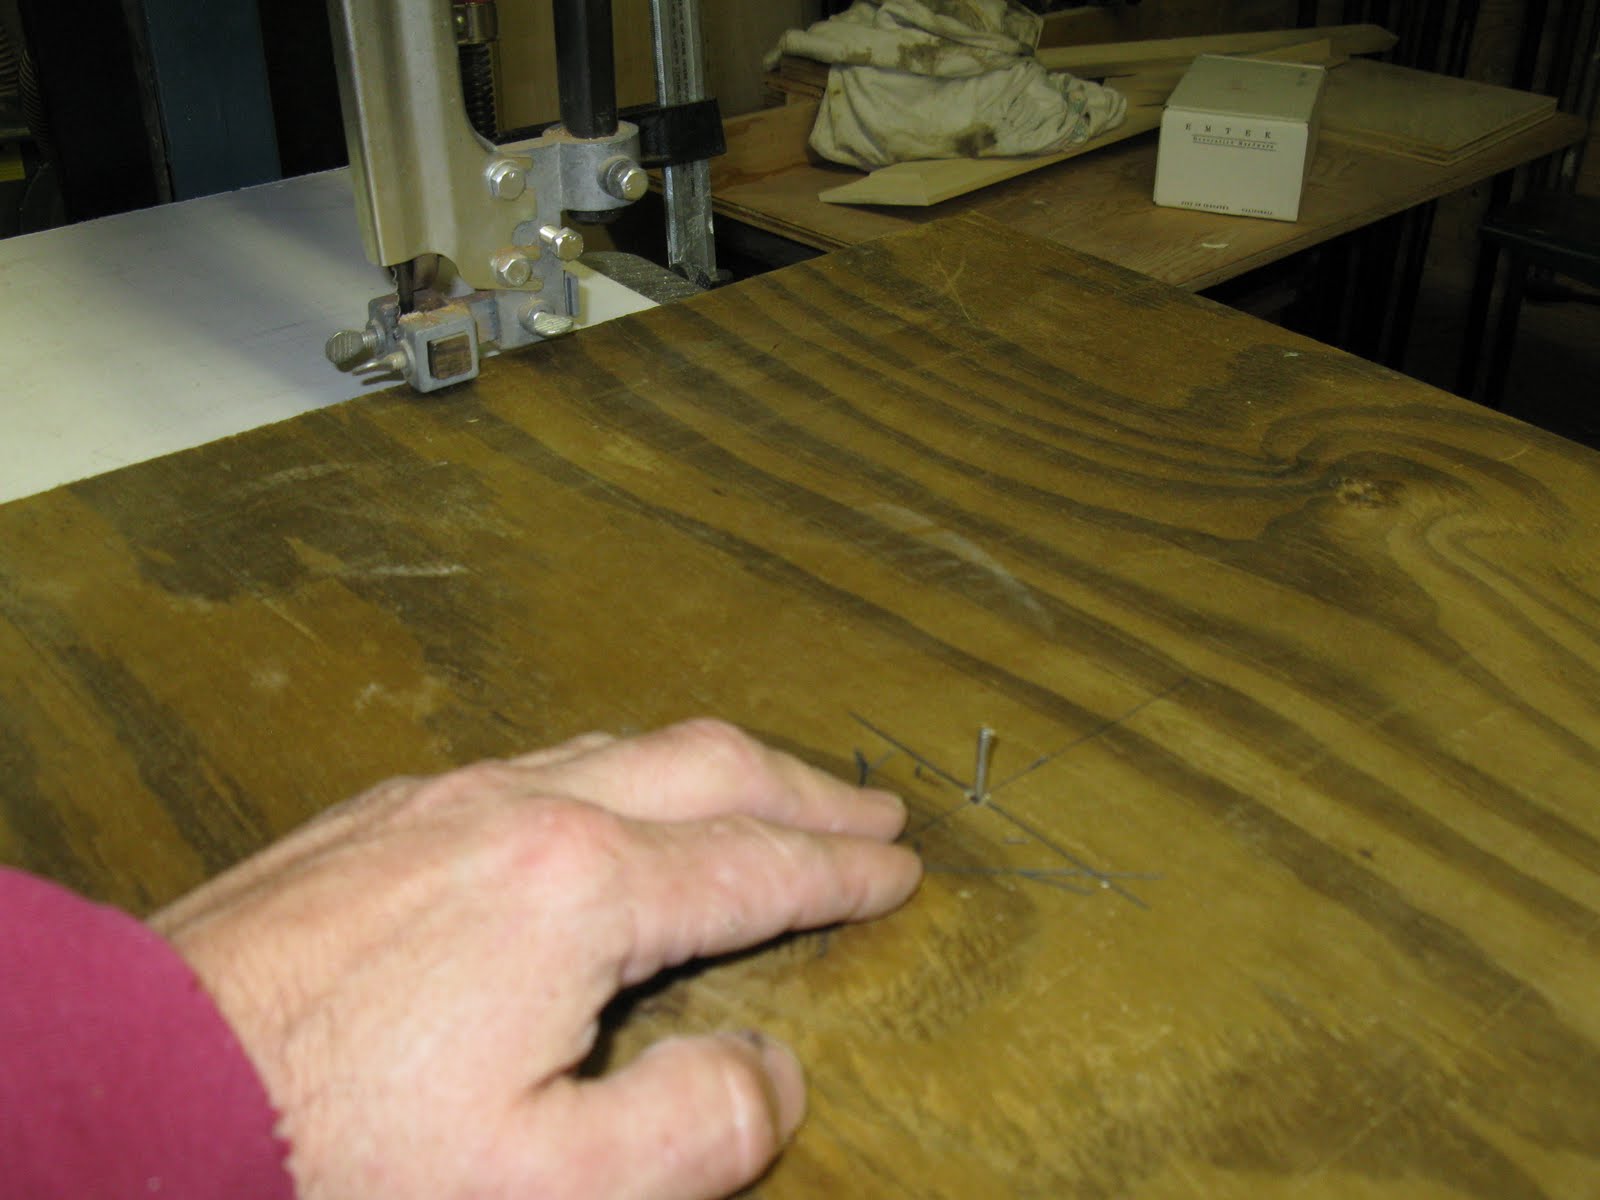
I then find the center of my circle and measure that distance off the blade and place a pin [a nail] at that center point.
I wanted a 22″ circle so I placed the pin at 1/2 that distance which is 11″.
To accomplish this I used scrap material to make an table for my
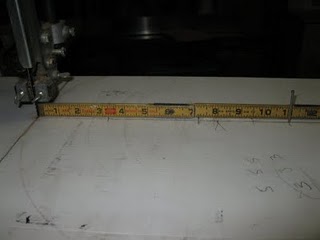
band saw. This table extends past the band saws small metal table and will support the work piece I will be cutting.
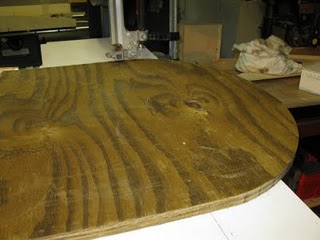
Drilling a hole in the center of the work piece I then slip it over the nail pin and begin cutting.
The work piece spins on the nail pin and keeps the wood at a constant distance from the band saw blade.
Once the piece was cut I added strips to the bottom to span the rim of my fountain basin. I needed these strips because my fountain
pipe rises above the basins rim by 1″.

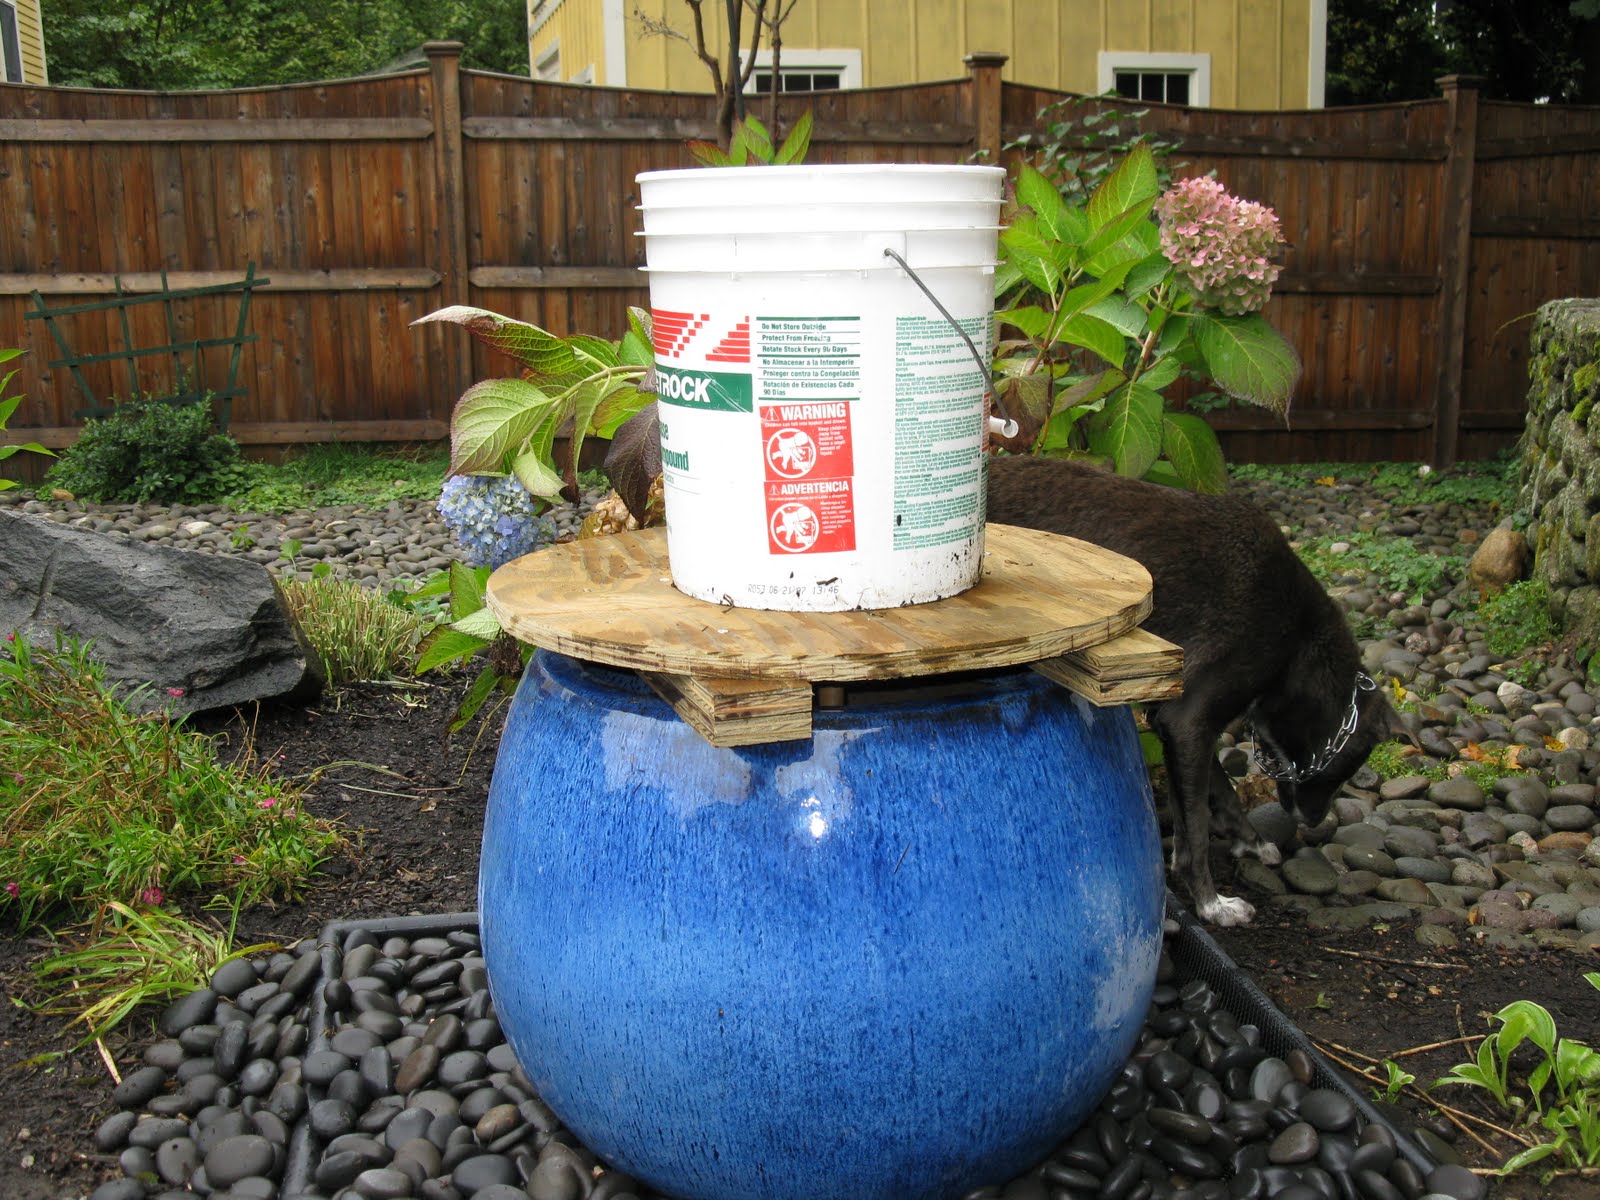
I used the bucket to keep track of
the stones I removed that were covering my access panel. Instead of dumping them out and repeating the process in the spring when I re-attach the pump, I opted to keep them in the bucket and use them to weight down my cover.

Finished. Not as pretty as a retail bought cover but bullet proof and free!
~ concord carpenter
If you enjoyed this post, please consider commenting or subscribing to receive my future posts via email