How To Winterize Your Pressure Washer


Steps To Winterize A Pressure Washer
As summer ends I often take a weekend day and winterize the exterior of my house, this process always includes winterizing my pressure washer.
Well, it wasn’t always that way, I’m one of those guys that have lost at least two pressure washers because I did not winterize them. There’s nothing worse than pulling out a tool to use it, and it doesn’t start because of something simple I could have done. so after replacing two washers I decided to do things right. This article explains what you need to know to properly winterize your pressure washer.
Freezing Temperatures and Stale Gas – Pressure Washer Killers!
Failing to prep your pressure washer for the winter temps can do serious damage to your pressure washer, potentially breaking it entirely. This often results in damaged pumps, pipes, and valves.
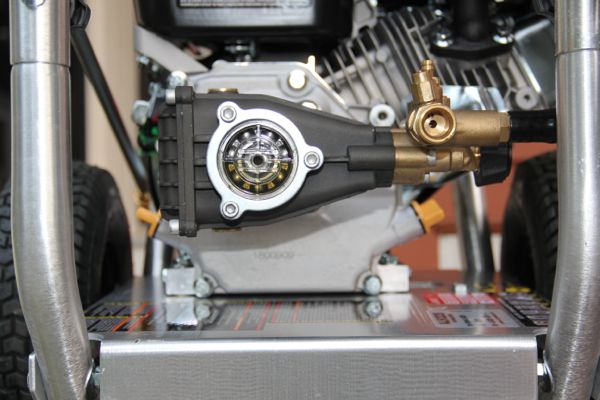
Pressure Washer Pump
Here’s what can happen if you don’t winterize your pressure washer:
1. Broken Seals, Valves, Tank, and Hose:
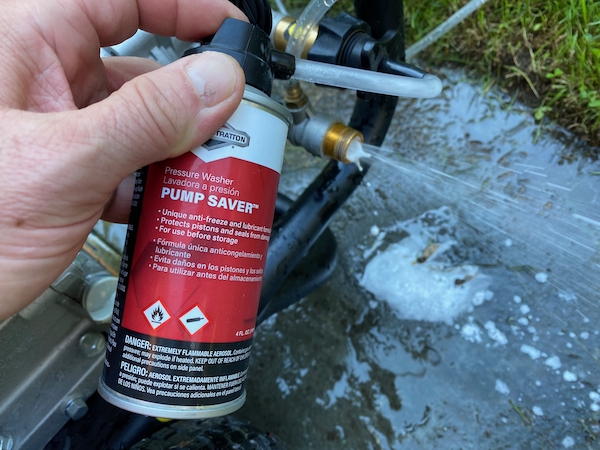
The biggest risk of failing to winterize your pressure washer is water left in the machine will freeze. When that water turns to ice, it expands and that expansion pressure bursts seals, valves, and pipes. Use Pump saver which is an anti-freeze solution that protects seals from drying out, and keeps water out of your pump, and prevents any residual water from freezing.

2. Fouled Engine From Stale Gas:
Gasoline loses its combustible power 30 days after you pour it into your gas pressure washer, due to exposure to oxygen. Adding fuel stabilizer helps prevent gasoline from degrading and prolongs its use.

Fuel Stabilizer
Winterizing an Electric Pressure Washer
Electric pressure washers are easier to winterize than gas pressure washers. You only have to protect the pump and not the fuel tank. Just follow these simple steps:
- Run your pressure washer with clean water to flush detergents out
- Turn off your pressure washer and disconnect it from your hose.
- Spray the handle to release any pressure. Remove the hose, wand, and attachments.
- Attach your pump saver to the water inlet and turn the knob on the bottle to the open position.
- Turn on the pump with the power switch/lever until liquid comes out of the pump pressure outlet is a 100 percent pump saver solution.
- You’re done!
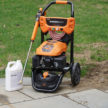
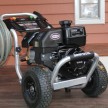
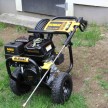
Winterizing a Gas Pressure Washer
Gas pressure washers require a few additional steps than electric pumps because you need to secure the fuel.
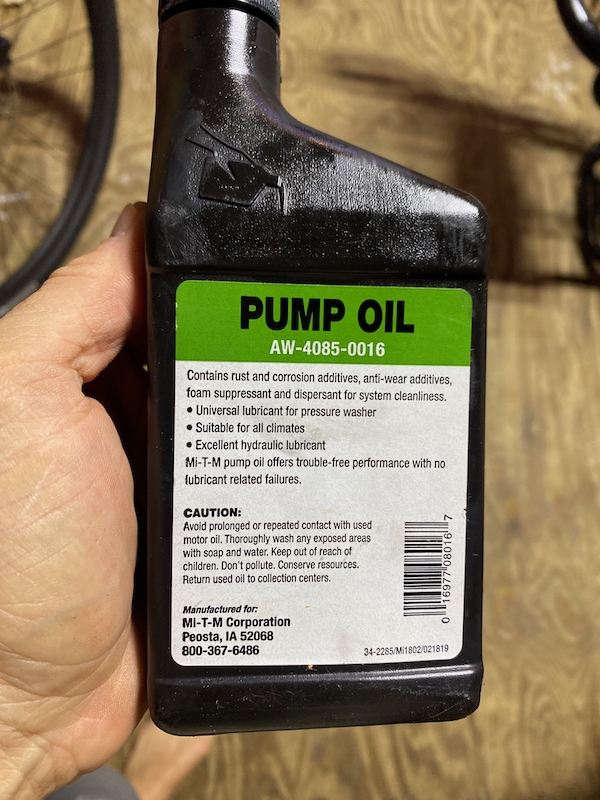
- Check engine and pump oil and replace if pressure washer has 10 hours or more of operation.
- Drain or remove old gas, with a pump or disconnect the rubber hose.
- Add fresh gas. with gas stabilizer into the fuel tank and run the pressure washer to circulate it through the engine.
- While running the stabilizer through the engine flush out the pressure washer by running clean water through the detergent tank
- Turn off your pressure washer and disconnect it from your hose.
- Spray the handle to release any pressure. Remove the hose, wand, and attachments.
- Attach your pump saver to the water inlet and turn the knob on the bottle to the open position.
- Pull on the cord several times with the power switch/lever in the OFF position and until liquid comes out of the pump outlet is 100 percent pump saver solution.
If you Live In Warmer Climate
No matter your climate, you should consider using these steps if you don’t intend to use the washer in the next 30 days. By doing so, you protect the stability of your fuel and keep the seals from drying out.
Winterizing your pressure washer is a great way to ensure its longevity.
Other Pressure Washer Maintenance Issues To Consider
There are three other items that you should consider staying on top of, they are:
- Replacing the spark plug [gas models- replace yearly or after 100 hours of use].
- Changing the engine oil [use 10w-30 oil].
- Changing the pump oil [use 30w non-detergent oil].
- Check, clean, or replace the air filter.