
Old School Lathe and Plaster Repair
“Preparation When Painting Is Everything!!” . . . . . says my friend and fellow craftsman Mark O’Lalor of O’Lalor Painting Company.
Mark is today’s guest blog writer.
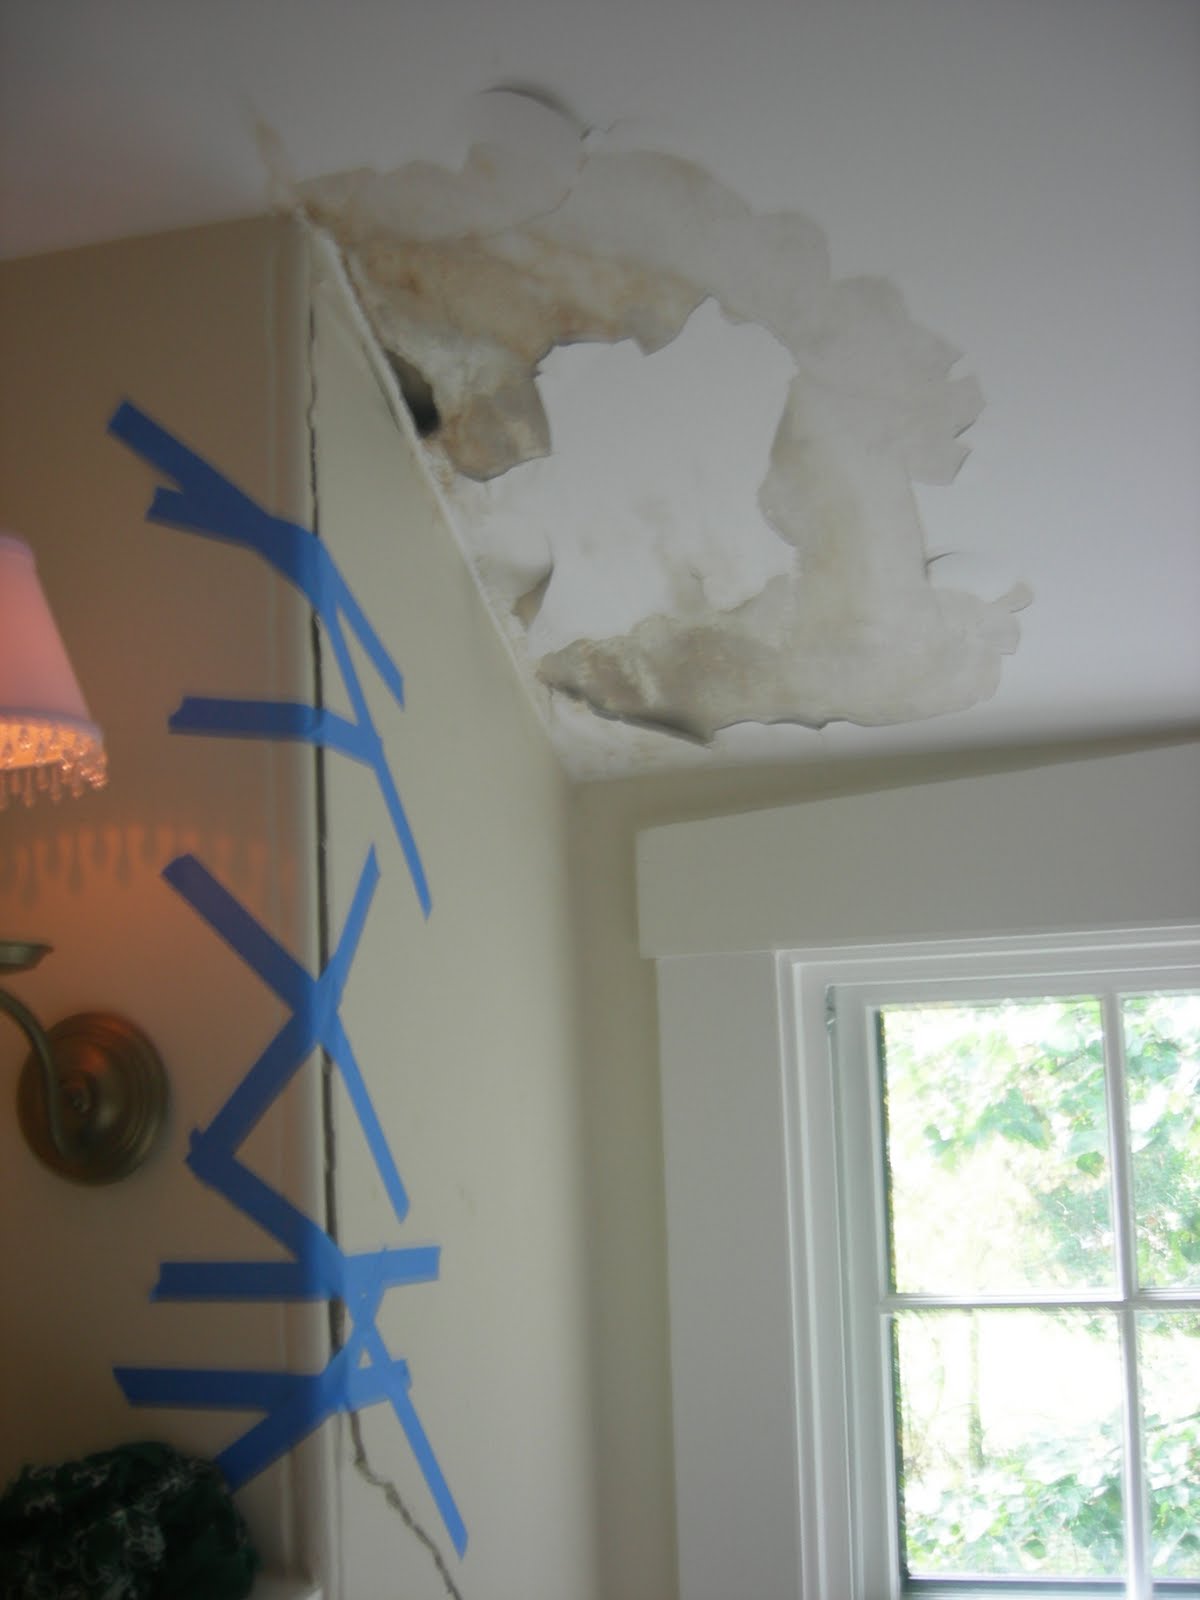
The photo below shows interior water damage as a result of a leak in the chimney flashing. Rob detailed the repair of the flashing and the installation of a roof cricket last month. After Rob repaired the roof leak he called me in to repair the interior plaster surfaces and paint.
How to Repair Old Plaster Walls
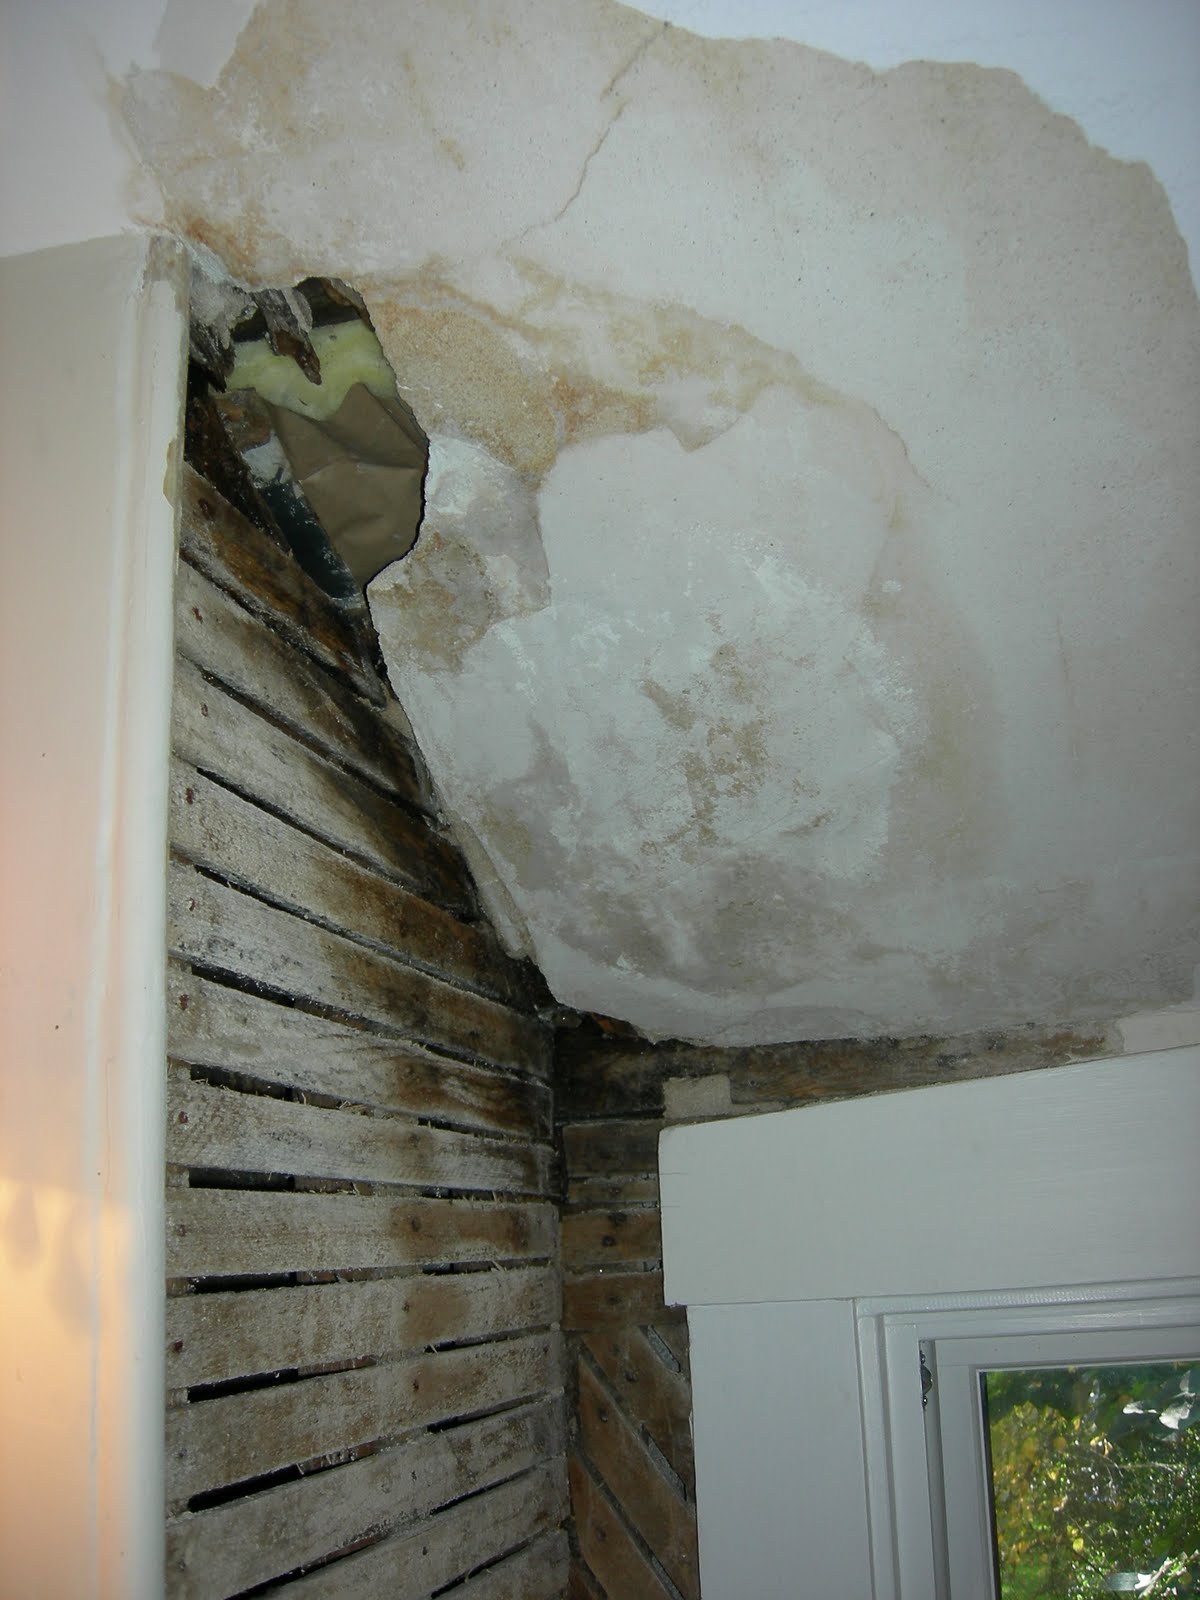
With small to medium plaster projects I tend to do the repair myself. This wall surface located on the right hand side of the chimney was completly separated from the wood lathe. After removing the damaged plaster on the wall surface I discovered that the underlying lathe was so wet that I would have to remove the stained ceiling plaster as well to investigate further.
The standard approach to repairing a old plaster wall surfaces like this is to attach 1/2 inch sheet rock over the lathe and skim coat with joint compound.
However, since this was a historic home: The final home of Henry David Thoreau, the home owner insisted on making the repair as close to the original as possible.
Remove Damaged Material
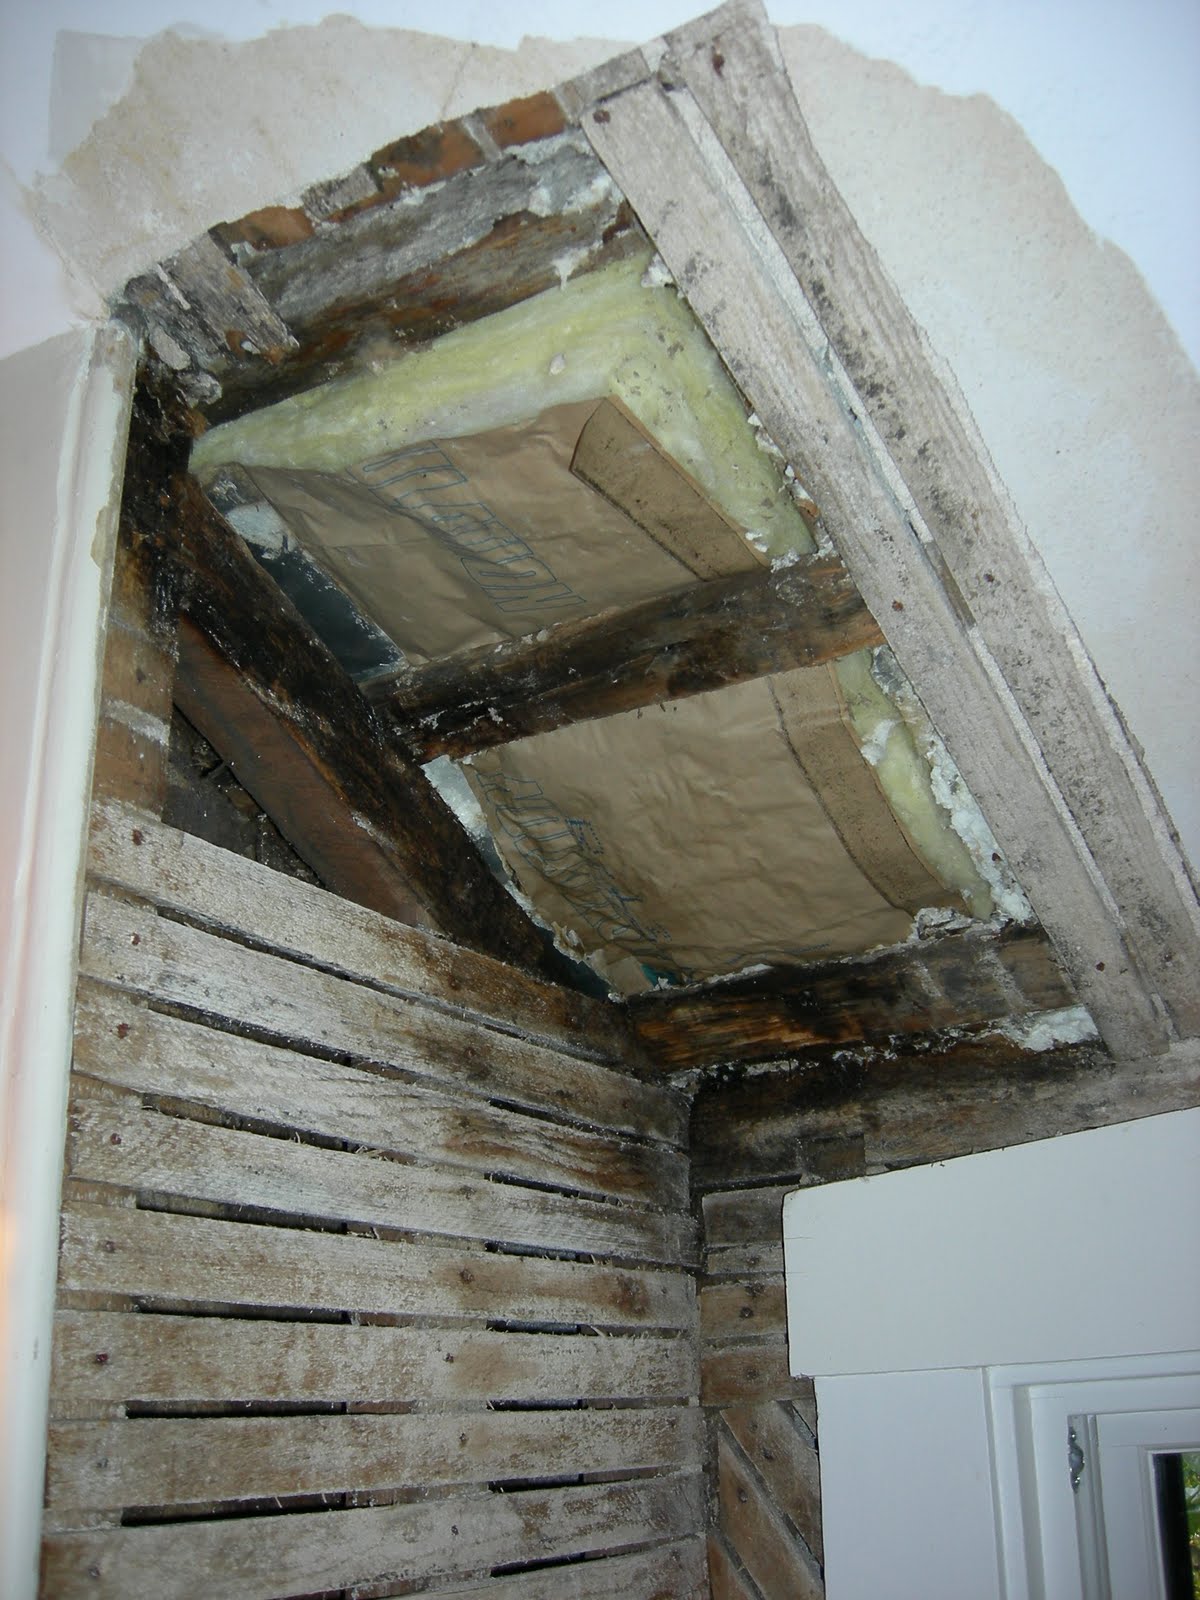
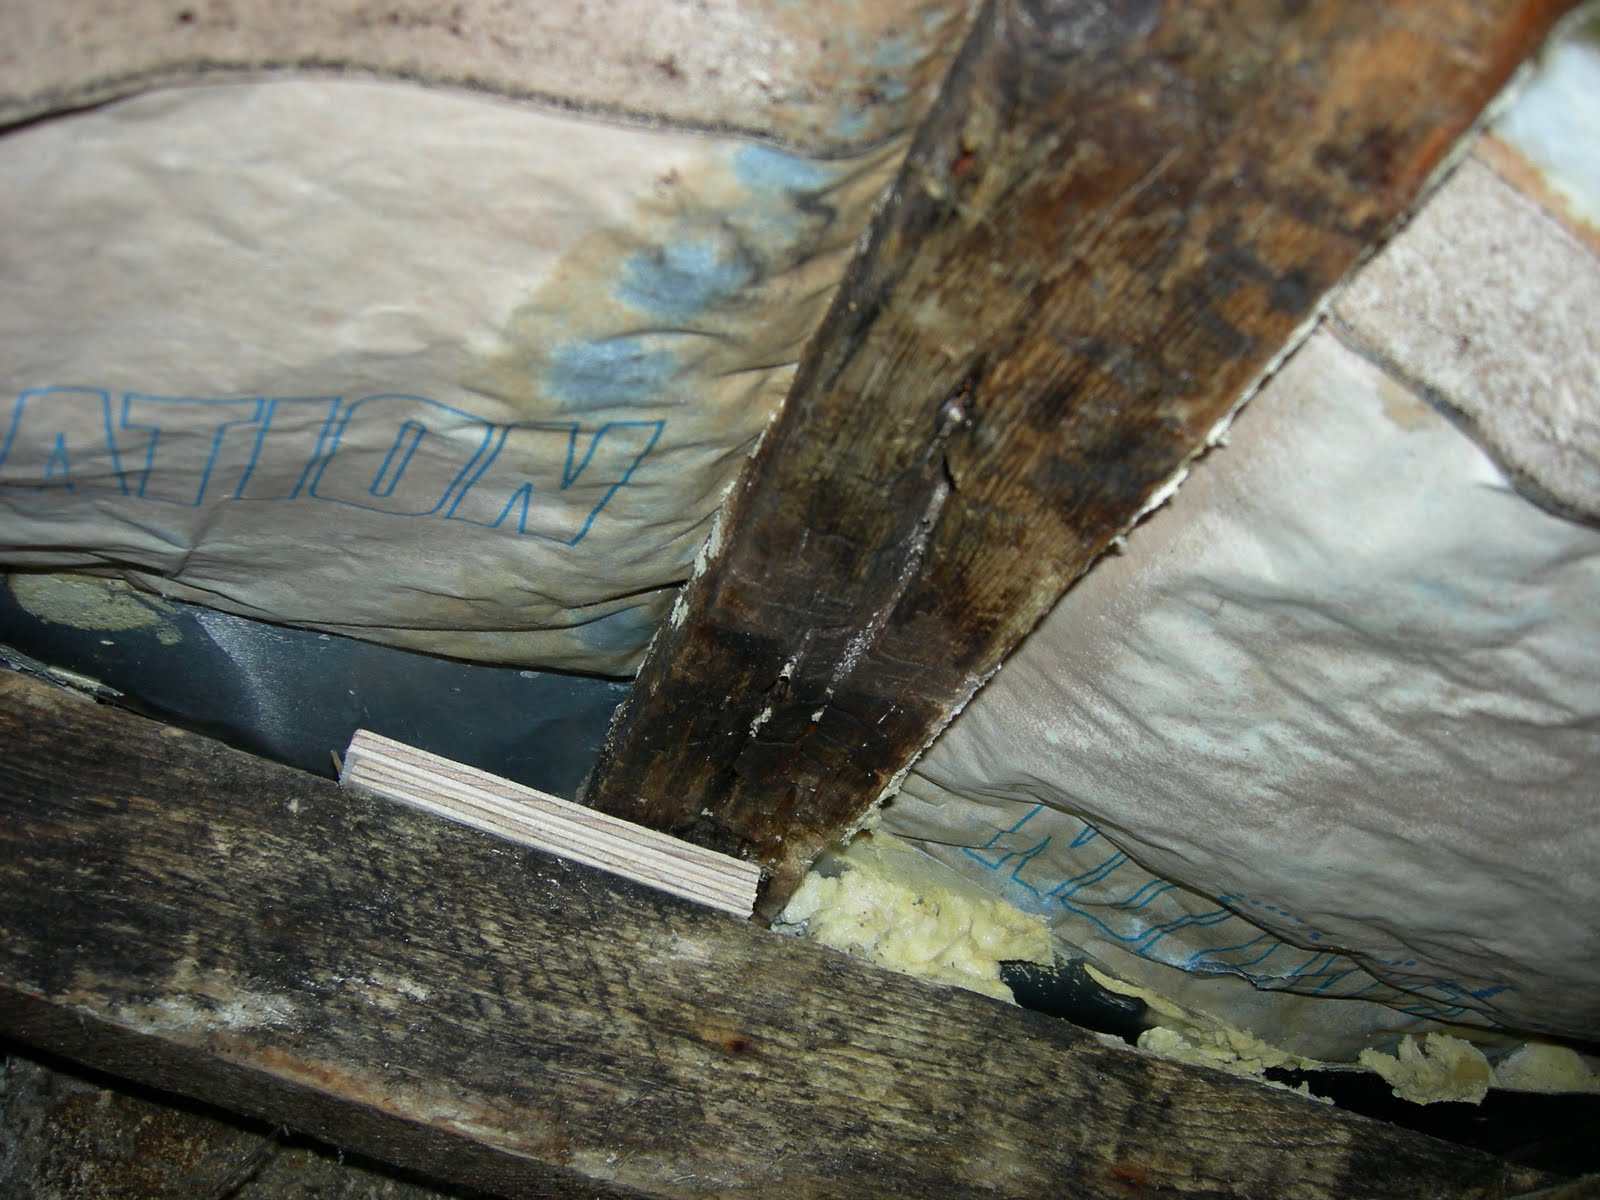
I stripped back the plaster to surfaces that were solid and dry and removed all the plaster in between the lathe. The area closest to the water damage was dark with mildew and many of the lathe were rotted and had to be removed.
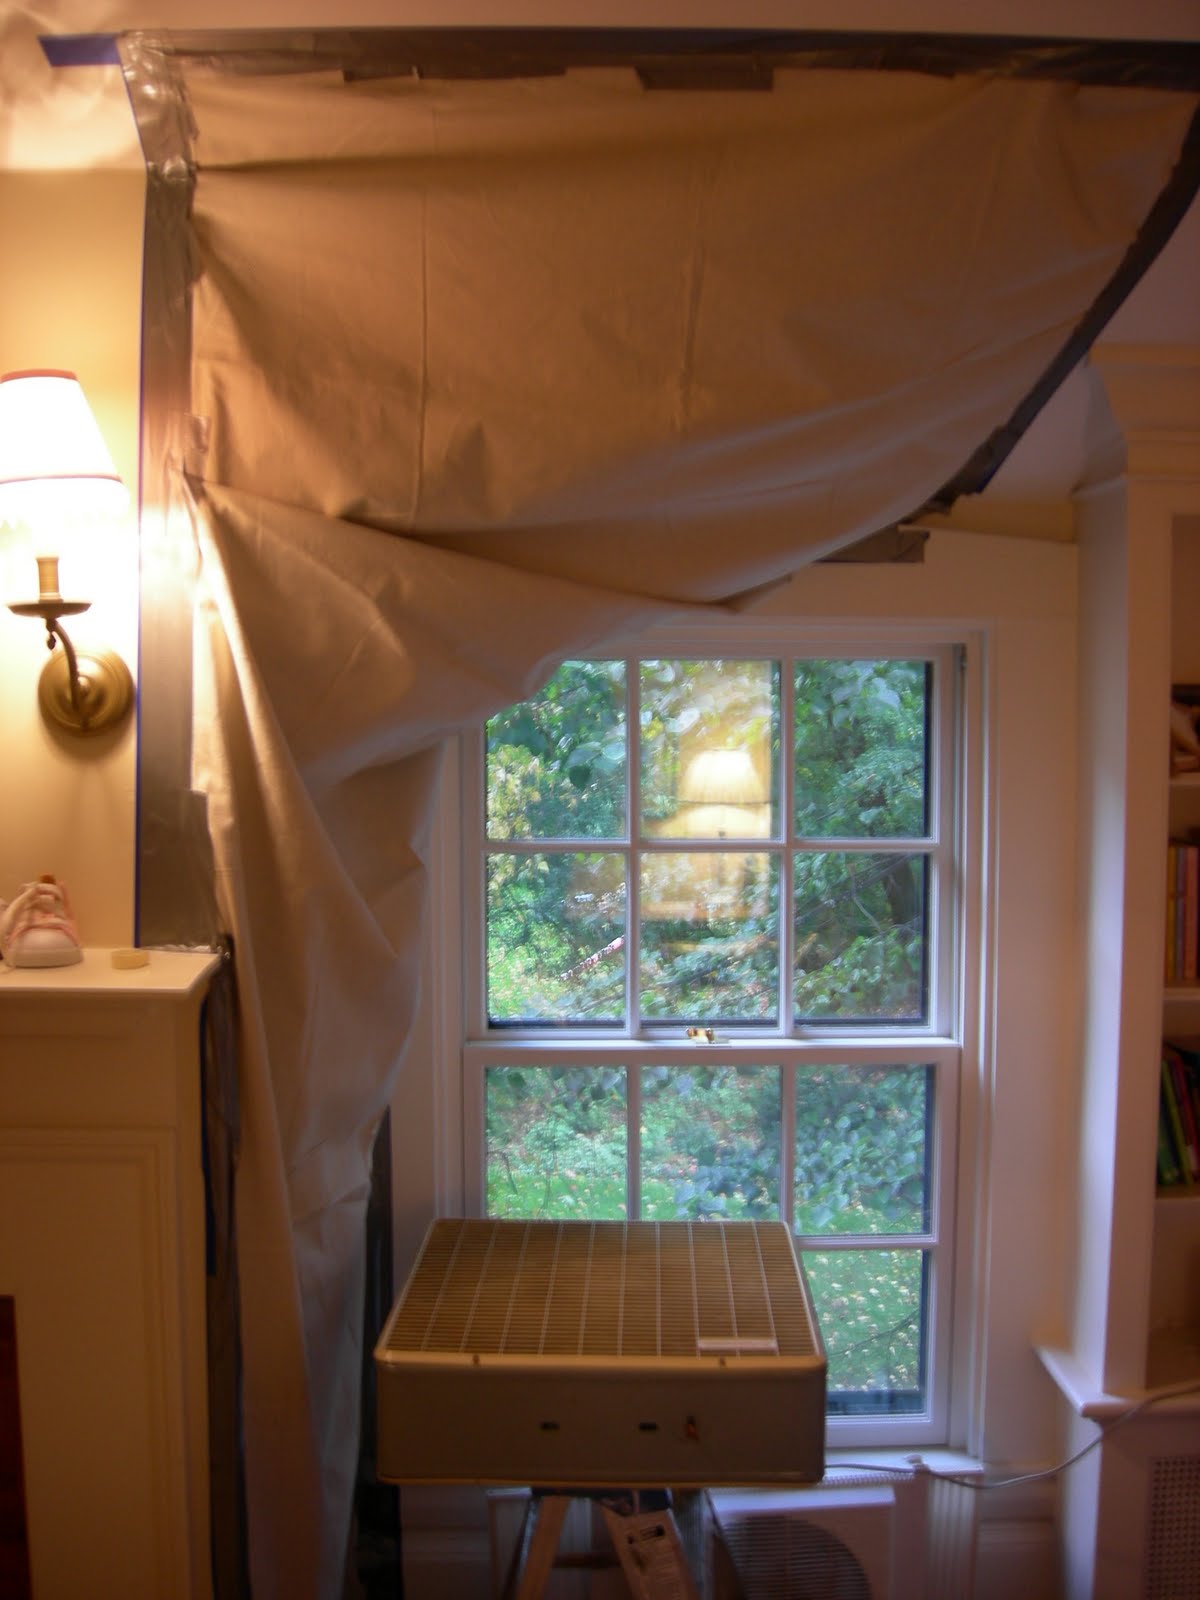
I attached a drop cloth over the opening to trap the dust and debris and set up a fan to thoroughly dry the surface.
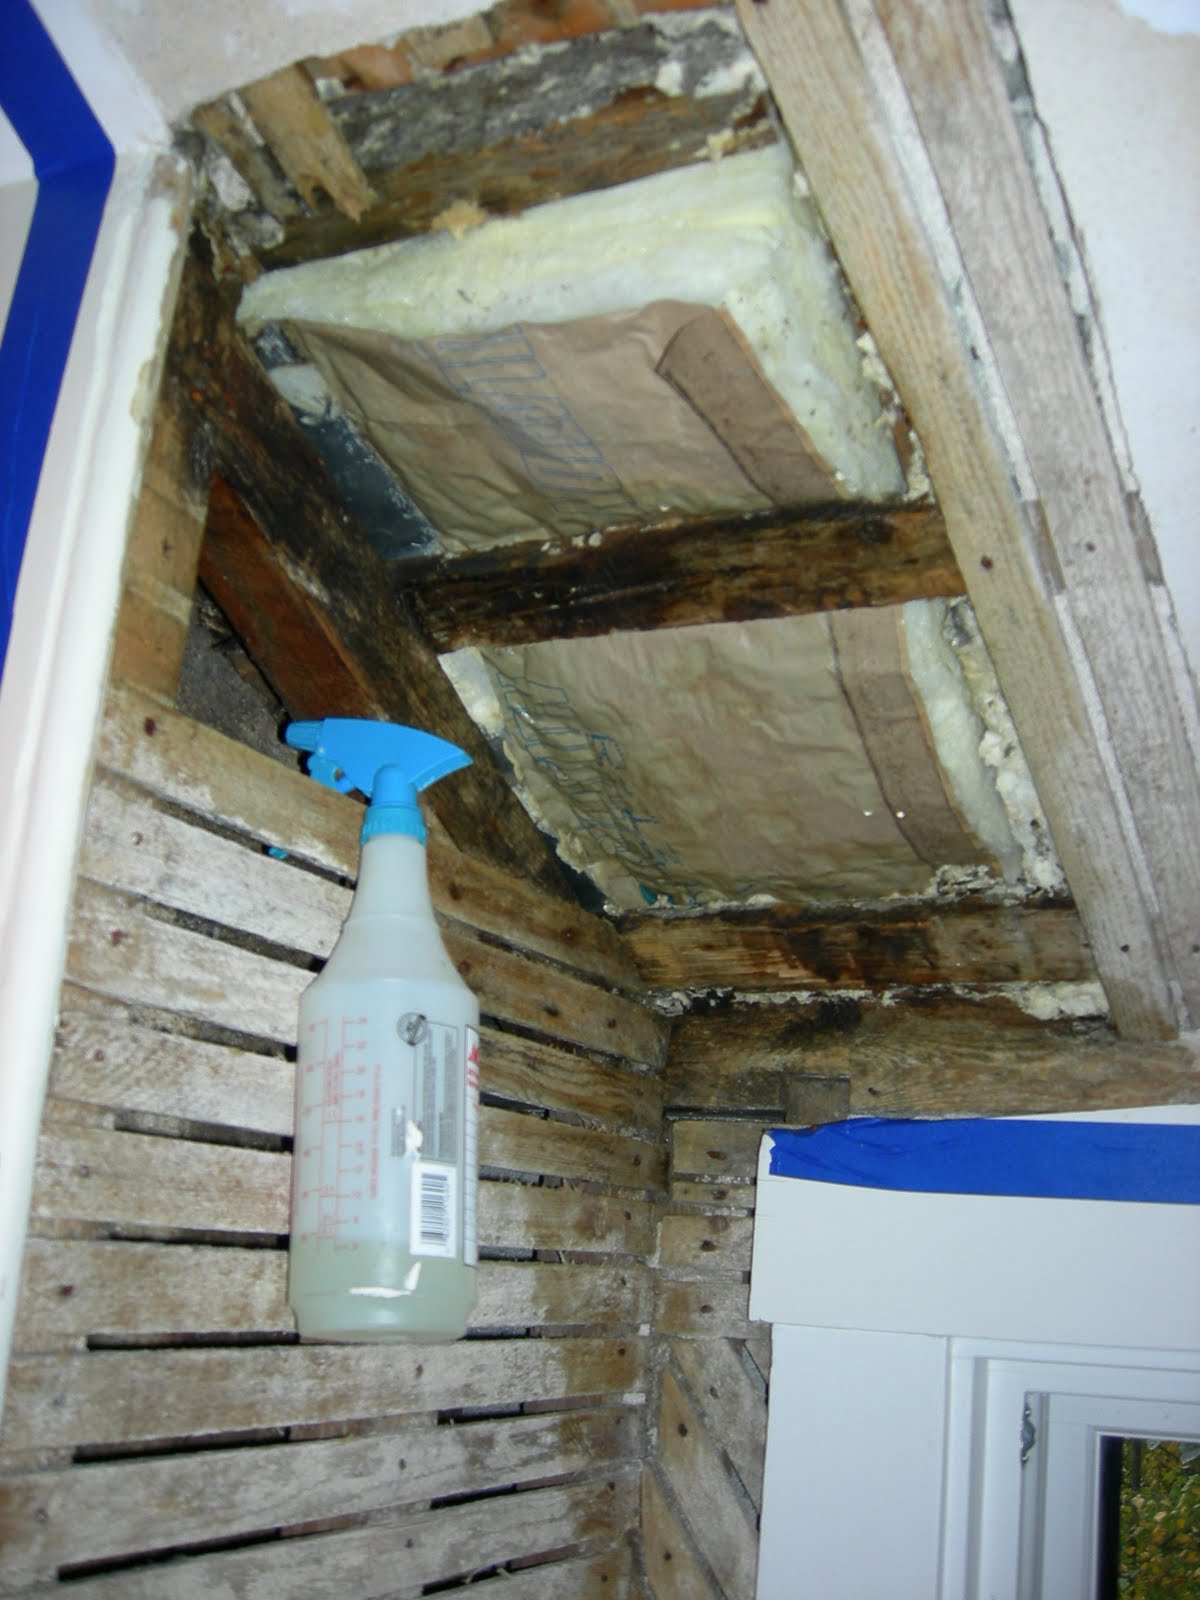
I came back the next day and after removing the drop cloth I sprayed down the surface with bleach to kill any remaining mold and mildew.
Since the repair was small I cut lathe out of scrap plywood.
Replace Lathe
Rob added new installation when he replaced the rotted roof sheathing. I made minor repairs to the existing framing to support the new lathe.
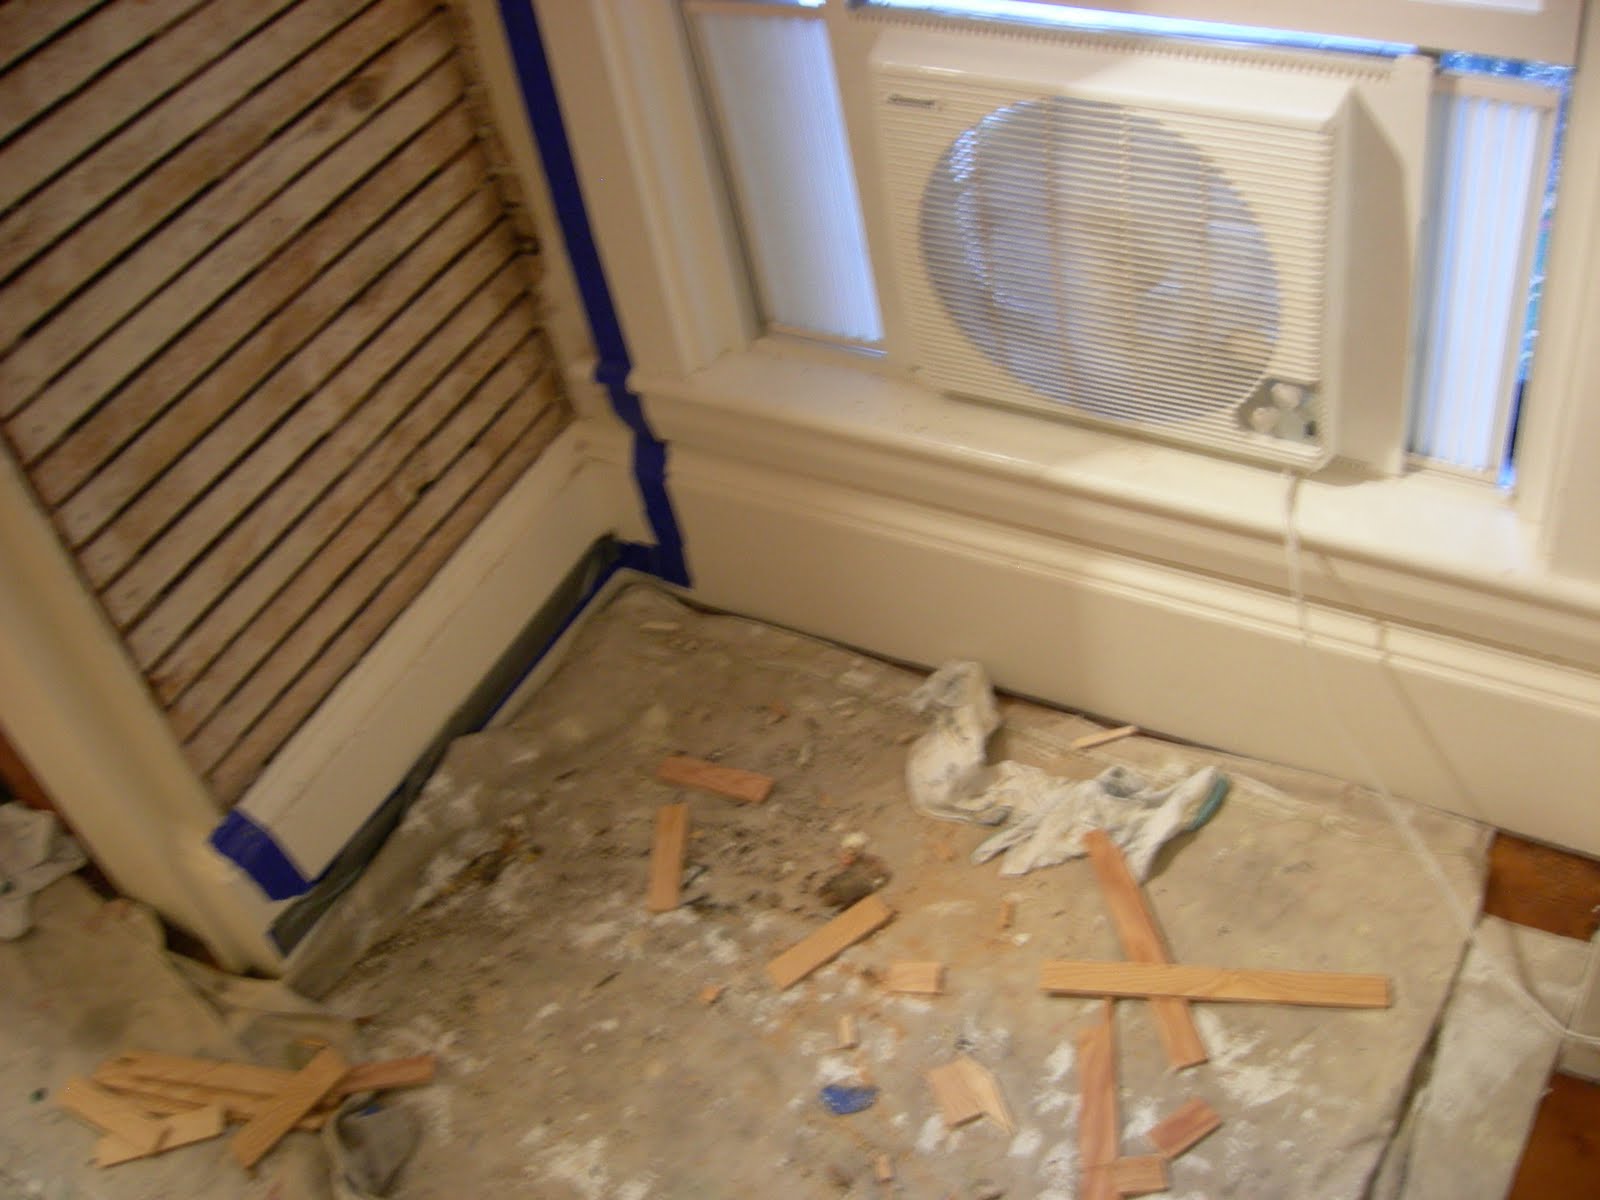
During all phases of this project I kept a fan on drawing air outside to create negative air pressure so that dust was kept to a minimum.

I cut to size and screwed on the lathe with galvanized screws.
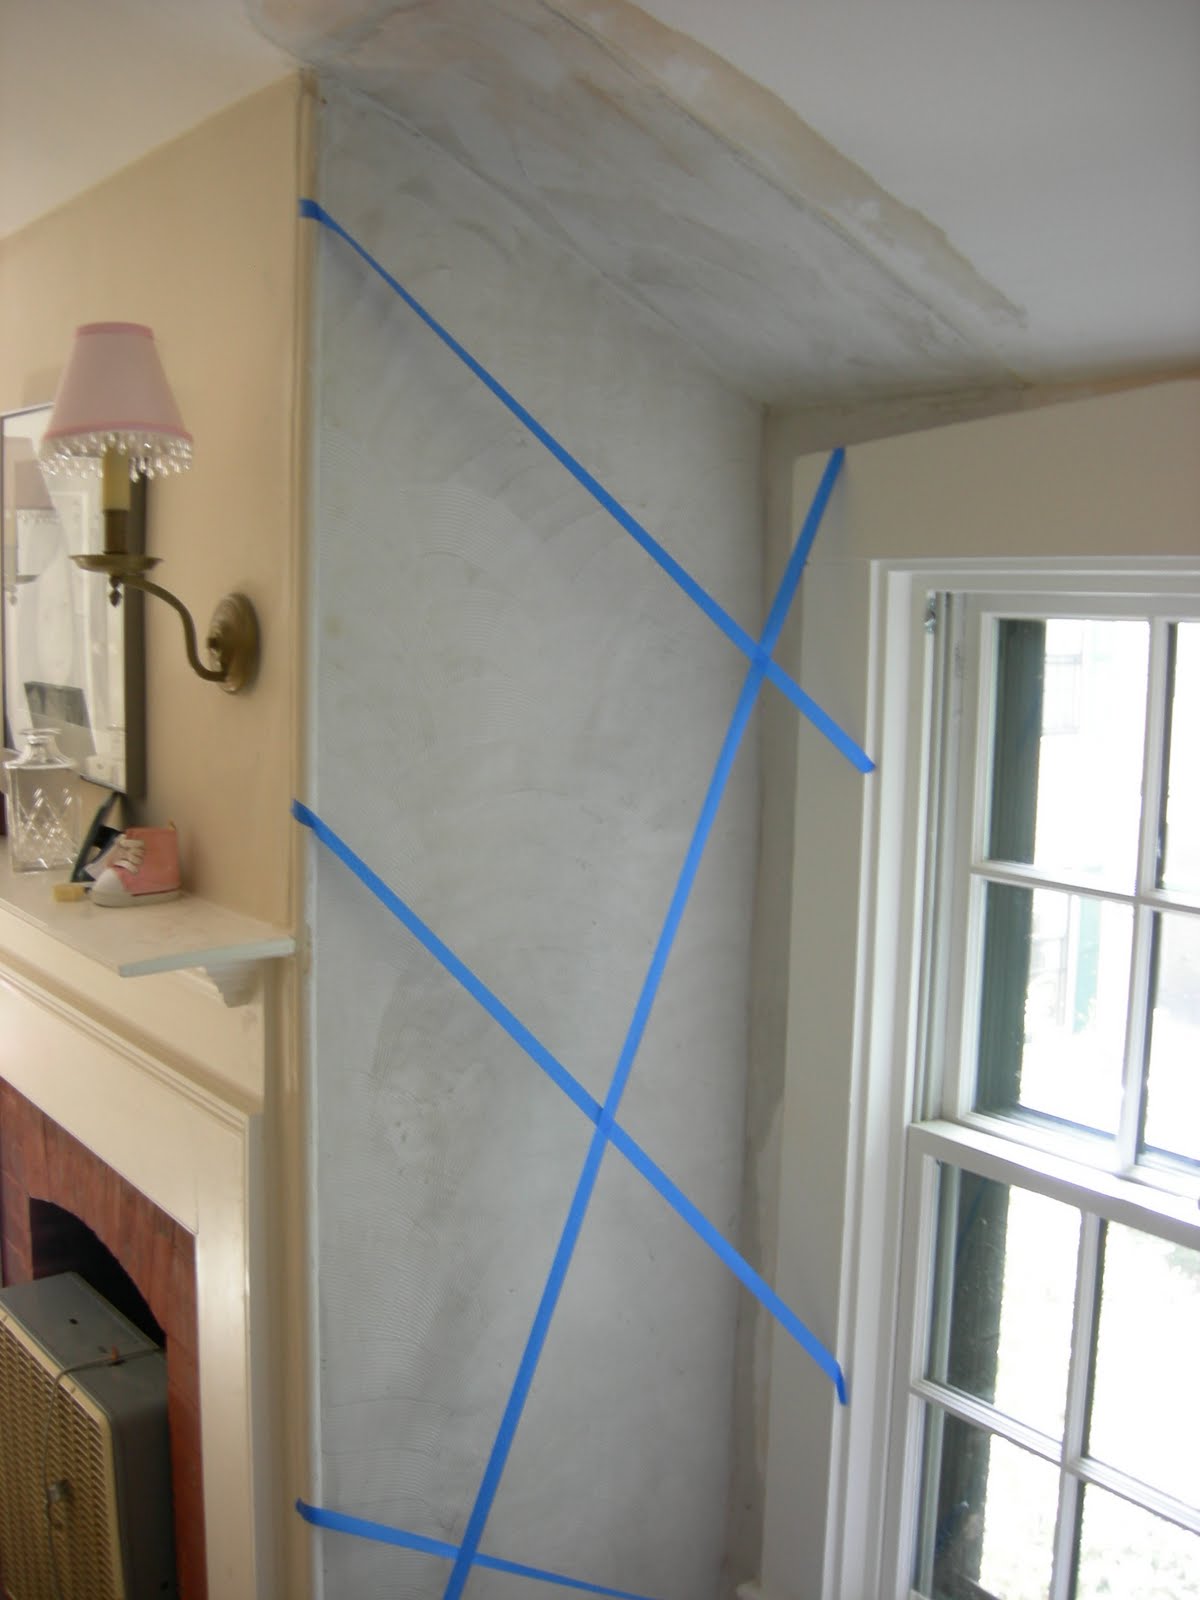
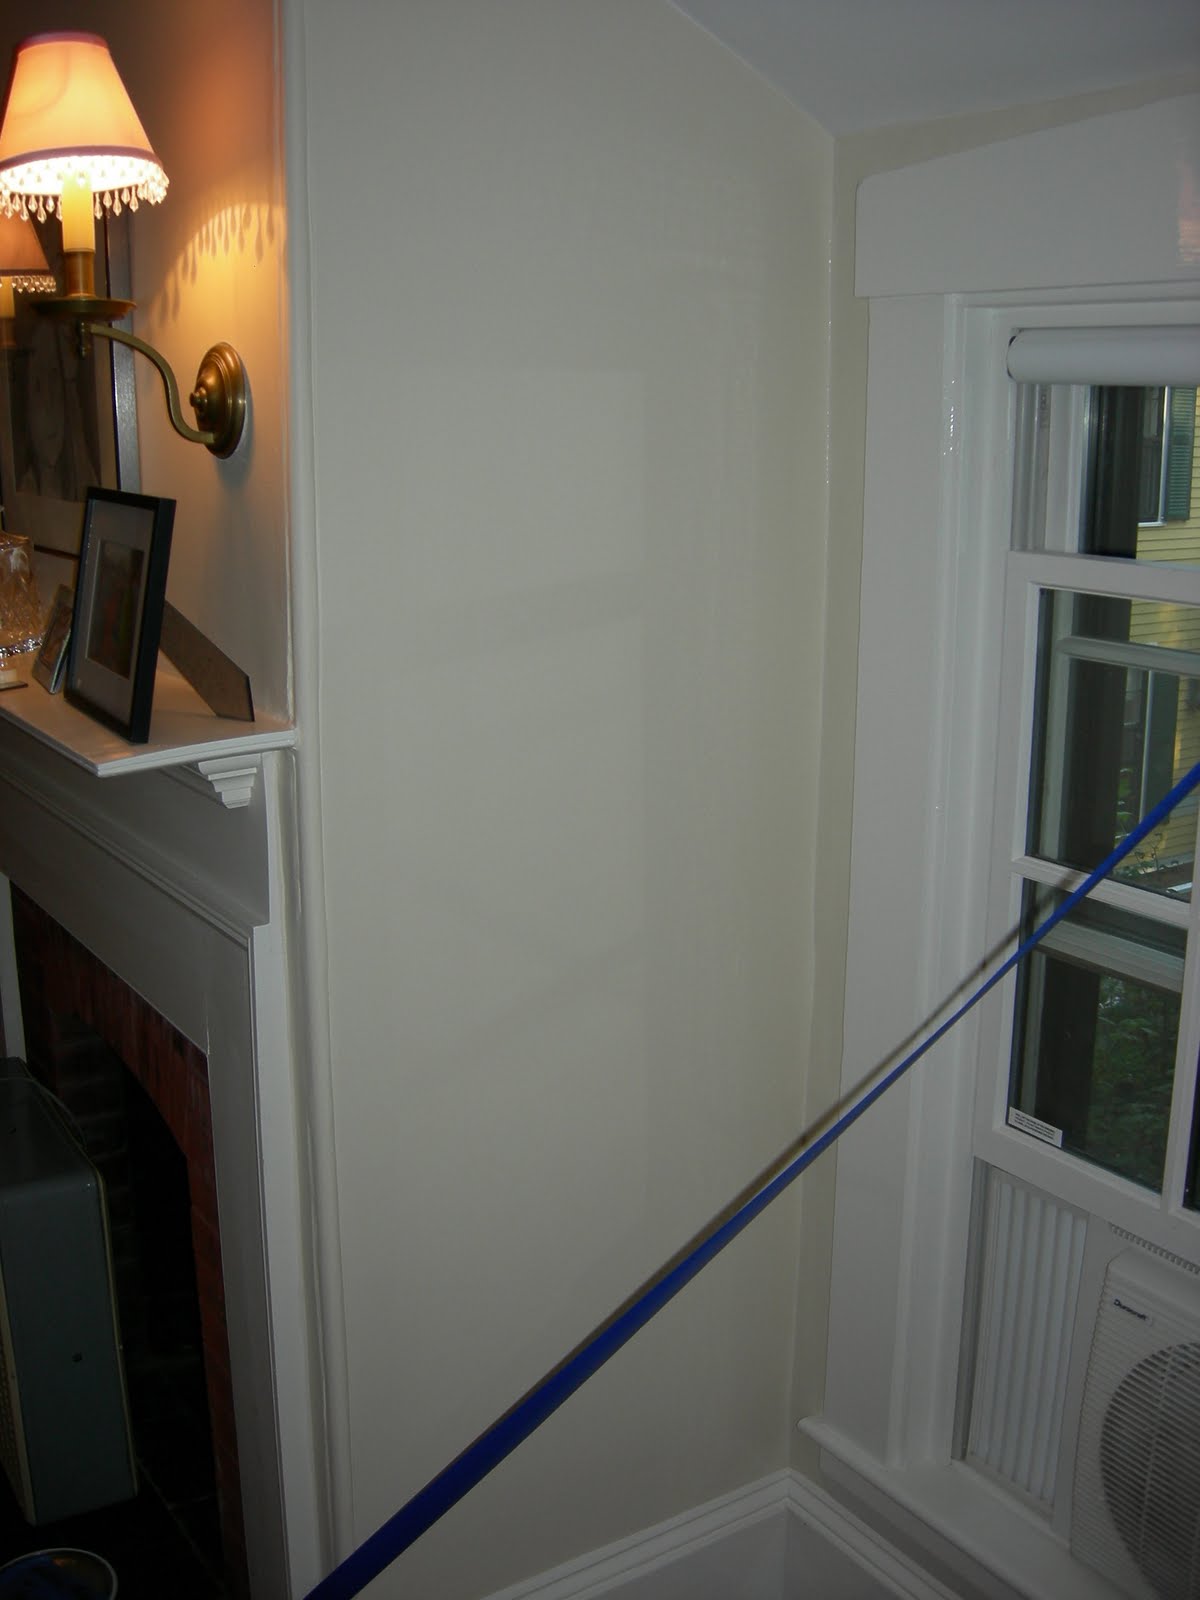
I used a two coat plaster process. After applying the base plaster coat I scratched in grooves to accommodate the top coat. The blue tape you see in the picture is just a reminder to the homeowner that the surface is wet and should not be touched.
This is a close up of the rough scratch coat.
Finish Touches
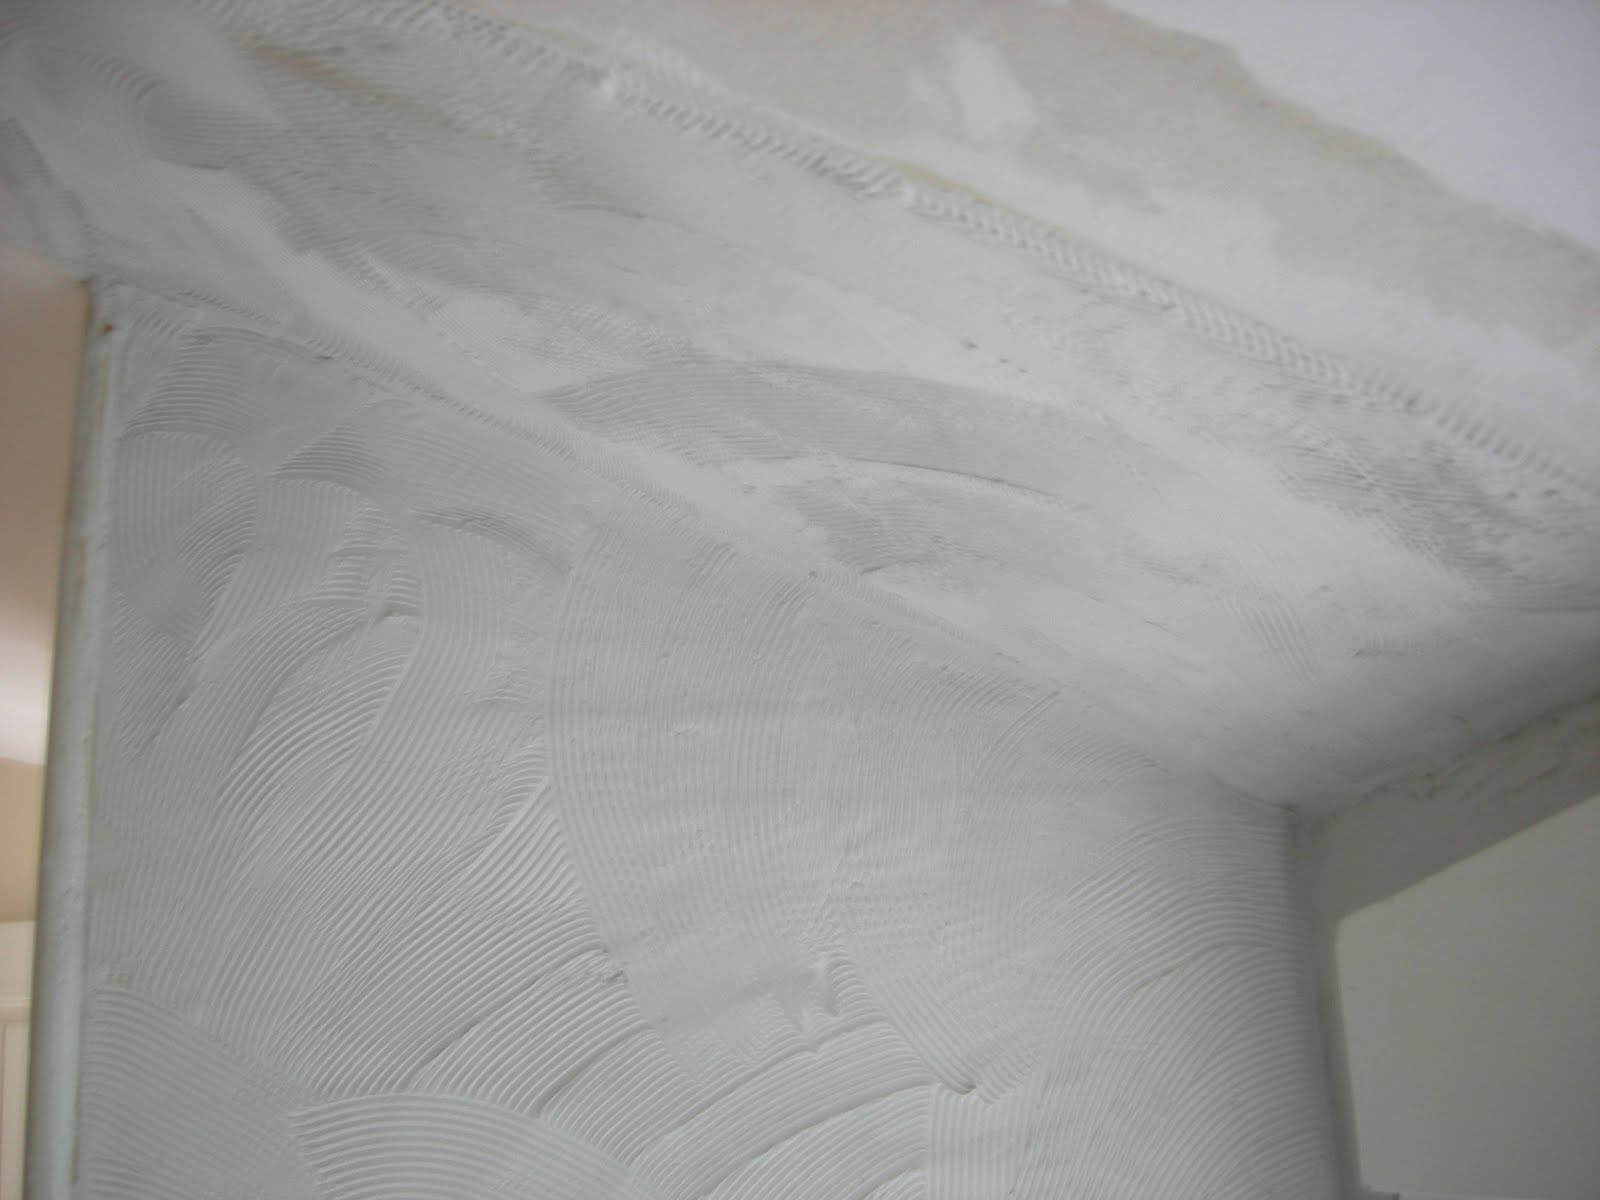
I troweled on the Veneer plaster top coat using a technique that results in a smooth, flat finish.
If you click on the photo you will notice a wood corner bead running between the side and front wall. I was careful to duplicate the termination point of the plaster at the bead in order to replicate the original plaster’s detail.
As with all projects of this nature I made sure that the interface between the original wall and ceiling surfaces blended seamlessly with the new repair. The end result and ultimate goal is a repair that is invisible.
As with all bare plaster projects I made sure the surface was free of dust
before I applied the standard two coats of primer and the subsequent top coats of paint.
~ Mark O’
See Mark’s post on proper preparation before painting.
Mark O’Lalor owns and operates OLALOR PAINTING based in Concord, MA and can be reached at:
markolalor@yahoo.com
Tel. (978) 944-1569

Photo: Mark O’Lalor
If you enjoyed this post, please consider commenting or subscribing to receive my future posts via email