How to Make Scalloped Shingle Siding

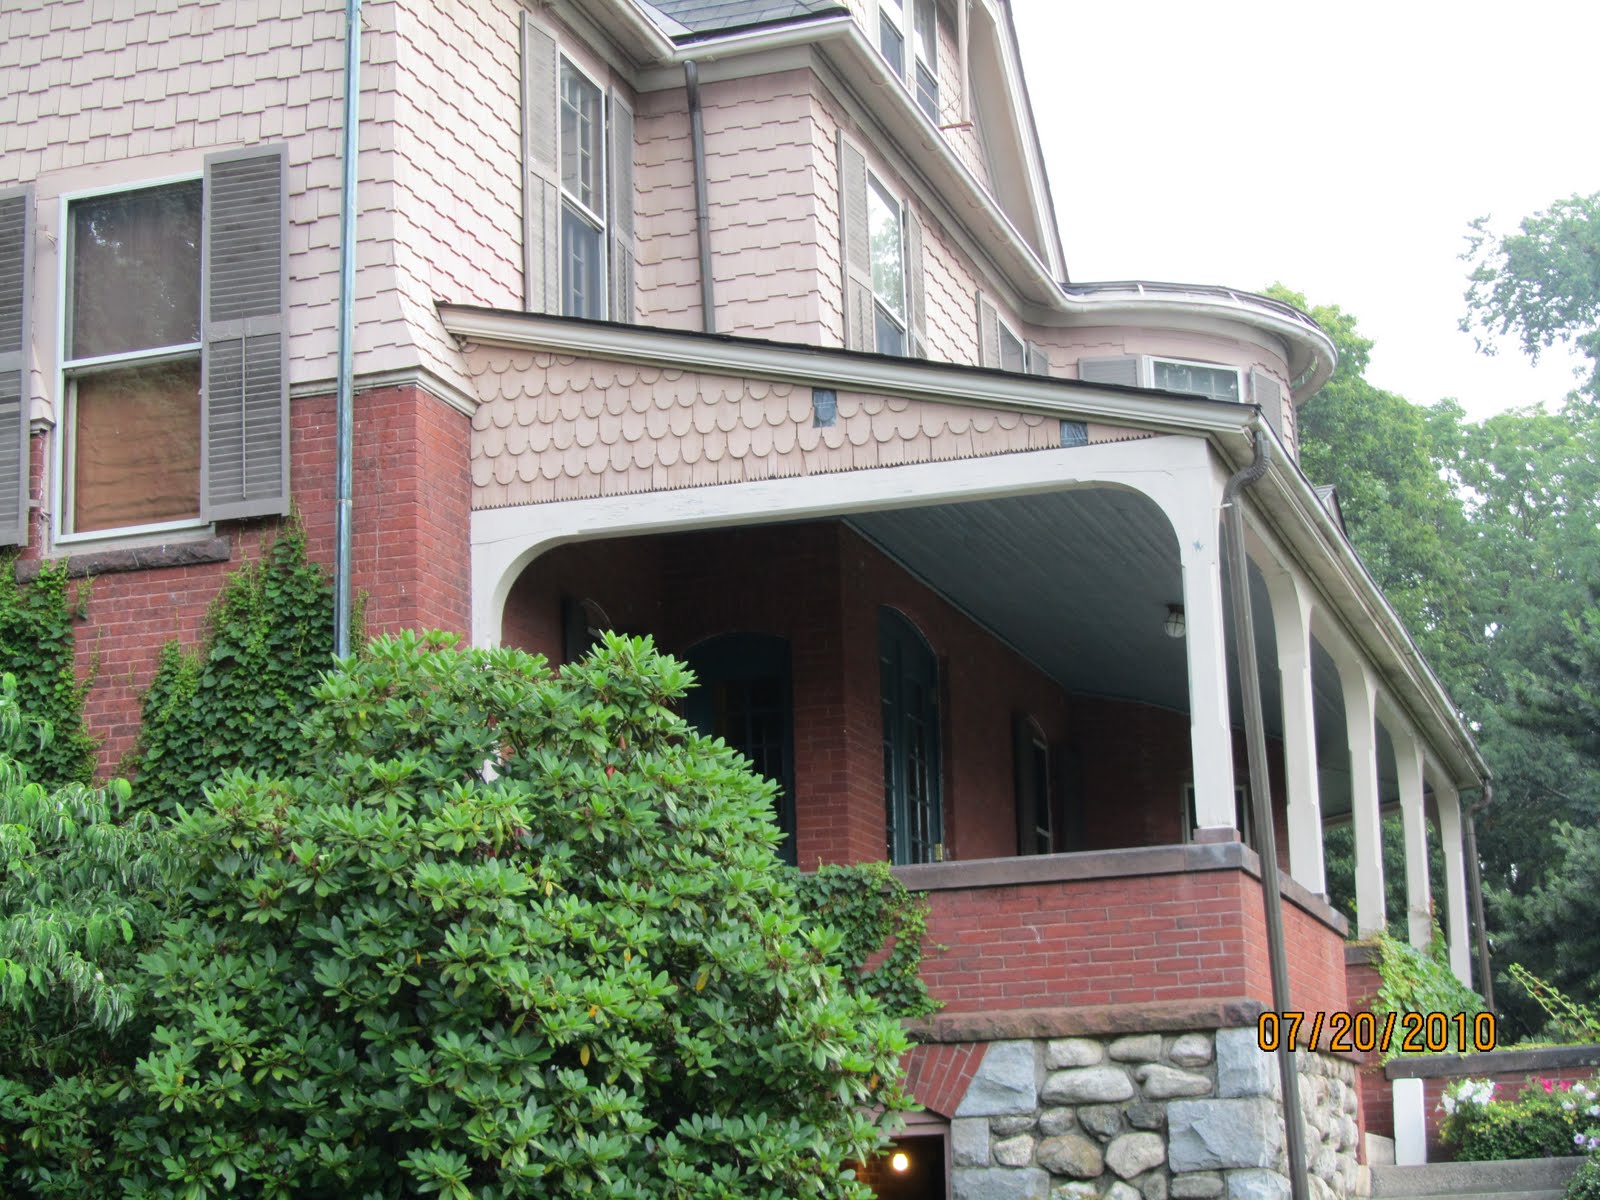
Photo: Scalloped shingles on porch roof side wall.
Replacing Scalloped Shingle Siding
I have a job coming up that necessitates us to replace approx 175 scalloped cedar shingles, this article details how to make scalloped shingle siding.
Scalloped shingles are also called Fish scale, or circle siding – siding shaped like the round overlapping scales of a fish. This type of siding is often rounded or segmental-shaped.

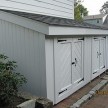
Photo: Scalloped shingles on third floor dormer side wall.
The starter course [first course of shingles] is a “saw tooth” pattern. We needed approximately 50 of these. [See below]
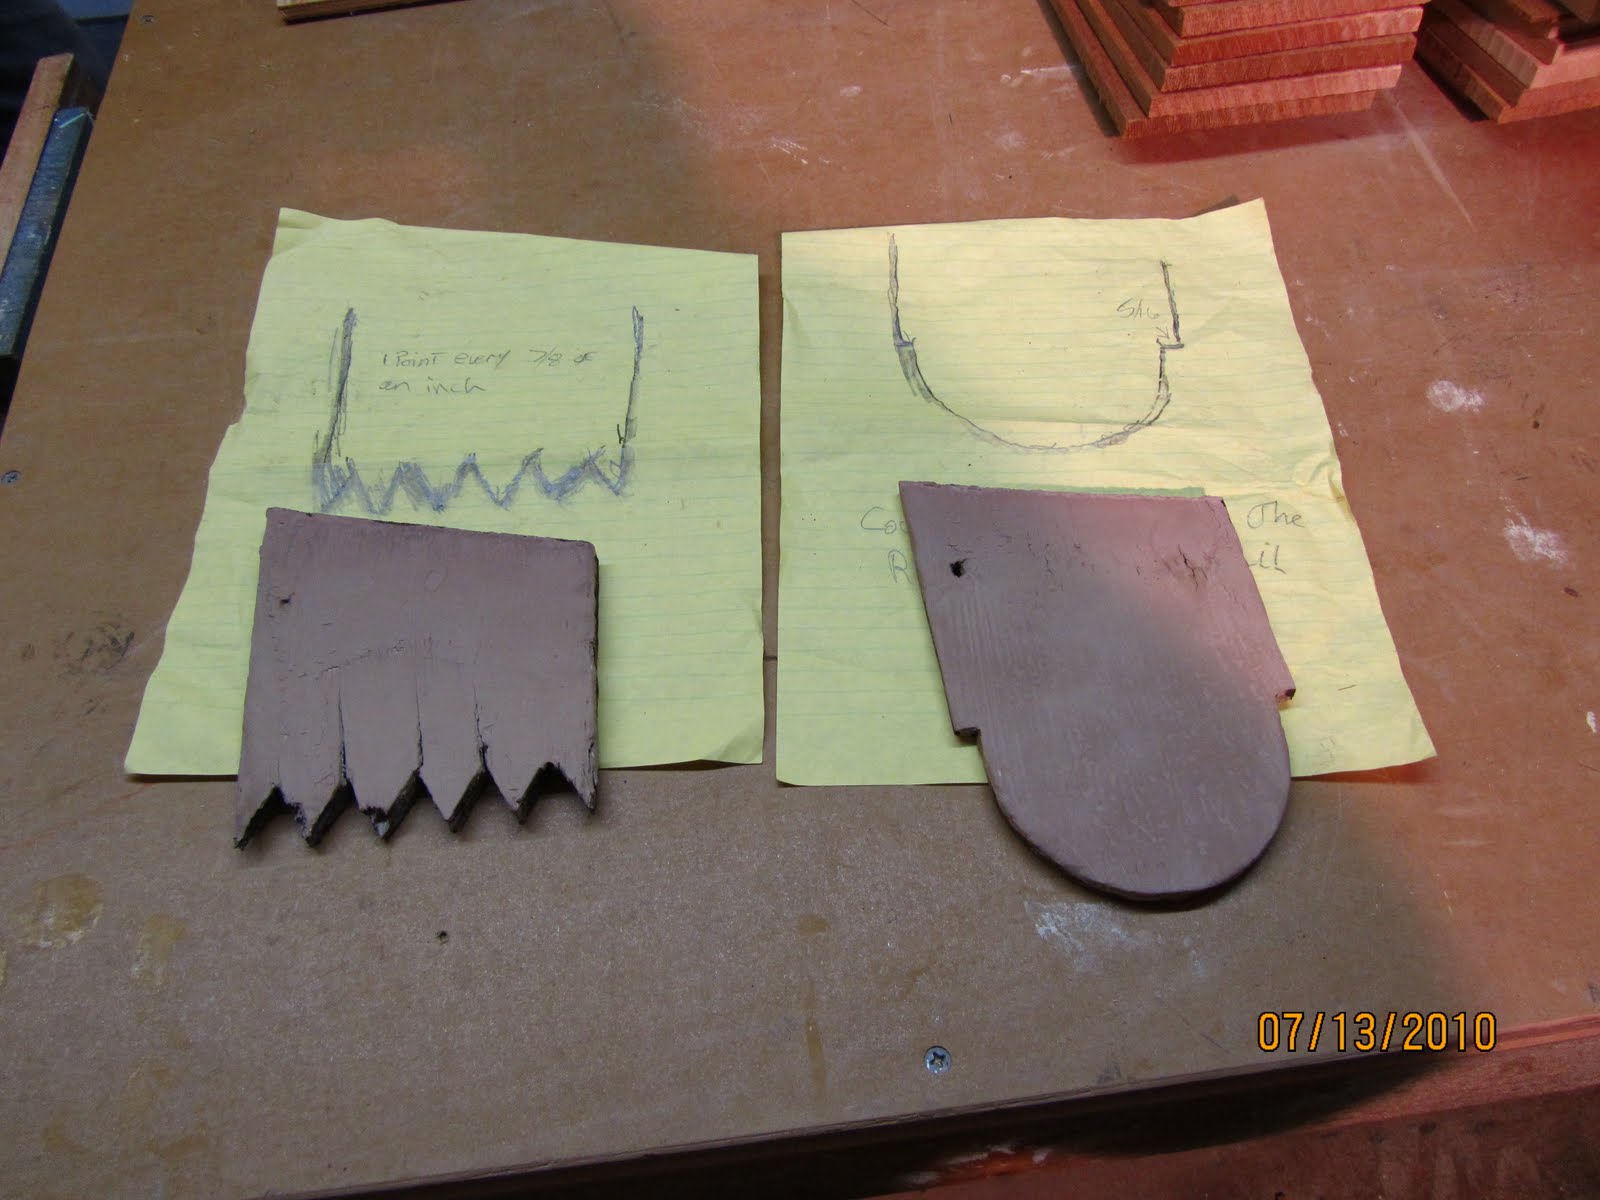
We took a sample off the house and proceeded to clean them up with a razor blade ad sander. Once they were clean of paint drips and chipped paint we traced them onto a piece of 1/2″ plywood to make a tracing template.
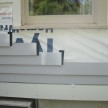
Make a Template
Templates are important to keep repetitive multiple piece production accurate and error free.
Below is out template.
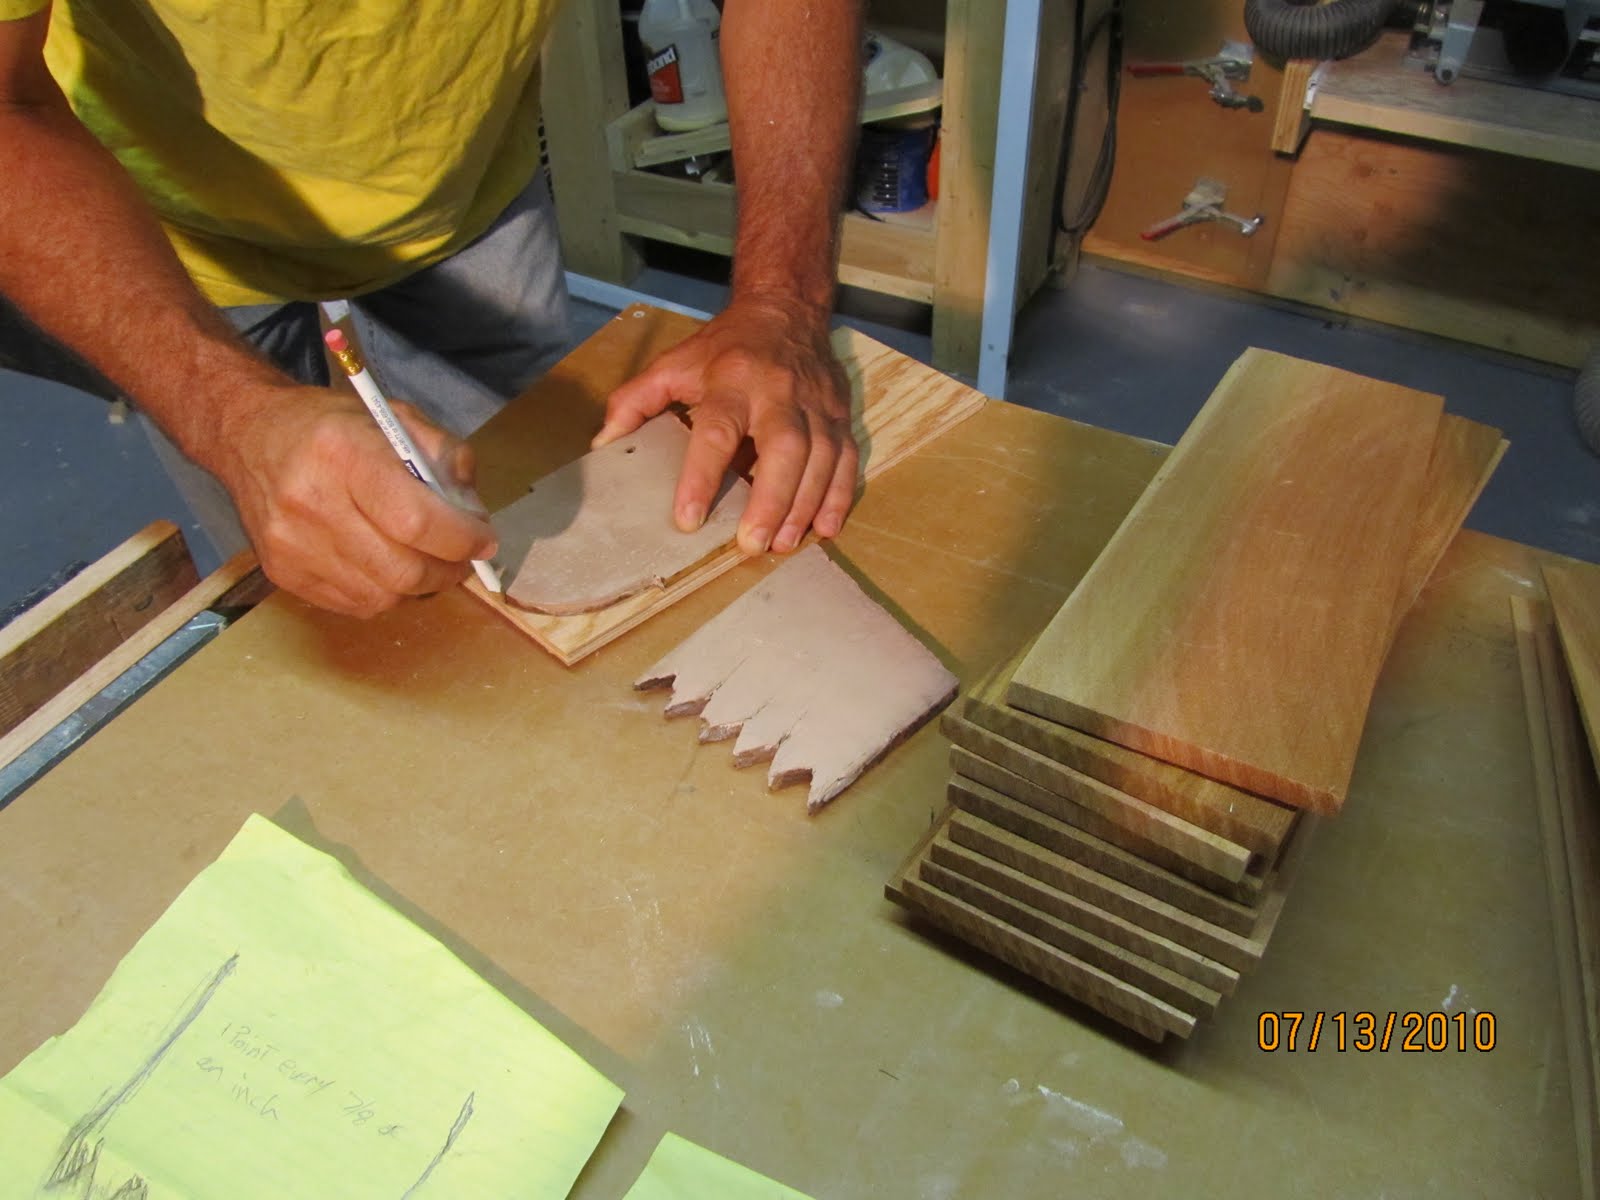
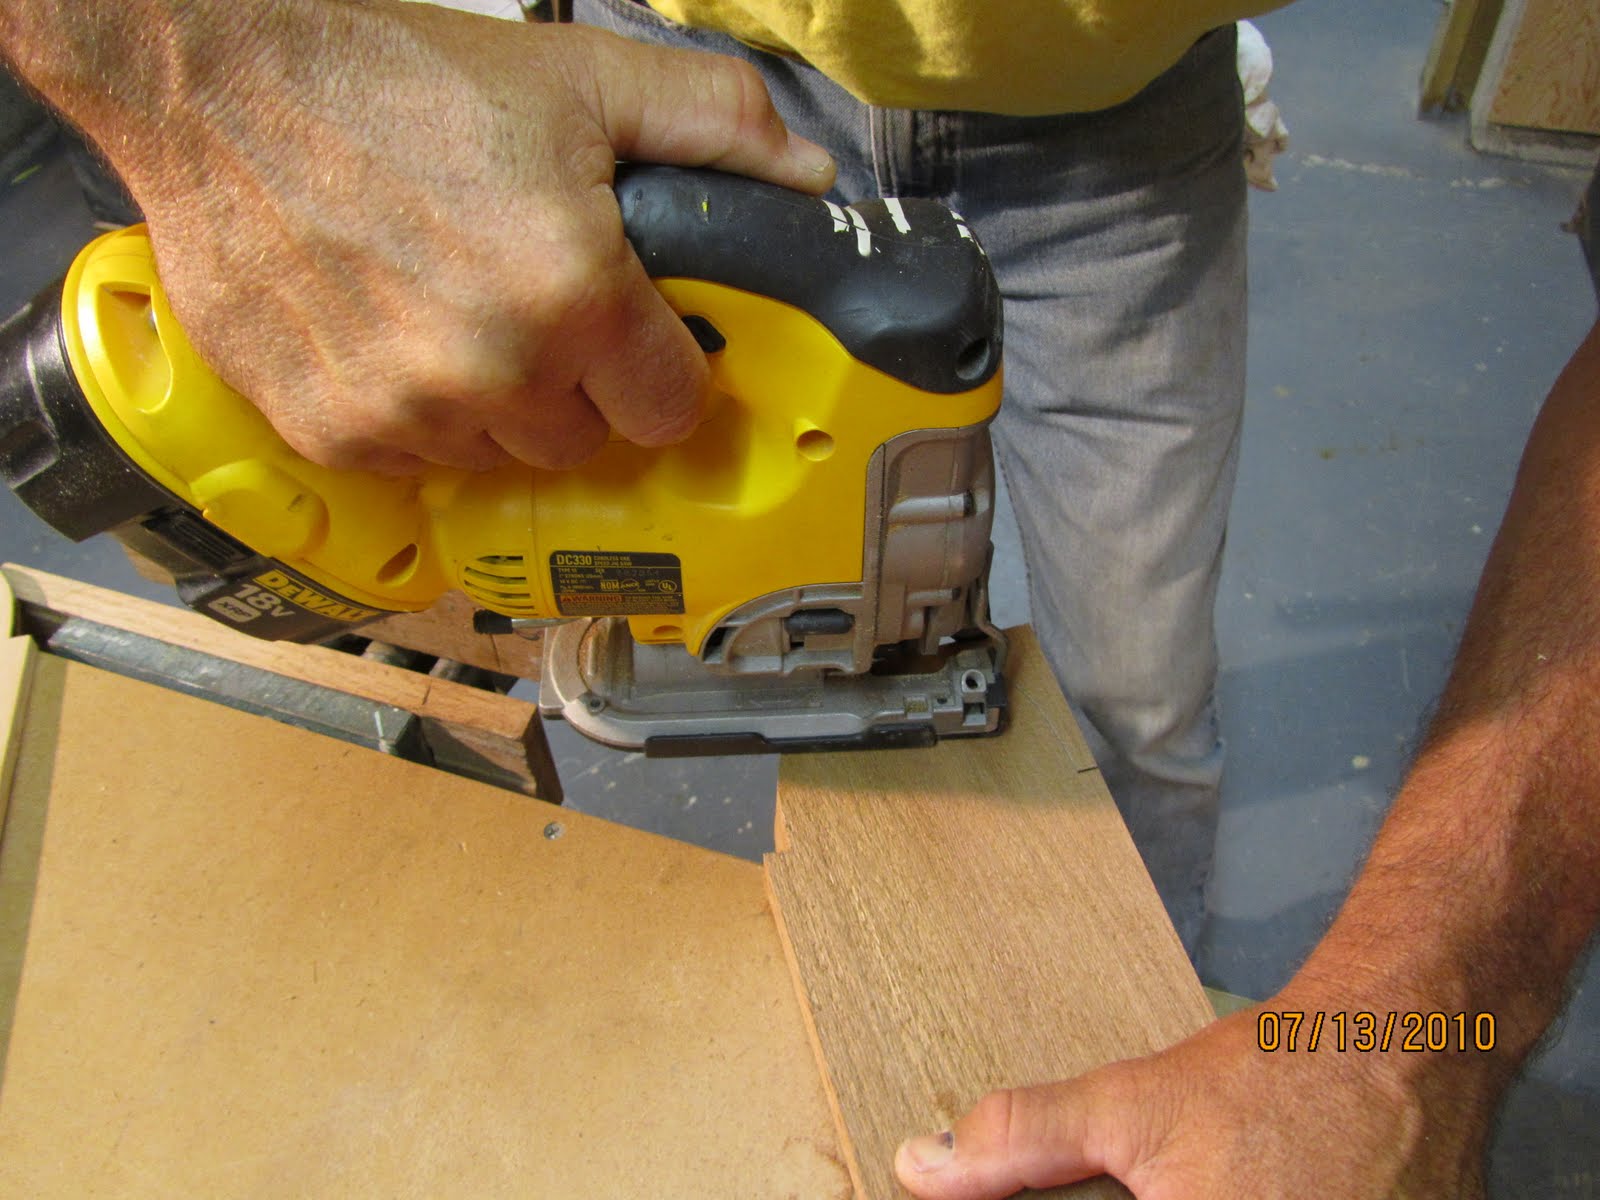
We traced the template onto a Western Red Cedar shingle and cut four shingles at a time.
Small strips of shims were inserted at the shingles narrow section to even the taper of the shingle and eliminate the tendency of a beveled cut on the shingles.
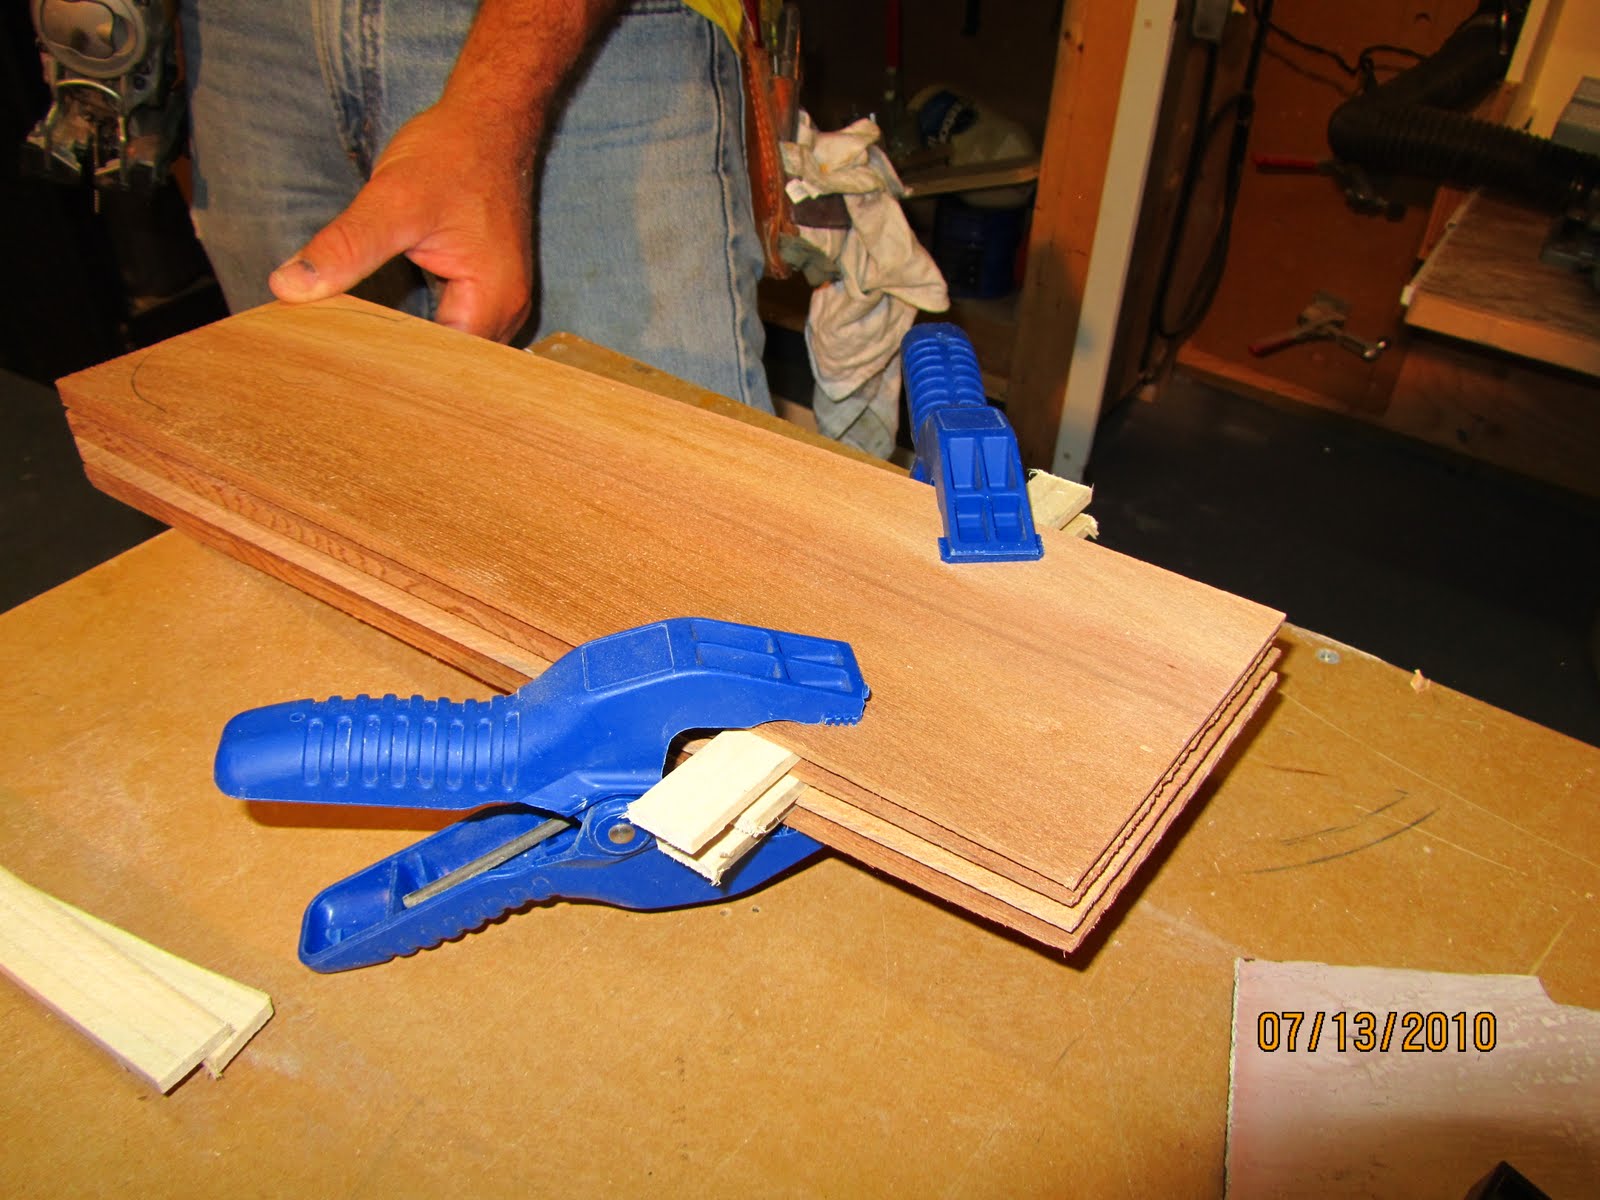
We used a jig saw to make these cuts. Cutting four shingles at a time.

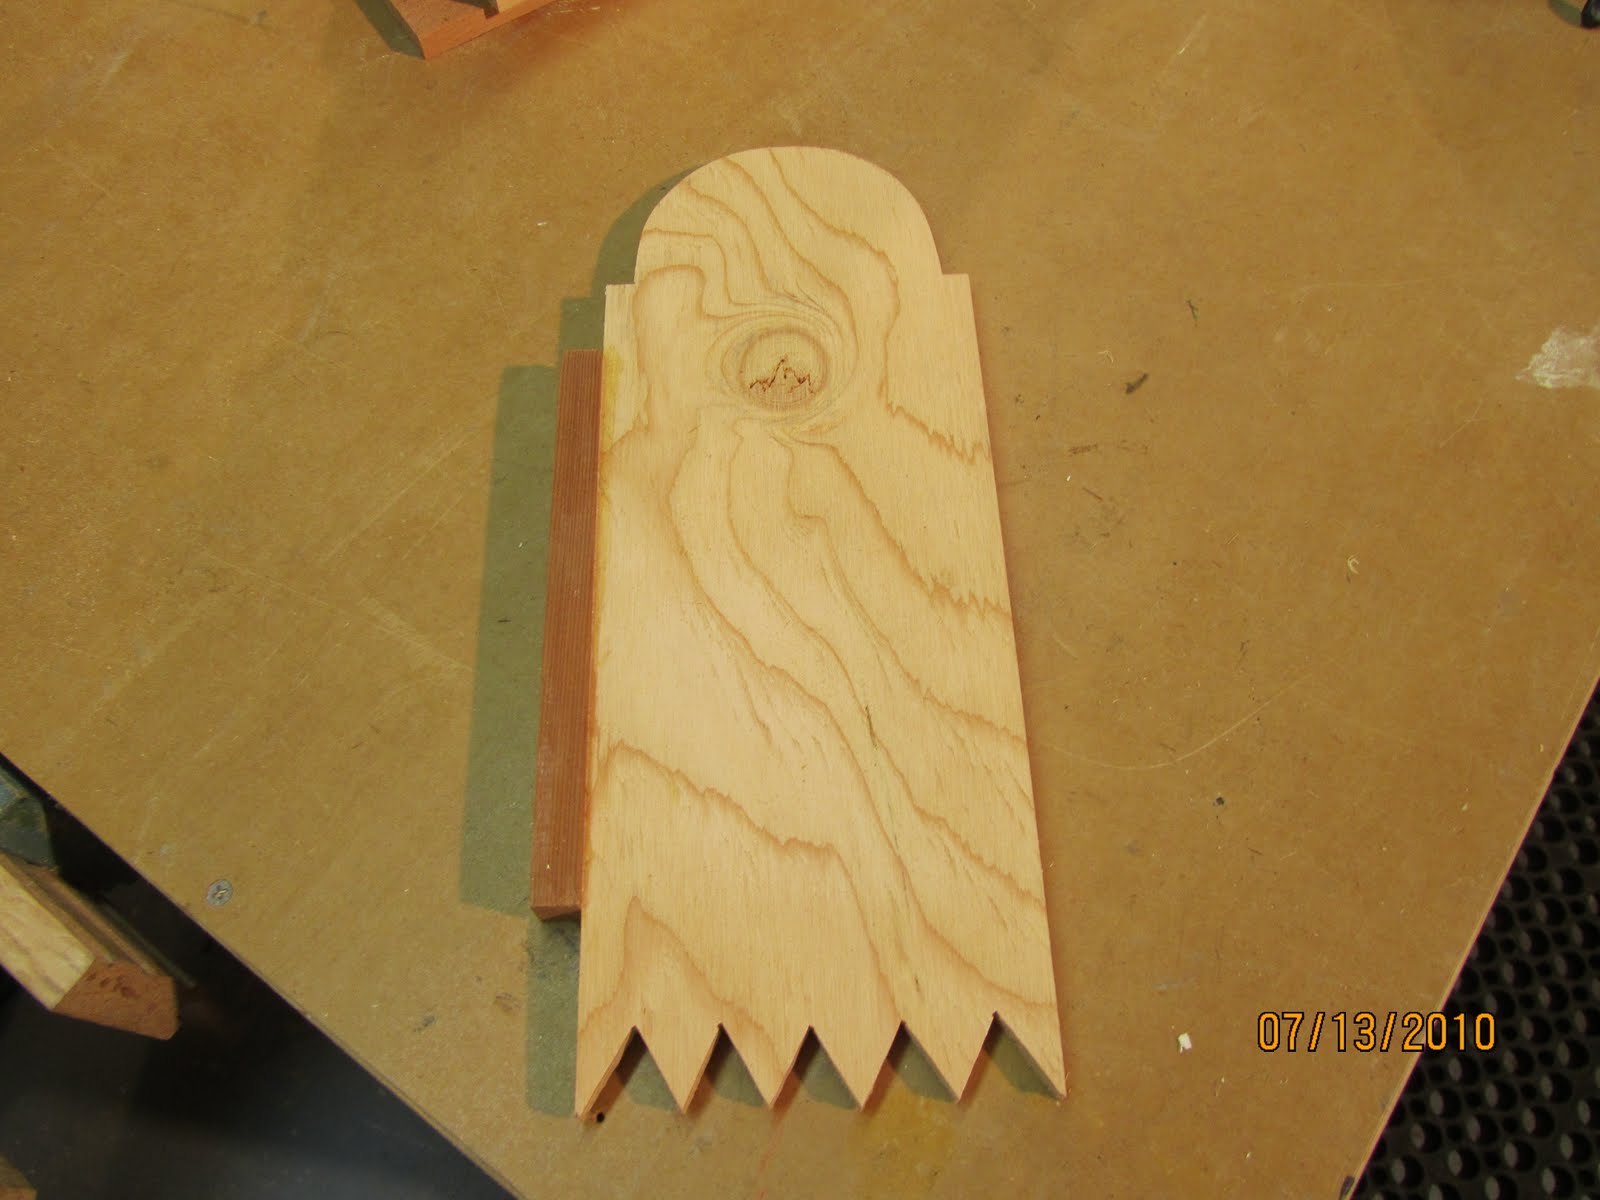
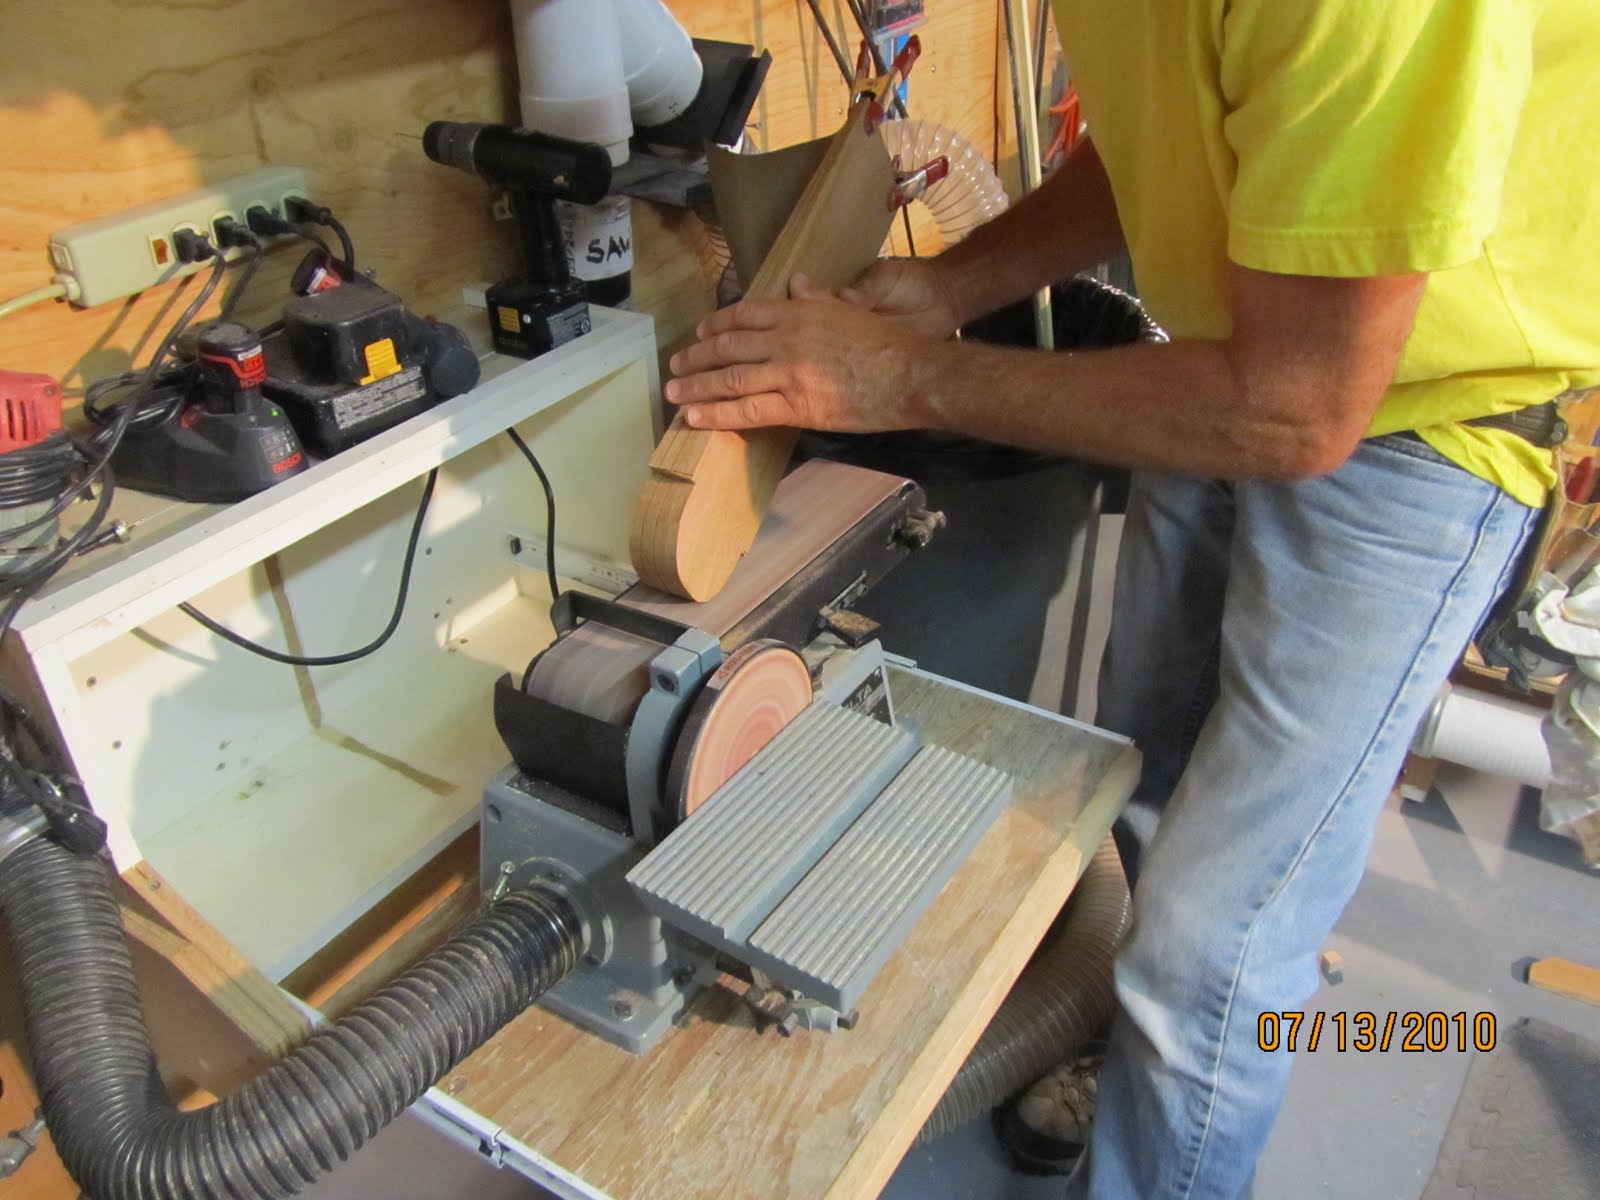
This photo shows the shingle, our template and the new Scalloped shingles.

A stationary belt sander to fine tune and smooth the scalloped shingles.
Finished product boxed and ready for the painter to dip them in primer.

Back at the job site we stripped off the old shingles. Stripping off the old shingles.
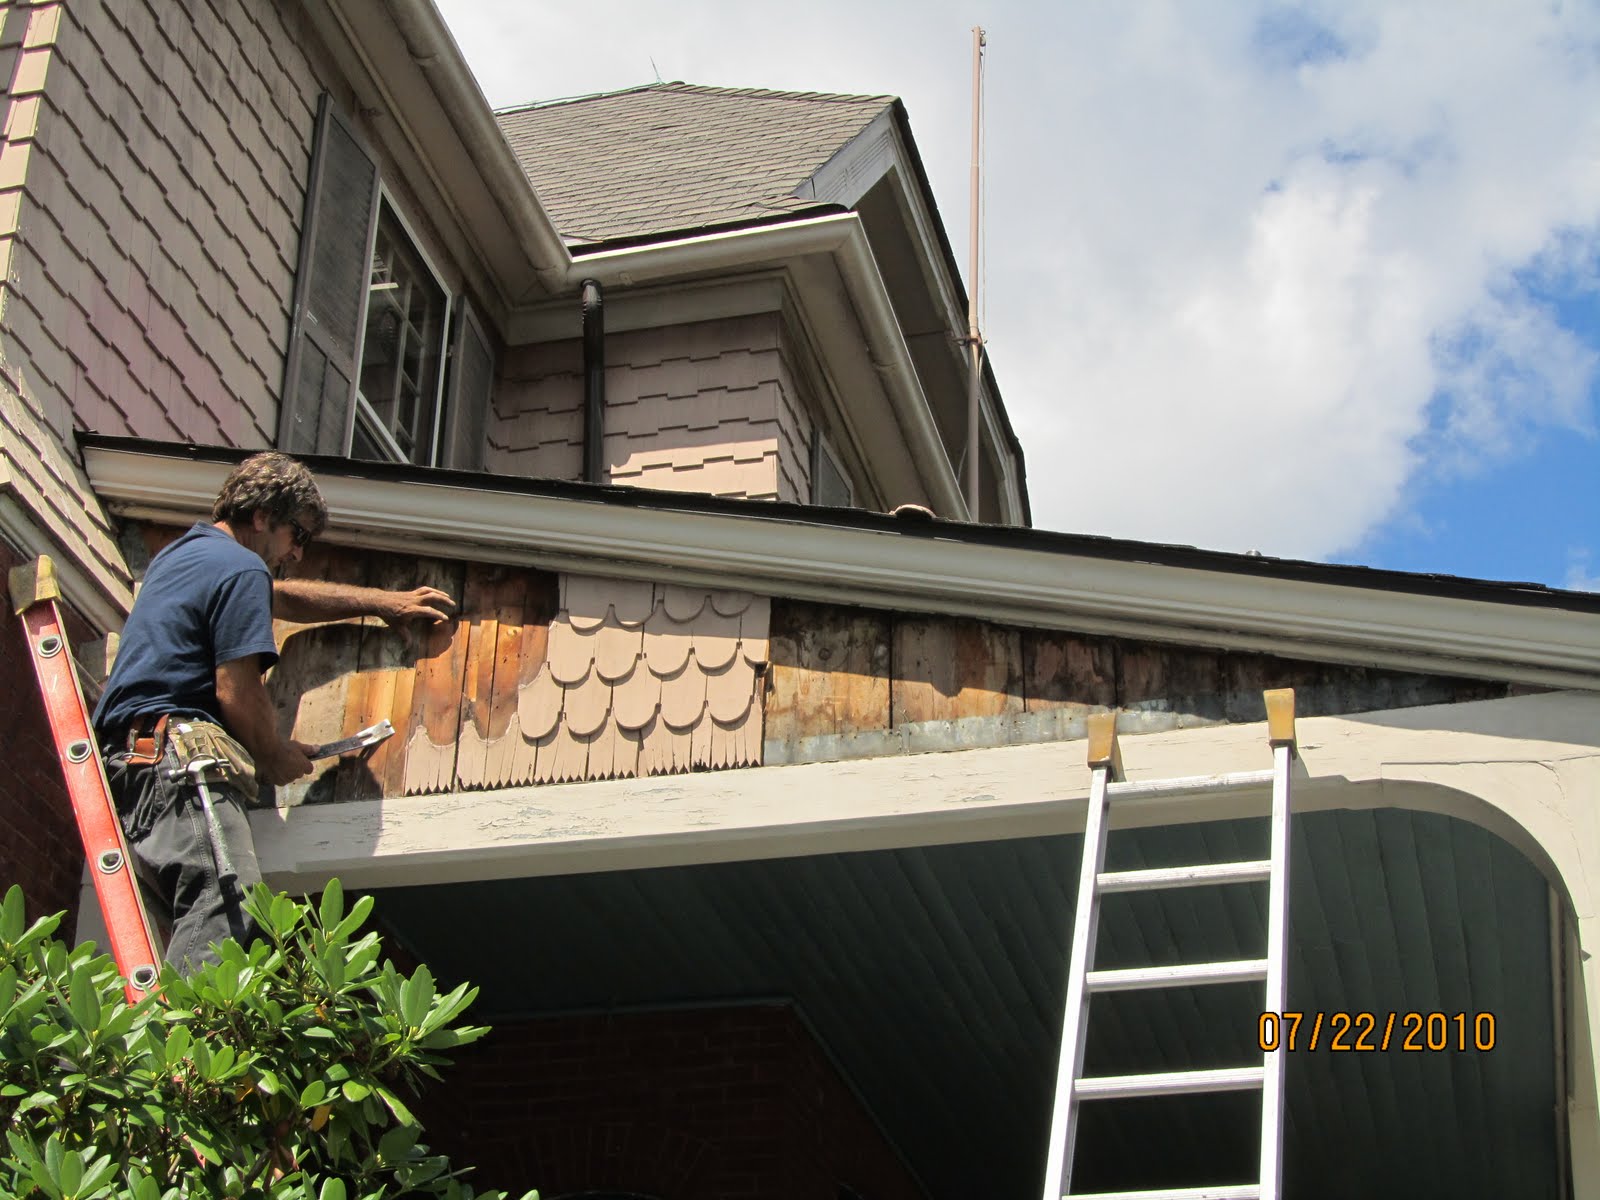
The old tin flashing under the sawtooth shingles was badly worn and had started to deteriorate. Not bad for 100 years.

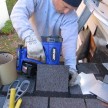
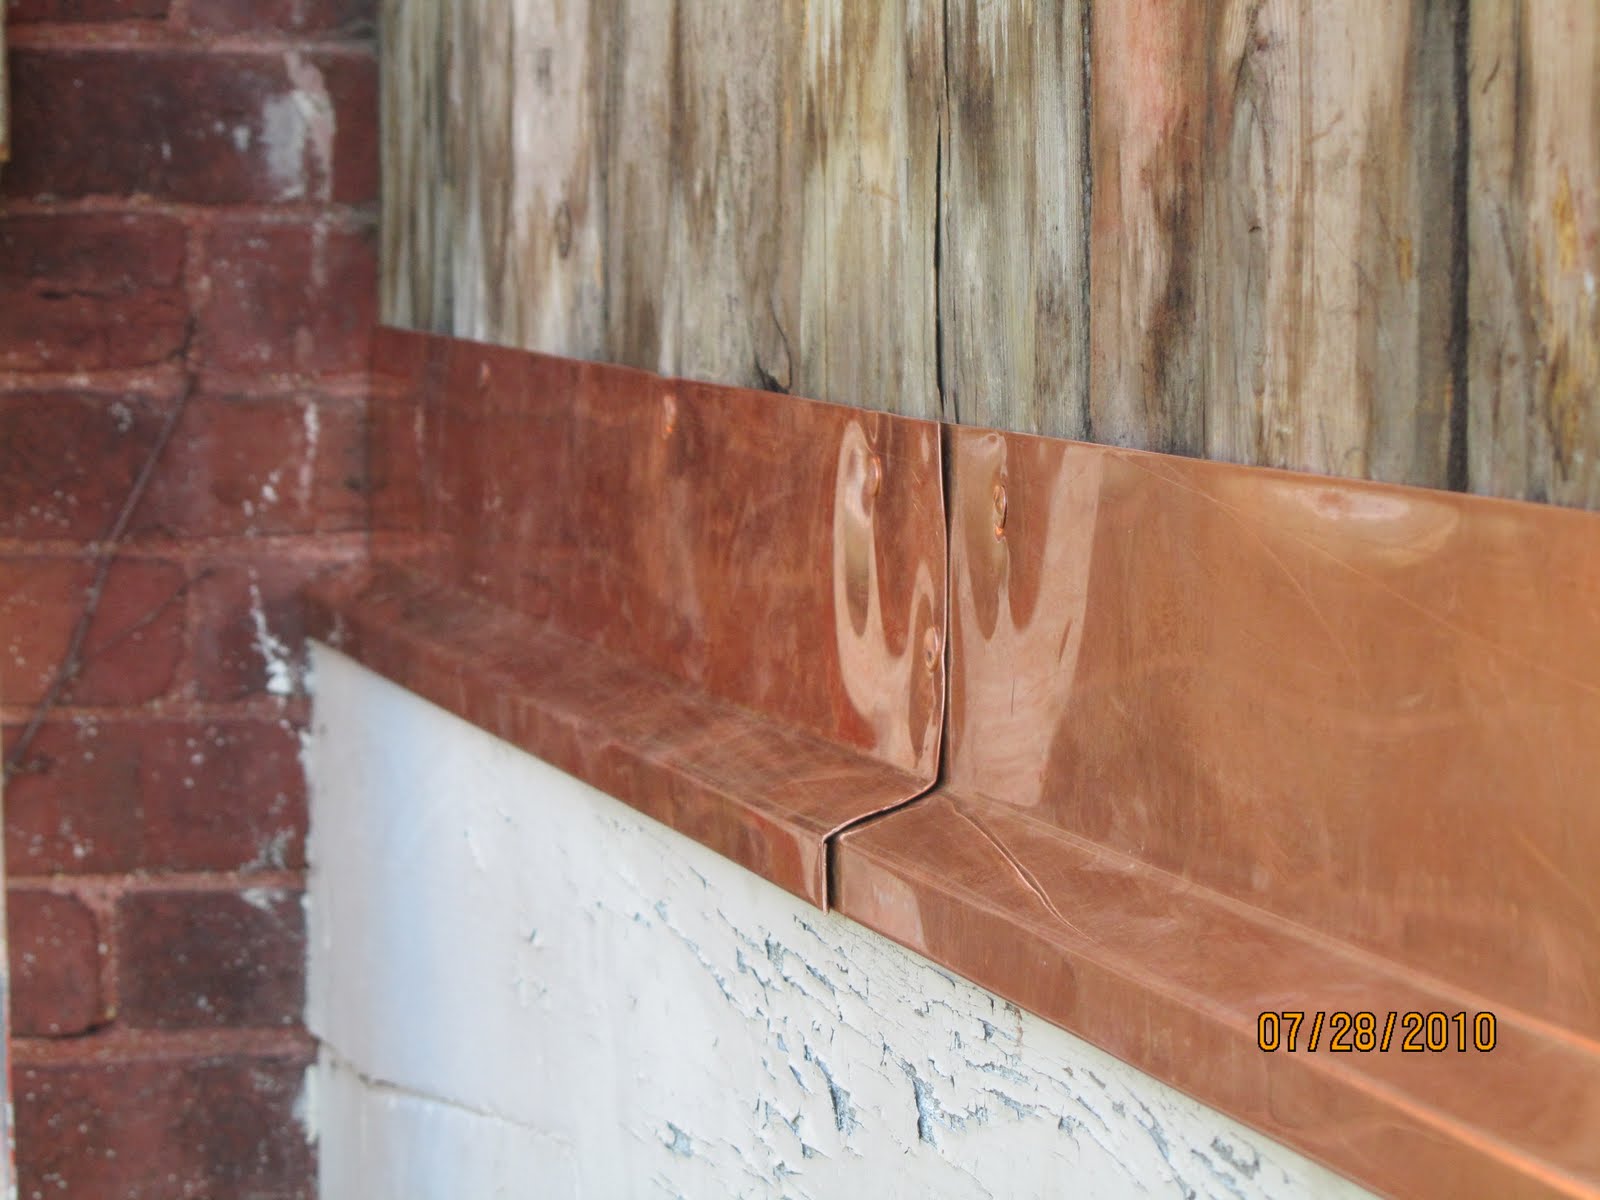
We made new copper drip edge to match the sloped trim board under the saw toothed shingles.
All of the shingles were dipped in primer and then in a finish coat for maximum weather and moisture resistance.
Below is the starter course that goes under the saw tooth shingles.

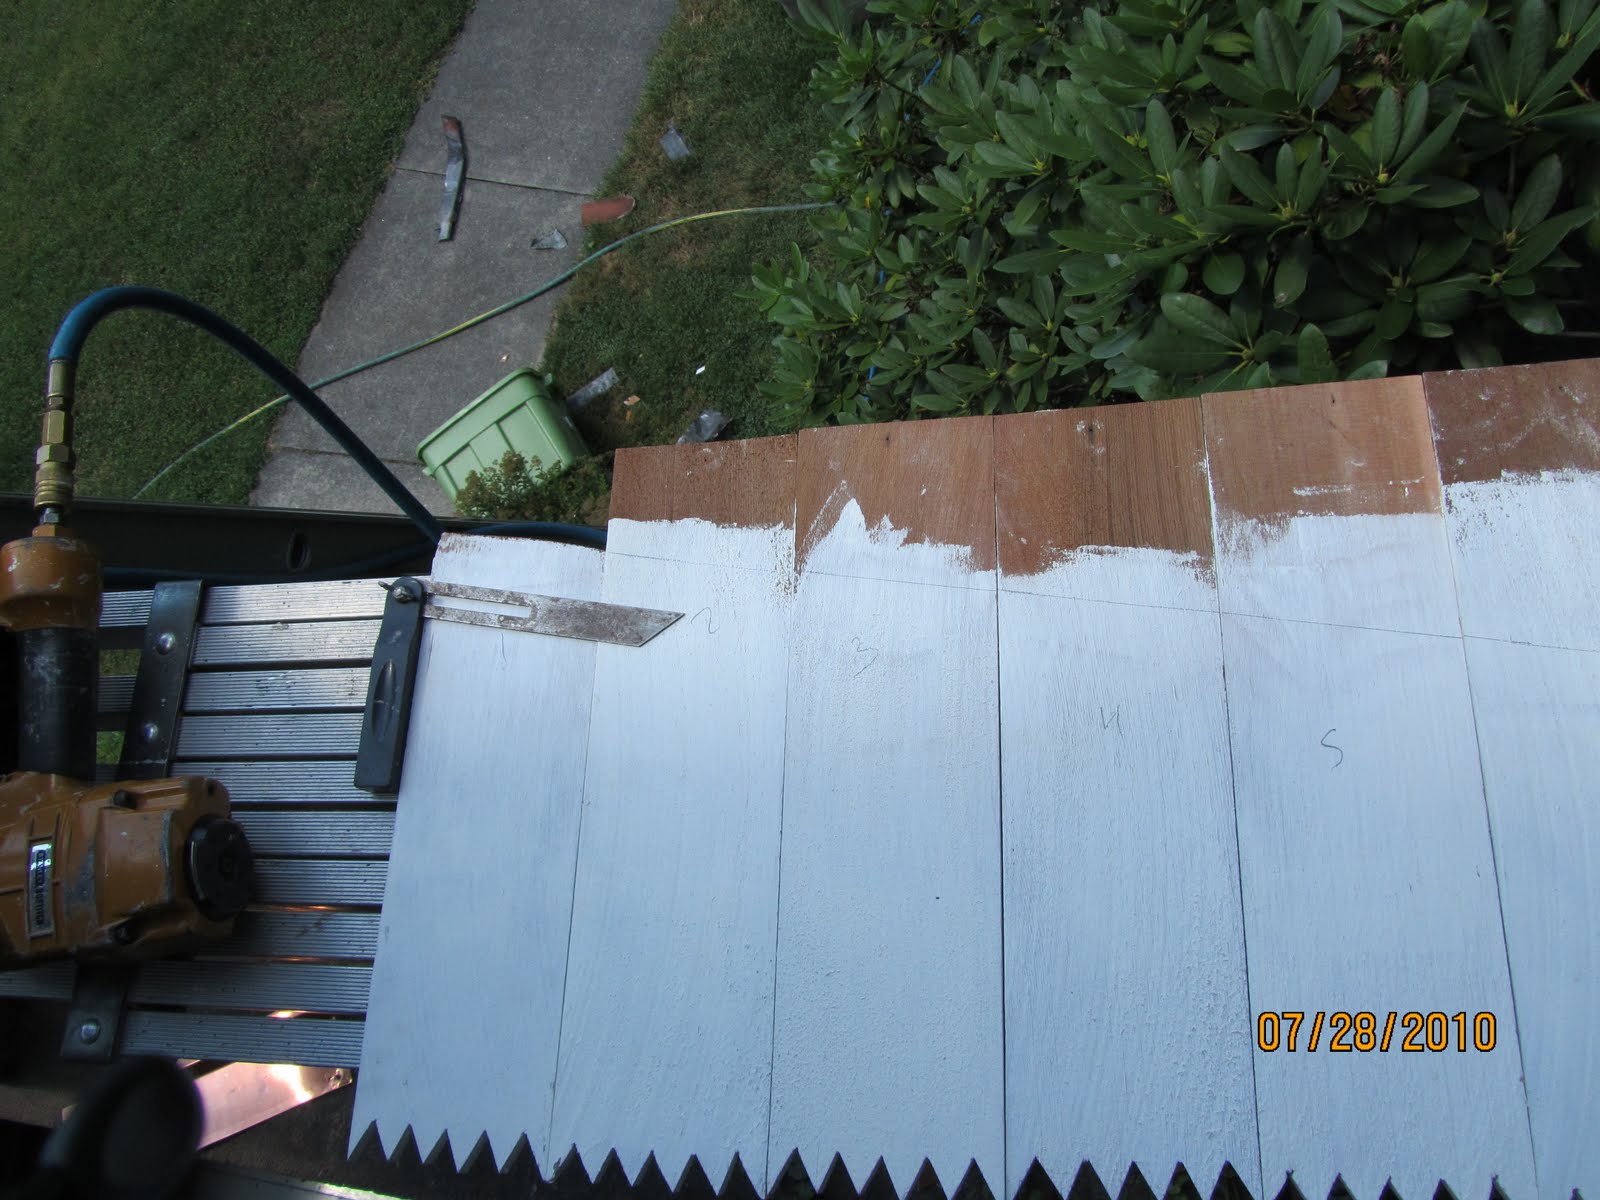
Most of the shingles in this section had angles on the top portion of the shingle. While many of the angles are covered by successive shingles some are not covered and need a tight fitting angle cut.
Instead of measuring and cutting each shingle separately it is much faster to develop a system to cut them all at once.
TIP: below: the shingle on the far left was individually measure and cut. Next line up all of the shingles in that course row and transfer the lines across them and cut them on a miter or table saw.
You can then install the entire row at one time.
The scalloped shingles went on and look great.