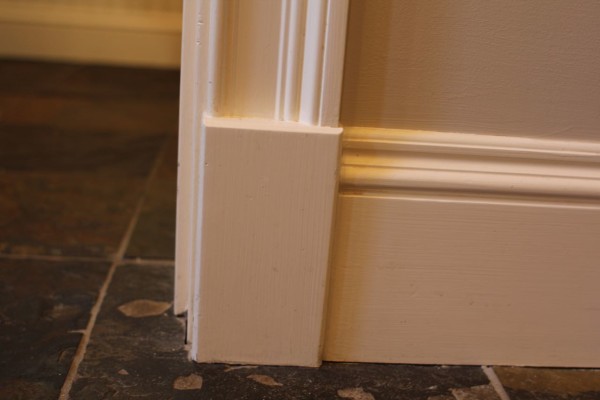

I love using Plinth Blocks in finish carpentry especially when the door casings are ornate. Plinth blocks act as a decorative base for door trim, pilaster or columns and are often seen in higher end trim work and older homes where the trim and baseboard intersection do not visually meet well.
Plinth blocks stand proud at the bottom of the casing, adding a reveal, and shadow line depth between the vertical and base trim. “Plinth” is an architectural term used to describe a support for a column or base. The vertical trim or molding butts into the Plinth top, and the horizontal baseboard butts into the Plinth side. 
Sizing Your Plinth [The Golden Rule]
For a Plinth block to look right, it needs to clear the baseboard and base cap height. The other issue is proportion. Plinth blocks look best, when the height is 1.5 to 2 times the width. Many designers follow the “golden rule” which is to make the height equal 1.6 the width.
Store Bought Plinths
Many lumberyards and mill-work companies sell or make plinth blocks that match the profiles of specific door trim molding they sell. This is an easy way to accomplish plinths in your design, as long as your baseboard trim work with the plinth you bought. In my experience, there are not many commercially available plinth block sizes available for all the different trim that I deal with. Sometimes making your own plinth blocks gives you the flexibility and versatility of making the exact height and thickness for whatever door trim you’re installing.


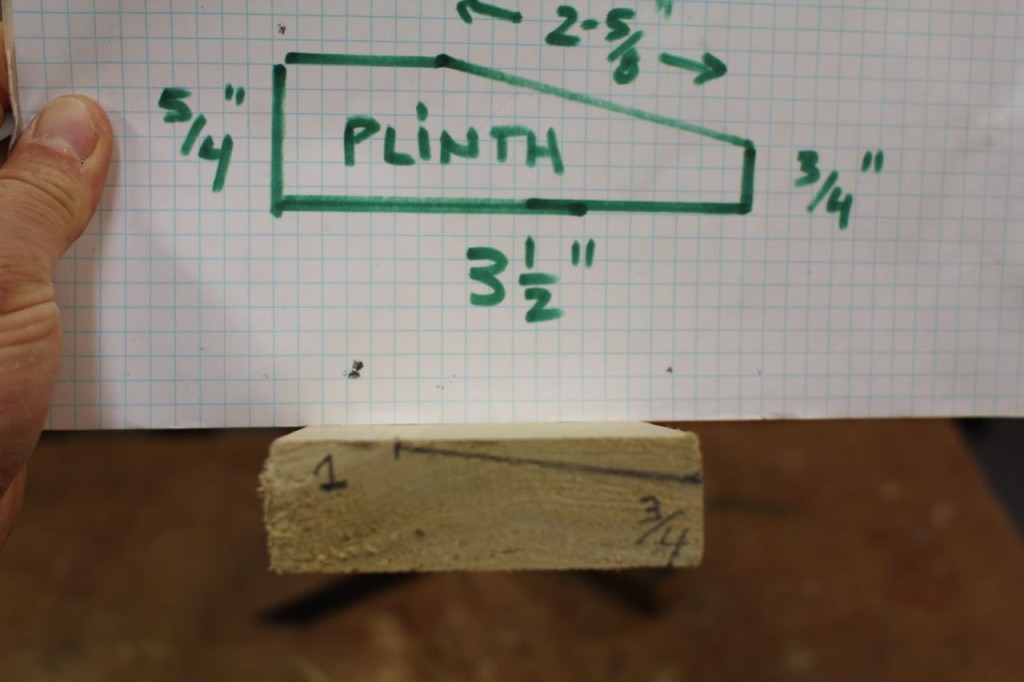
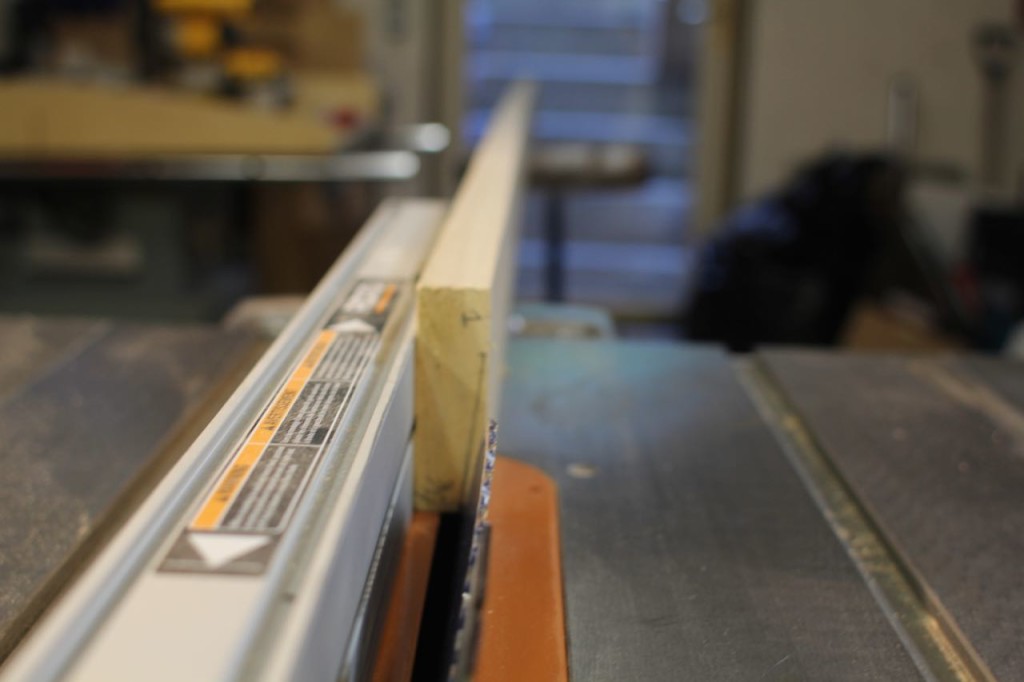
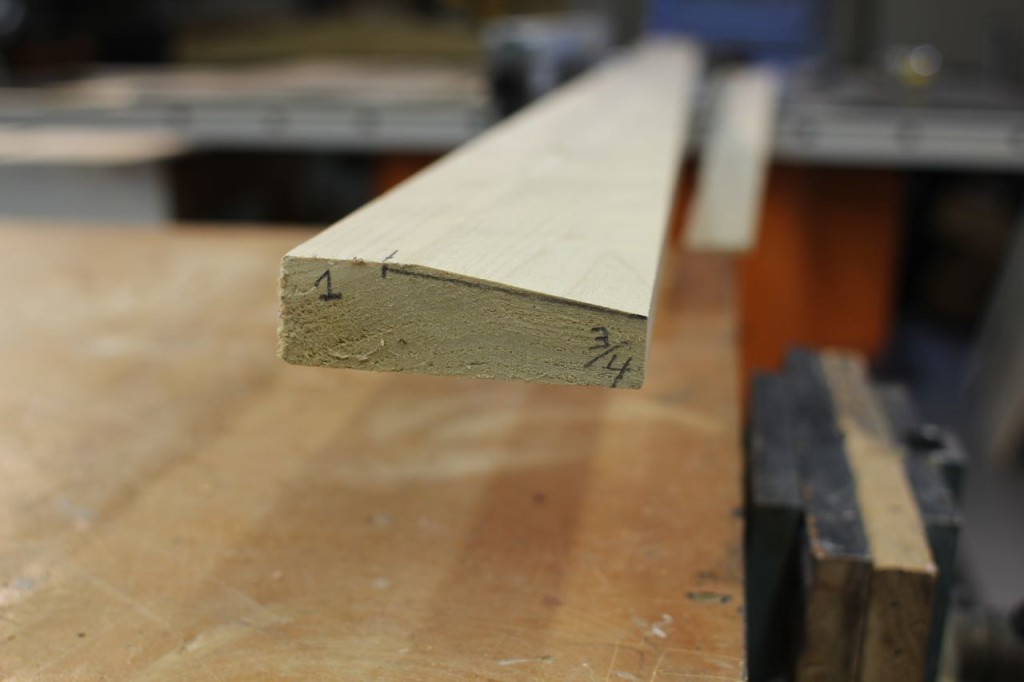
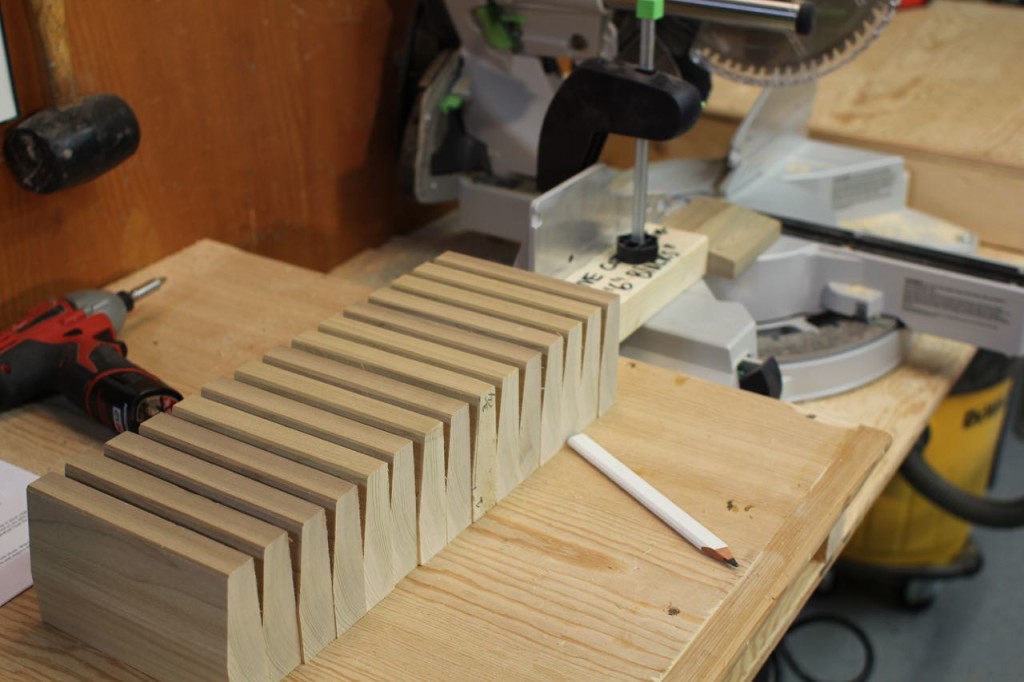
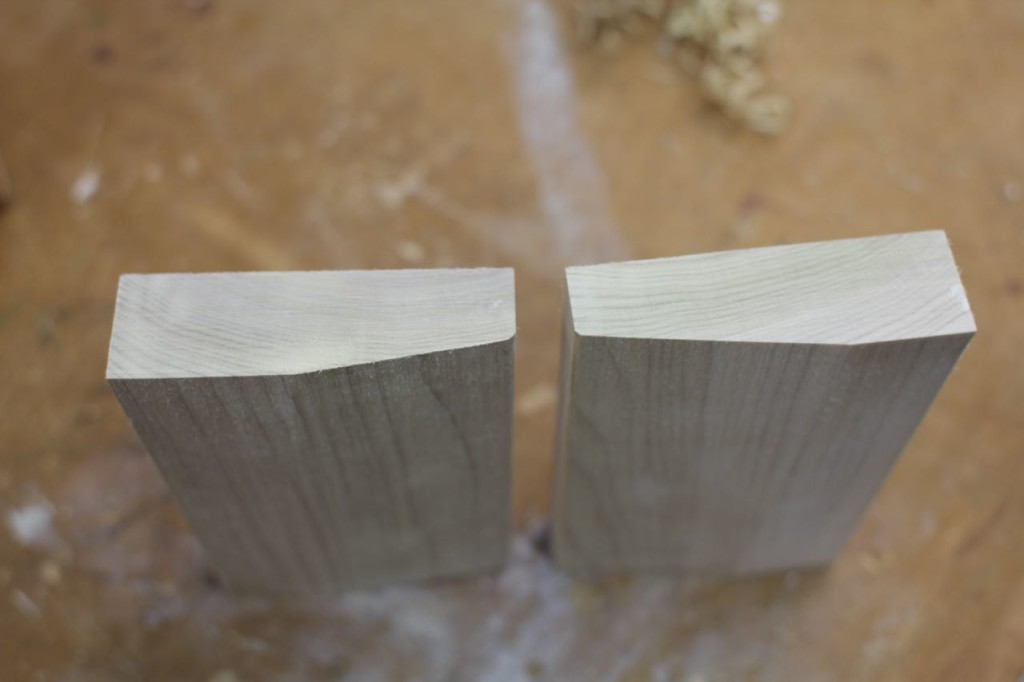
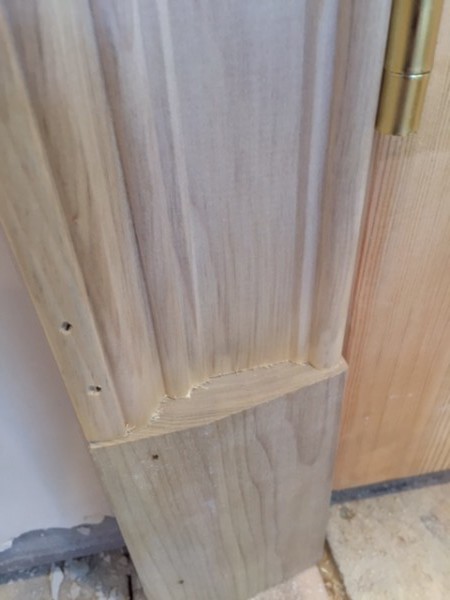
I typically use 5/4 trim for my plinth blocks. In this particular job I used 5/4 x 4 and duplicated the existing plinths found elsewhere in the home. These plinth blocks have a bevel that took the thickness from 1-inch down to ¾ inch, them to mimic the narrowing of the casing used.

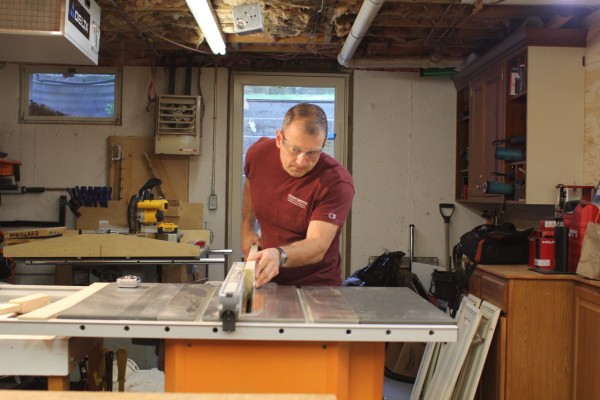
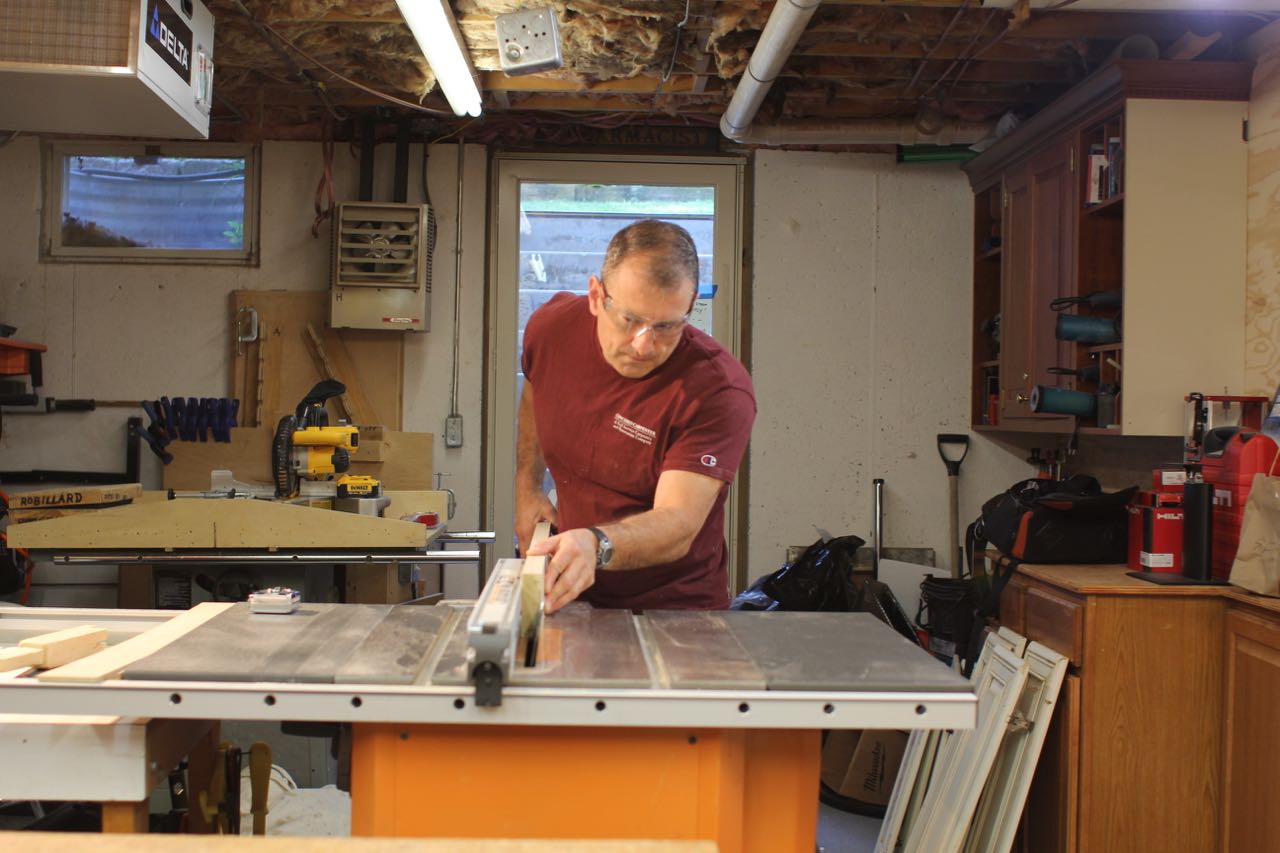
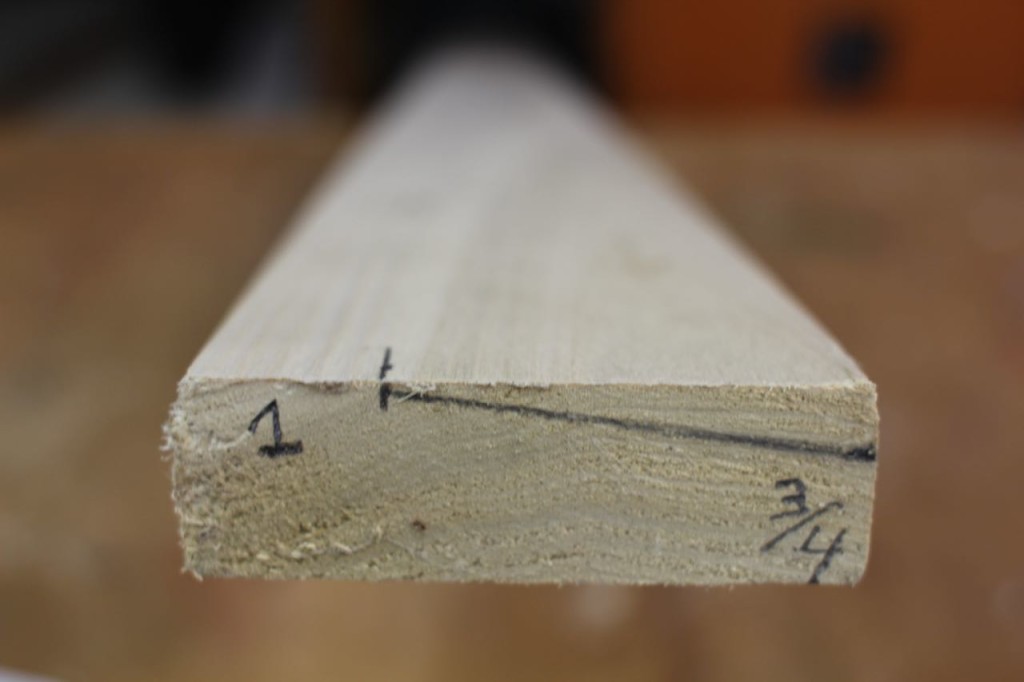
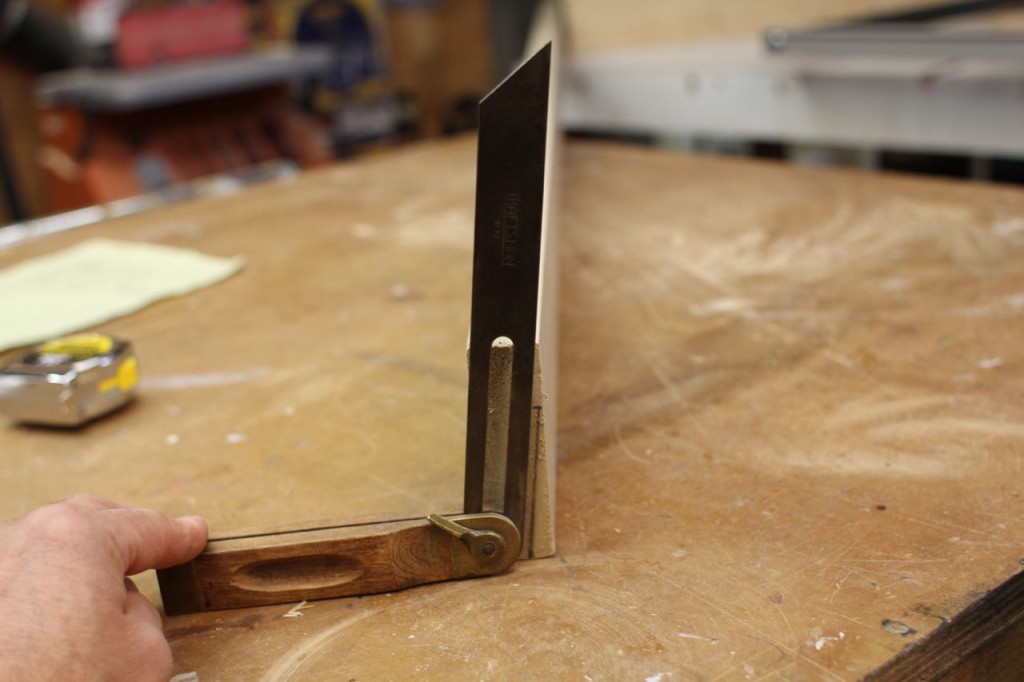
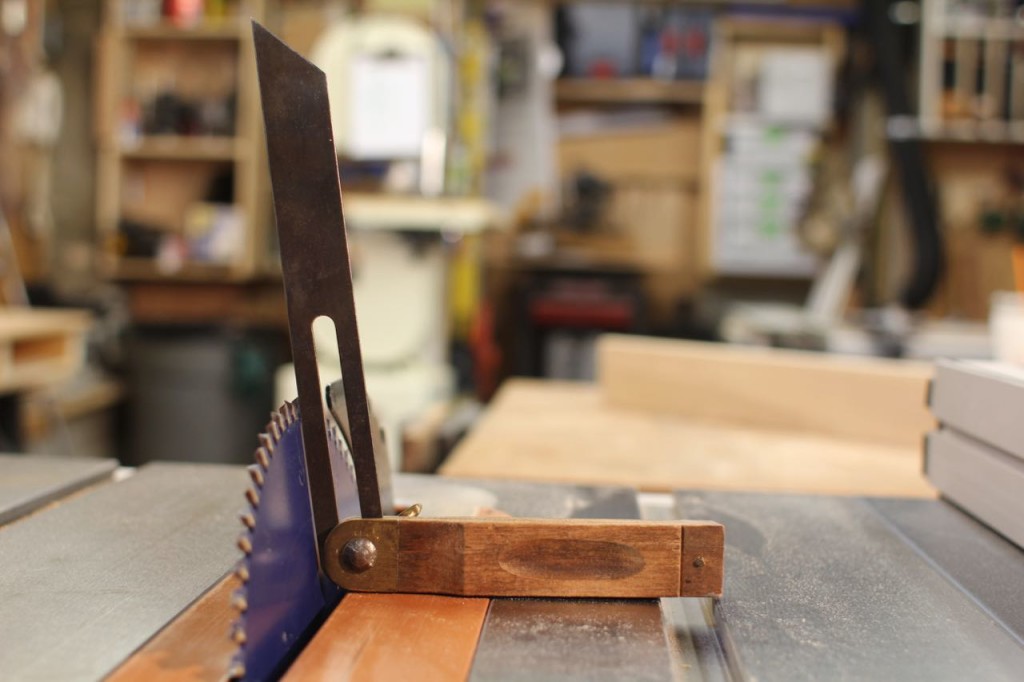
To determine this bevel I marked up a scrap block measuring in 1-inch and then marking the ¾ thick edge. I then used a bevel to connect the lines and measured that angle. This angle was transferred to my table saw where I cut the bevel first on the test piece and then on the plinth block, once I was satisfied I had the bevel angle correct.
Making Plinth Blocks – Steps:
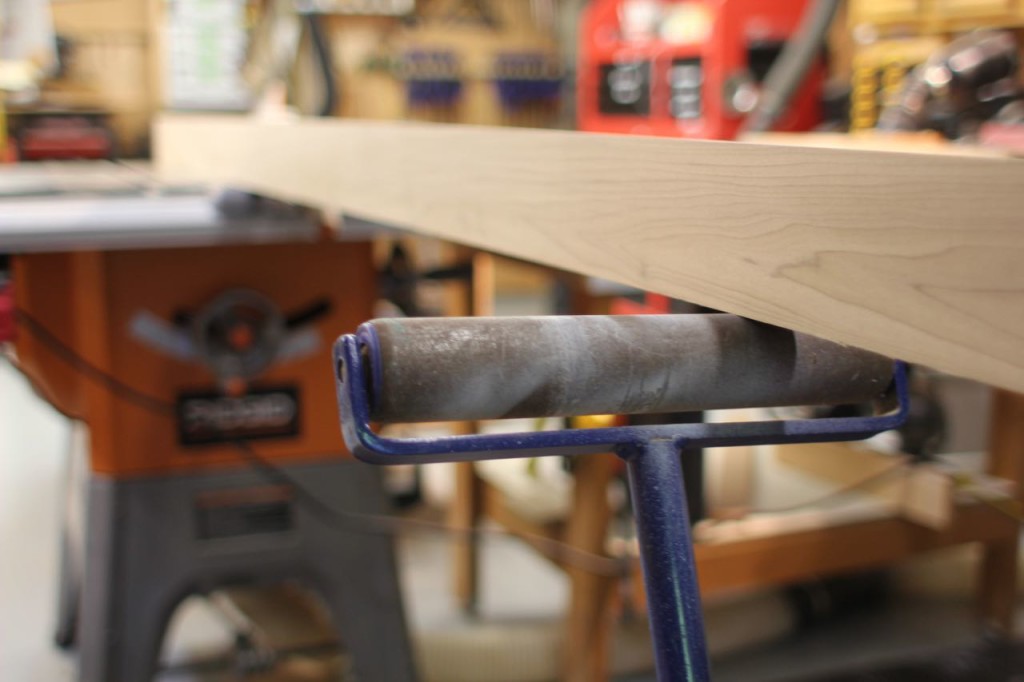
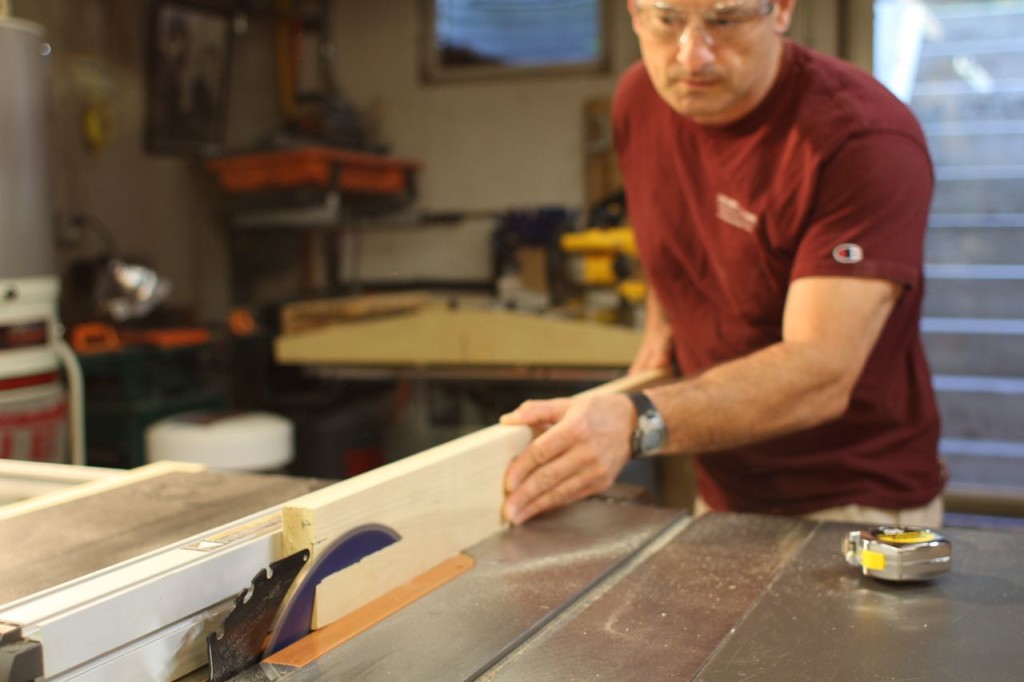
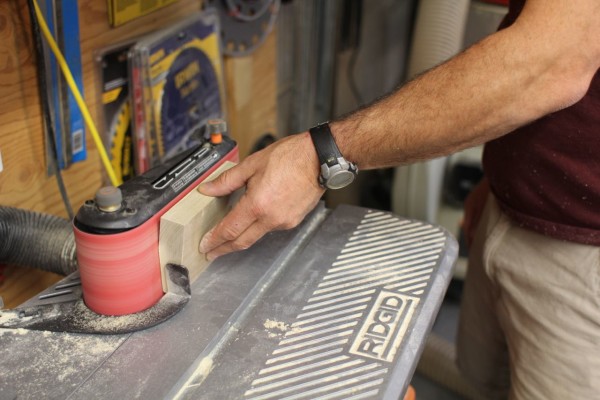
- Rip Stock: The first step is to rip your board the width of the plinth block. When ripping leave enough so you can plane and sand the edges to clean up the cut and remove the saw marks.
- Cut bevels: determine your bevel by mimicking an existing plinth block or making a test piece. Then cut bevels on the table saw.
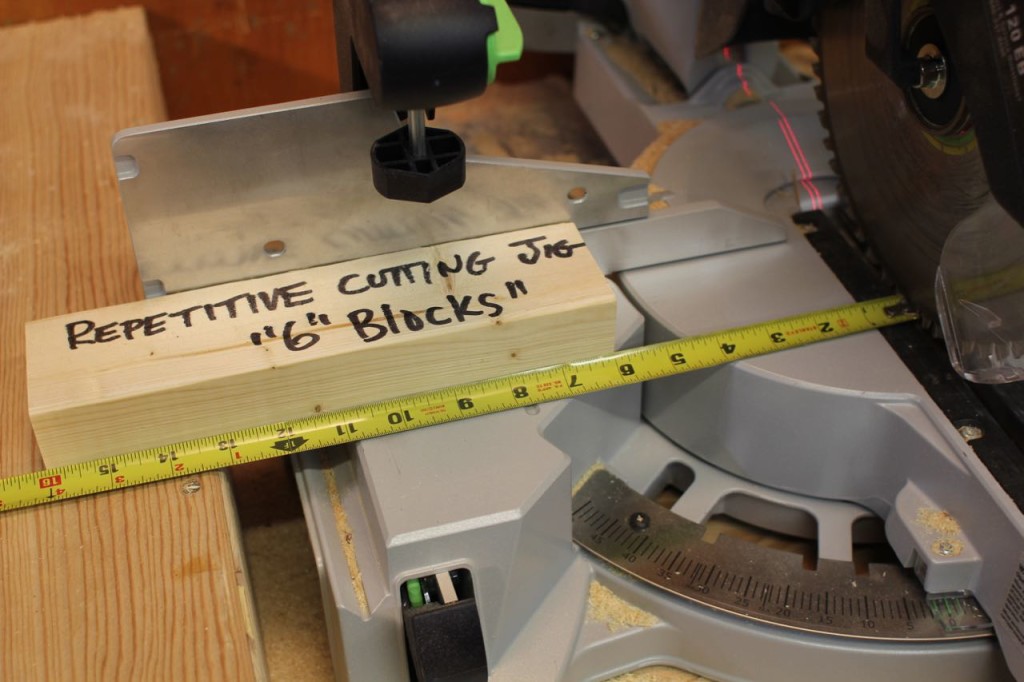
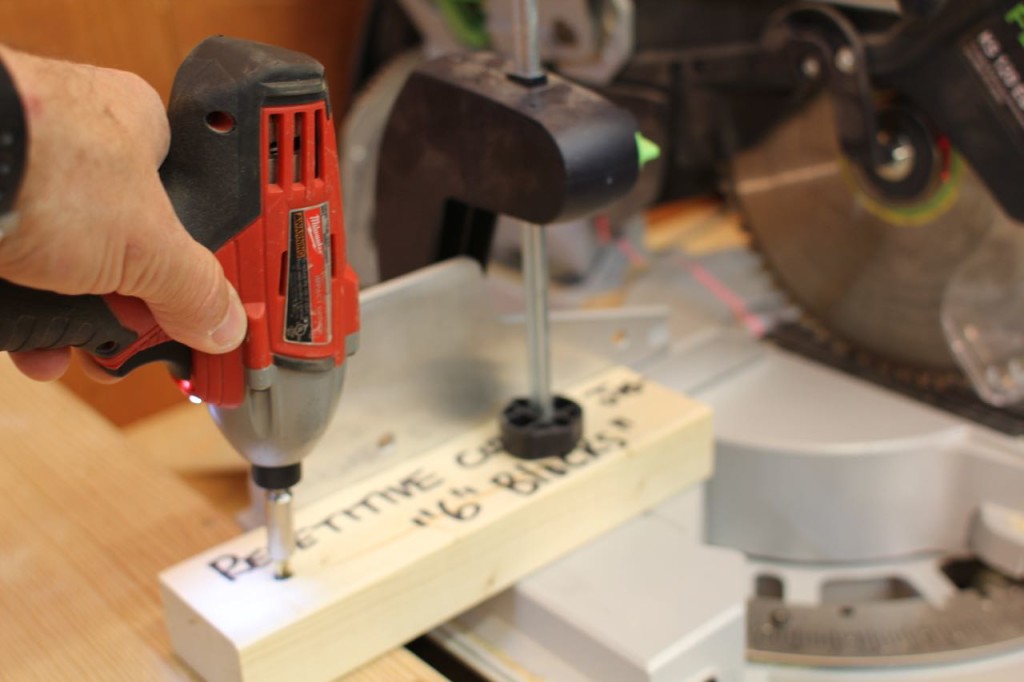
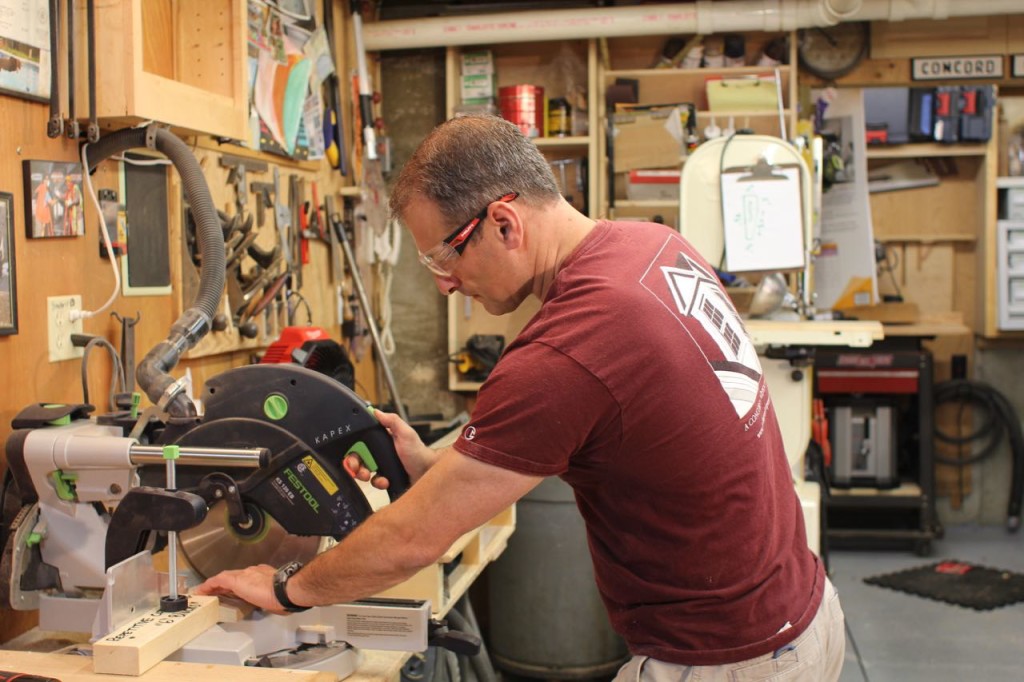
- Cut to length: Cut your plinth block stock to the height you want.
- Add 45 degree bevels to edges: If applicable you may want to ease the edges of your plinth blocks. This can be done with a hand plane, table saw or a router bit. Not all designs have this look .
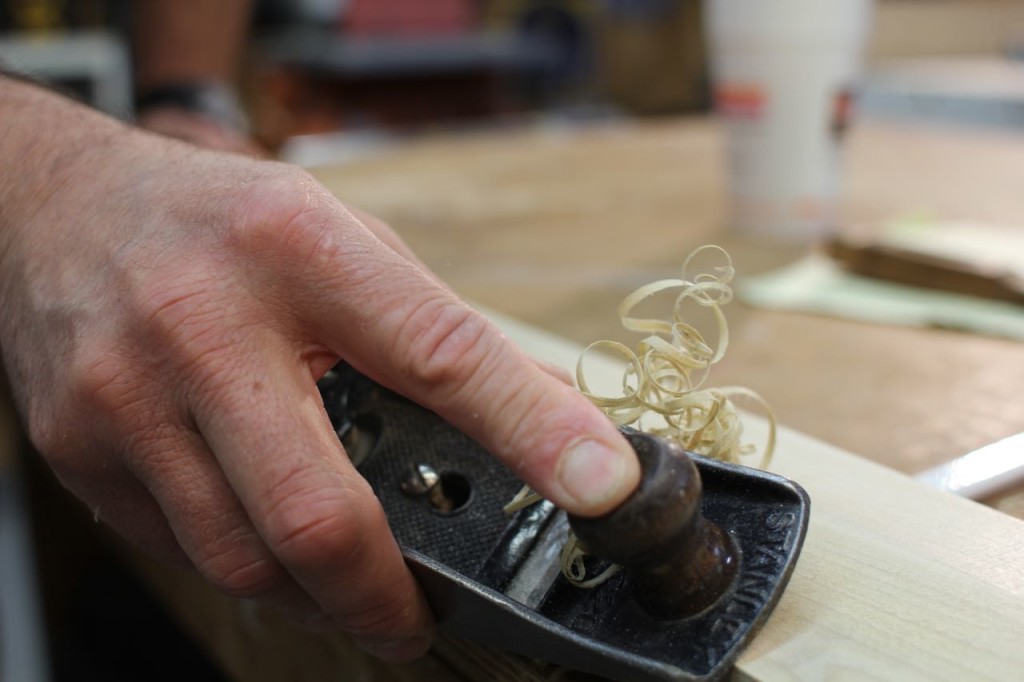
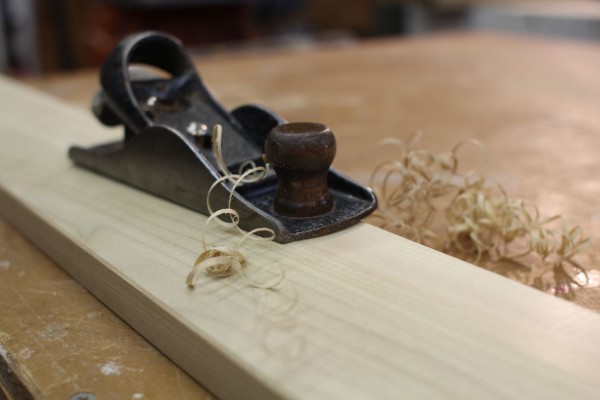
- Clean edges: Use a block plane to remove saw marks and sand end smoothly
- Sand: sand end grain smooth, break all edges slightly to accept paint better.


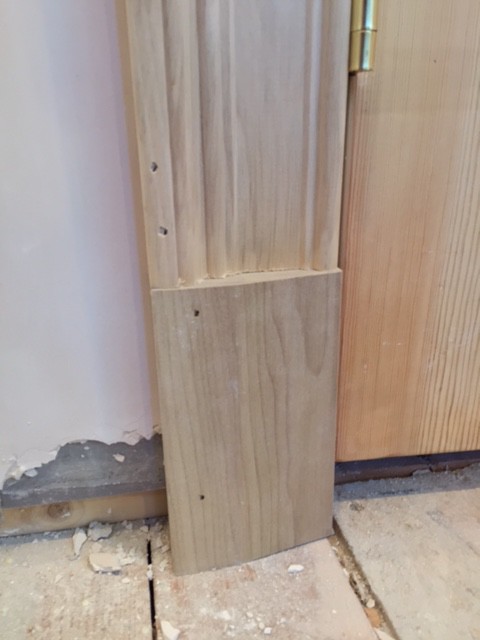
Cutting In Plinth Blocks to Existing Trim The easiest way to install plinth blocks is when there is no existing door or baseboard trim in place. If there is you need to measure you plinth block location and use a multi-tool to cut back the trim in order to insert your plinth. It should fit tight underneath the cut-off molding, and tight against the side of the cut-off baseboard 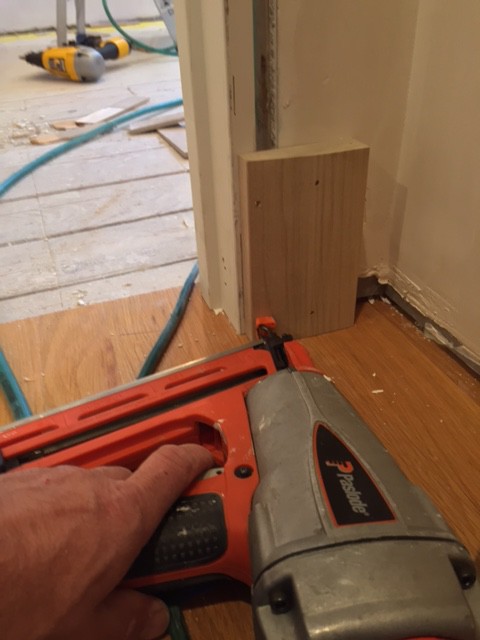
- Measure and mark your reveals on your door jamb. I use a small combination square to make two small pencil marks, one at the top edge and one on the lower edge. Place the plinth block at the base of the doorjamb, 1/8-inch from the edge of the doorjamb. The 1/8-inch setback is to provide a reveal, lip or edge between the plinth block and the side of the jamb.
- If your jamb is plumb, then your plinth will be too.
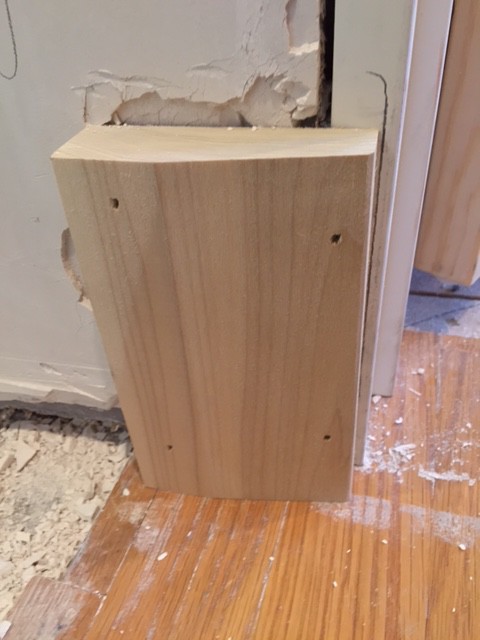
- Fit the plinth block on the doorjamb.
- If hand nailing, drill four holes through the plinth block with a 3/32-inch drill bit using a drill/driver. Drill two holes, one high and one low, into the door jamb side. One the other side drill your low hole so you can hit the bottom 2×4 plate, if applicable. On the upper hole, if no wall stud or nailer is present, drill at an inward angle toward the door jamb. The angle helps lock in the plinth.
- If using a pneumatic nailer simple install in same locations. Install nails slightly recessed for wood filling.
- The presence of framing will dictate your fastening pattern. When possible, install fasteners into wall studs and use care placing fasteners on plinth bevel lines or other aesthetic details. Try to nail 3/4 to 1-inch diagonally from the bottom corners, and diagonally down from the profiled edge of the plinth block.