How-To Make a Giant JENGA Game

 Cutting
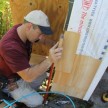
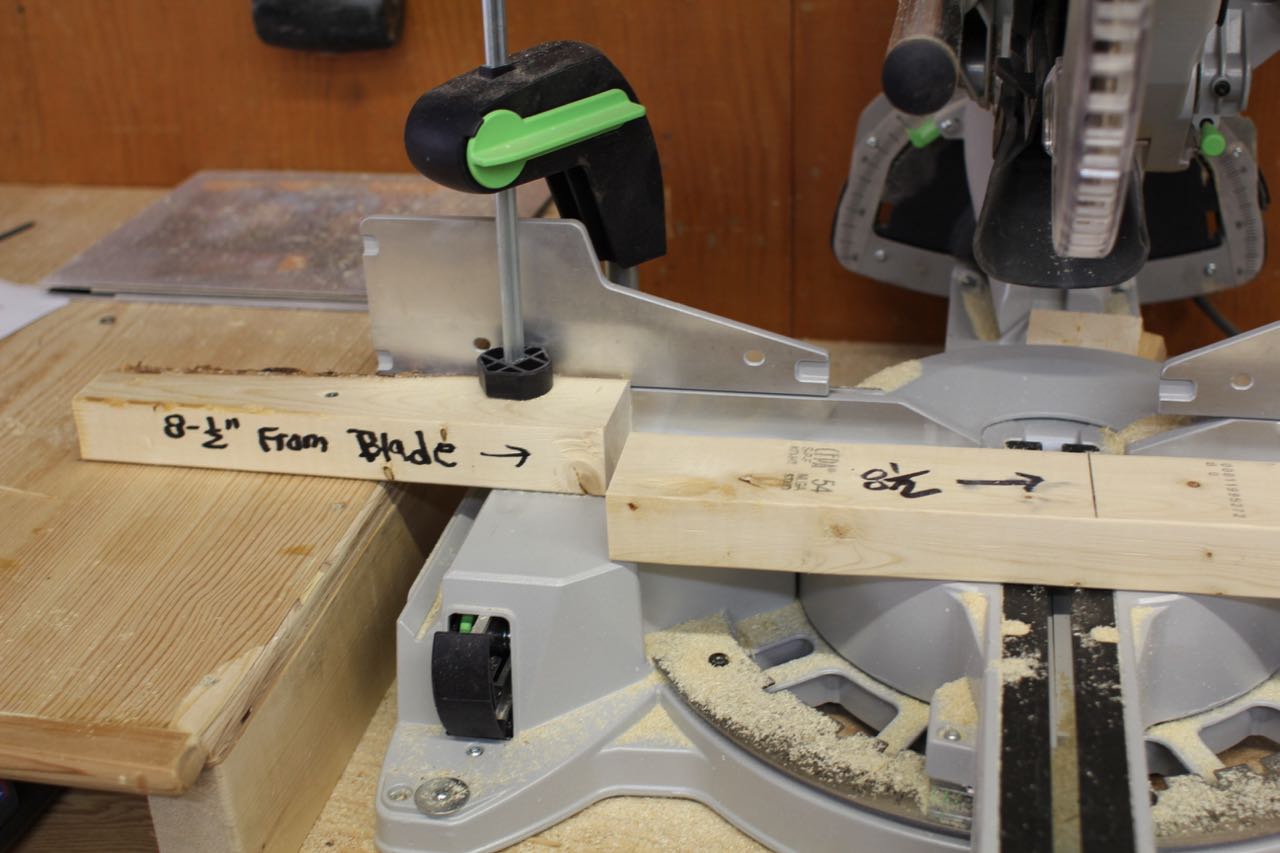
- The first step for cutting is to ensure that you cut your blocks exactly the same size each and every time. I found this is best done by using a miter saw with a stop clock clamped down on the saw.
- To set the stop clock I lower the miter saw blade and measure out from the blade 8-1/2 inches. I then mark the bottom of the miter saw table with a pencil on this mark.
- Next I clamp a scrap piece of wood at the pencil mark.
- Once in place the stop clock ensures that each cut at the saw will be at the 8-1/2 mark.
 Sanding
- Apply wood filler to fill gaps or deep gouges. Applying wood filler into the end grain will also help seal it and allow for smoother sanding.
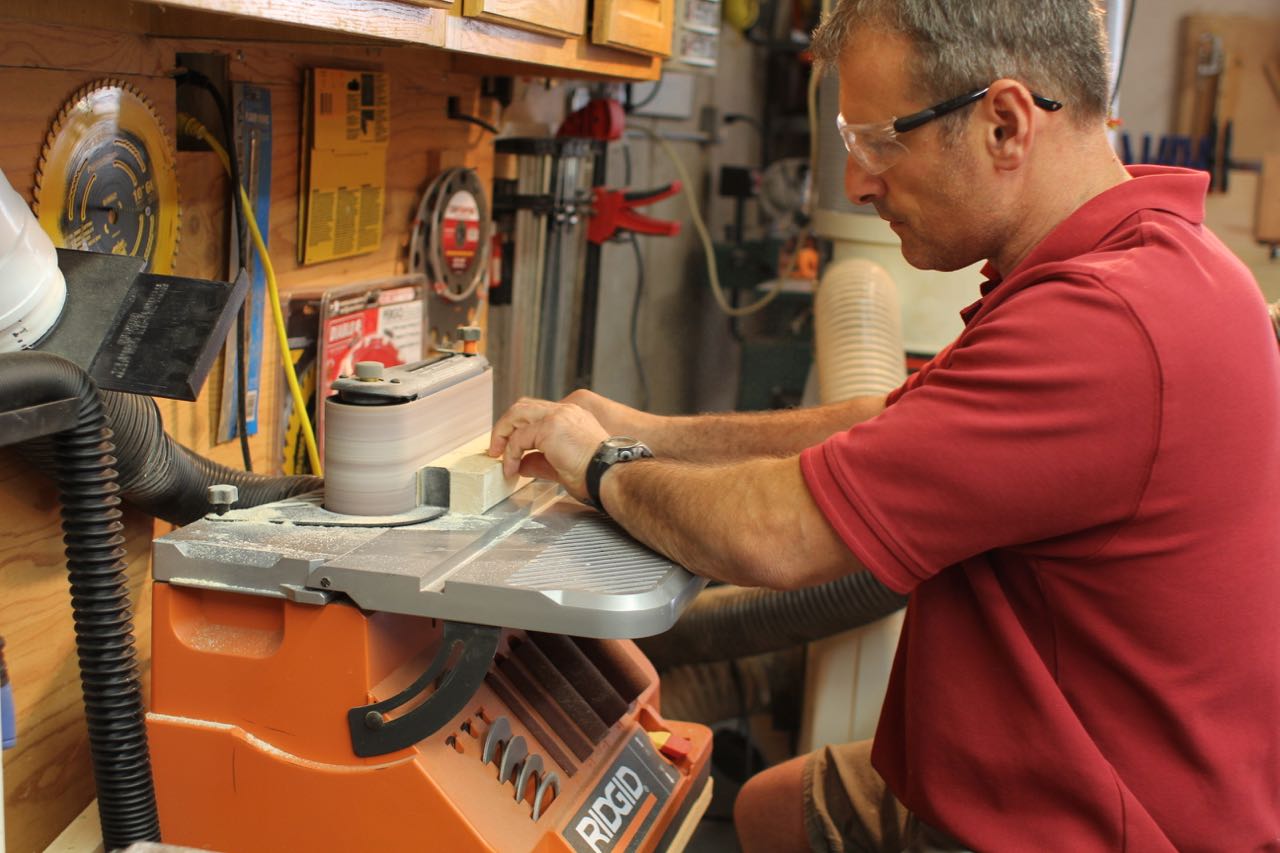
- I sanded my blocks using a RIDGID oscillation belt sander but you can accomplish this with a bench mounted belt sander, palm sander or orbital sander almost as quickly.
- Start out using 80 grit sand paper to knock down rough scratches and shallow gouges.
- Round over sharp edges and sand the end grain well.
- Ensure there are no sharp or jagged edges that may give players a splinter.
- Wipe down each piece to get all the dust off and you’re ready to apply a finish.
 Apply Finish
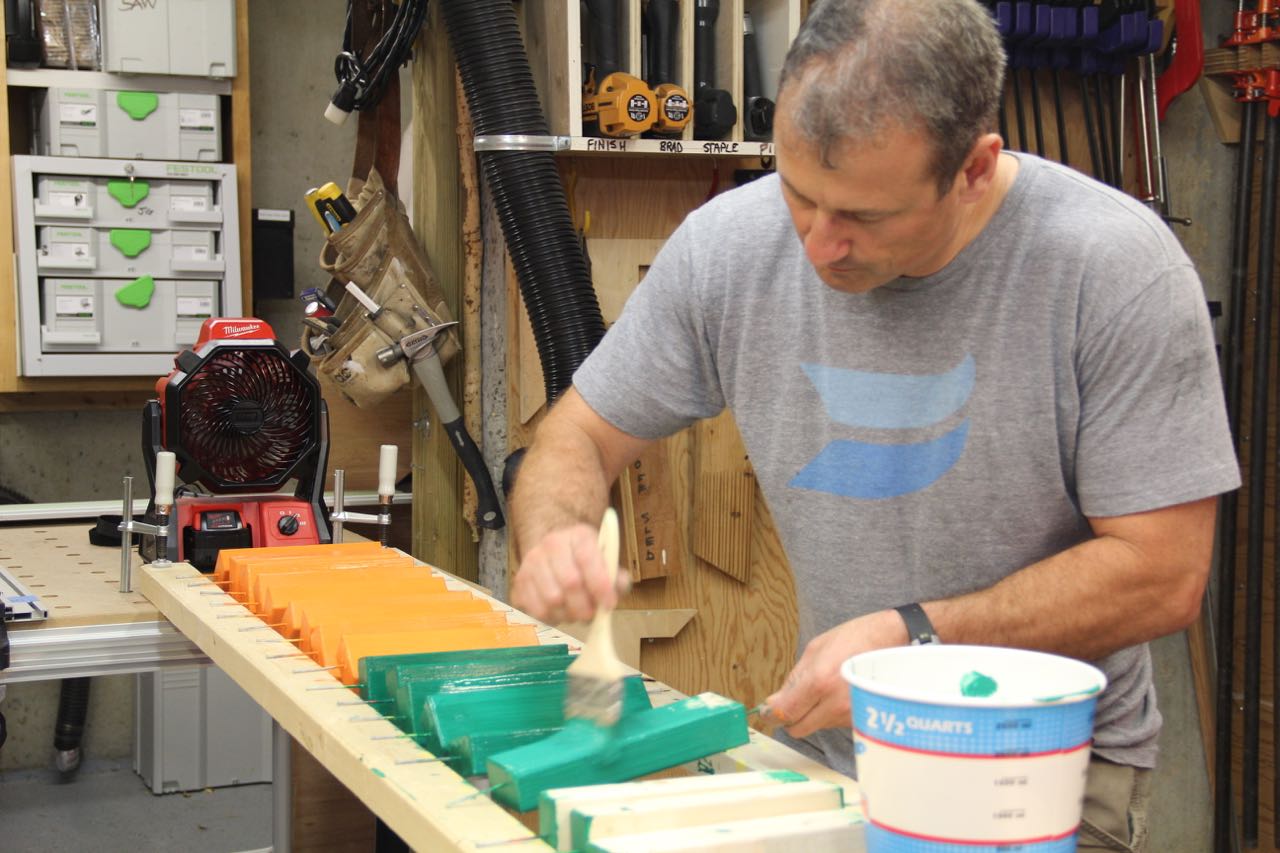
There are many types of finishes that you can apply. The most fun finishes I’ve seen are multi colored clocks of red, blue, yellow, green, orange and black.
Since this is a DIY project I suggest using up your old paint in the house, asking a friend or even buying mis-orders at the paint store. Many paint stores sell mis-ordered product at a heavily discounted price.
If you enjoyed this post, make sure you subscribe to my RSS feed!