
How to Make A Custom Slate Chalkboard

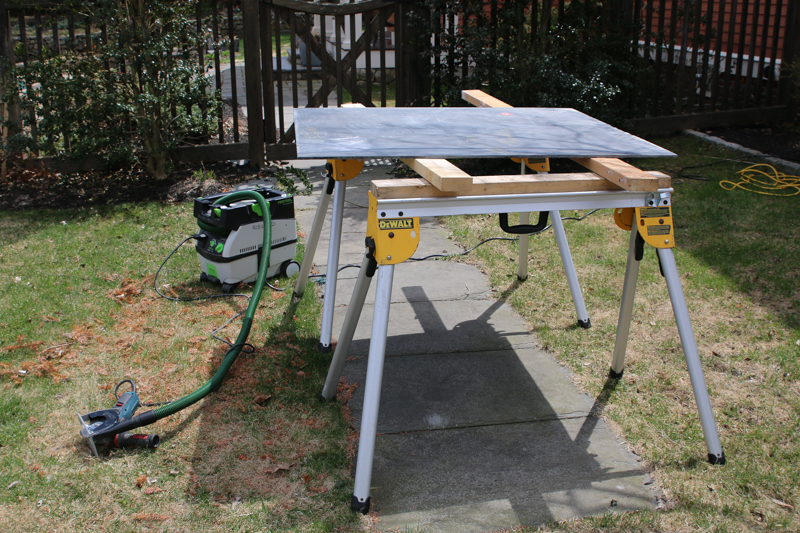
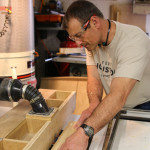
Slate Cutting Tips:
- Use a solid work surface such as a 2×4 or plywood to back-up your cut, so you don’t crack the stone or injure yourself.
- Cut outdoors
- Wear a protective mask, and collect dust at the source – we used a HEPA vacuum with little to no dust. [Wetting the stone’s surface reduces airborne dust]
- Use a grinder equipped with a diamond Stone
- Cut slow and steady, clamp a straight board and use a cut guide, if needed
Install Slate and backer board
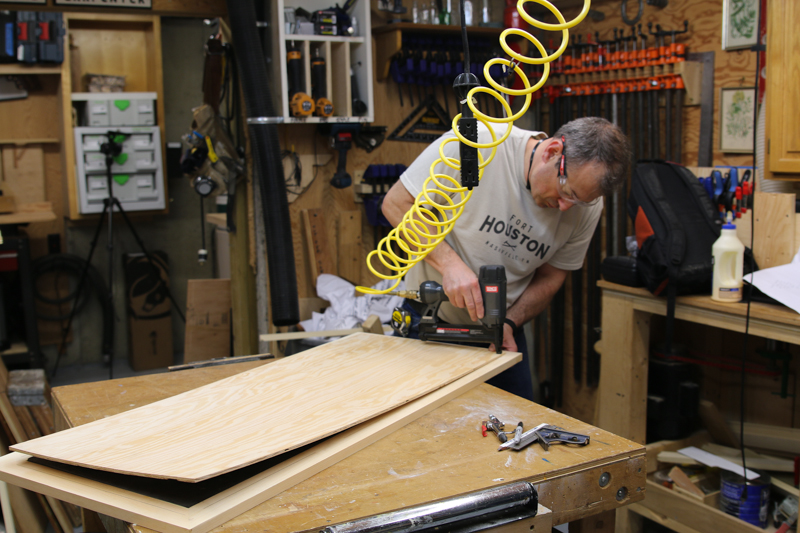
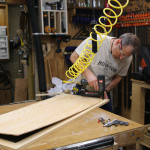
After cutting the slate we check it for fit in our wood frame, once satisfied we cut a ¼ plywood backer board 2 inches larger in both the width and length of the slate. The 2-inches allow us to overlap the slate an inch on all sides and allowed us to install the backer board with ½ crown staples.
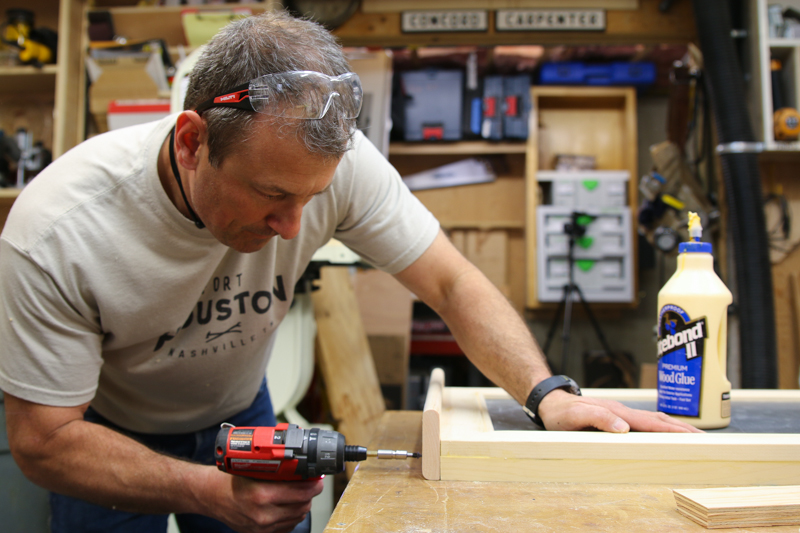
Once the backer board was applied we added the pine side strips to the backside of the chalkboard frame with glue and brad nails. We also glued and screwed our 45-degree bevel French cleat to the top section of the frame back.
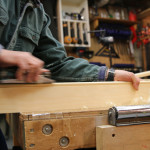
Making the Chalk holder Shelf
Once the frame, slate and backer board were assembled we had a good idea of how this project was going to look. We then decided we wanted to add a chalk shelf. Doing this was going to add ¾ inch to the overall length to our project. We had the room and wanted it.
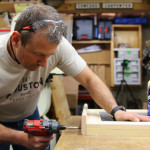
We took a 3 inch piece of Pine the same width of the chalkboard frame and added a thumb nail chalk holder slot to it with a thumbnail router bit. We wanted the shelf slot to start approximately 1 inch in from the sides, to prevent the chalk from sliding out of the slot onto the floor.
The key to doing this was to carefully mark out the slot on the board as a visual during the design phase, but more importantly, mark the backside of this board for the routing application. When routing, the grove is face down, and you will not be able to see it.
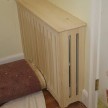
We placed center-mark reference on the router fence, where the router bit was located. This allowed us to drop the shelf down onto the router bit, 1-inch in from the edge, and stop it 1-inch in from the opposite edge. This is a similar look as a fluted column.
Apply Finish to the Frame
In this step you will fill any nail holes or imperfections with wood filler, sand, wipe off the dust and apply primer and two topcoats of quality paint.
This step can actually be done before the slate is installed; we chose not to do so.

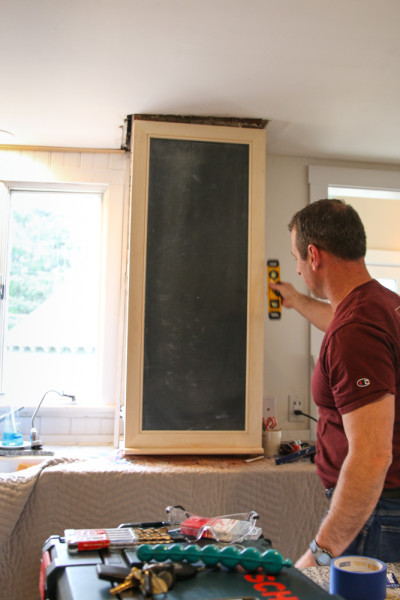
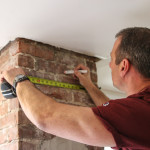
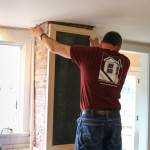
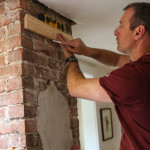
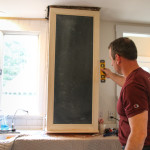
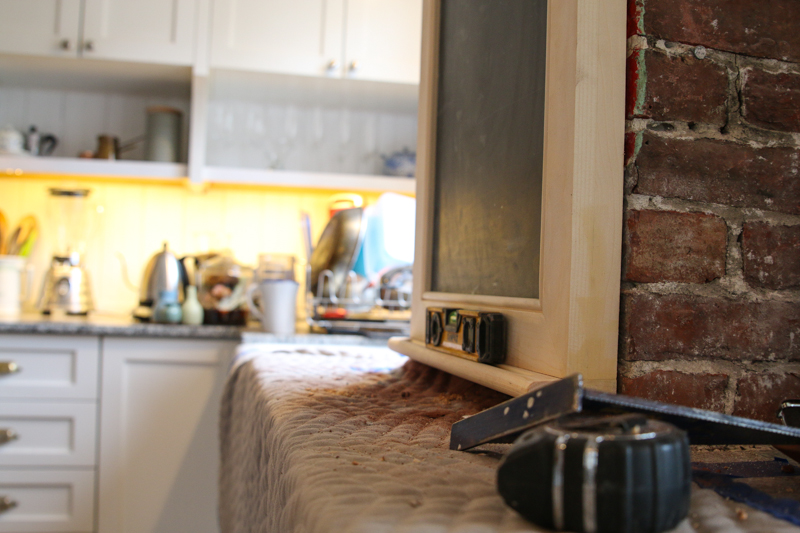
How to Hang the Slate board
This is the last thing I did. We installed the plywood cleat to the chalkboard frame and the opposing cleat is installed to the brick masonry with Tapcon masonry screws.
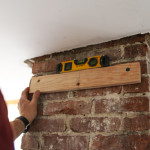
TIP – leaving the masonry cleat slightly smaller in width allows you to later fine tune the left / right, placement of the chalkboard on the chimney
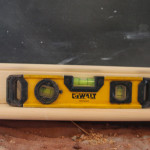
We measured and marked the location of our cleat, leveled it and then used a rotary hammer to drill through our cleat and into the masonry.
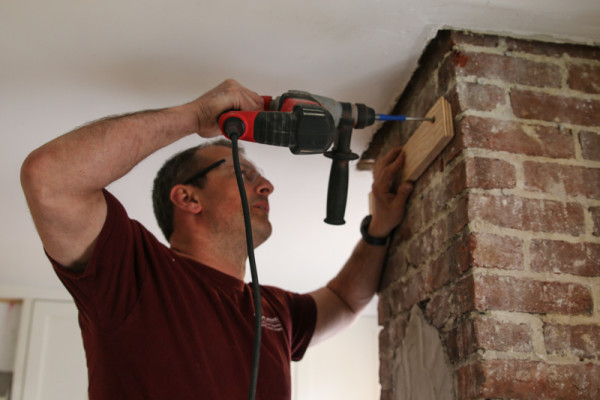
TIP – Drill and install one masonry screw first, then recheck the level and drill the second and any subsequent screws.
On a regular wall you would install this cleat to span across wall studs then use screws to make this connections. Otherwise you will need wall anchors or toggle bolt.
Slate Finish Tips:
We used a beater chisel and later a razor blade to remove old calking and paint build up around the slate edges. These areas were going to be hidden by the frame rabbit cut, but we wanted to remove them for a better fit.
For deep scratches and the removal of surface gunk, use a random orbital sander with fine grit sandpaper. Wet the sand paper and use a little water to keep dust down.

Conclusion
In the end, slate proved itself to be a strong choice for a number of reasons:
- It’s easy to cut, making it easier to work with than many might expect;
- It will last for decades, it not centuries, unlike MDF or other imitations;
- It will add value to your home – this is something unique, durable, and useful;
- It ties the history of the house to the history of the region; and
- It provides a great story for your next dinner party.
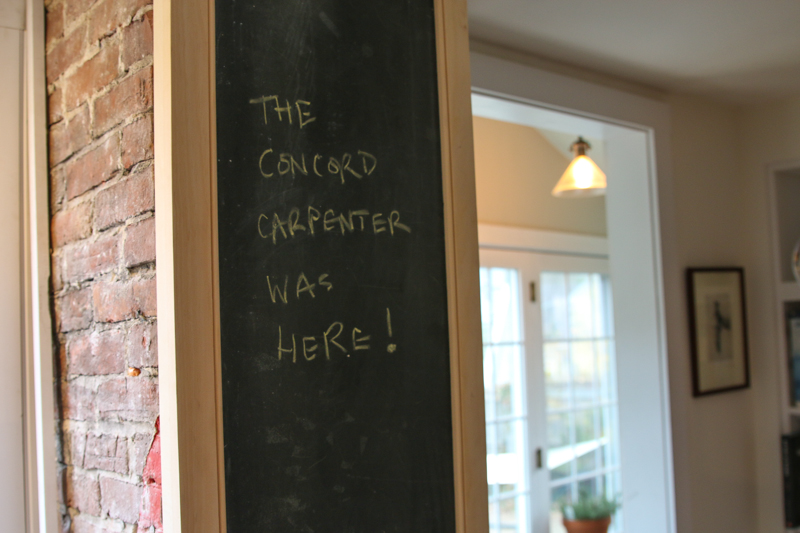
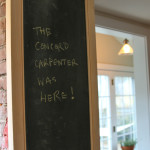
The other night I had dinner with this couple, and upon arriving I found a series of notes written on the chalkboard. By the end of the night, the dinner host had written “The Concord Carpenter Was Here!” Now that was a fun night!


