How to Make A Custom Slate Chalkboard


Source materials
Because this was a paint grade project, we decided to use clear, select pine, because it has little to no knots. We could have also used Poplar species, which is a cheaper alternative and is also known for its “knot-free” qualities.
As mentioned above we sources a large, heavy, 100-year old, black chalkboard from a local boarding school.
Cut wood to size
We took our materials into the Concord Carpenter shop and began construction.
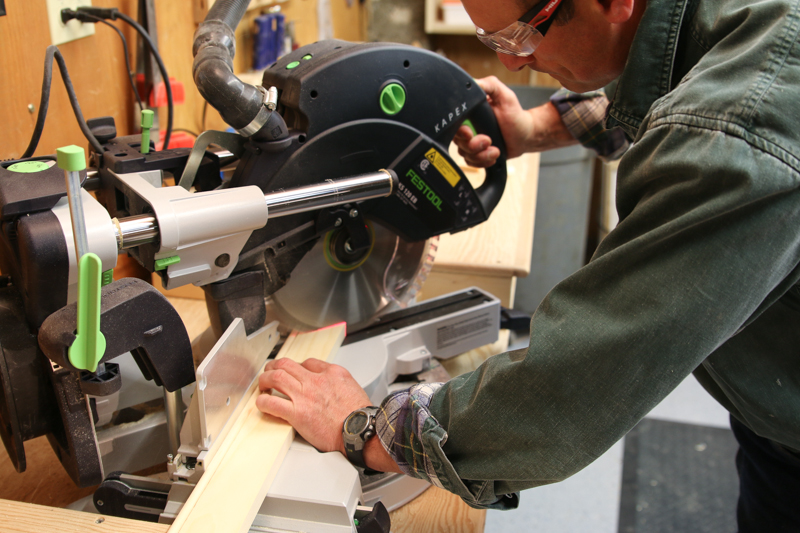
The first step was to cut the chalkboard wood frame sides [long parts] to the exact height of our project, and then the top and bottom pieces, to the exact width. Because we were mitering the frame corners all four parts could be cut to the exact length and width.
Adding the Bead to the Frame
We then used a 3/8” radius router [with ball bearing bit] and mounted it into our router table. Choosing the “best face,” of the wood we routed a bead along one entire edge of all four-frame parts. The ball bearing guide on the router bit ensures that you get a consistent bead along the entire length. I used a router table fence only because I wanted to use my dust collection system. We’re huge fans of collecting dust at the source when doing long term sanding applications of making a lot of saw dust like sawing and routing.
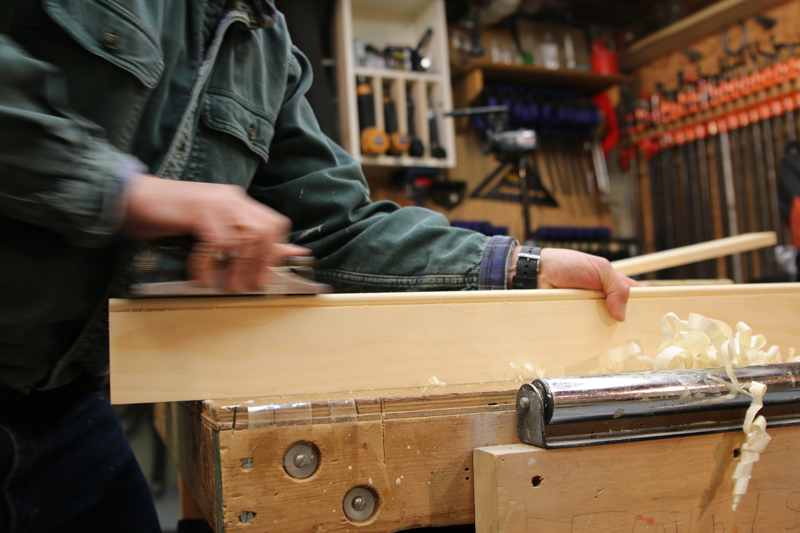
Once the routing is complete we use a block plane to remove the mill marks that the router bit leaves behind. We then used 100 grit sandpaper, to sand the bead, and lightly break [round] the sharp routed edges.

Cutting the Rabbit to Receive the Slate
The next step is to cut a rabbit to recess the slate into. A rabbet is a recess or “one-sided,” groove cut into the edge of the frame. The purpose of the rabbit is to recess the slate and allow a back cover to attach to the frame. This allows you to hold and “lock” the slate securely into the frame.
We measured the slate in numerous locations and found it to vary in thickness. The average thickness was ¼ inch but there were some thicker spots. We decided to make the rabbit 5/16 inch deep and wide.
We figured a secure fit was better than a loose fit, and justified that the ¼ inch plywood backing board would span over any areas larger, further holding the slate in place.
Using a ½ inch rabbit router bit and our router fence we set the width and depth to 5/16 inches and cut a rabbit on the opposite face of our newly routed 3/8- inch bead.