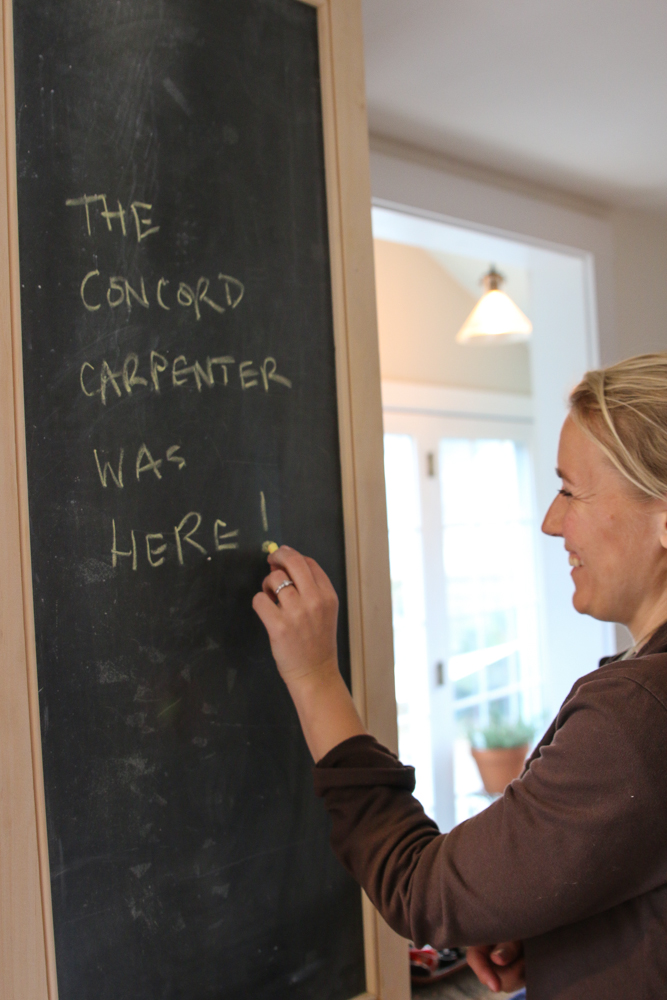
How to Make A Custom Slate Chalkboard

How to make A Real Slate Chalkboard Steps:
- Design Frame and Measure
- Source materials
- Cut wood to size
- Adding the Bead to the Frame
- Cutting the Rabbit to Receive the Slate
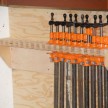
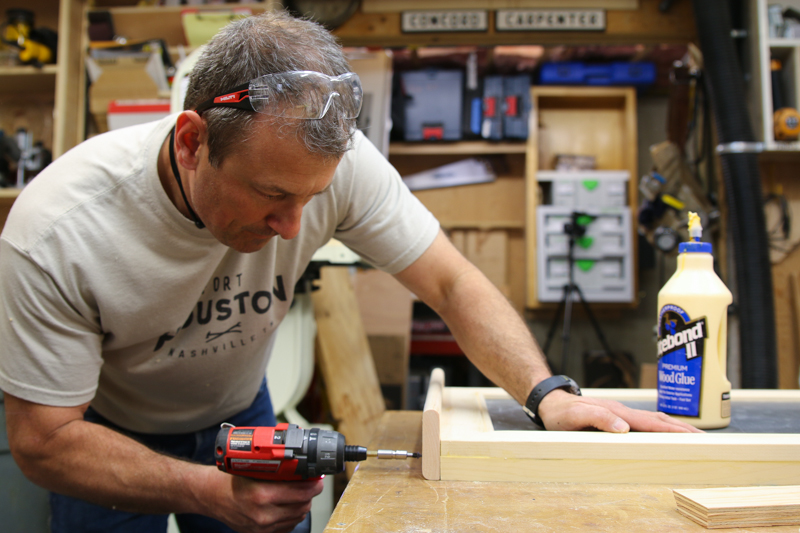
- Assemble Frame
- Cut slate to size
- Install Slate and Backer board
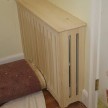
- Making the Chalk holder Shelf
- Apply Finish to the Frame
- How to Hang the Slate board
- Measure space
- Source materials
- Design Frame
- Cut wood to size
- Assemble Frame
- Cut slate to size
- Install Slate and Backer board
- Apply Finish to the Frame
- How to Hang the Slate board

Design Frame and Measure:
The first step in many projects like this is to determine the size of the chalkboard. Remember that width and measurement will be the frame edges, and the slate will be cut smaller to fit into this frame – similar to a picture frame.
We decided that a 2-1/2 inch wide frame was not only a nice proportion but it was similar to surrounding trim and cabinet styles and rail. We also decided that we wanted to include a 3/8” radius bead in the inside edge of the frame for aesthetics and to compliment the existing bead board back-splash in the kitchen.
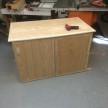
Real slate chalkboard is heavy and we figured that we would need to mount this on the brick chimney with masonry screws and a French Cleat.
A French cleat is way of securing a heavy item to a wall. It involves using two “cleat” boards, each with an opposing 30-45 degree bevel. One cleat is mounted to the wall and the other to the item you want to hang, and the bevels interlock and secure the tem to the wall.
NOTE – If the wall cleat is left slightly shorter than the cabinet, the cabinet can be shifted left and right slightly after it is hung, for perfect positioning.
Once the cleat is secured to the wall, the cabinet can be just lifted on to it. Because no fine maneuvering is required even a relatively heavy cabinet can be hung easily this way.
Once we ironed out our design and took our site measurements, we went to work sourcing materials.