Replacing A Mailbox Post
Recently a client asked me to replace their mailbox post. This article will detail how to install a mailbox post.
Here’s a few tips to do this yourself:
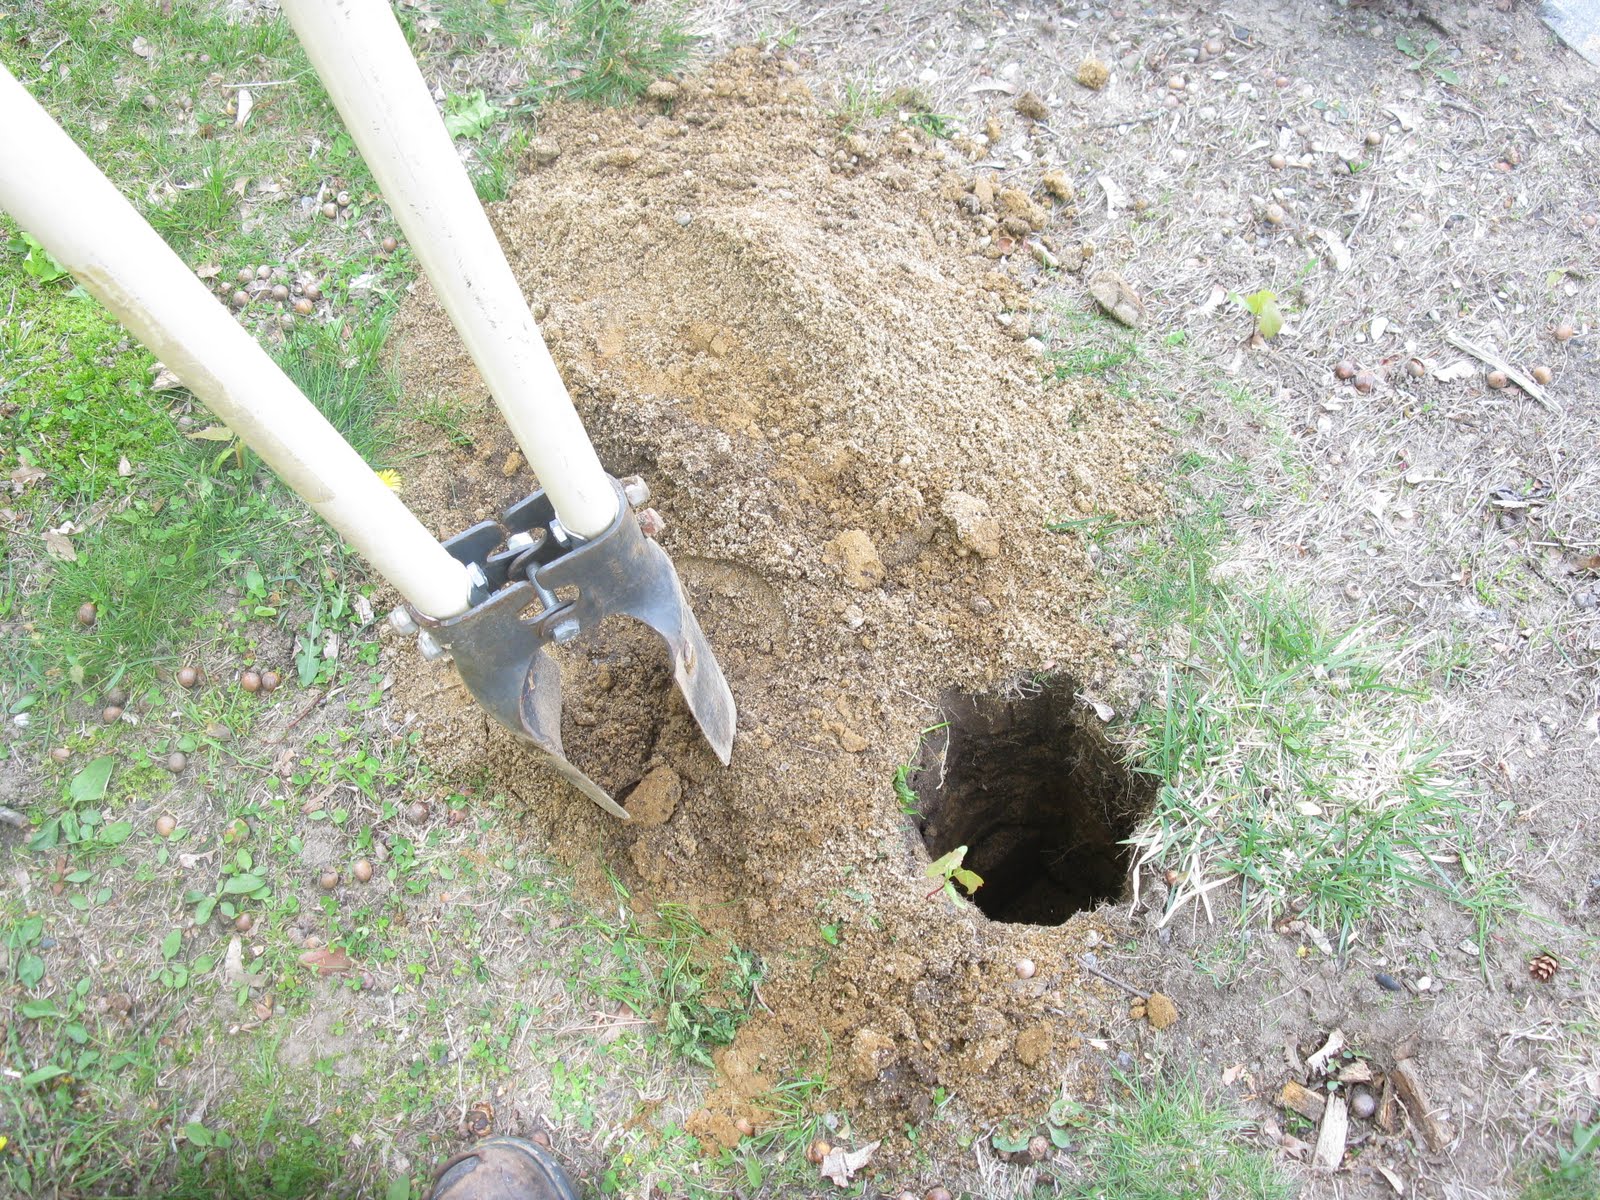
1. Use shovel or post hole digger to dig a hole for the mailbox post.
Below: a post hole digger makes a perfect sized hole.
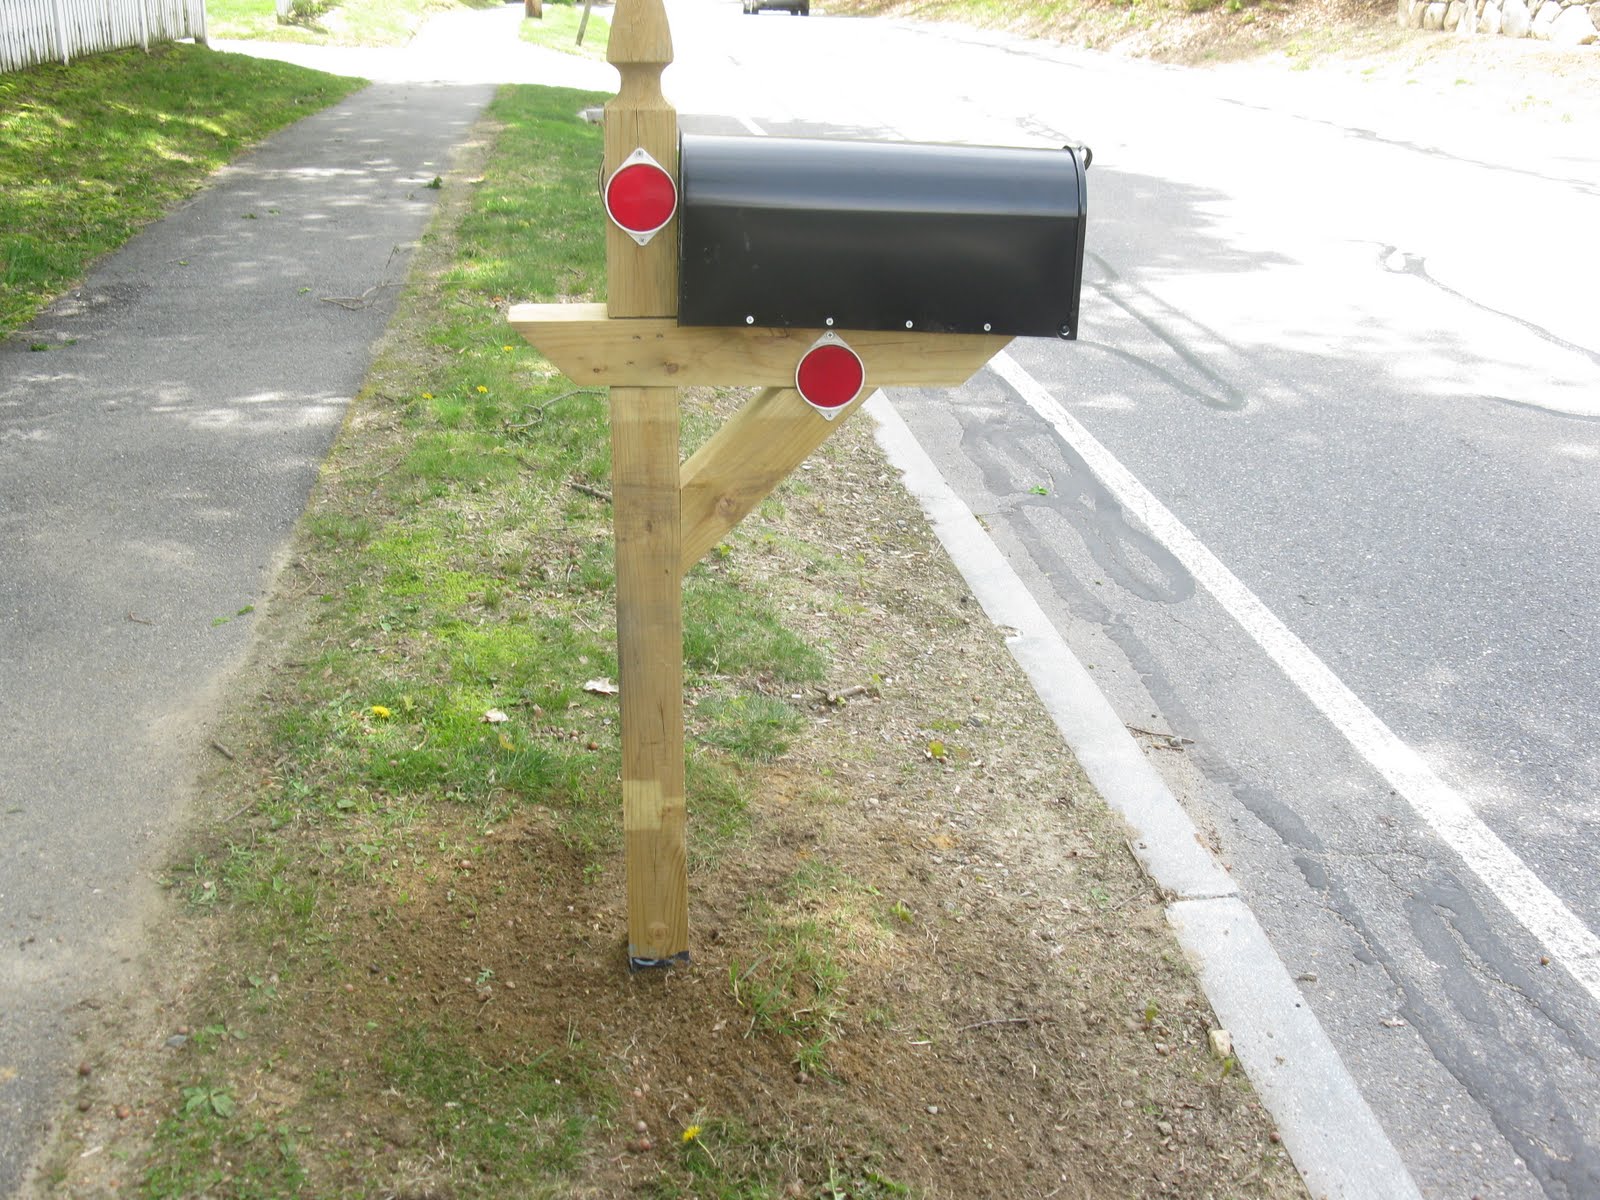
2. The US Post Office wants to see the bottom of mailbox 41 to 45 inches above street, and the front of mailbox must be no more than 8 inches from curb.
The USPS typically requires the post to be approved by the local post office and that it be accessible from the vehicle for curbside delivery such that the carrier does not have to leave his vehicle.
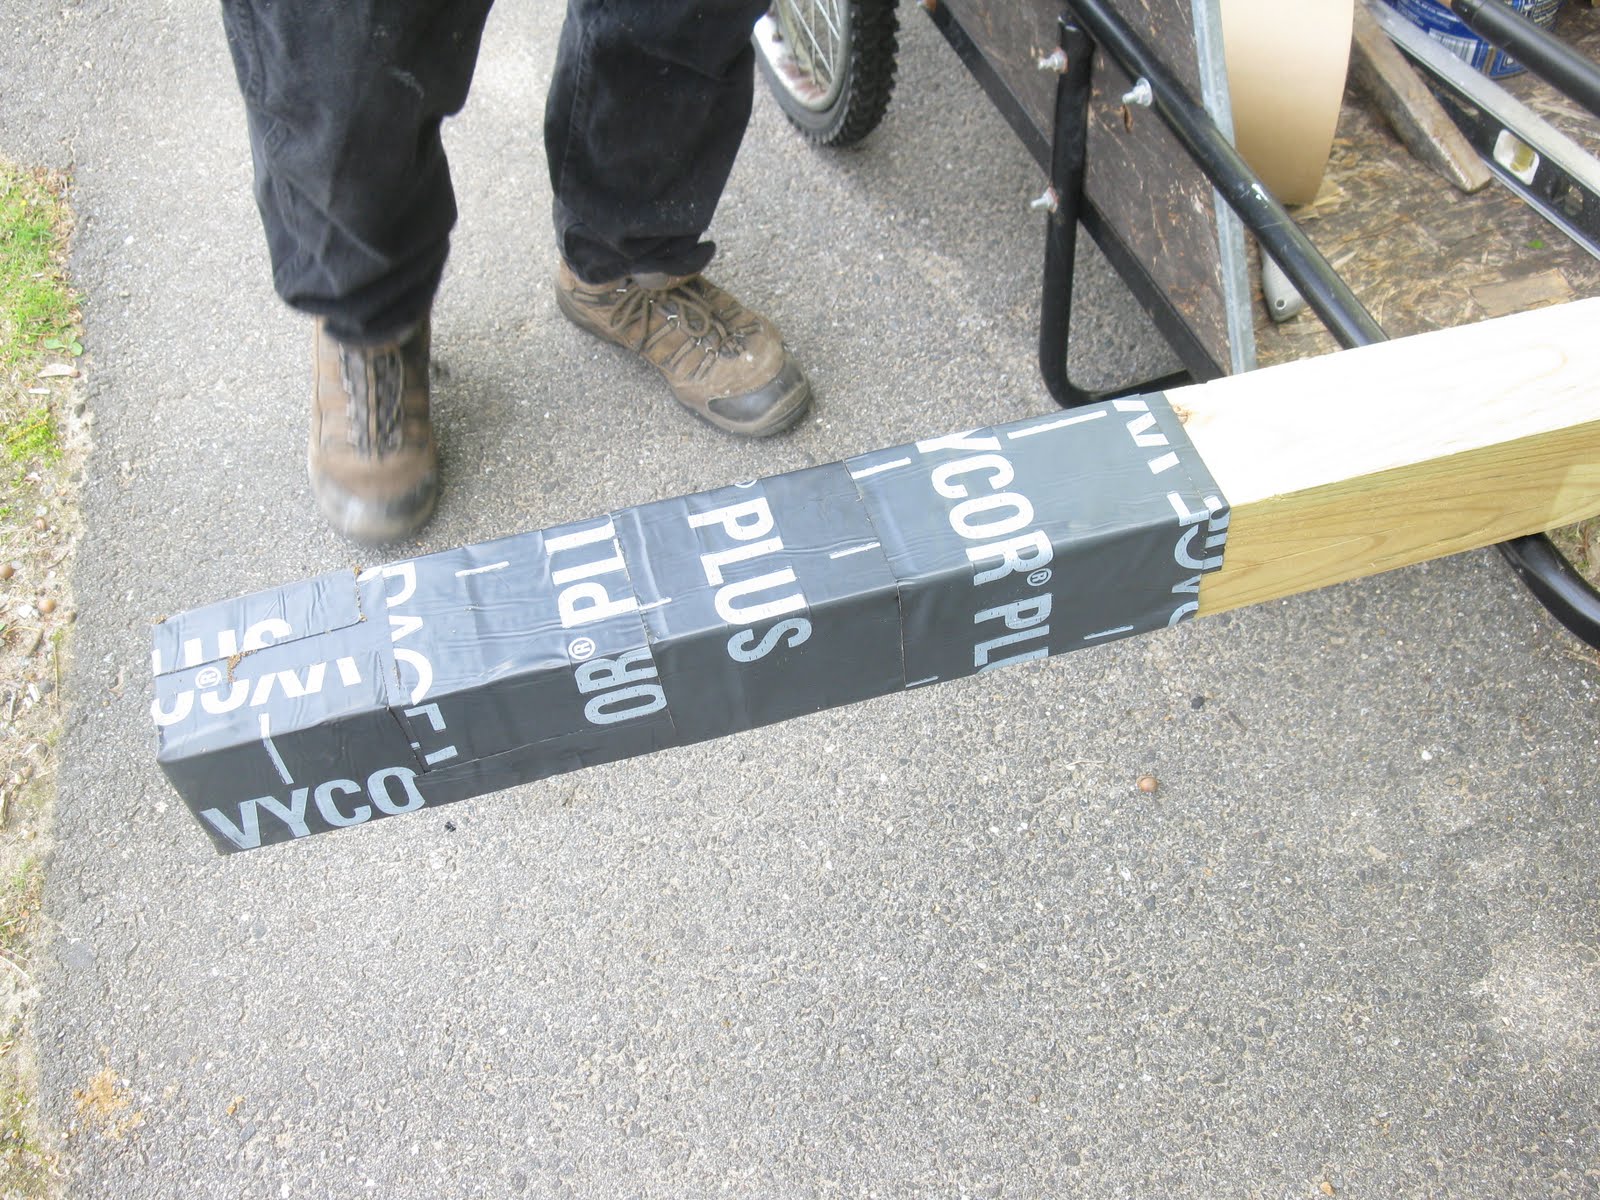
There are several types of post material you can choose from. Three readily available materials are cedar, pressure treated wood and cellular pvc.
The post below is pressure treated and to provide extra protection I wrapped the wood below ground level with Vycor rubberized flashing.
3. Set mailbox post in hole and use a level to hold it perfectly plumb.

4. Back fill around the post with 10 or 12 inches of soil. Keep checking for plumb.
5. Use a tamper, sledgehammer or 2×4 to tamp down and compress the soil around the post. this keeps the post from moving.
6. Attach the mailbox to the post with galvanized decking screws.
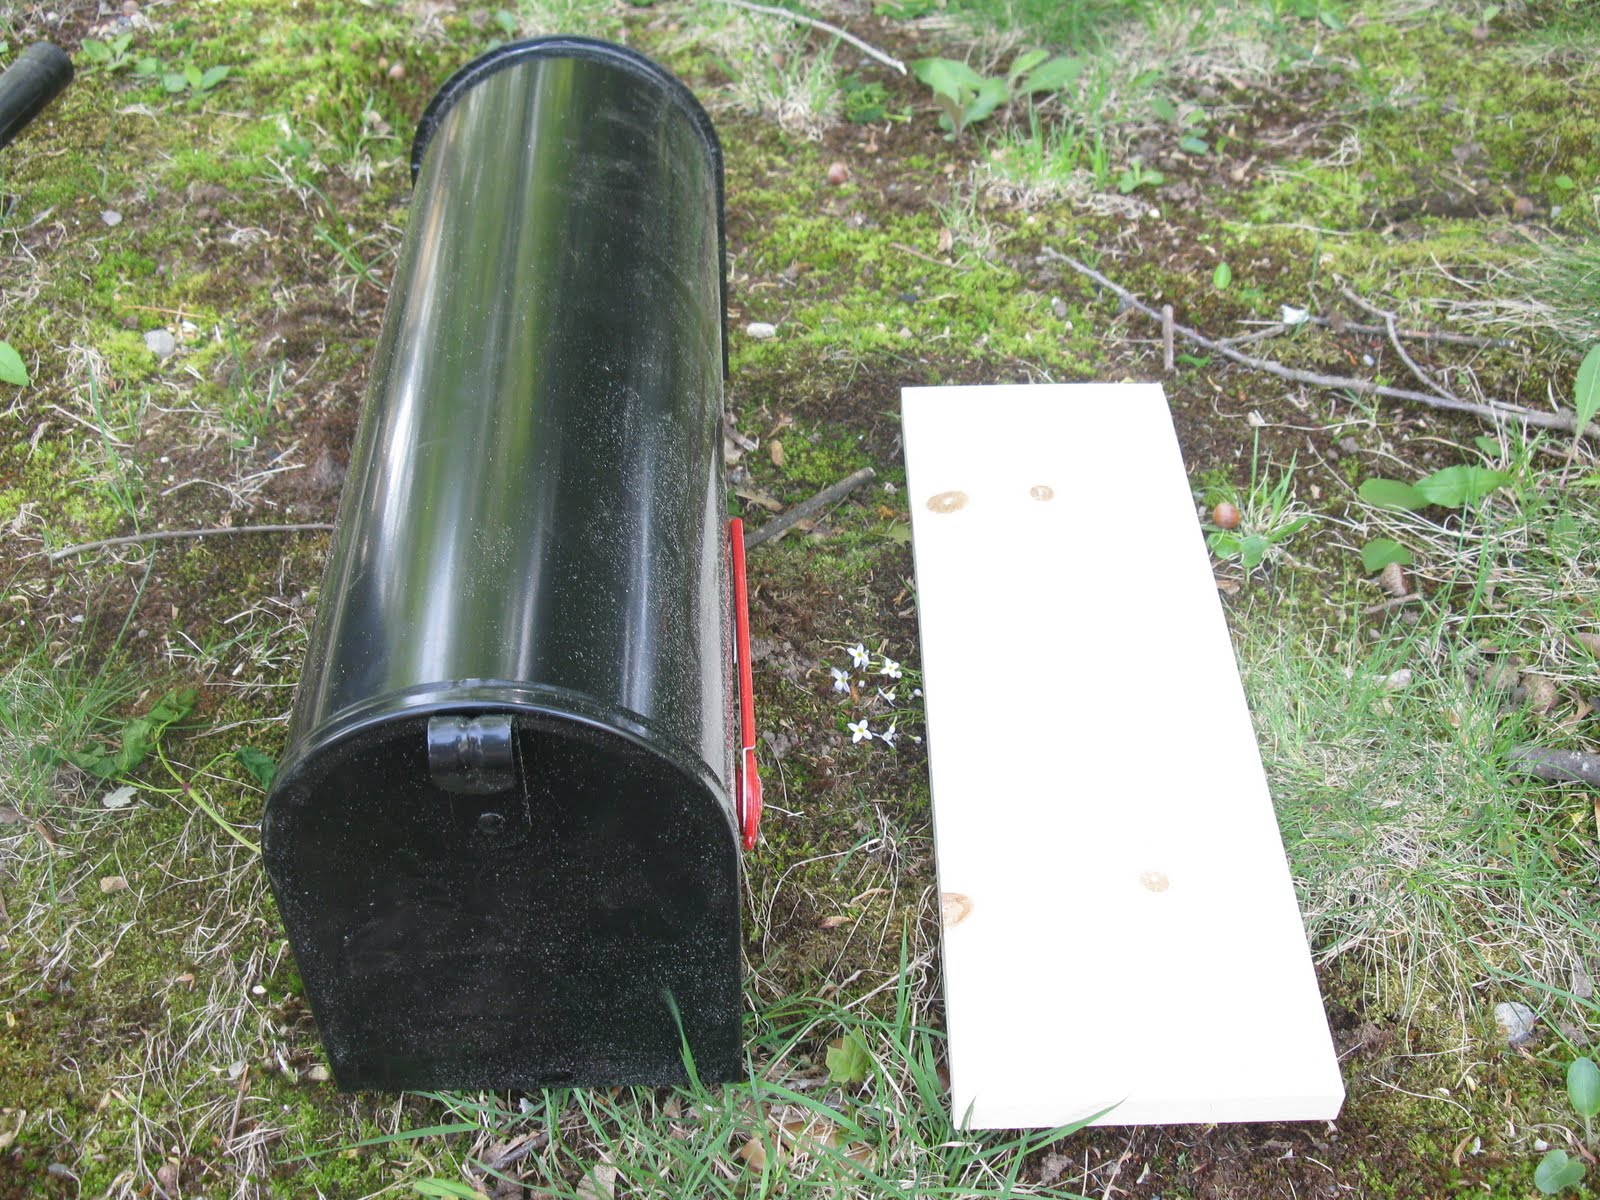
The mail box below mounts to a pine block of wood.
Unless you have a right angle drill, it’s easier to screw this wood block to your post first then attach the mailbox.