Photo: CedarSafe aromatic cedar boards come in a box that cost approx $25.00 and covers 15 square feet.
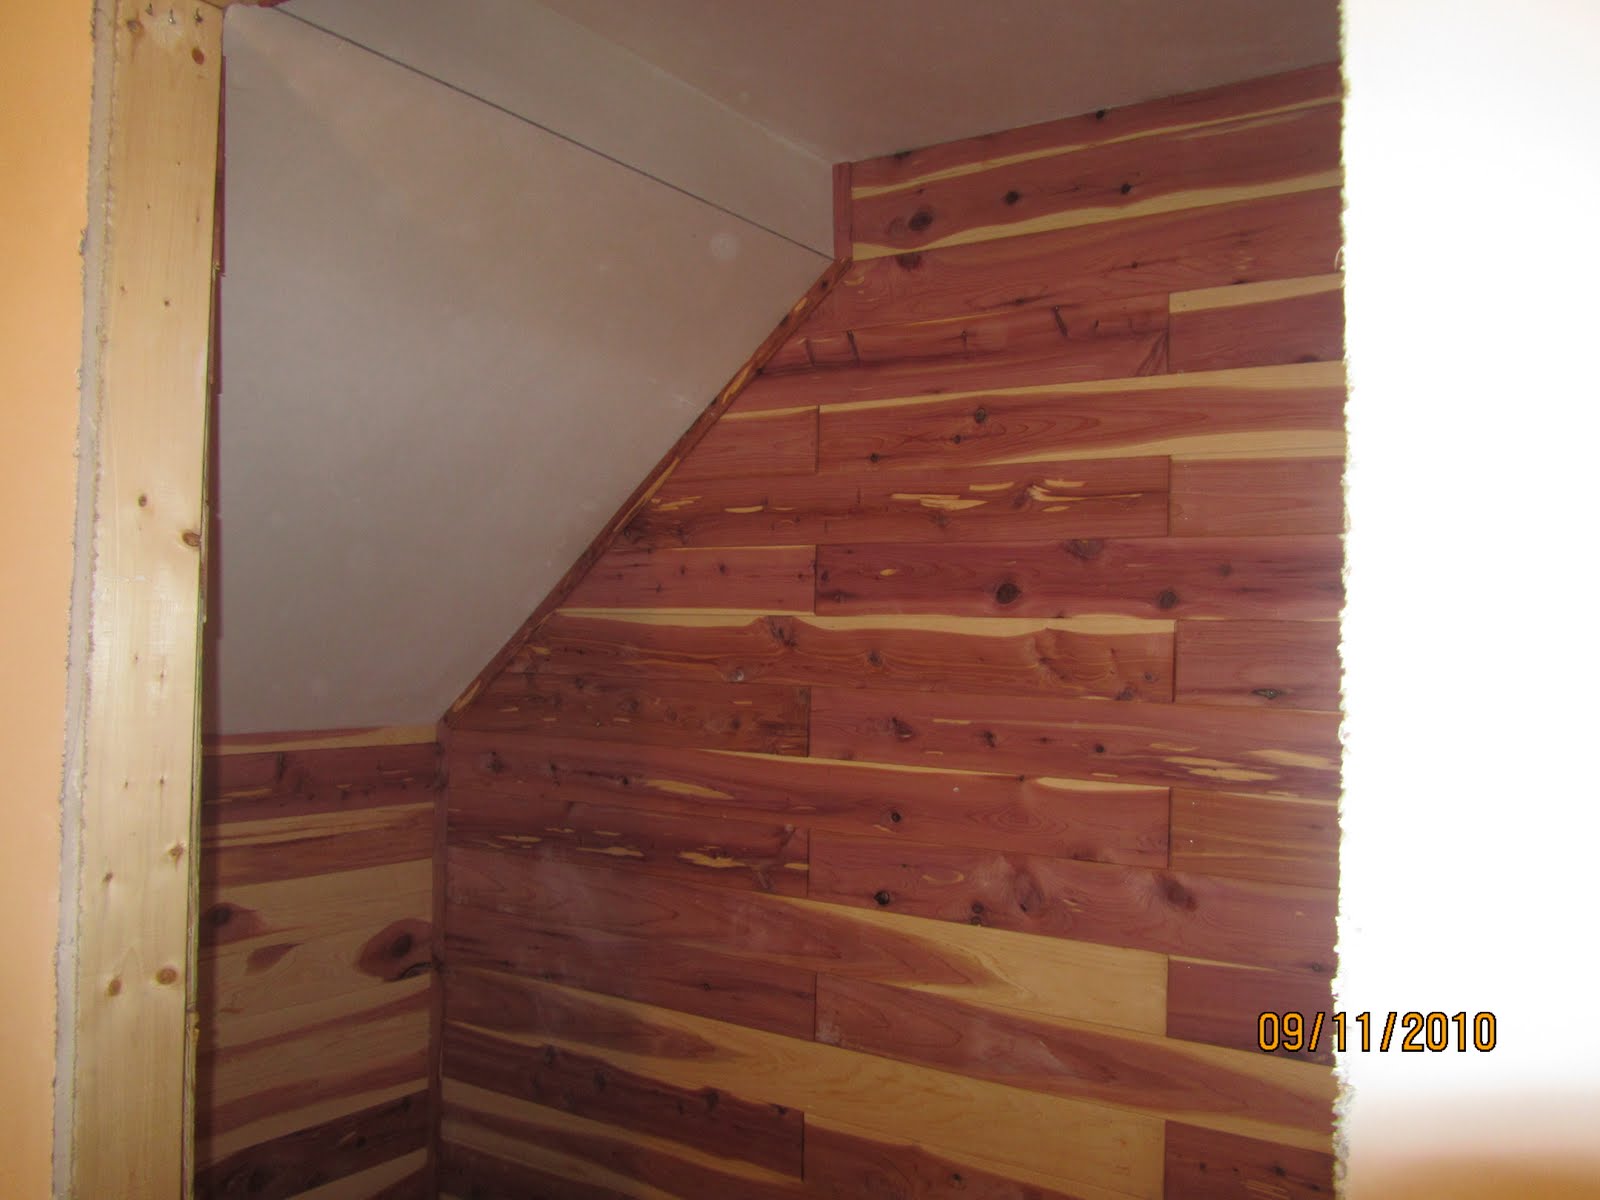
Installing An Aromatic Cedar Lined Closet
In the past few years I’ve seen an increase in closet makeovers. Cedar closets are often asked for by homeowners as are a great DIY project. This article will focus on installing an aromatic cedar lined closet.
Cedar Closets were used in 17th century closets to repel moths from their fine linens. A hundred years later later, European furniture makers began using aromatic cedar in their trunks and chests to protect clothes.
A 2005 study by Unity Marketing shows that 15 percent of homeowners who make $150,000 a year or more have cedar closets. That’s about the same percentage as those who own wine cellars or outdoor hearths. According to the CedarSafe survey, 44 percent of cedar closet owners inherited them when they bought the house. More than 30 percent installed them on their own. The remaining 16 percent had someone install the cedar closet for them.
The benefits of a cedar closet include the following:
1. Repels and resist moths, roaches, silverfish and mildew
2. Provides a wonderful cedar scent
3. Safer than mothballs and smells better
4. A great place to store out-of-season clothes
5. Nice re sale addition to your home


2. Using the adhesive I added boards by fitting the groves onto the tongues of the lower board. Remember to continually check for level. One trick to adjust for level is to lift one edge of a board slightly off the tongue. This can be done in very small increments to regain your level.

4. Measure the space for the last board. It will have to be trimmed to fit the space between the board and wall. Measure this distance from the ceiling to the last fitted board. Compare these measurements on both ends and make adjustments as needed.
Don’t nail the second to last board yet. Leaving it loose will assist you in fitting the last board.
It the cut is not even you will need to use a jigsaw or table saw. Make your cut a bevel cut and cut the tongue side. By back beveling your giving yourself some room to press the board easier but look tighter.