Installing A Sump Pump
This article is to show you how to install a sump pump into a basement floor.

Ideally you should be locating your sump pit at the lowest point of your basement floor (use a level to determine where that point is).
The site for this pump was determined by water that entered this basement during the 10″ rain storm we had last month.
The sump location should be near an exterior wall and located close to an electrical outlet (if possible). The pump will need to be plugged into a GFCI protected circuit. Although it’s code, I find that GFCI outlets often fail when overheated or when the pump cycles on and off.
I had my electrician install a dedicated 20 amp circuit for this location.

Determine where the pumps discharge pipe is going to run out of your basement. Most people drill through a rim or header joist to exit the house. This job is a bit unique and requires us to be a bit more creative, which I will share with you in the next two posts.

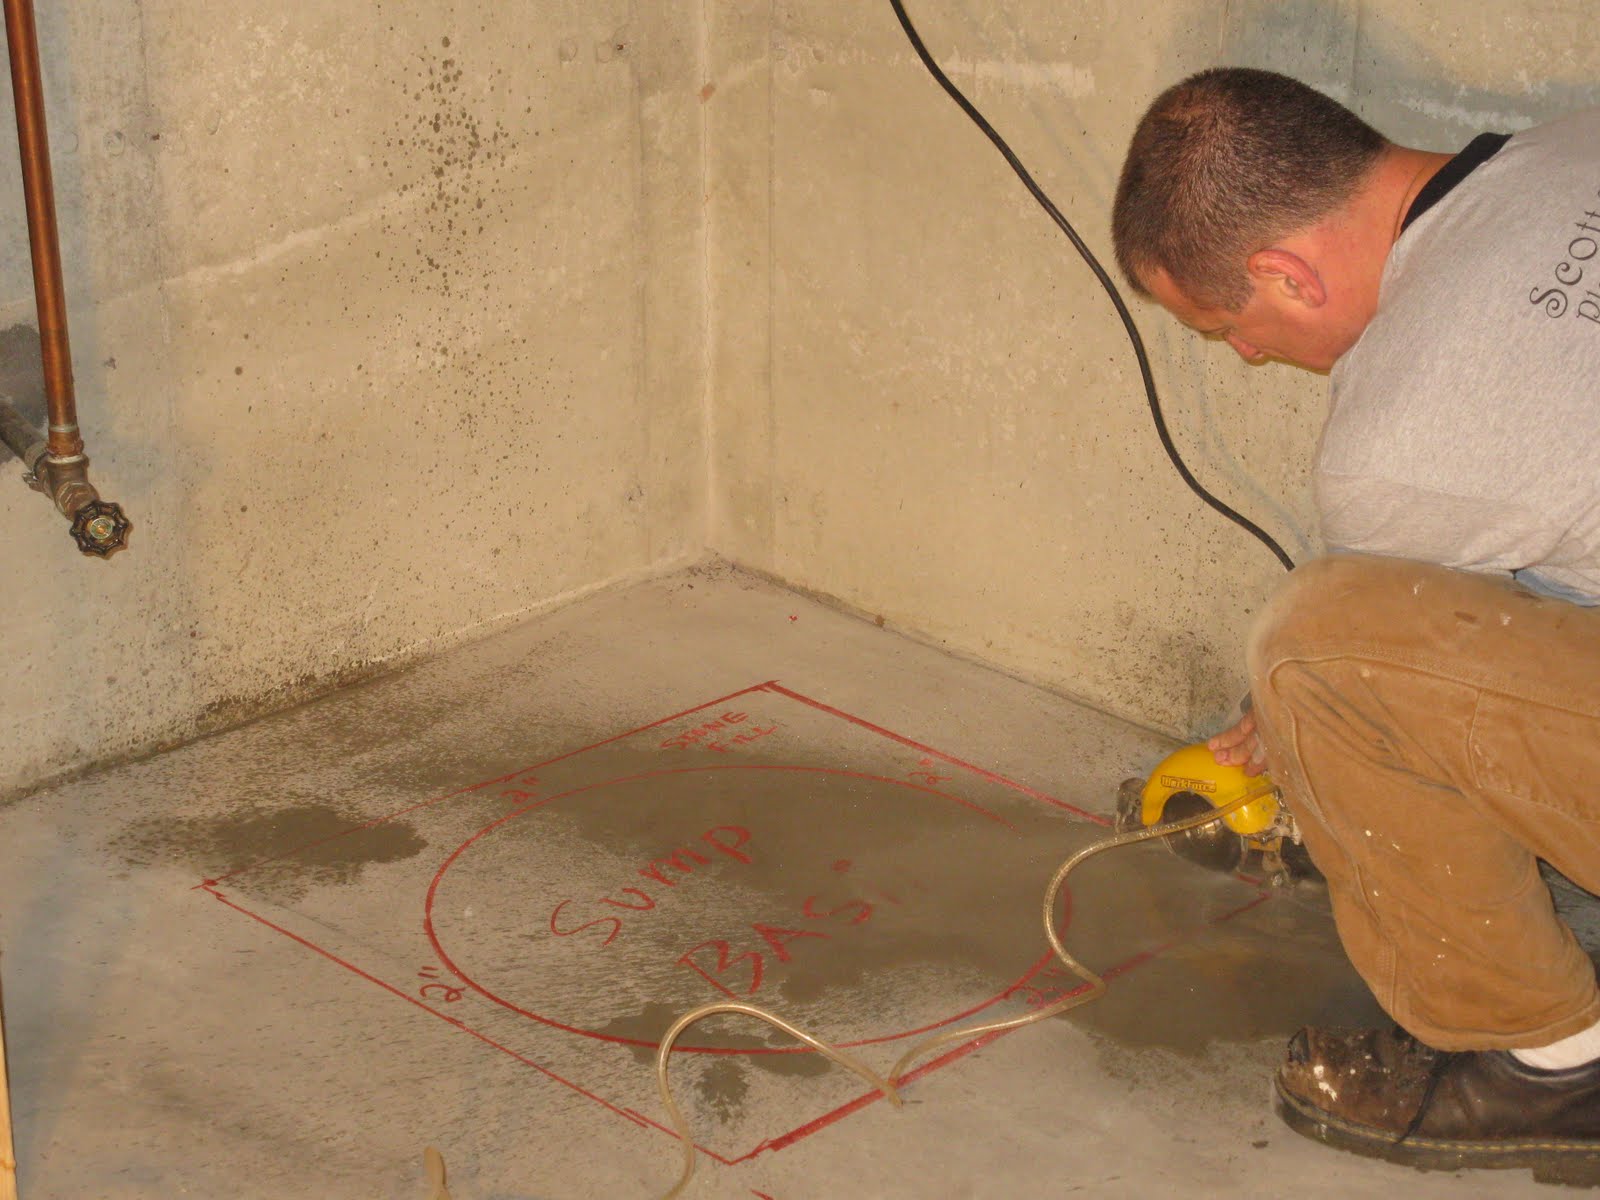
Mark Floor
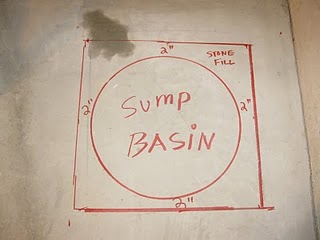
The first step is to set sump basin upside down on basement floor and mark its outline on floor.
I decided to score the basement floor with my wet saw so I squared off my circle and added 2″ on each side for my clean gravel.
My wet saw cuts down to 2″ and I’m assuming the floor is 3+ inches thick. The saw kerf will make a nice clean hole and subsequent patch.
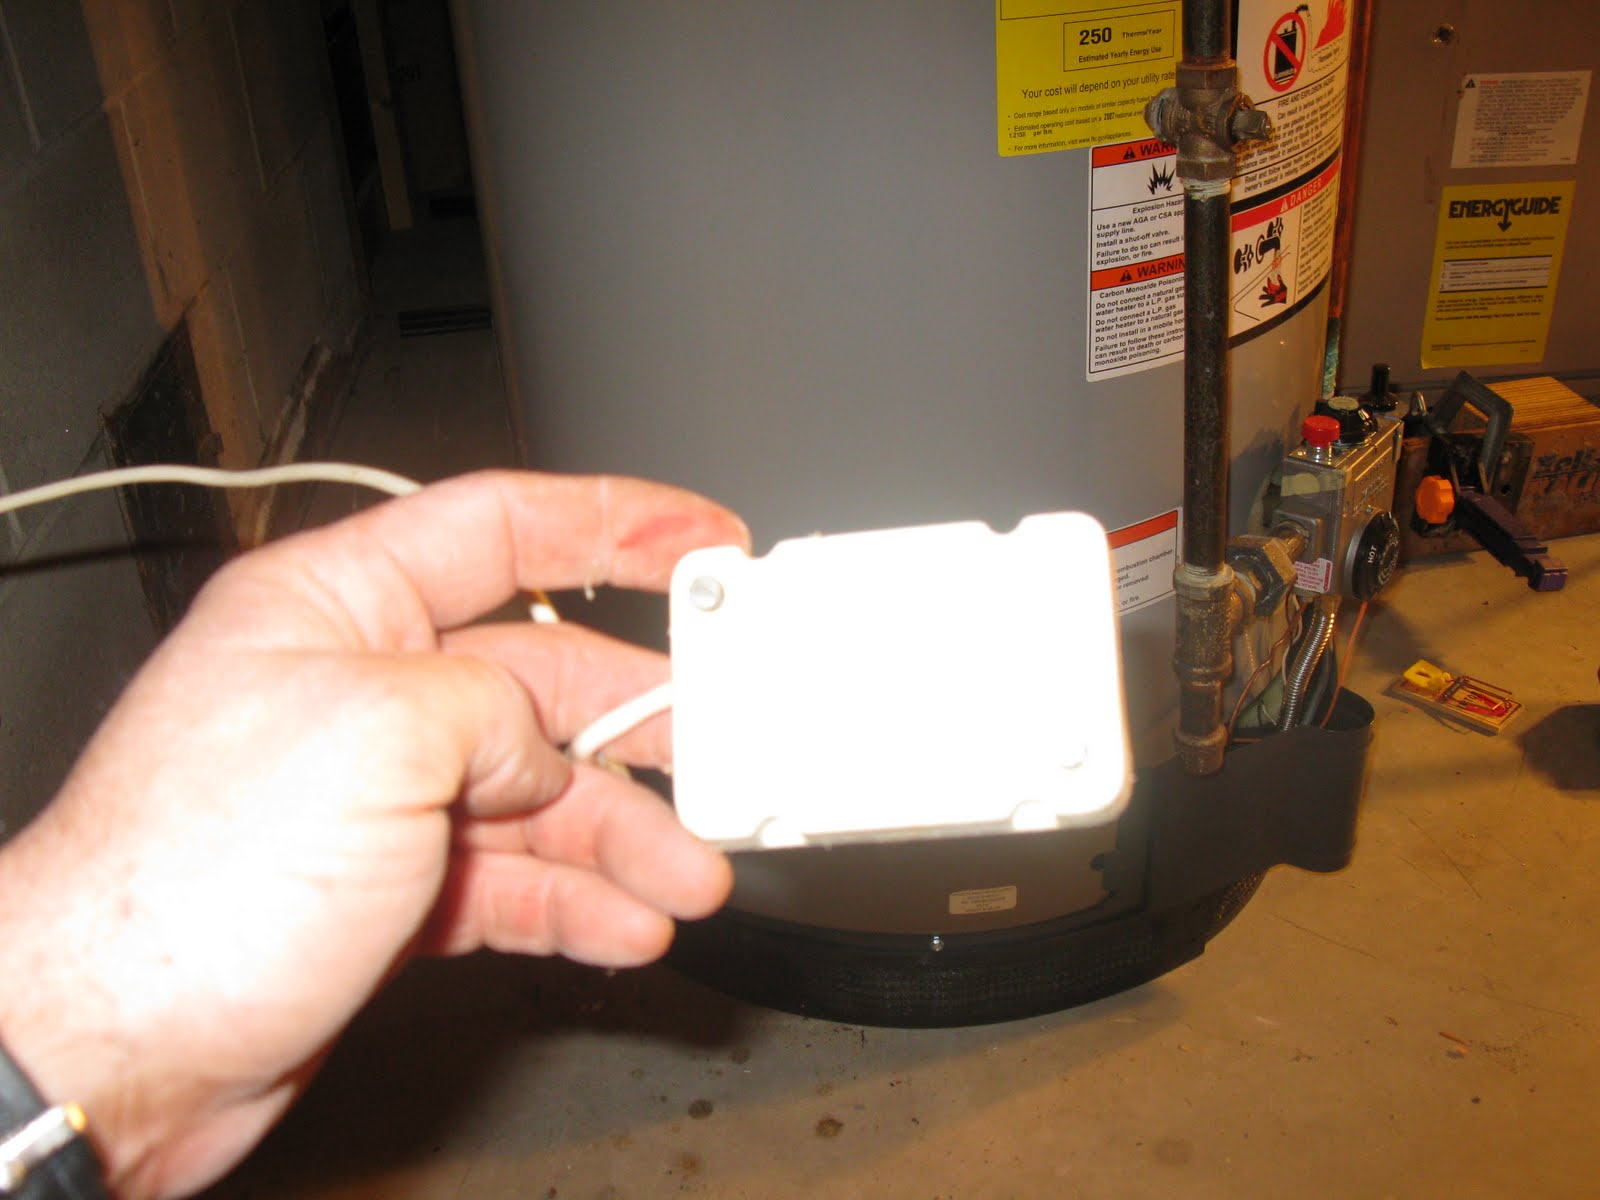
Water Leak Sensor
Before using the wet saw I had to remove the water alarm sensors. The sensor is for the water heater and was tripped when the rain water entered and wet the basement floor last month.
Once this project is complete I will see if the alarm company will add a sensor in my sump pit, just above the pump as a early warning if the pump ever fails to turn on.
A Wet Saw Helps
I cut the outline with my wet saw.
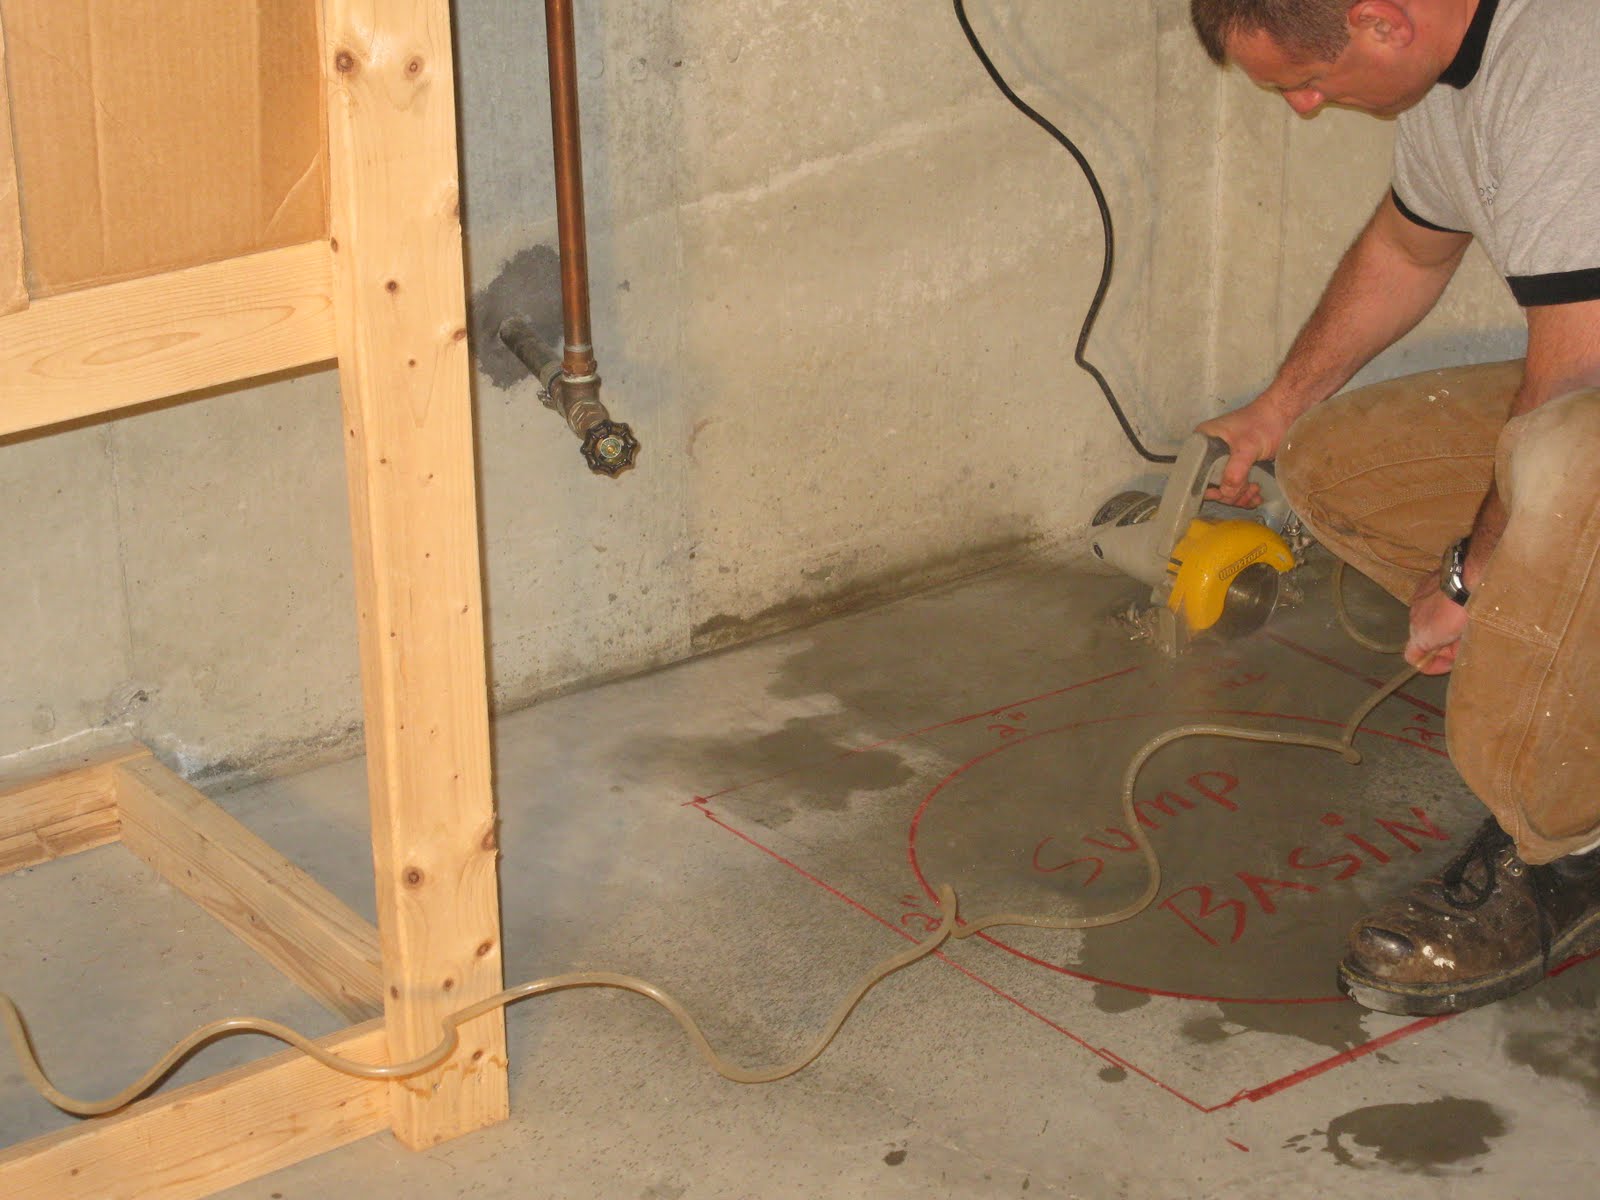
The water keeps the dust down. A wet dry vacuum was used to clean up the water and help keep the area clean.
Nice clean saw kerf abetter alternative of a jack hammer.
Drill a Series of Small Holes
I used a 3/8″ masonry bit to drill small holes in the saw kerf -all the way through the concrete slab. I spaced these holes every inch or so.
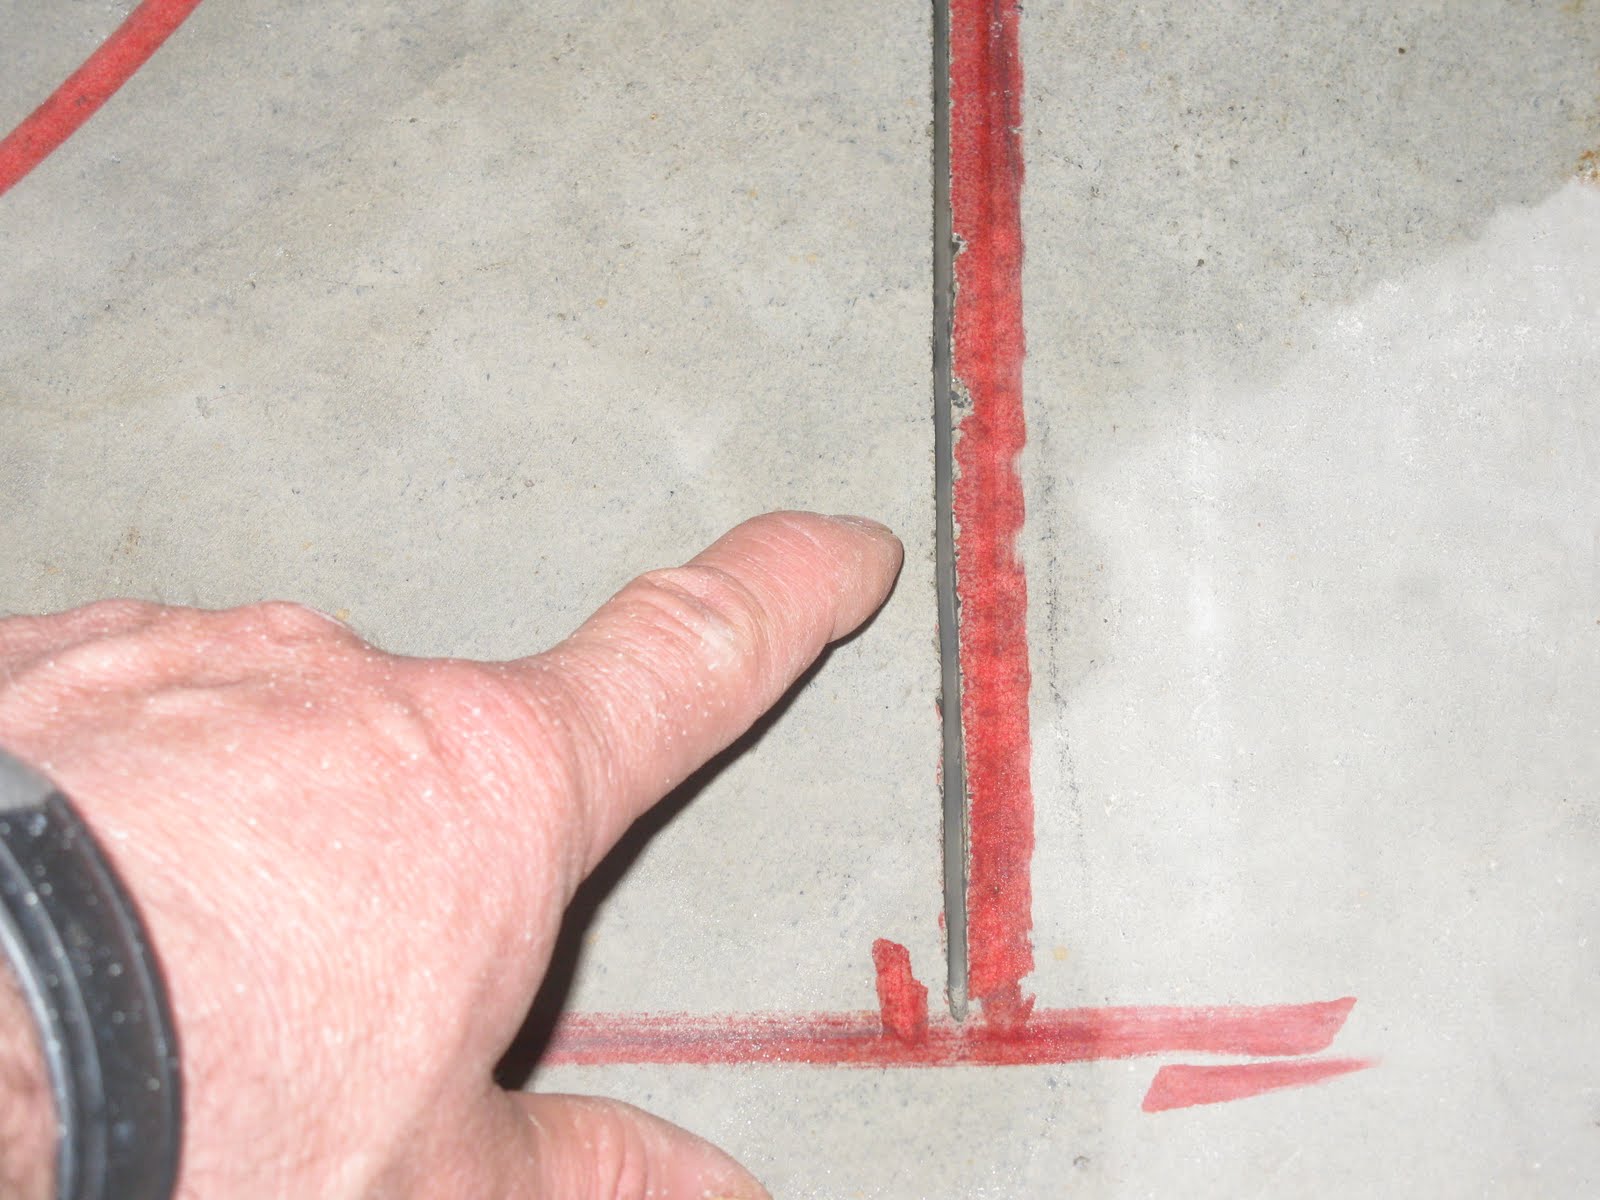
I divided the space in thirds with two additional saw cuts and drilled through these as well.
This technique is useful since it causes the concrete to crack and break at the the drill holes and saw kerfs and no where else.
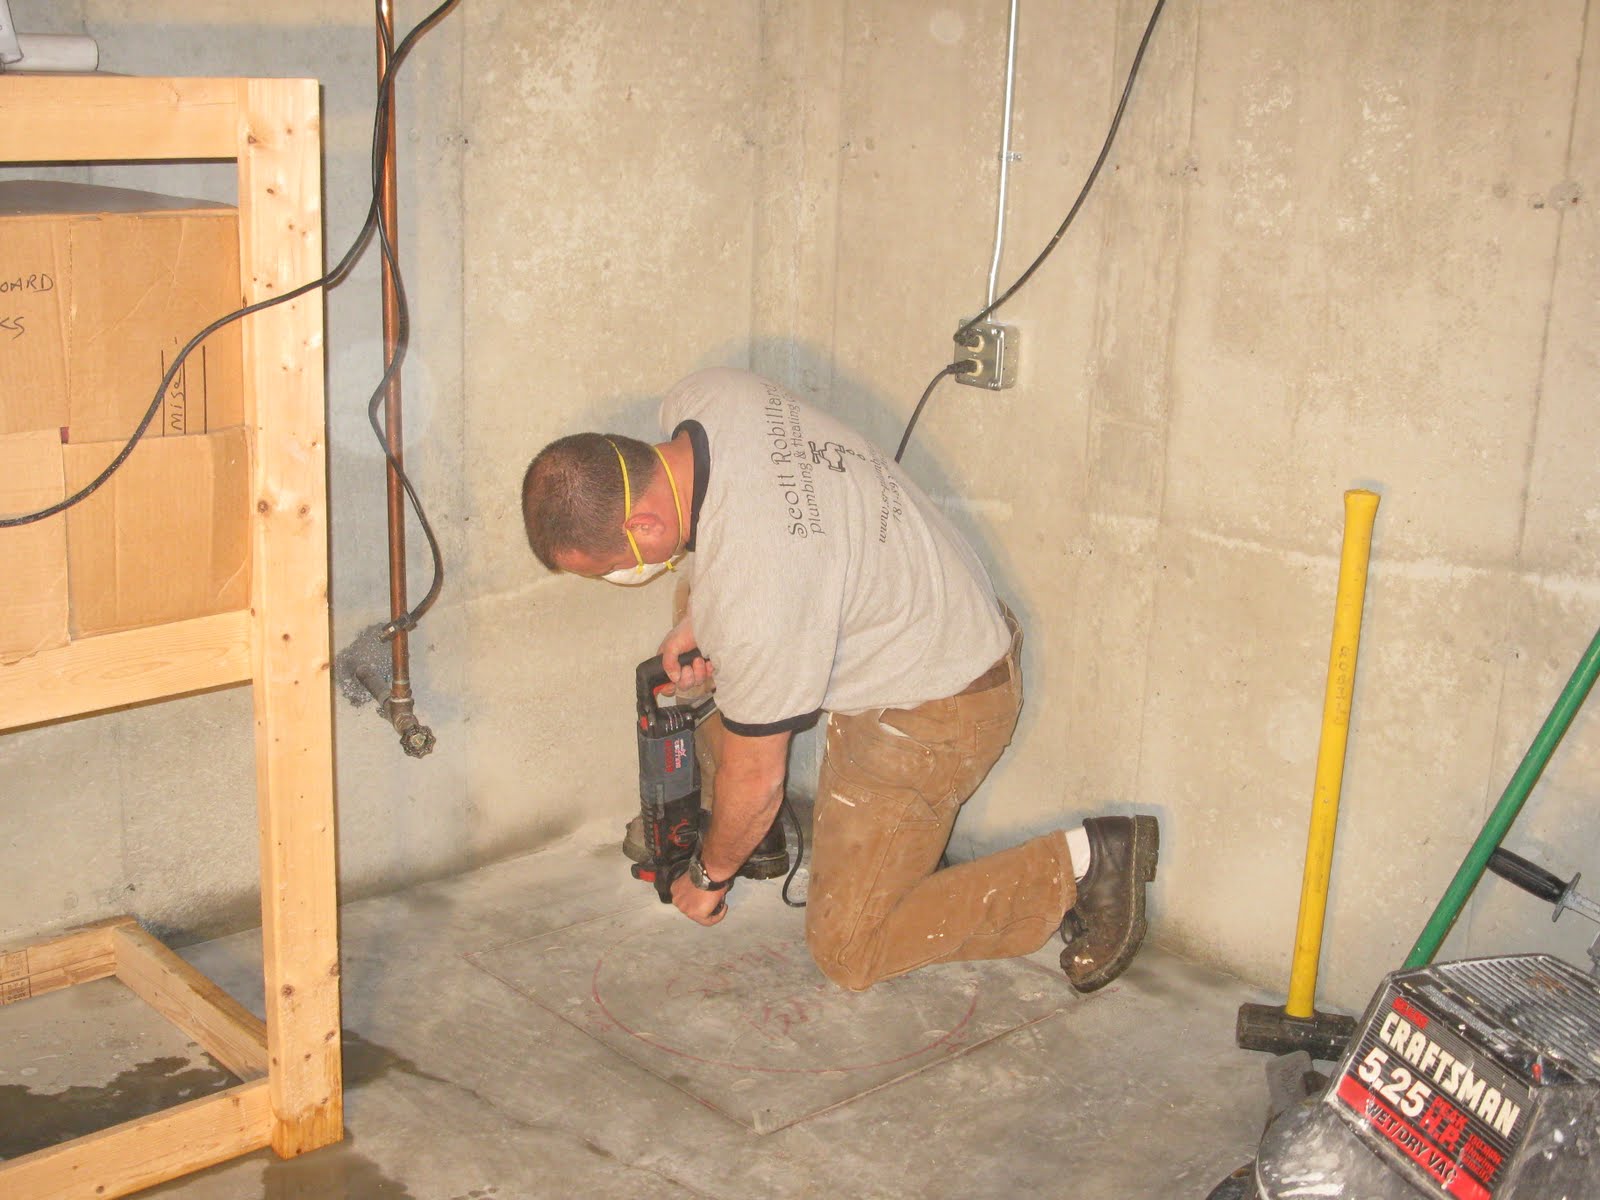
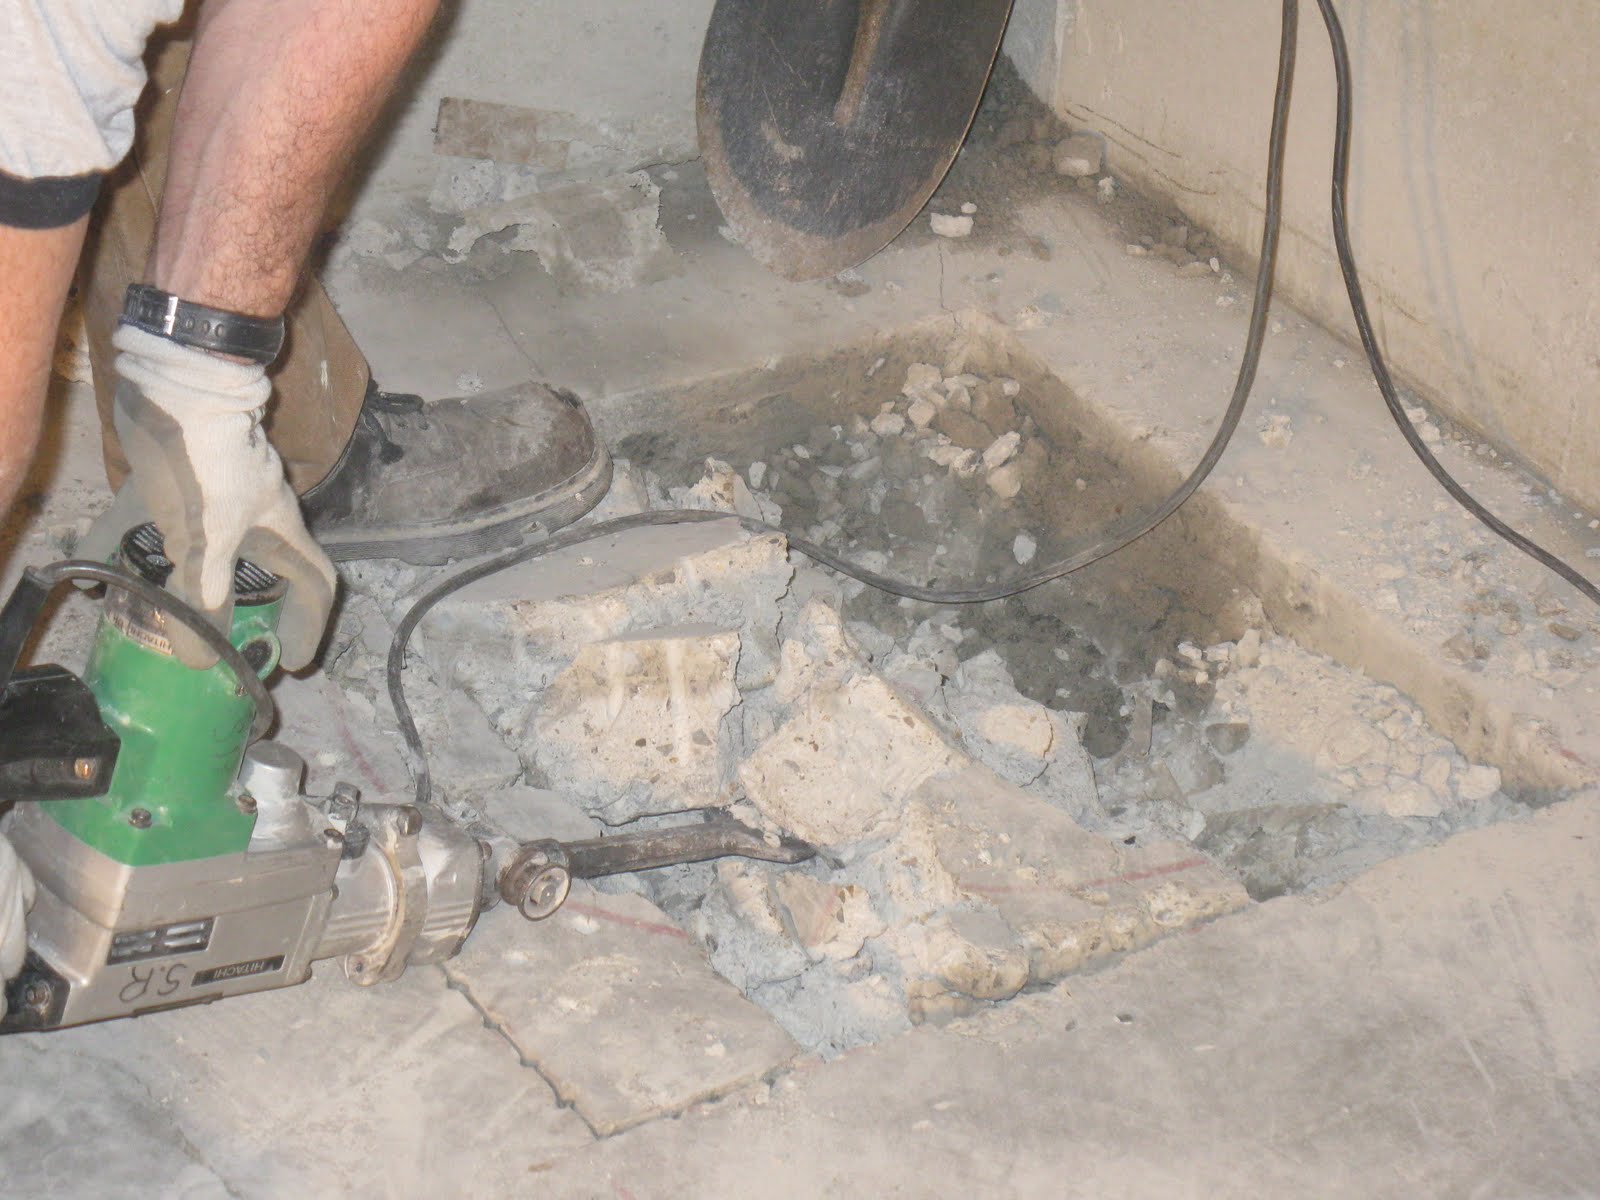
Using the chisel attachment to “jack hammer” the concrete apart. Breaking up the concrete in pieces.
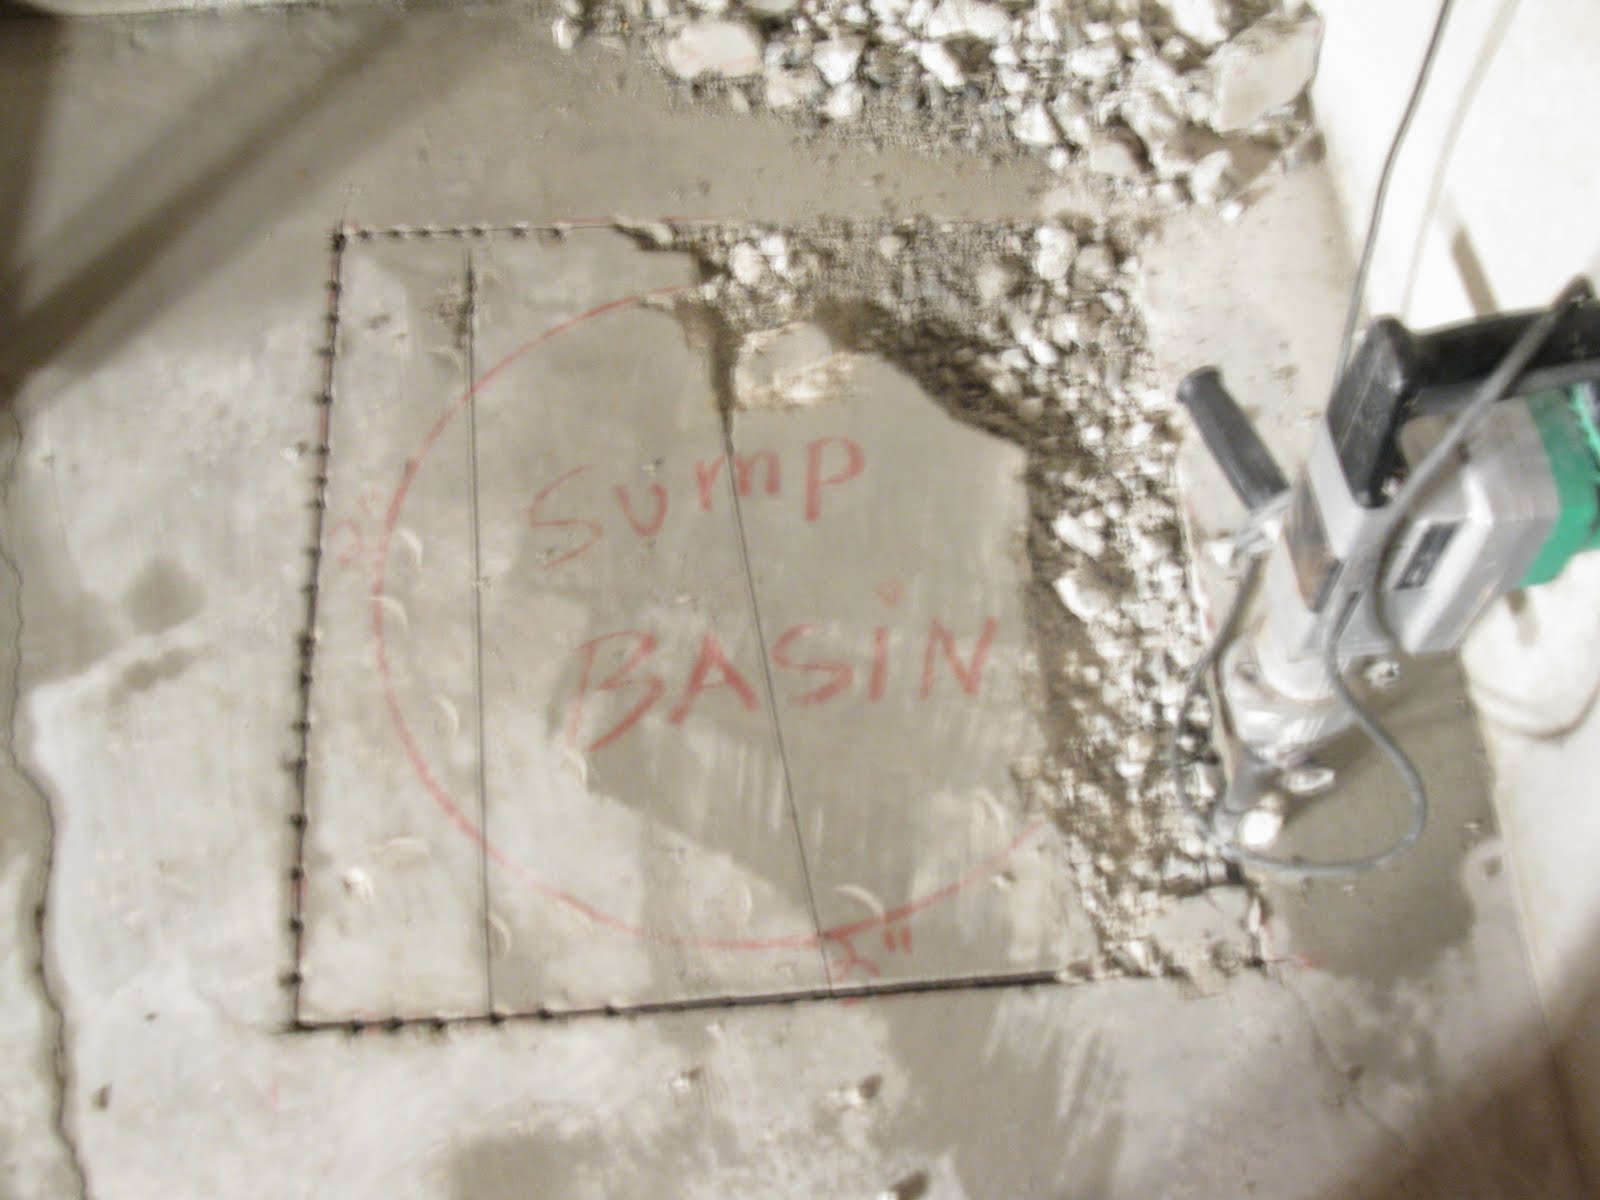
Smash Through the Concrete
Trying to break up the concrete with a sledge hammer.
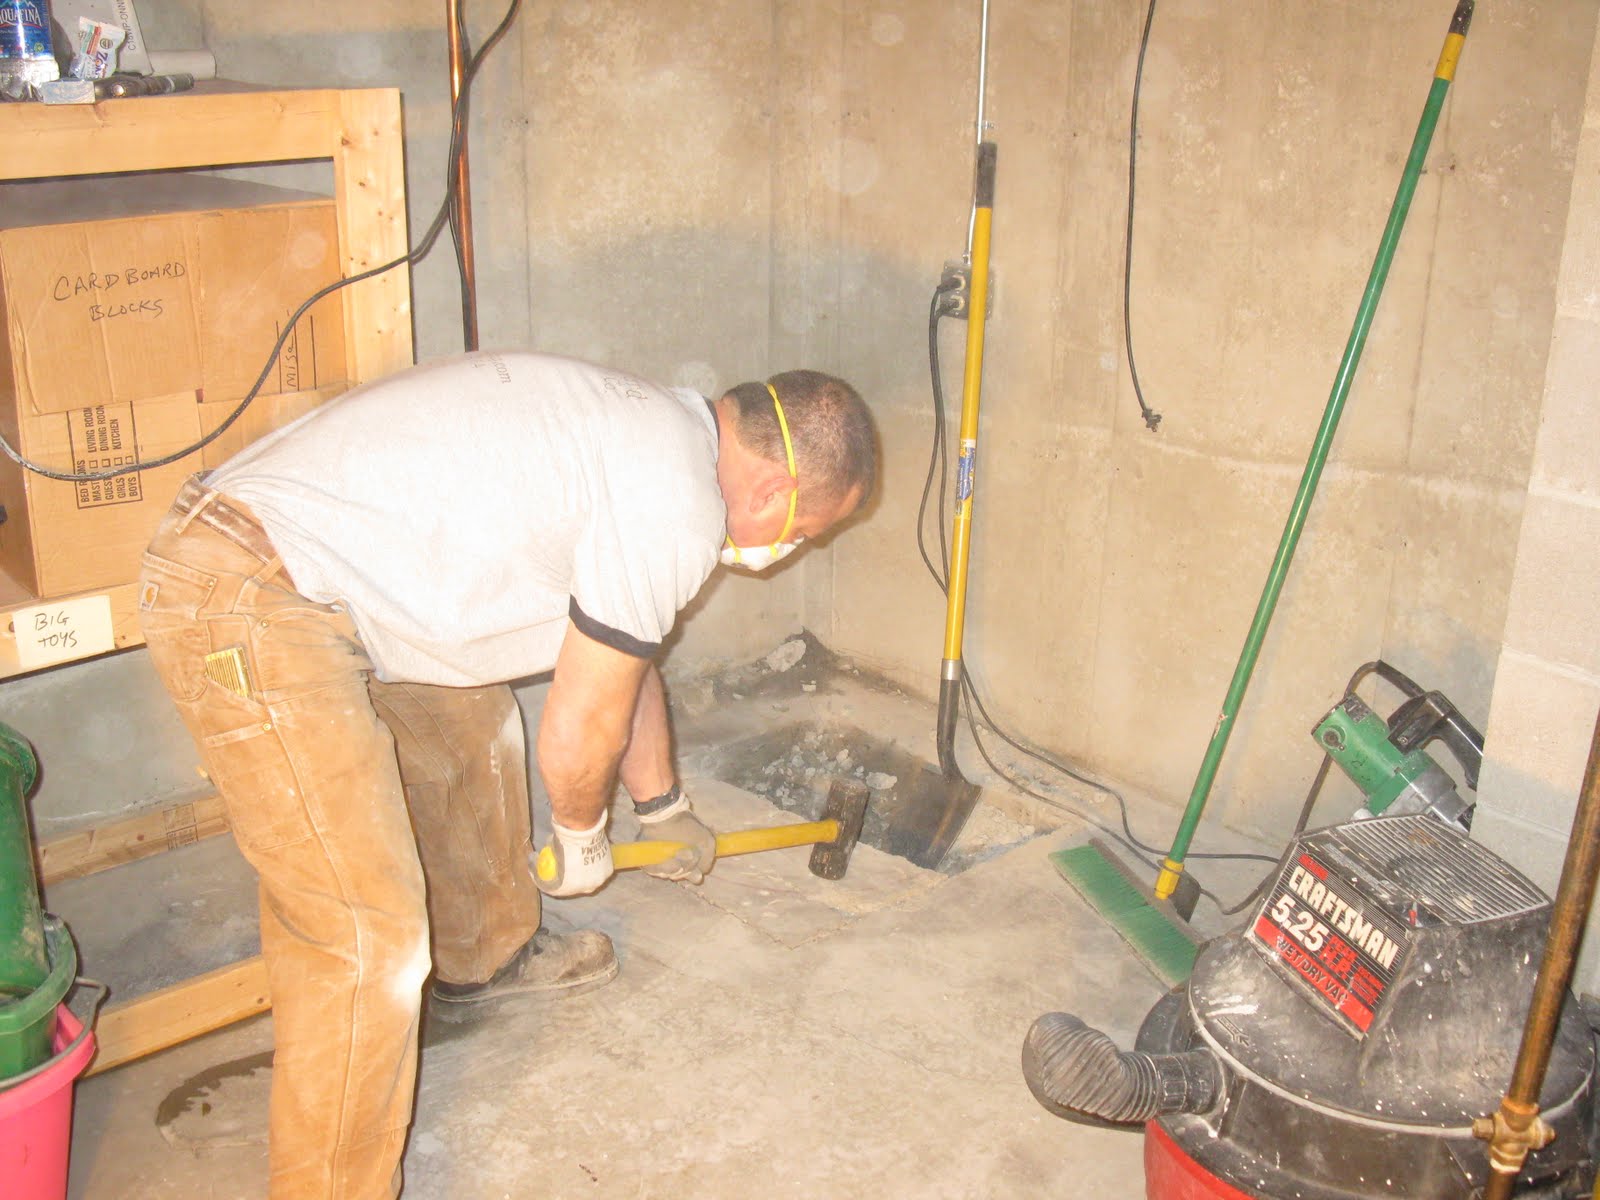
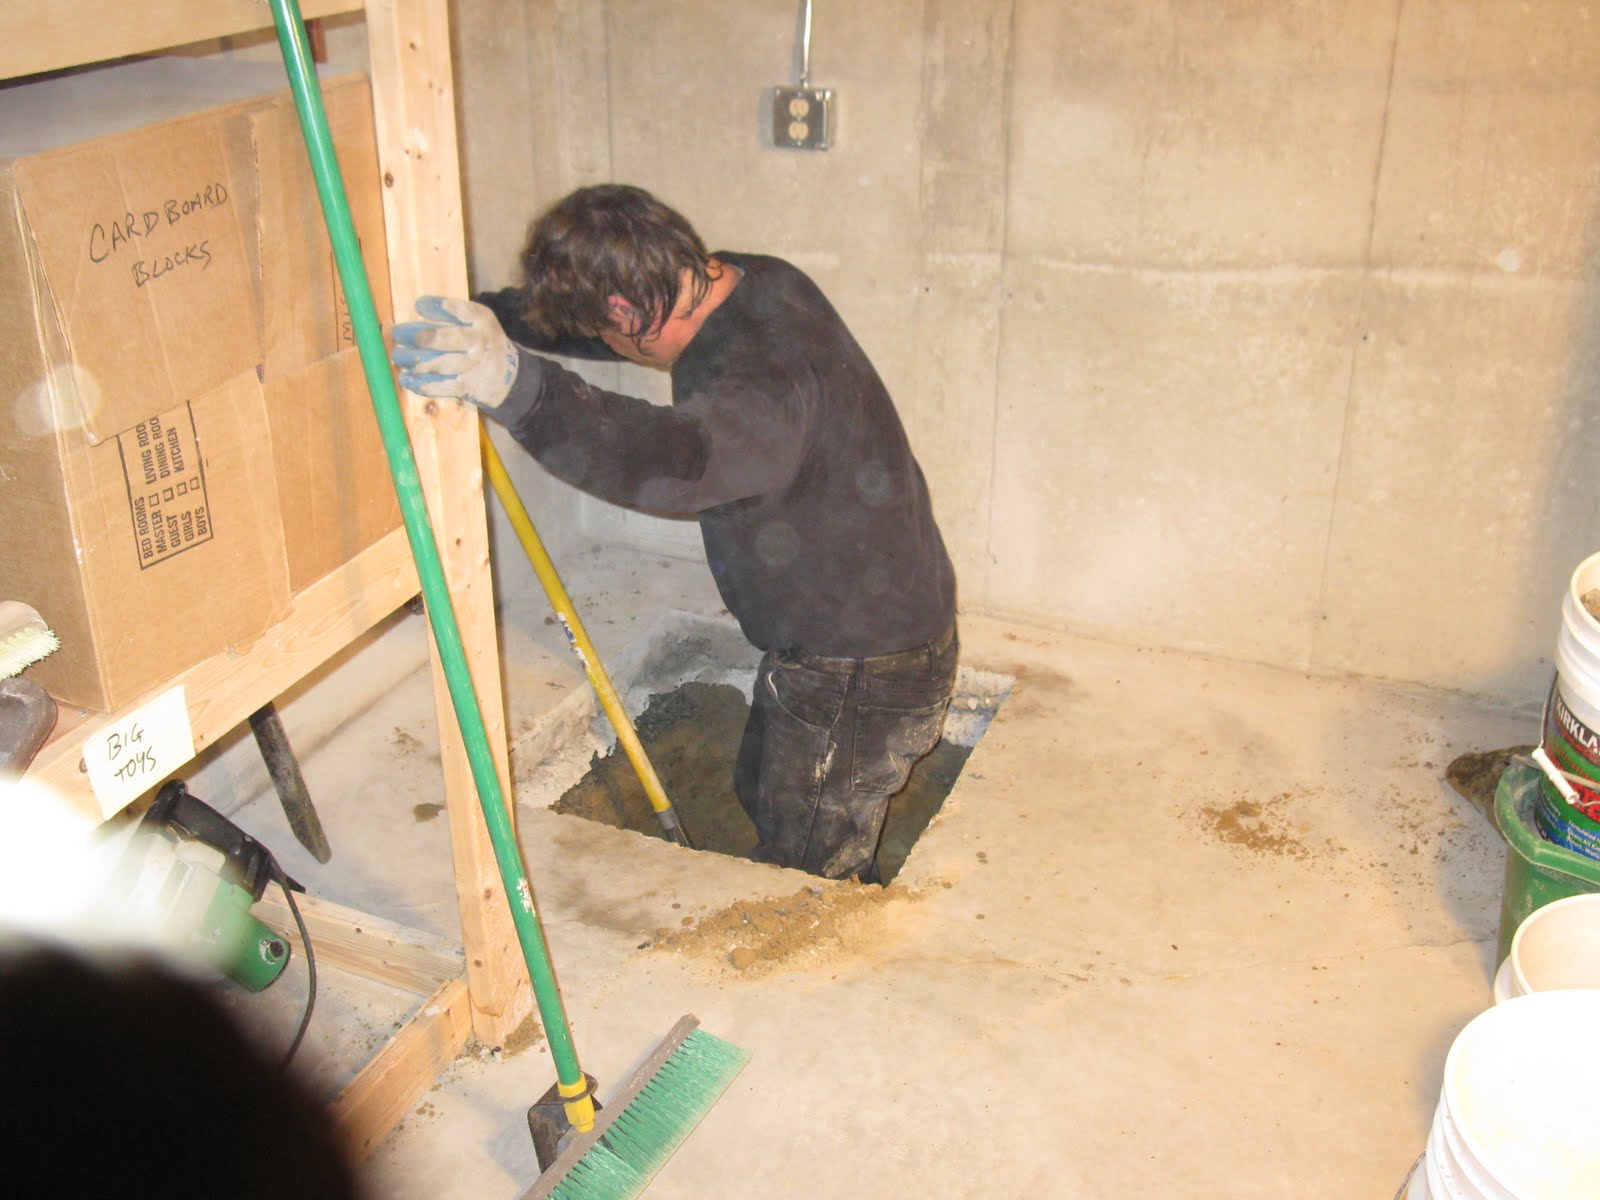
The end result is a nice clean hole opening. Ready to dig out. I had to remove the dirt in 5 gallon buckets – not fun. Time elapsed 3 hours.
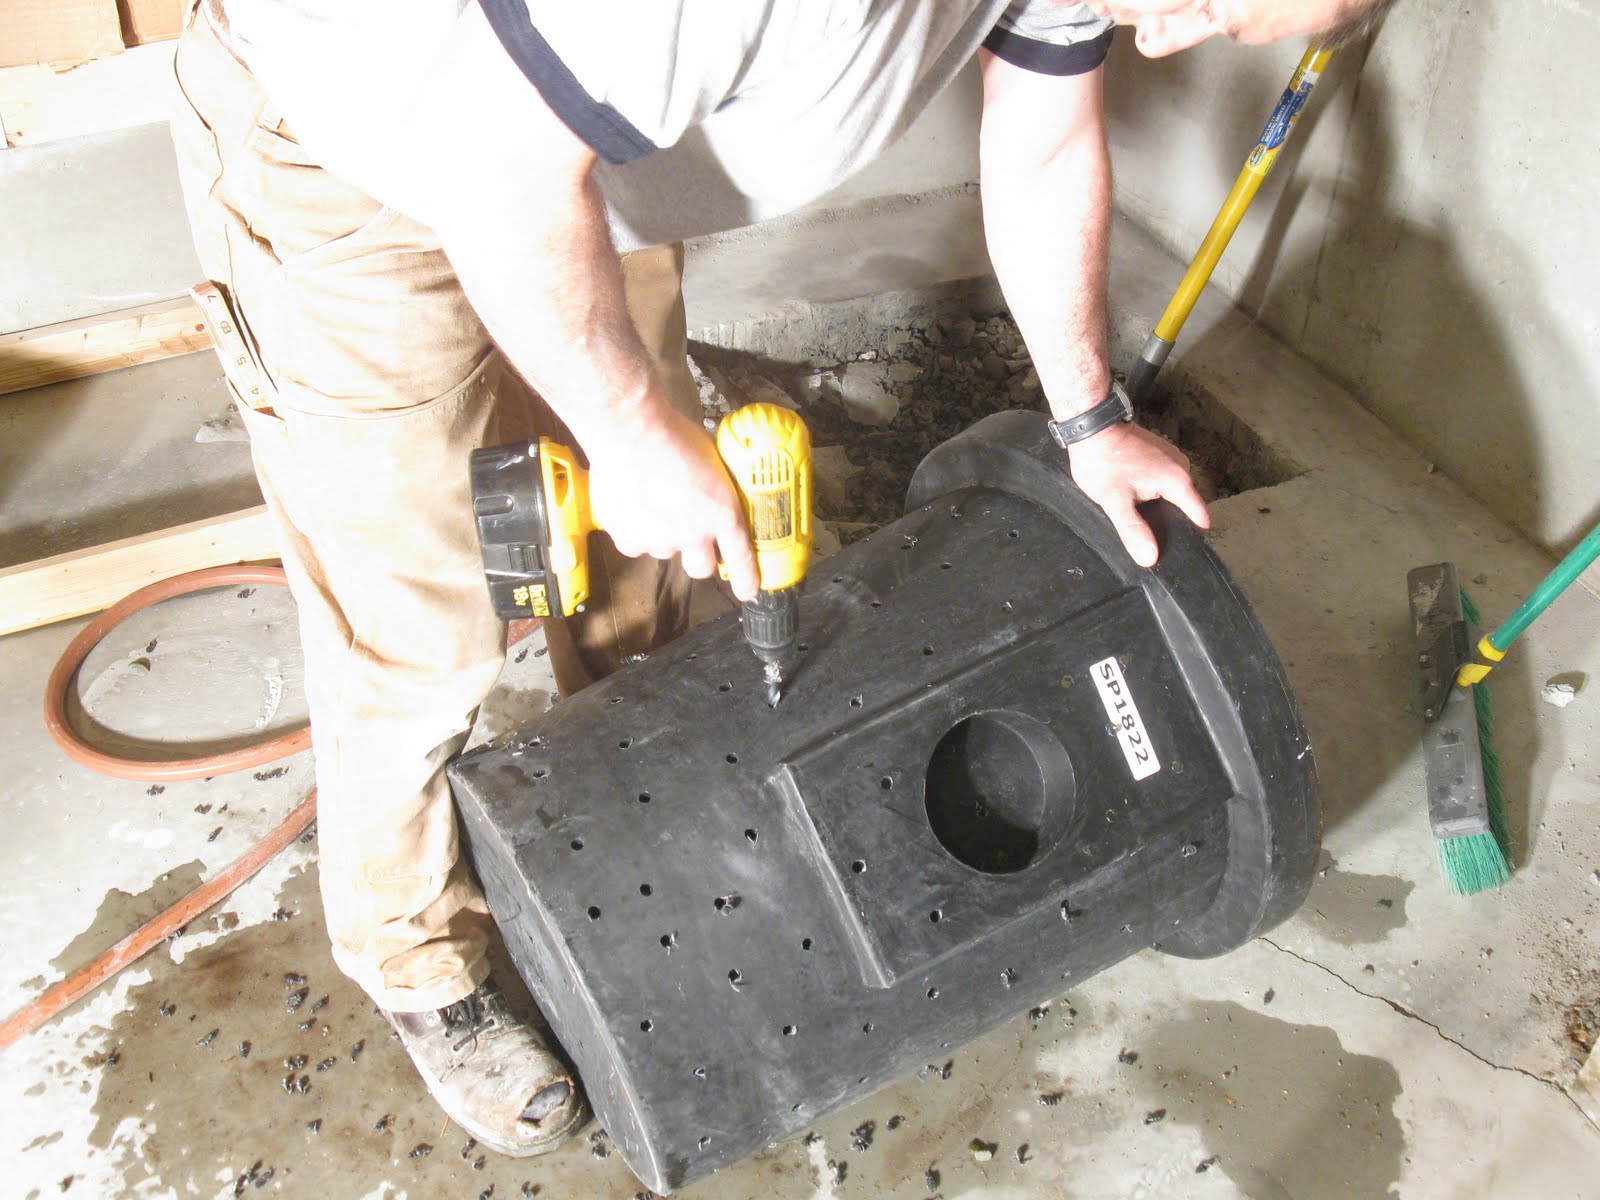
Prepare the Basin
Drilling 3/8″ holes in my sump pump basin. This basin will be inserted into my hole and flushed with the concrete floor.


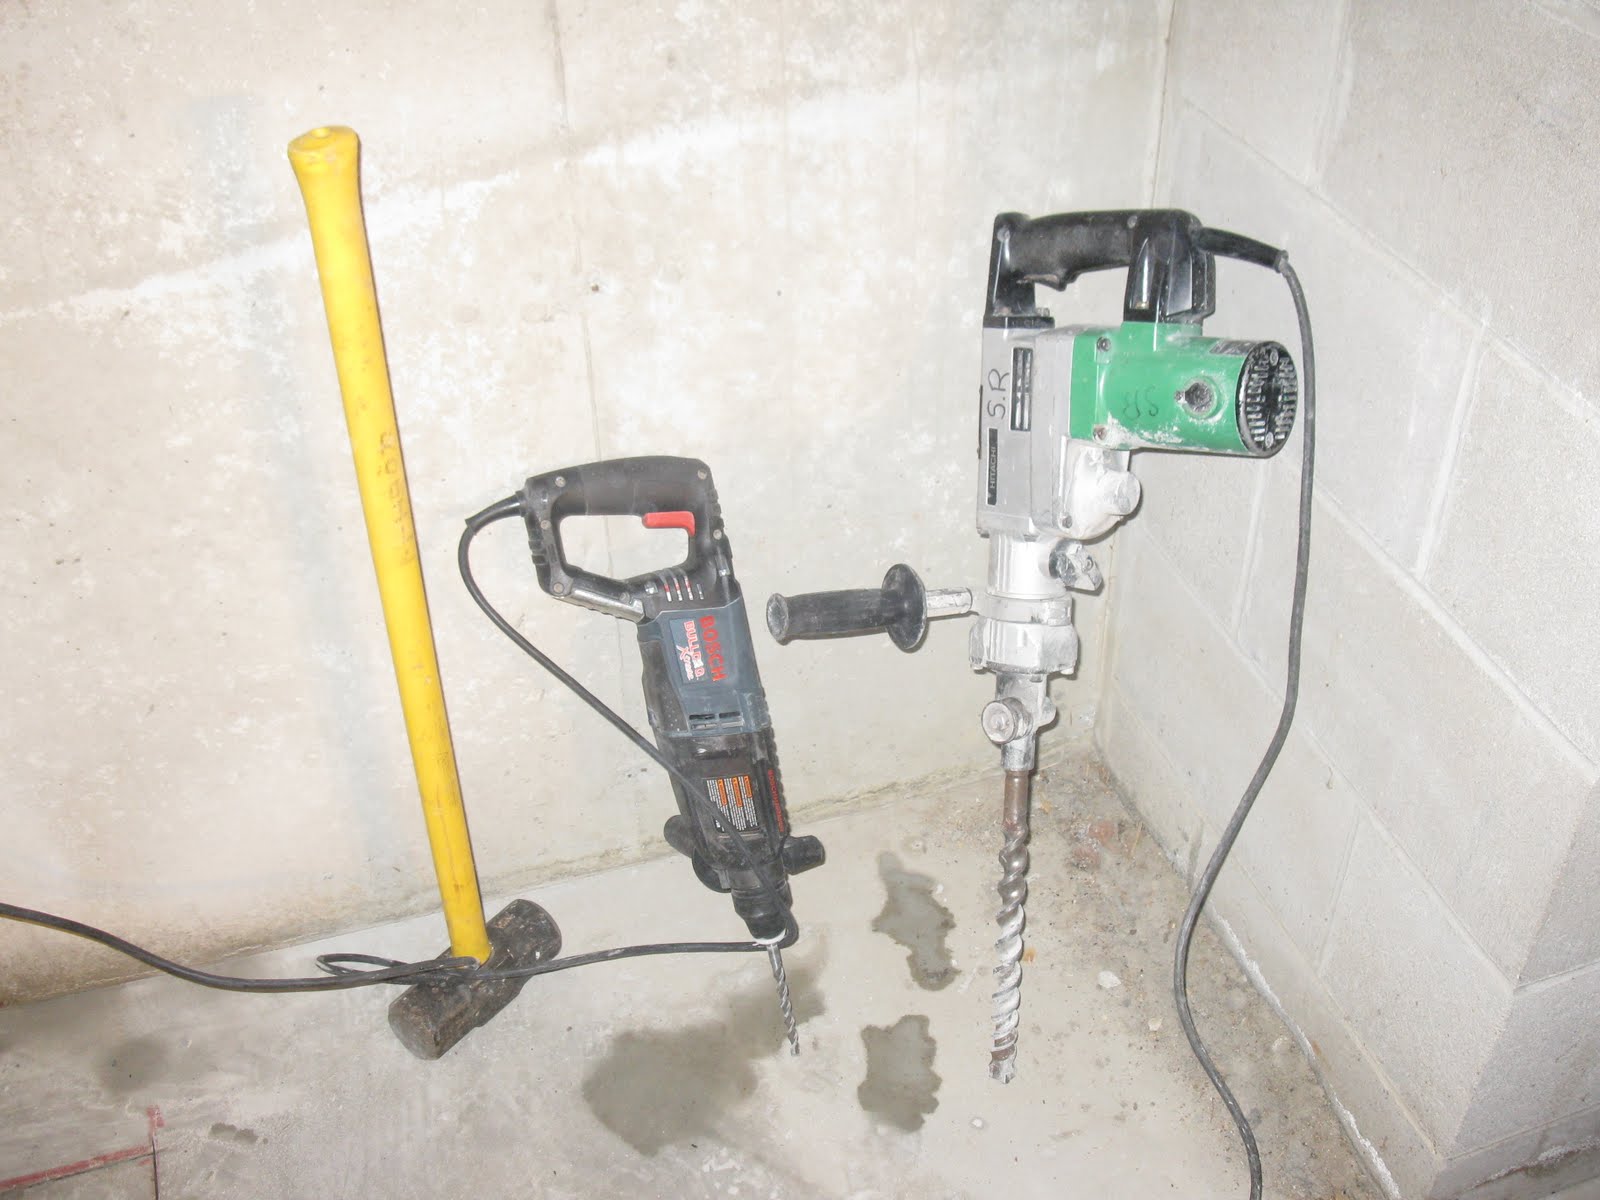
Below are a few of the tools I used. The green Hilti drill was used with a chisel bit to jack hammer the slab
Prepare the Sump Hole
Once past the concrete and gravel we hit sand which was nice.
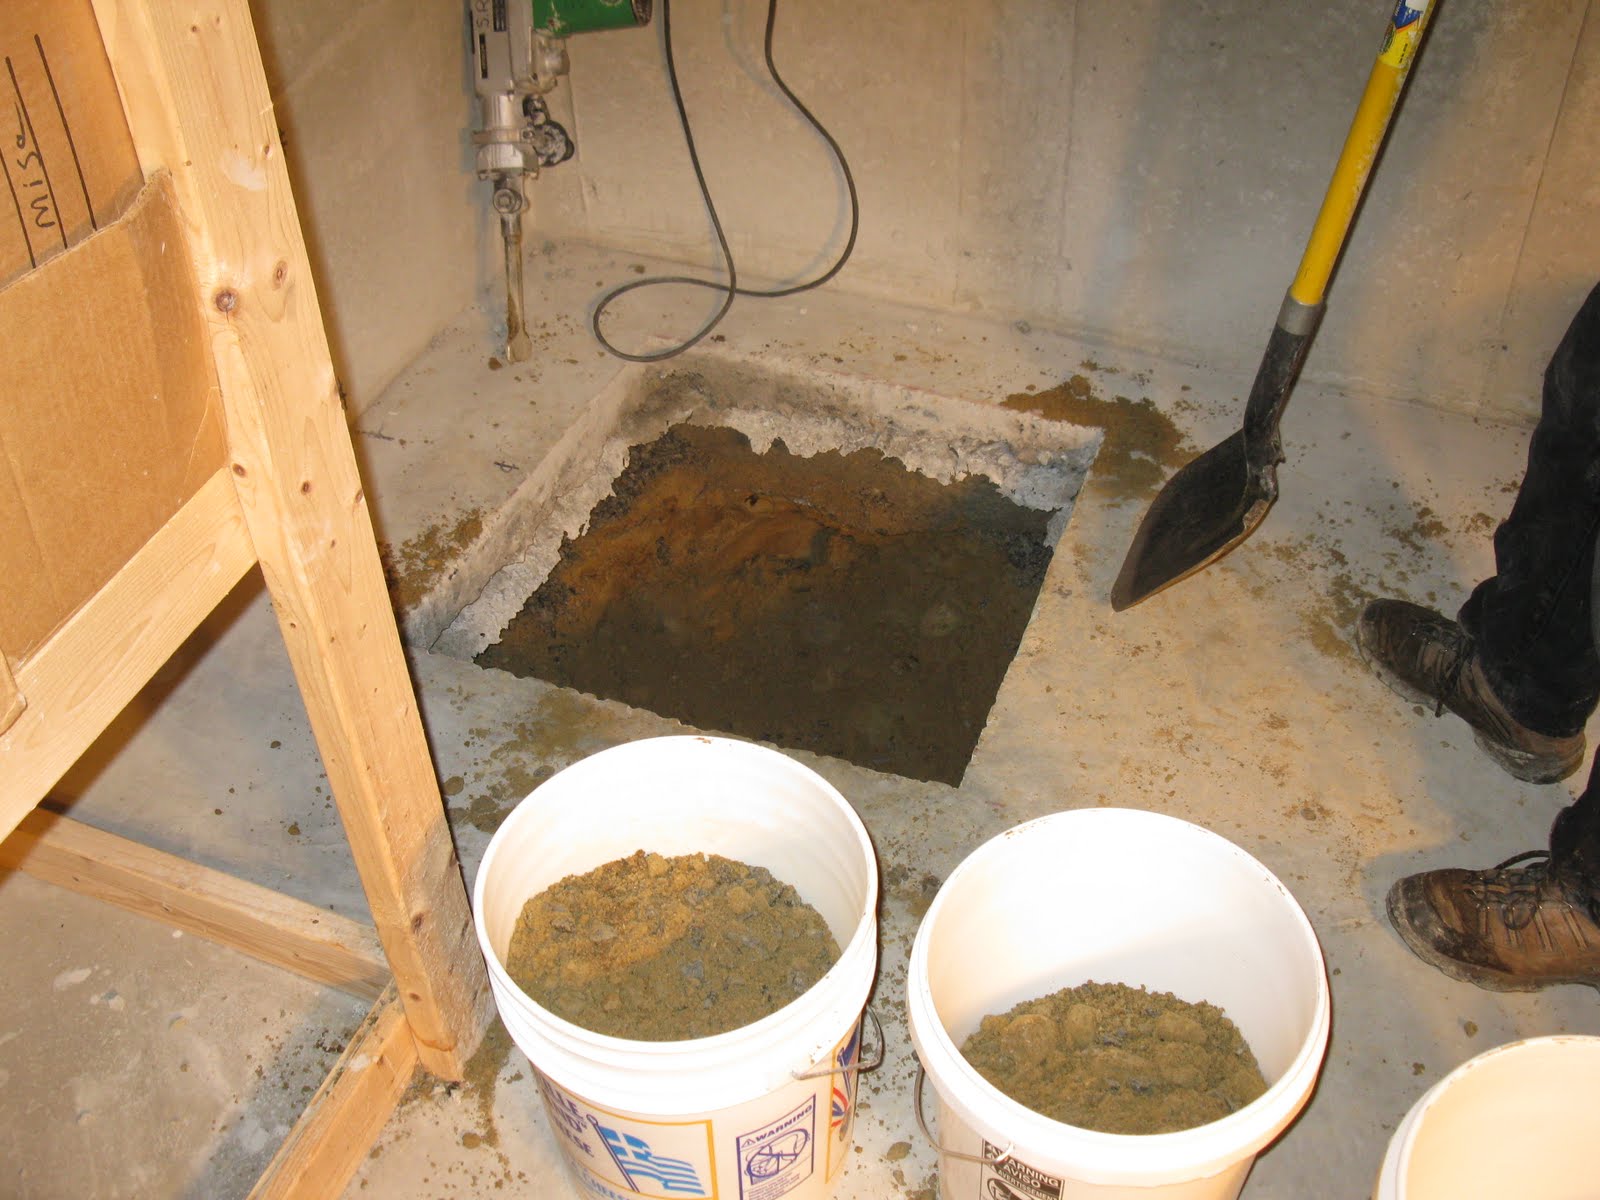
The dirt was brought out of the house in 5 gallon buckets which was labor intensive and not so fun. The hole needed to be 24″ deep and I made sure that is was plenty wide for crushed stone.
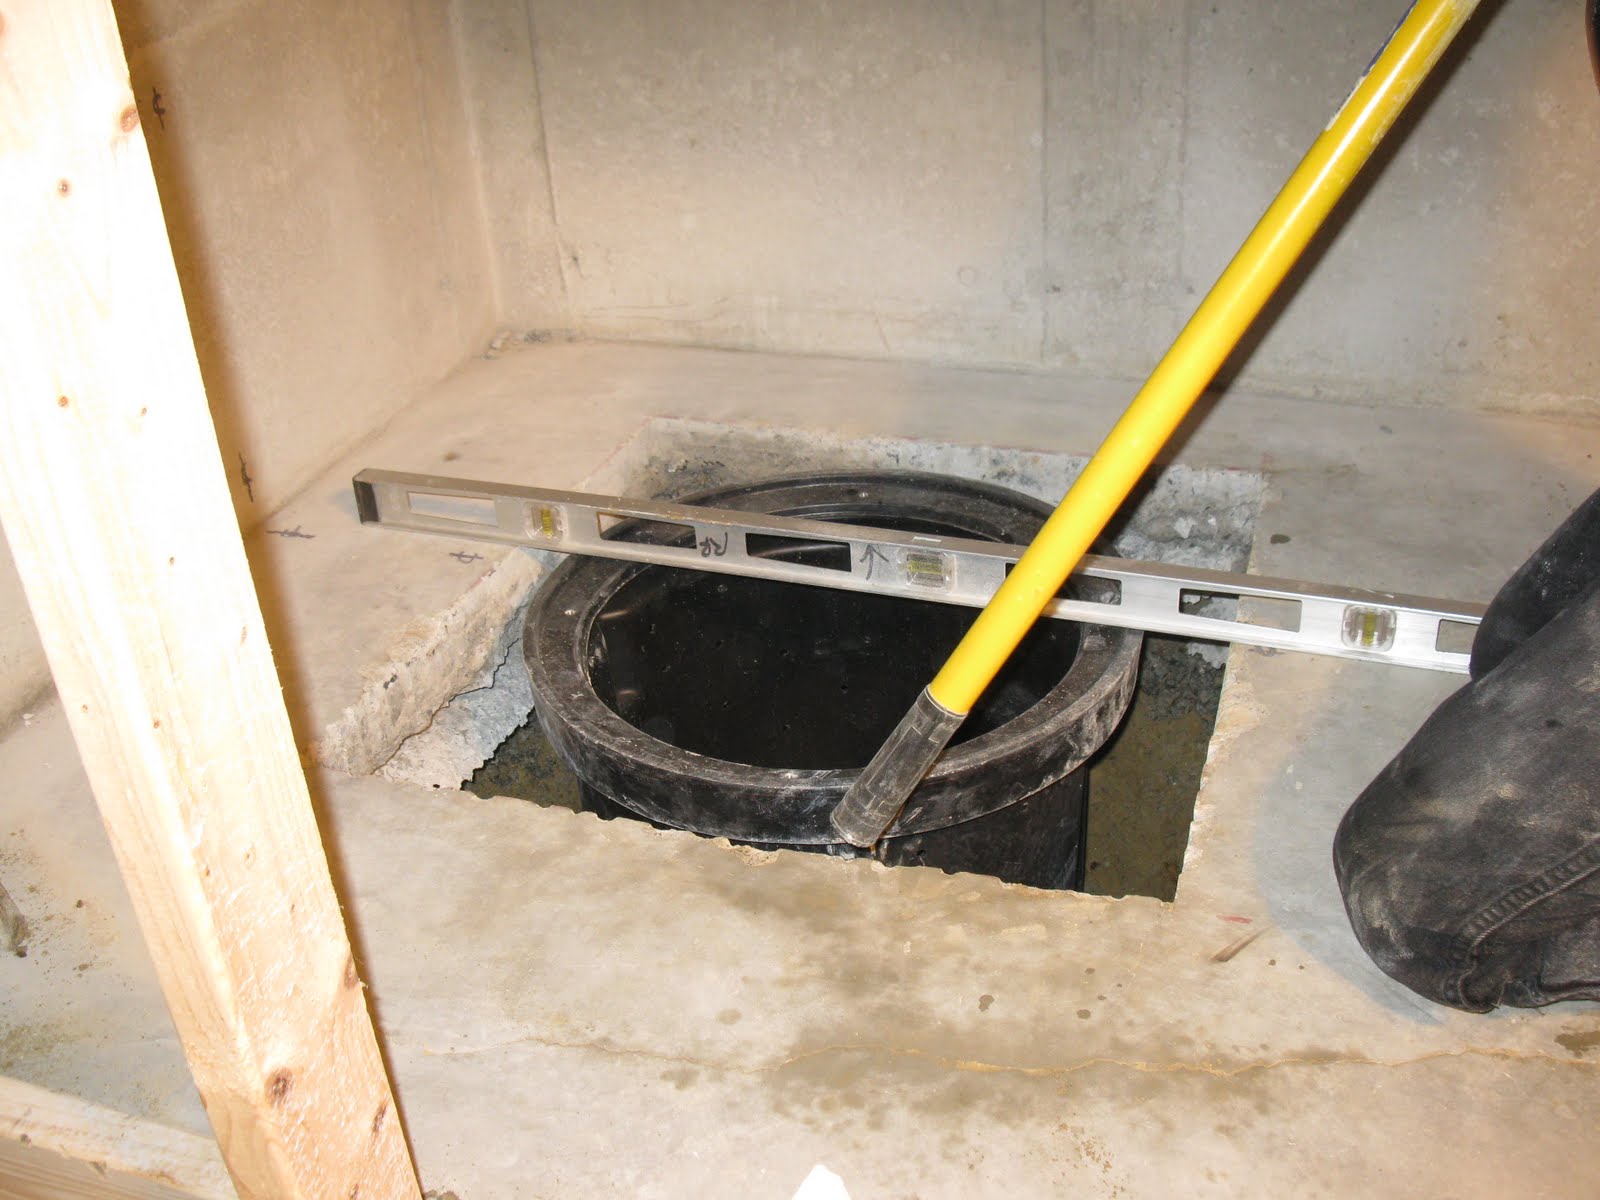
Installing the sump pit liner.
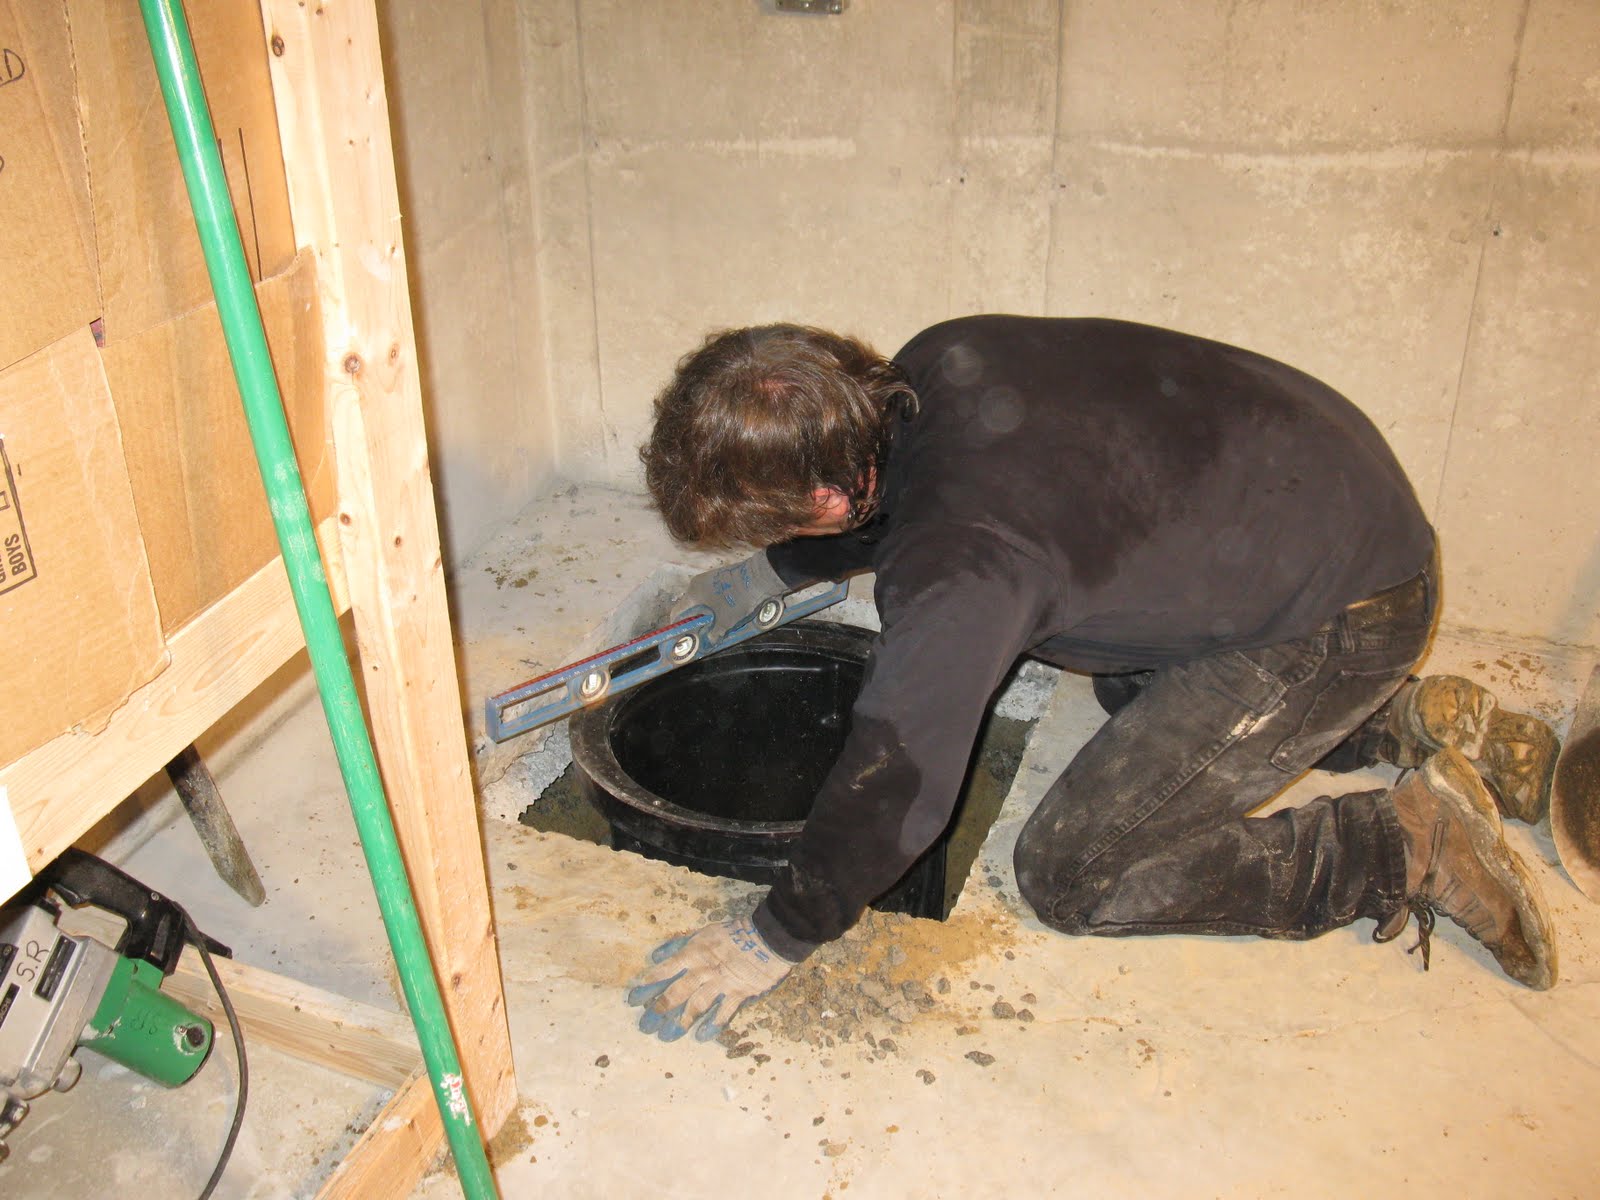
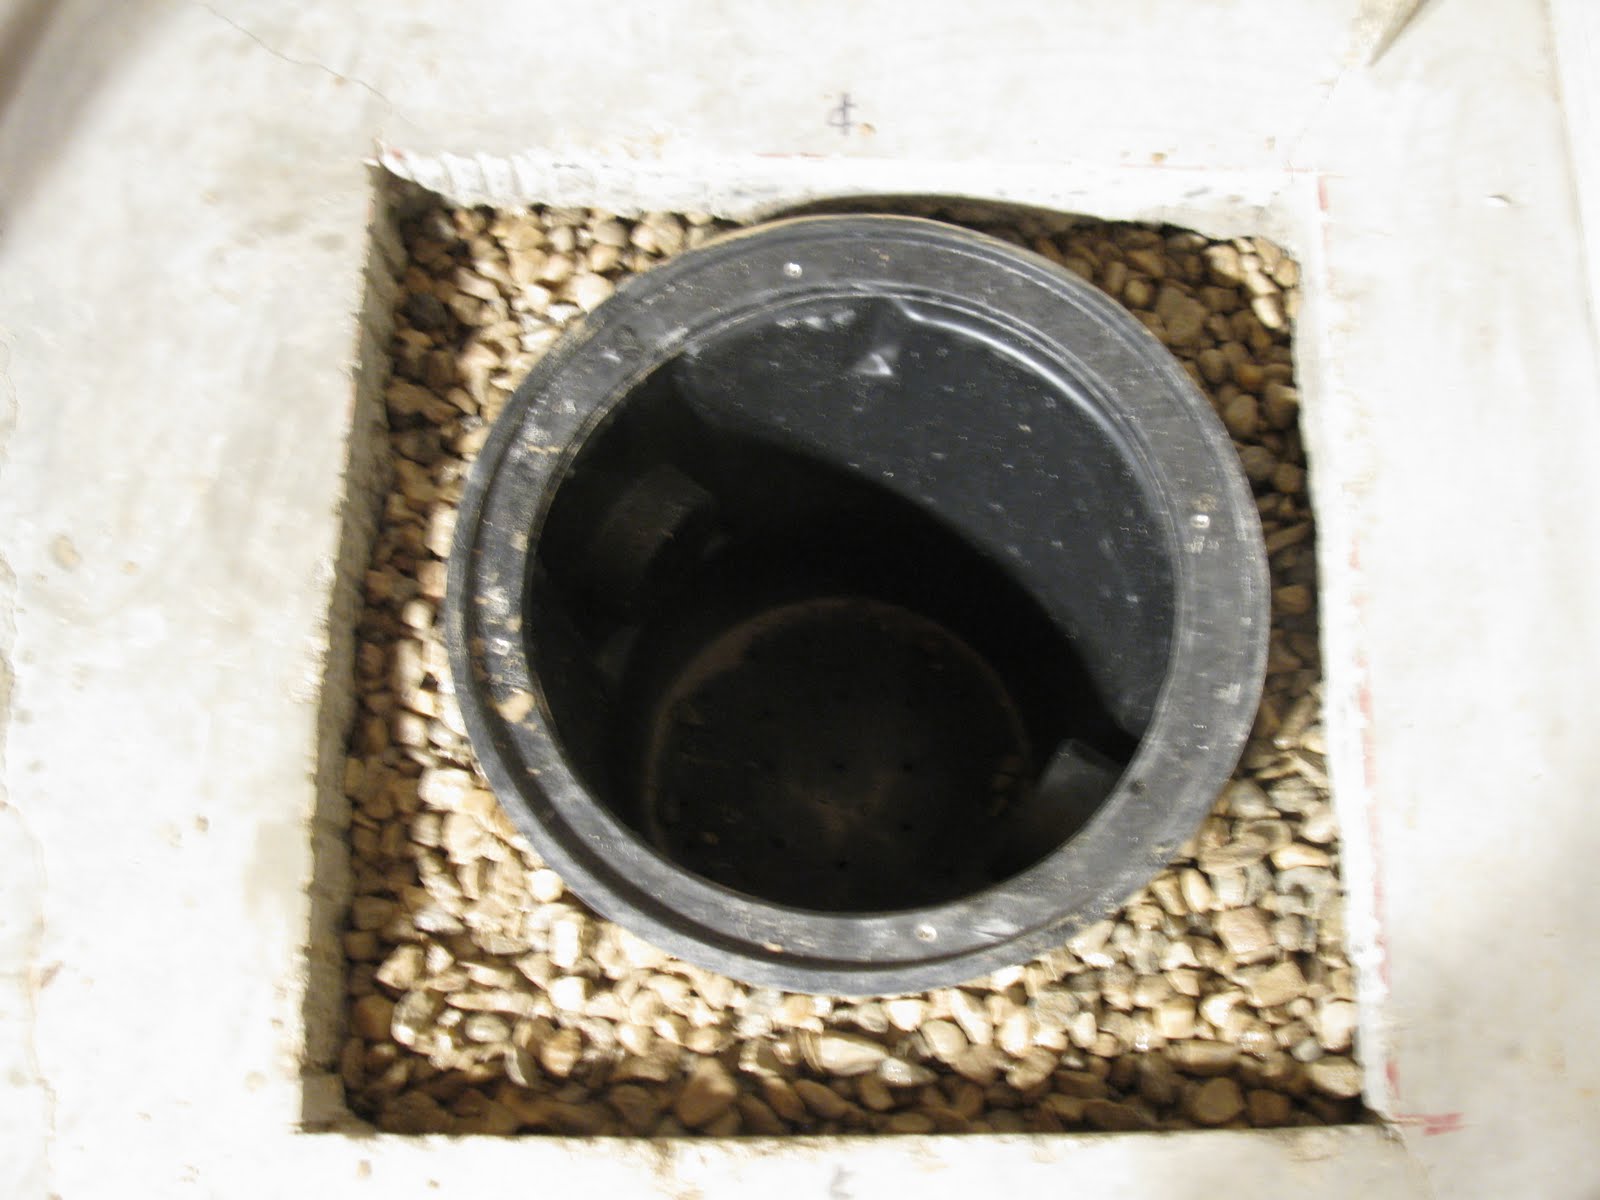
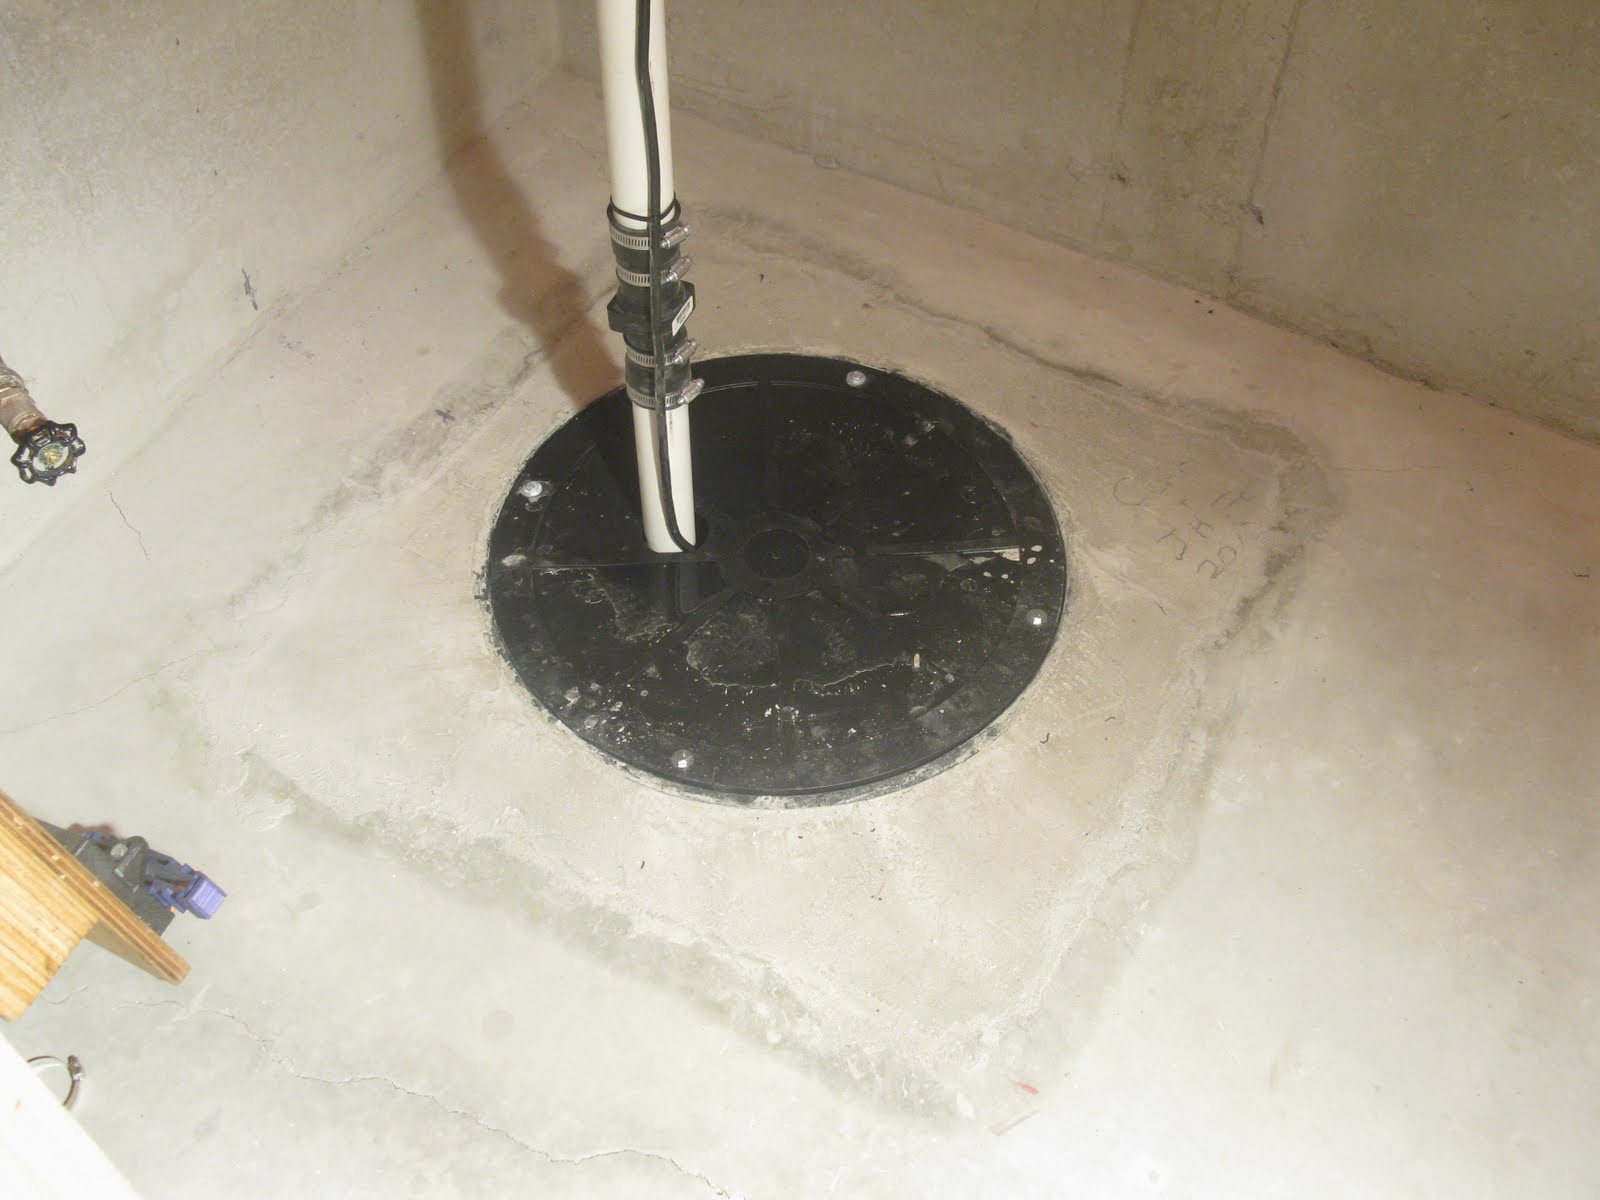
Level Sump Pit
The top of this sump pit will flush out with the concrete floor. We leveled it for good measure.
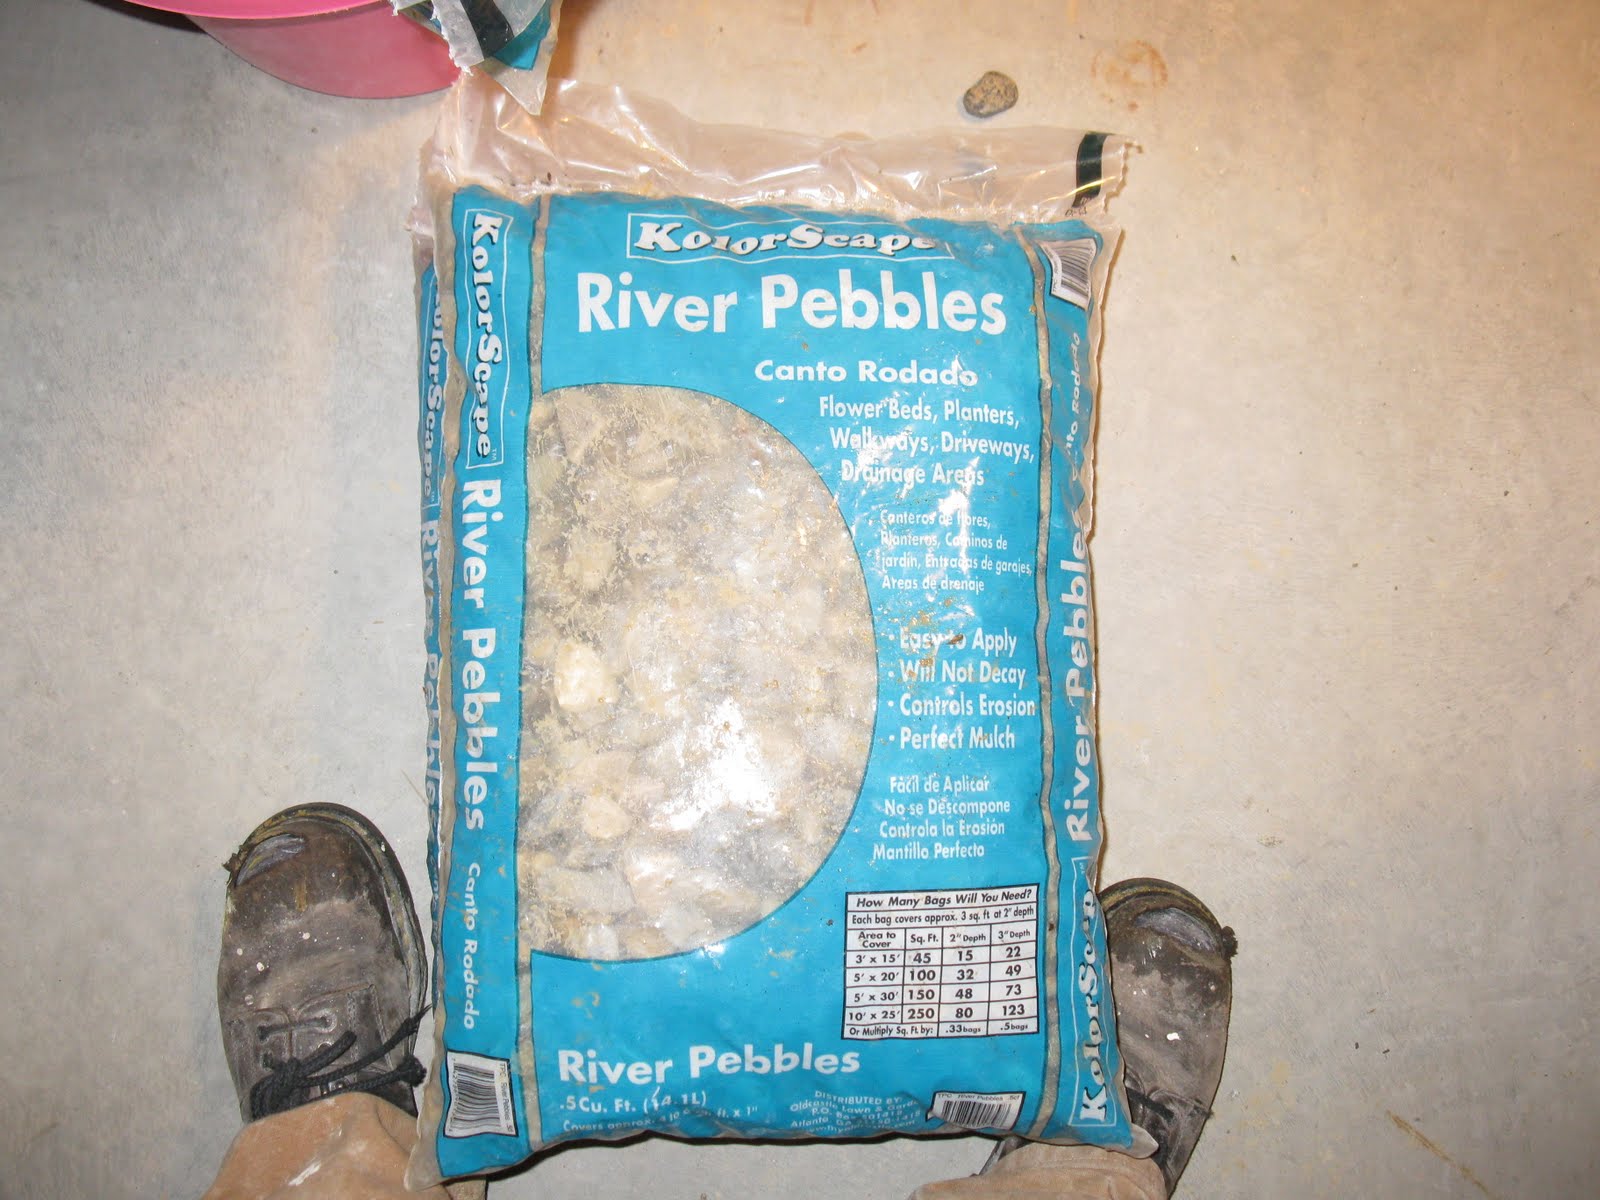
16 – 40 lb bags of crushed stone was added to the area under and around the sump pit.
Surround Pit With Stones
We kept the stones about 2-3″ below the floor level to allow for mortar.
Mortar was mixed outside and carried inside in 5 gallon buckets.
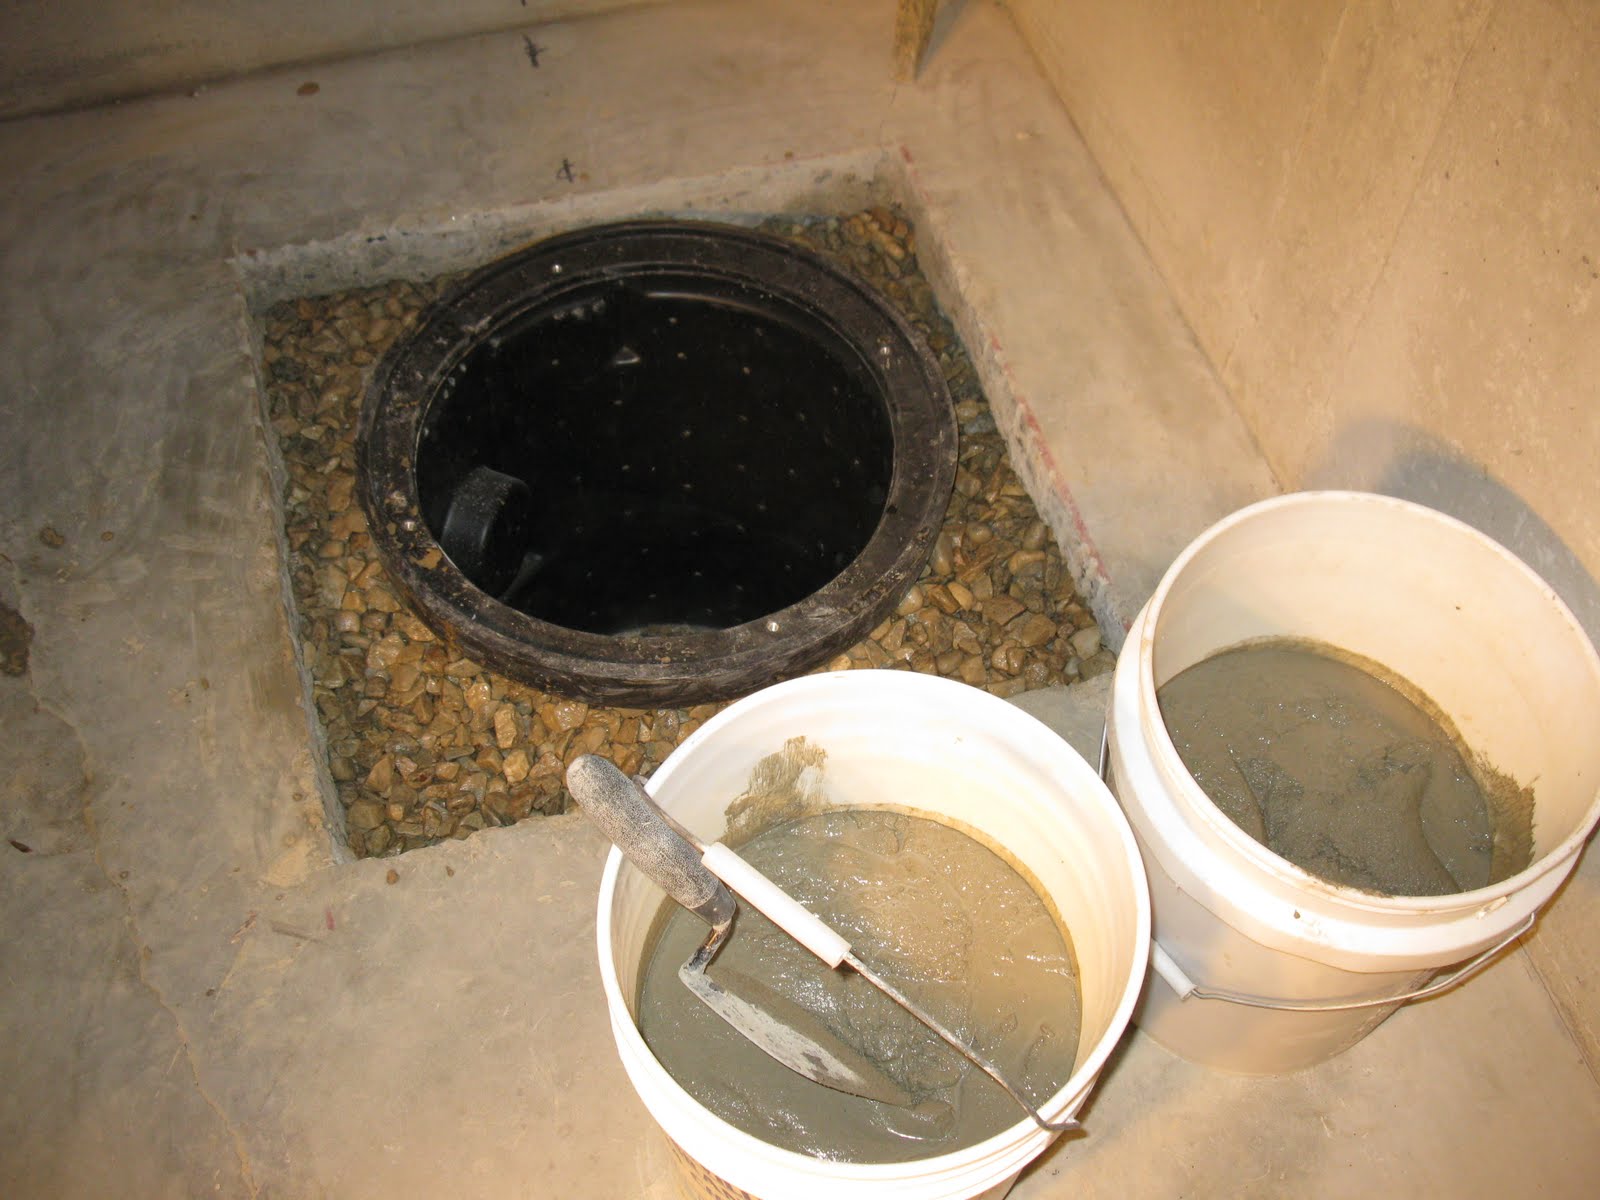
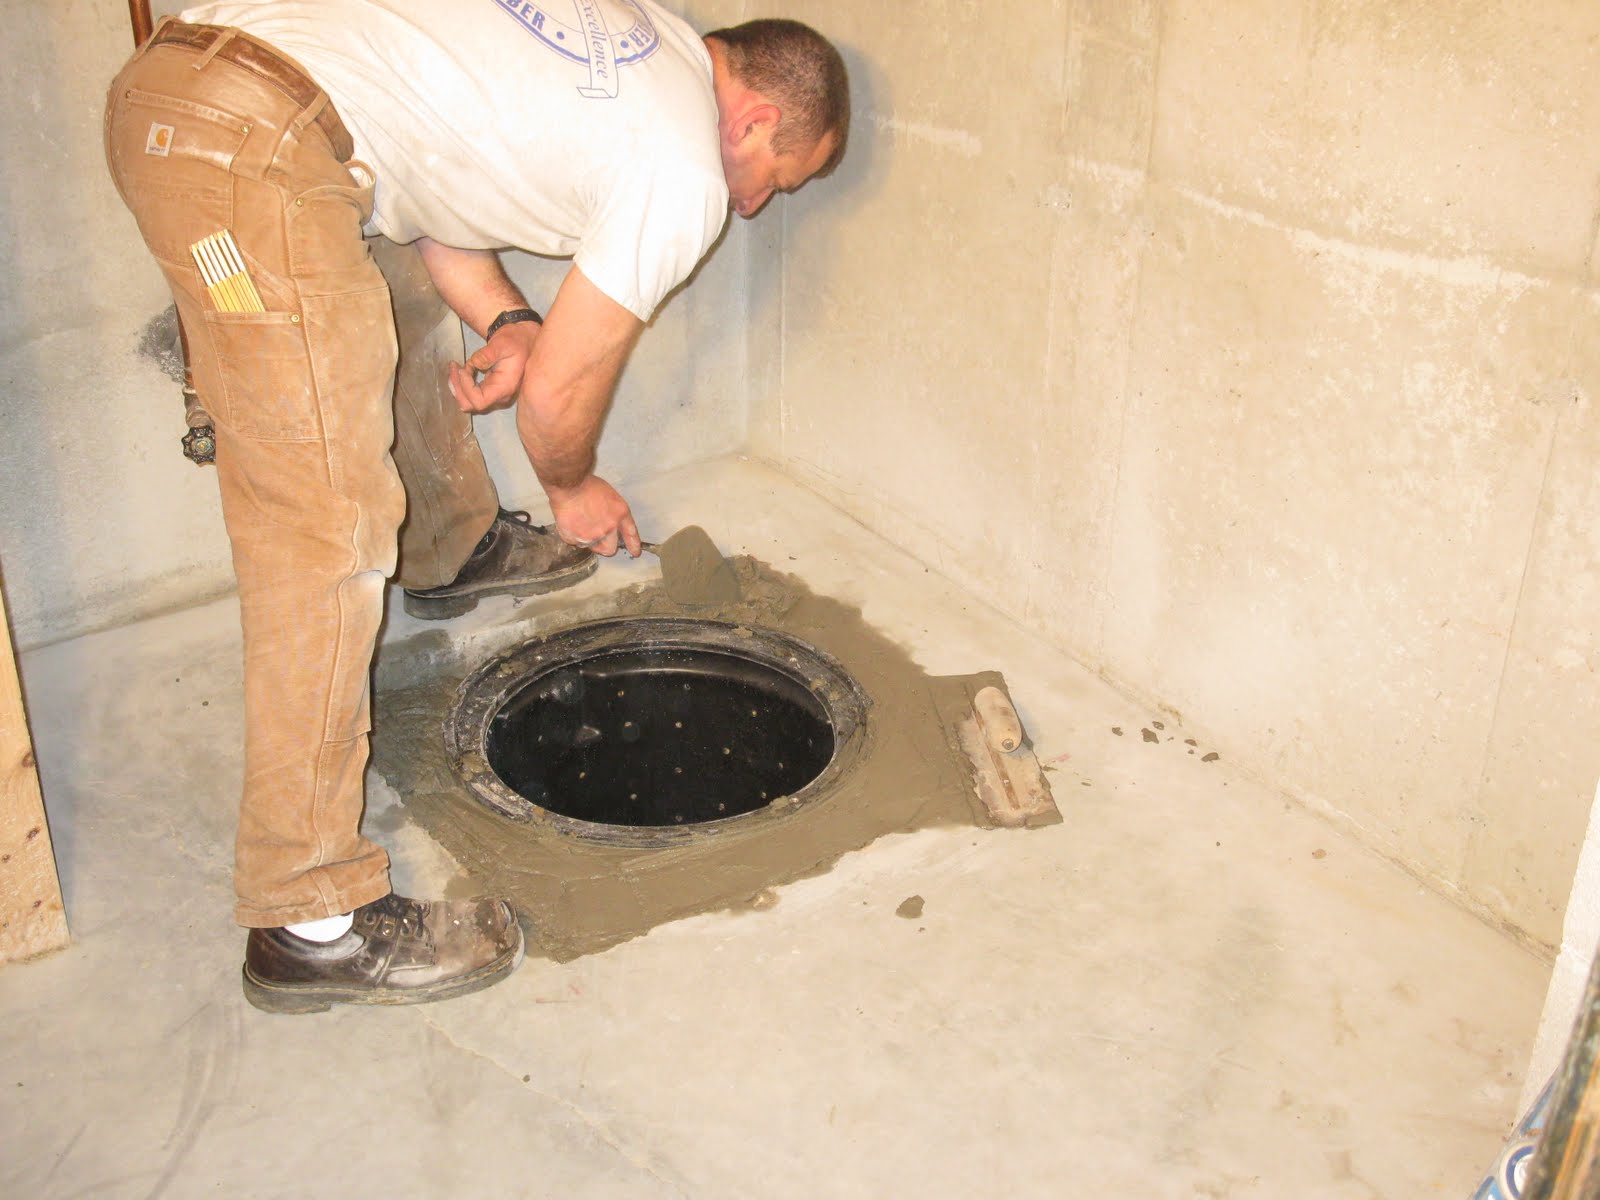
Patch In Concrete Floor
Filling in the hole around the sump pit.
Install Pump and Drain To Exterior
A liberty sump pump was installed by the plumber.
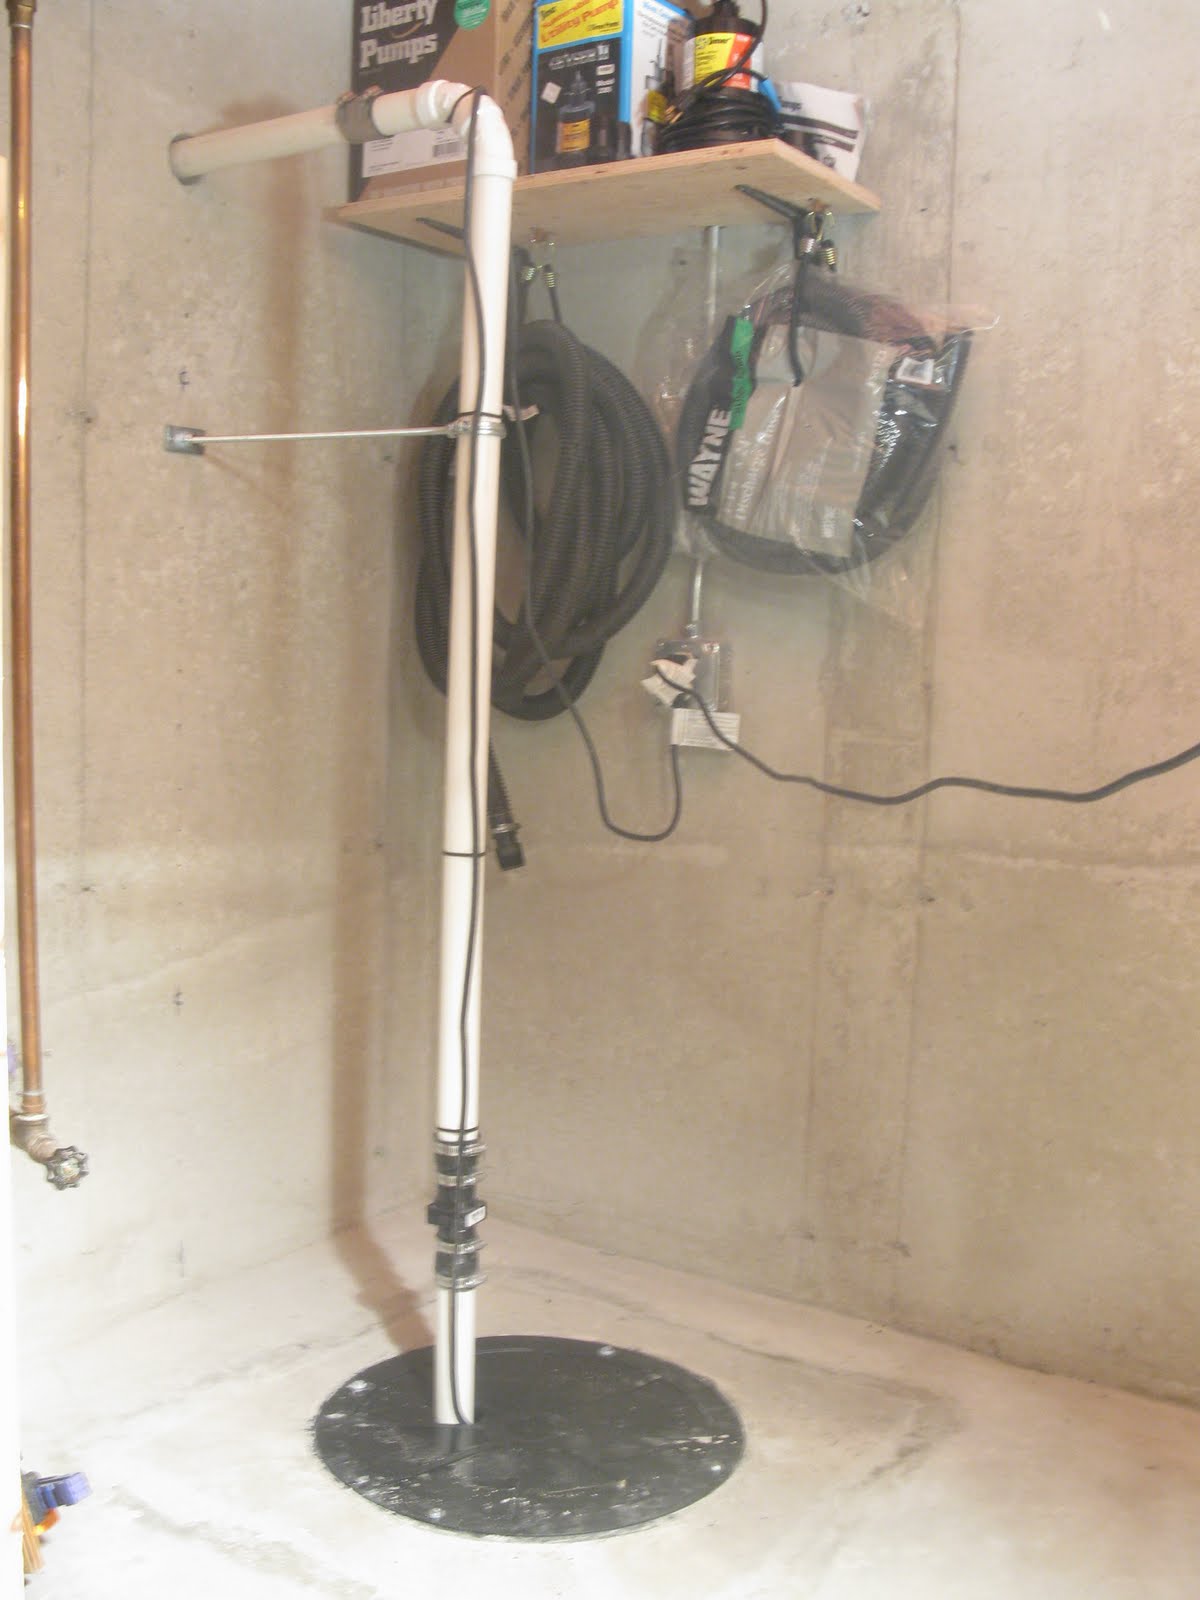
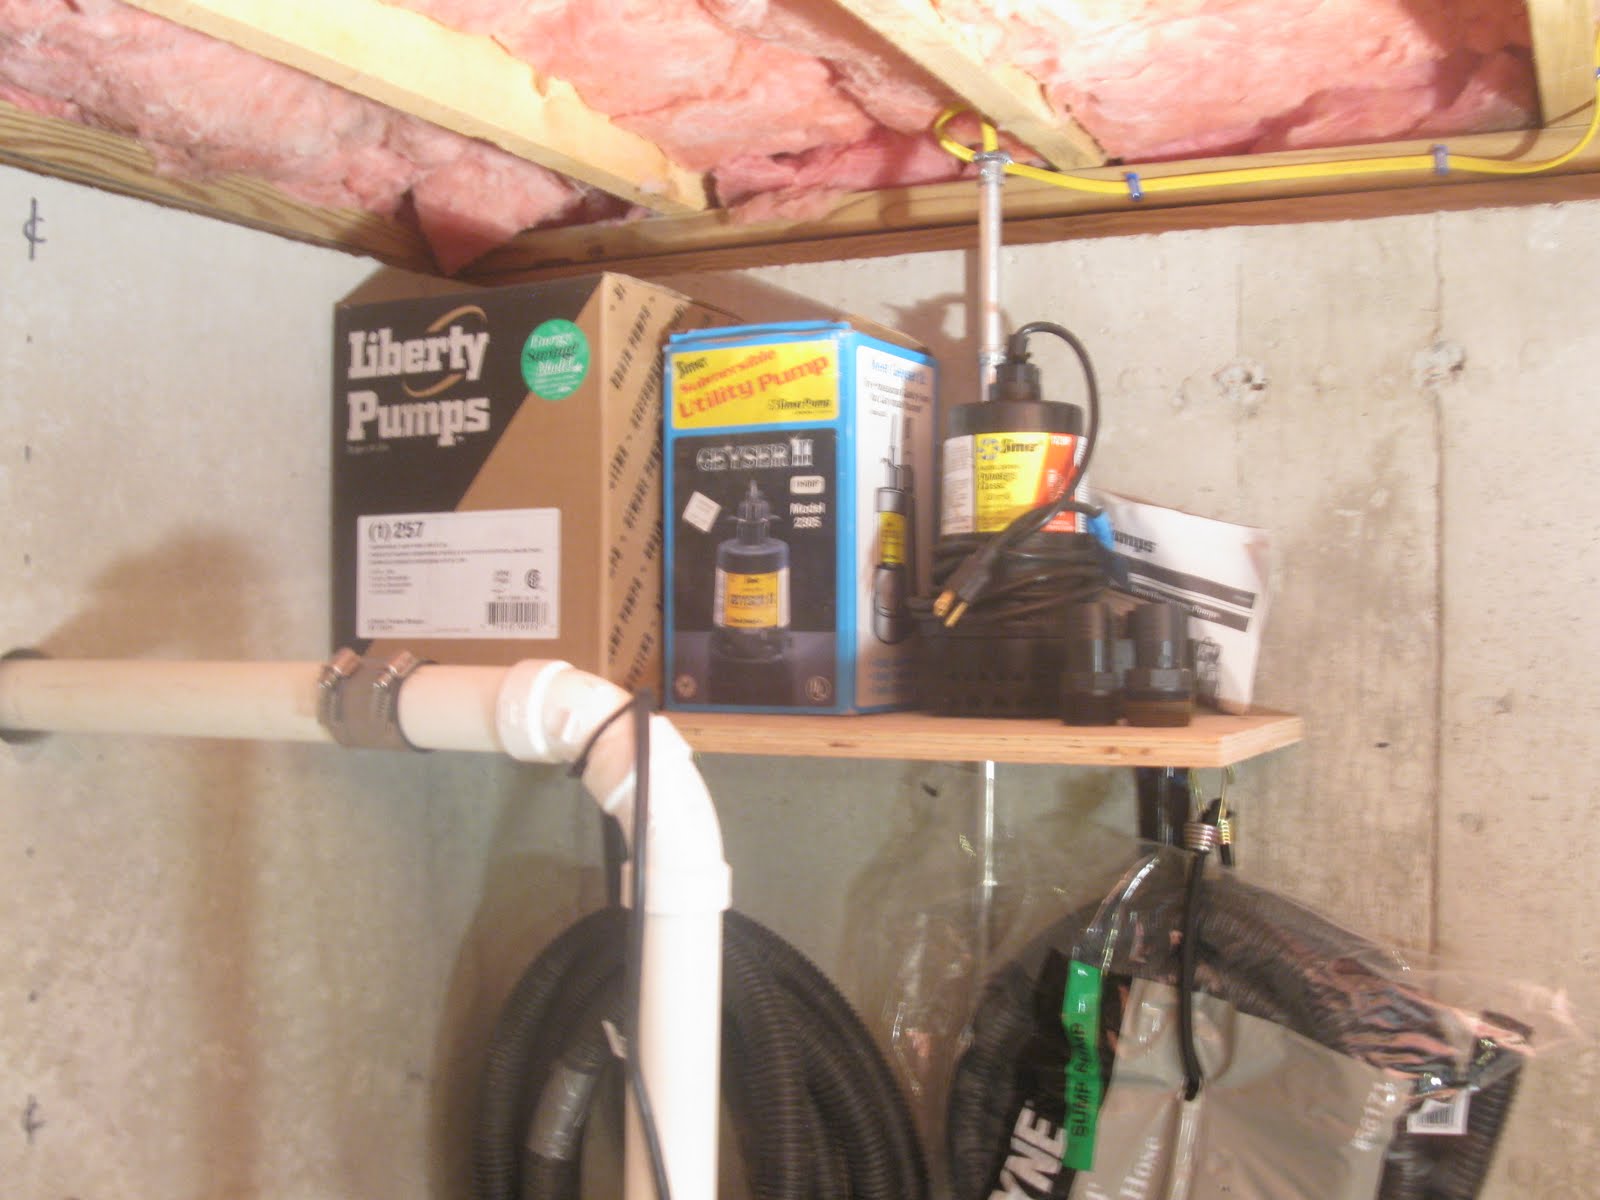
We added the shelf above to keep all pump related accessories, 2 submersible utility pumps and a back up sump pump organized.
The cover bolts to the pit liner for safety and to seal out moisture.
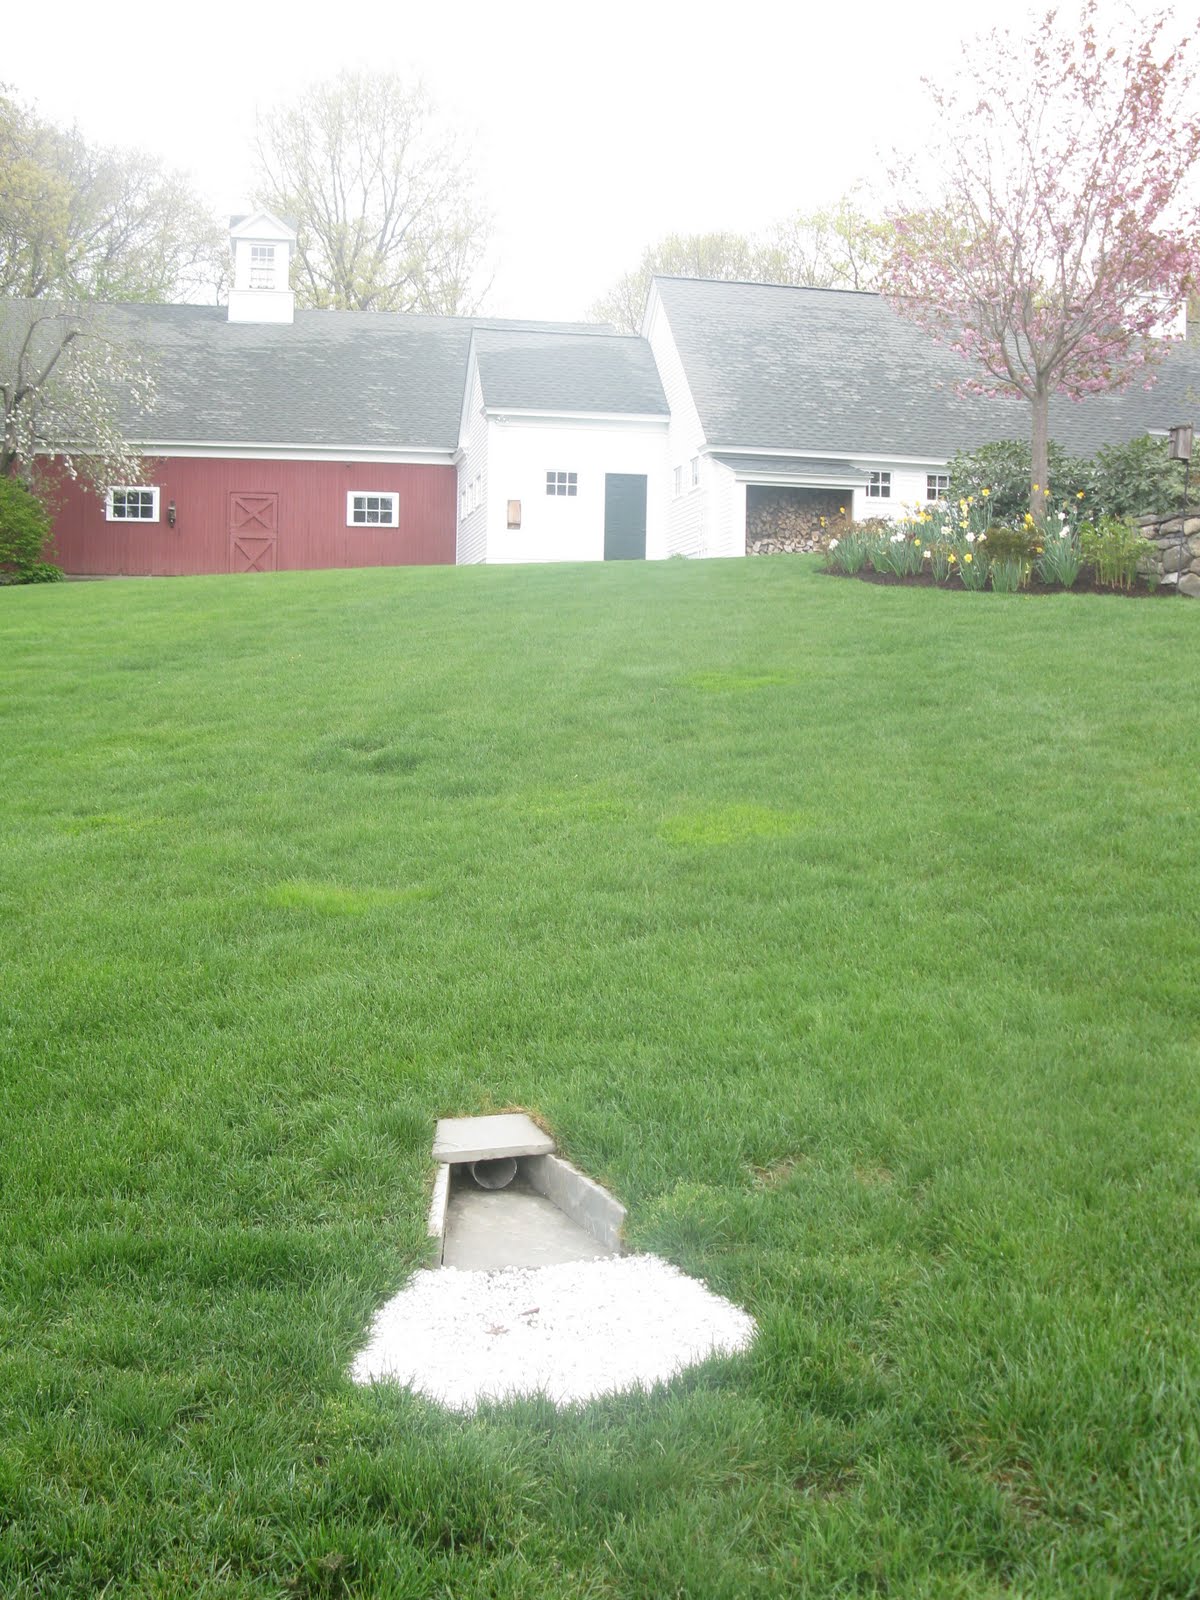
Outside the sump pump drains into a French drain pipe that drains far from the house. Photo below.
READ the article on how we got the sump to drain out