How To Install A Pet Door


How To Install A Pet Door
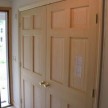
Determine Location:
Consider floor levels and step downs when choosing your location.
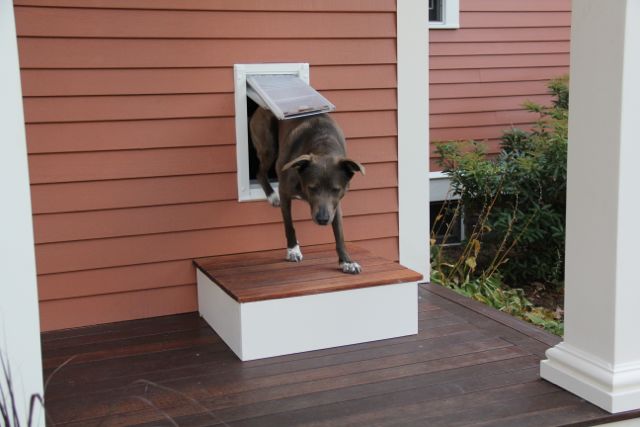
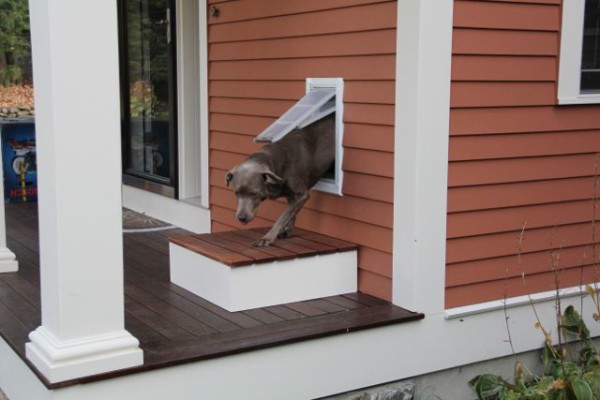
In our situation we had a radiator running along the floor in the install location. In addition to the 7-8” of height needed to clear this radiator the porch outside was 7-inches lower than the house floor so we had 15-inches of drop on the exterior side. This meant that we needed to build a ramp or stoop for the dogs.
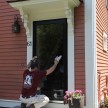
Also consider installing your pet door under a covered roof or porch as it offers the best rain and inclement weather protection.
Locating Space Between Studs:
The easiest installation involves installing this pet door between two existing wall studs. Wall stud finders work well but I always confirm the stud finder’s readings by using a small finish nail and poking a few holes.
Try to locate the two wall studs so you can install your per door between them.
Note – If you need to cut a stud, special framing is required to prevent structural degradation.
A Tip in Locating Wall Studs:
Look closely at the top edge of the baseboard trim in the area of the possible pet door location, try to locate the finish nail locations. Many times the upper nail locations will indicate a wall stud location.
Wall studs typically run 16-inches on center leaving approximately 14-1/2 inches of space between them. Other common wall spacing is 12-inch and 24-inches on center.
TIP:
Statistics say that 80 percent of the population is right handed and I apply that theory to locations of electrical outlets and wall studs in this way: 80 percent of the time the outlet will be installed in the right side of a wall stud because right-handed electricians will swing their hammer from right to left to install the outlet box onto the stud.
Depending on the pet door size, electrical wires can usually be left undisturbed in a stud bay with the pet door tunnel.
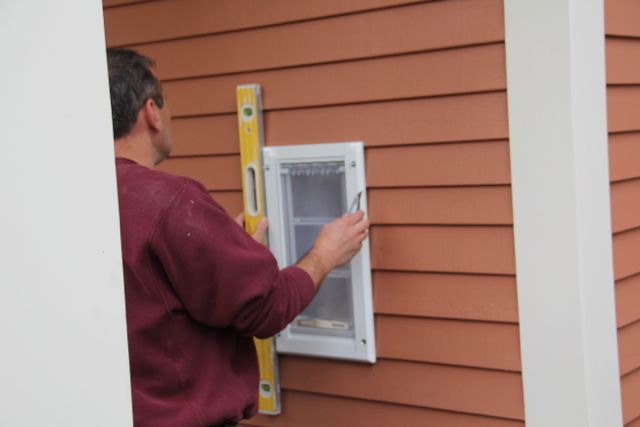
Installing Template:
The pet door provides a template, which you tape to the wall [between the wall studs] where the door will be installed. Double check for hidden wall obstructions, wires, pipes and studs.
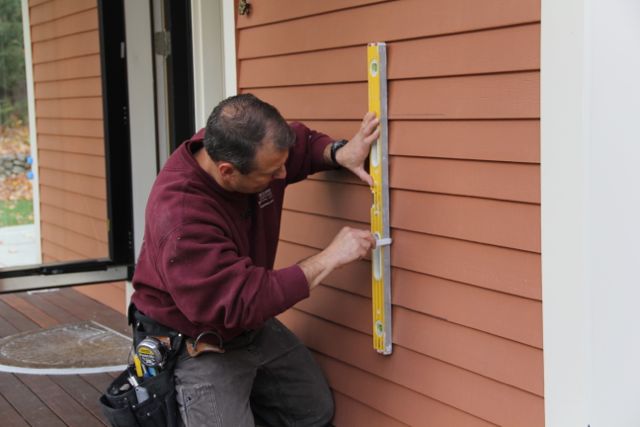
Install the template with a level to keep it square to the floor and to insure a proper look after installation. I located the top of my door, leveled a line and then installed the template to that line.
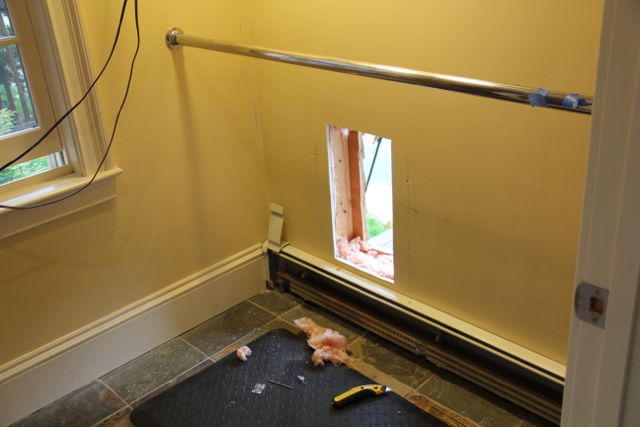
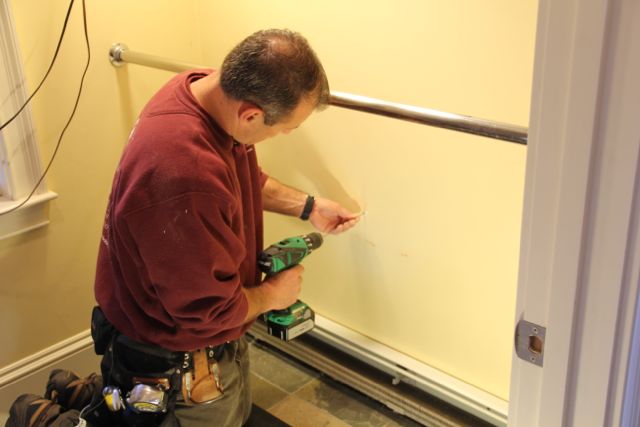
Cutting Wall and Siding:
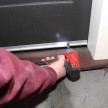
Use a long drill bit or feeler wire to mark the 4 corners of the door. This means drilling all the way through the wall to the outside.
I used (?) insulation rods which measure 16 inches long and can easily be installed in a drill. The rods easily penetrate all of the wall materials and are long enough to see (to be seen?) on both sides of the wall.
Use a level or straight edge to connect the four corner holes on both sides of the wall.
Use a jigsaw or drywall jab-saw to cut the wallboard out and a jigsaw to cut out the siding and plywood sheathing. I like using a jigsaw because the blade doesn’t penetrate as deep as a reciprocating saw thus eliminating the chance of hitting a hidden wall pipe or wire.
TIP – Use a shop vacuum to collect the dust while cutting – this will dramatically reduce the airborne drywall dust in the house as well as the clean up after installation.
Insulation:
Carefully remove only the insulation that will be in the way of the pet door. Later, while installing the pet door, re-use some of this insulation and tuck it into the sides, bottom and top of the cut hole and pet door channel.
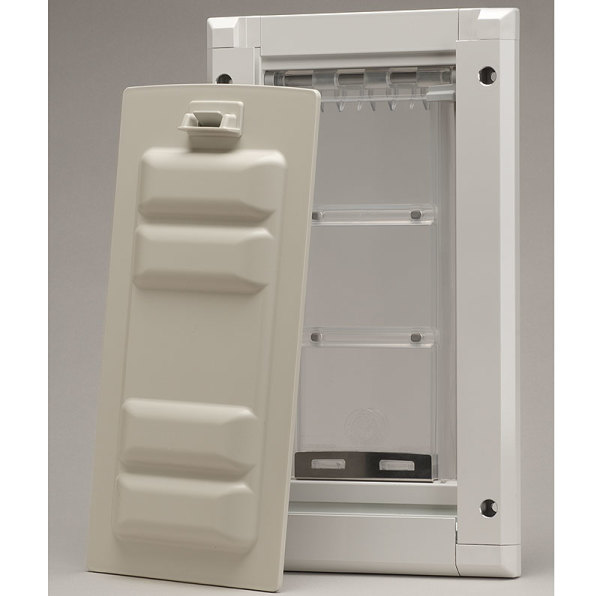
Putting Together the Pet Door:
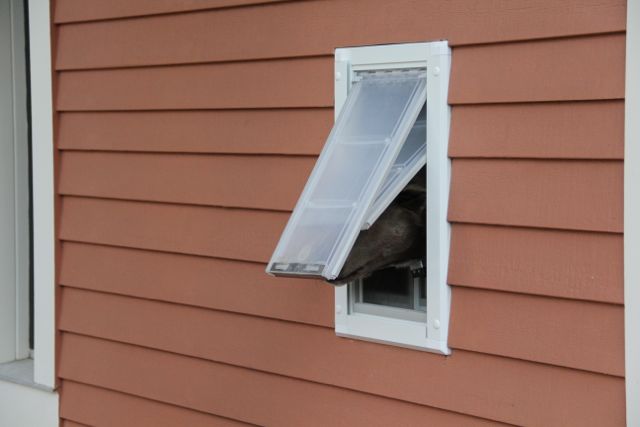
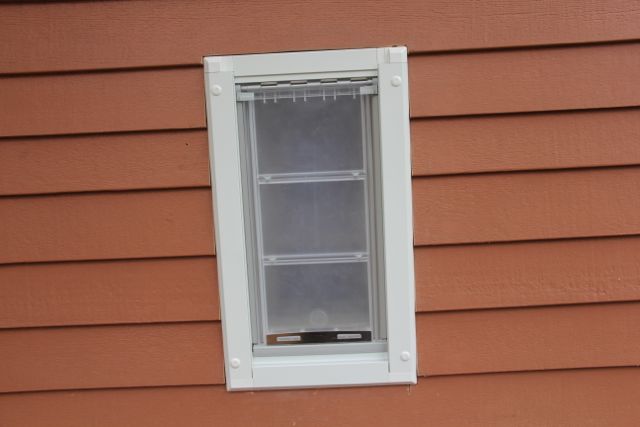
Follow the manufacturer’s instruction for putting the pet door weather stripping on and constricting the wall channel. The wall channel is an aluminum tunnel between the two door flaps. It protects the inside cavity of the wall and seals it off as well.
Our Edura Flap pet door had 4 threaded rods that clamp the two door flap units tight to the house sheathing and to the wall cavity tunnel. This creates a tight seal and secure installation.
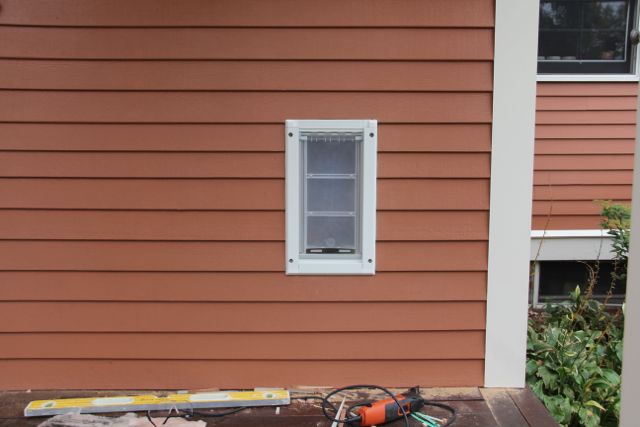
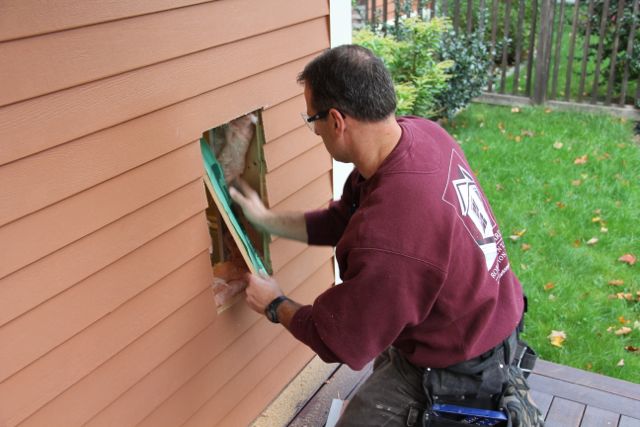
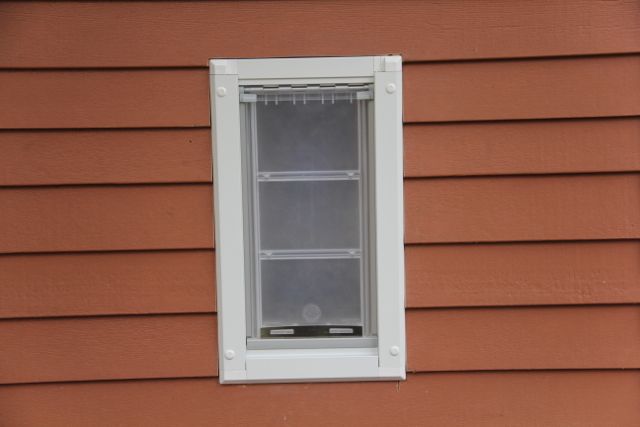
Recessing the Exterior to Look Right:
I have cedar clapboard siding on my house. Once the wall holes were cut I used the door flap frame as a guide and carefully cut away the clapboard siding to recess the frame in between the siding. This provided a professional looking installation and avoided unsightly and leaky gaps along the side of the frame and clapboards.
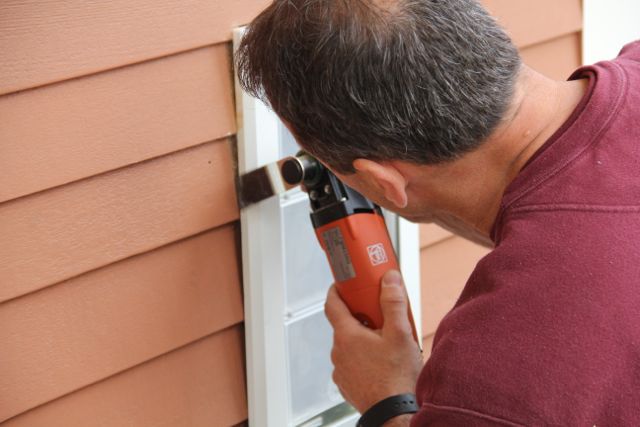
The best tool to do this cutting is an oscillating multi-tool. We used the FEIN Multi-Master FMM 250Q to make these cuts. Any multi-tool will work as would repetitive scoring with a straight edge and utility knife – but that takes a lot of time!
Sealing the Siding:
Caulk the siding to the door-frame when complete. Also apply a bead of silicone to the inside of the flap frame and the tunnel to keep water from getting into the wall cavity.
TIP – install the pet door in a protected area and eliminate the worry of water getting into the wall.
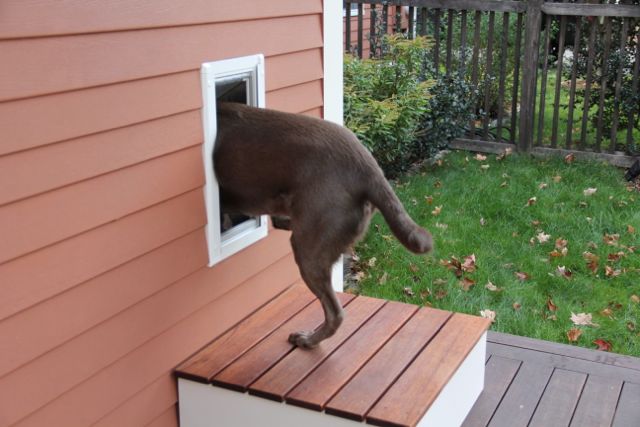
Training the Door to Use the Door:
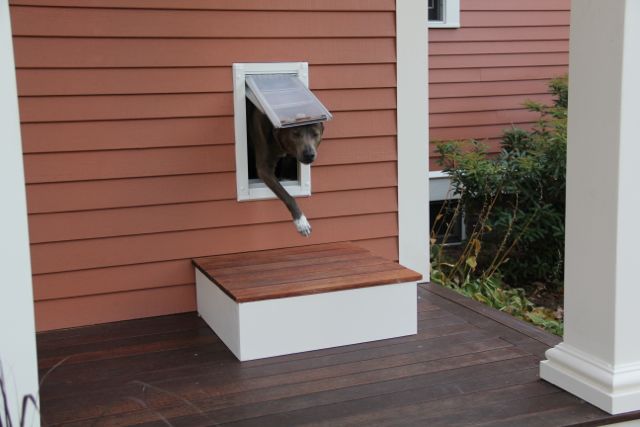
With patience you can train your pets to use this door. The one rule when training is never to shove your pets through the door.
- Open the flap and let them see the outside and use food treats to coax them to go through it while open. After a few repetitions hold the door open less and less until the animal gets comfortable touching and pushing on the flap.
- Avoid scolding or punishing them.
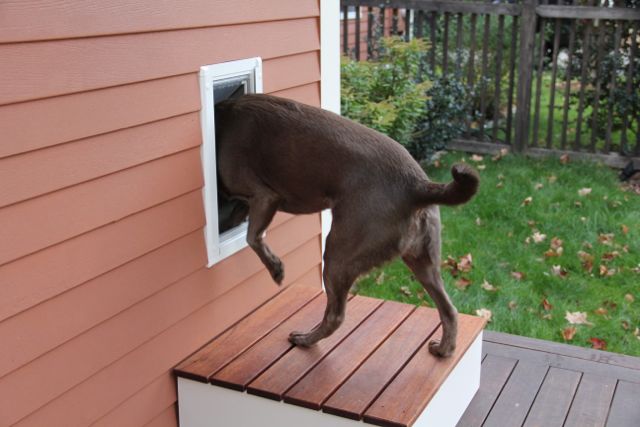
- For our installation I used treats to lure them outside, then I’d go inside and repeat the process.
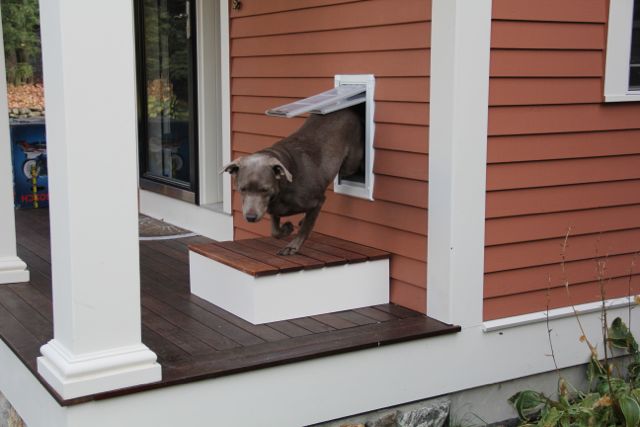
After doing this a few times over a few days we started only using the pet door to allow the pets access to the outdoors. We kept treats near the door and when our two dogs went to the back door and whimpered we simply took our treats to the side door went outside and coaxed the dogs through the pet door.
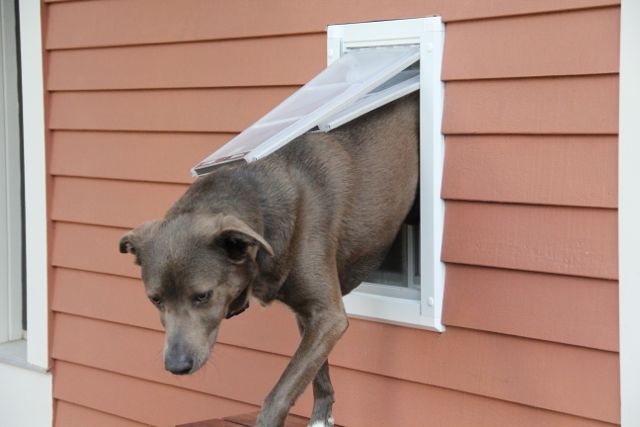
If the animal is having difficulty you can reduce or eliminate the magnets until they get the hang of pushing the door. Within two to three days our two dogs were using the pet door with no issues.
Safety Warning:
If you have a child, he or she may be able to crawl through your new pet door. Never install a pet door if it could expose a child to danger.
Temperature Testing
Building The Pet Door Step