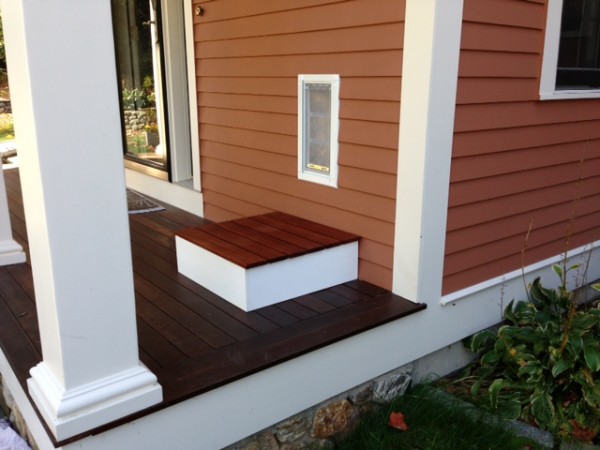
How To Install A Pet Door

Features To Consider When Purchasing A Pet Door
Our research told us that the Edura FlapWall Mounted Pet Door was the better quality door to install and best for our needs.
We used several criteria when deciding on a pet door manufacturer. They were:
Flexible Flap Design:
A flexible flap door allows the pet to enter, exit or back out without the danger of pinching the animal.
Magnets:
Embedded magnets in the flap and frame of the pet door ensure a tight seal.
Double Flap Feature:
A double flap pet door creates an air space that helps insulate and keep the conditioned air in the house. We felt that the double flap doors in our 2×6 framed walls would be beneficial for New England winters as well as when the AC is on in July.
Flap Pivot Point:
The flaps swing on a rod, not a hinge to avoid stressing or cracking the flap as can happen on hinged flaps. Endura tested their pet doors over 3 million times with no failures. To put that in layman’s terms that equals 100 opens and closes a day for 80 years. (We’d love to see their testing jig!)
Wind Resistance:
A strong wind or Nor’easter can easily blow open a pet door. Endura Flap magnets are rated to 50 mph winds and more magnets can be added if desired.
Temperature Resistance and UV Retardant:
The endure flap door is made of a polyethylene based polymer and is rated to flex to minus 40 degrees. Vinyl doors will crack at temperatures that low. Direct sunlight can also cause fading and cracking: the Endura flap door is treated with a UV retardant.
Clear See-Thru Door:
The pet door flaps are clear (contrasting between the wall and the door) and allowing light to pass through and the pet to see through as well.
Security Panel:
Most pet doors have a security panel to close off and lock the pet door. We liked how the Endura Flap door slides and locks between a full length groove on three sides of the frame. The security panel then locks in place. We do this at night for added security as well as to reduce heat loss.
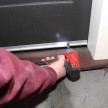
Tools Needed:
- Jigsaw
- Level
- Pencil
- Blue tape
- Tape measure
- Drill with a long bit or long insulation wire
- Philips head bit