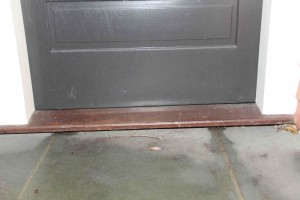
Installing An Exterior Door Sweep
Taking the time to learn how to install a door sweep not only cuts down on those uncomfortable cold door drafts but can reduce your energy costs.
Installing an exterior door sweep is easy enough to do and can be done with minimal tools and effort.
Types of Door Sweeps
The best types of door sweeps are the ones that you attach with screws. These door sweeps are made are made from aluminum and rubber or nylon brushes and seem to work the best and last over time. The metal frames also have oval slots that allow the sweeps to be adjusted up or down to fine tune the sweeps weather seal.
How To Install A Door Sweep
Measure the width of your door then buy a door sweep that is at least as big as your door. You will later cut the door sweep down to the appropriate size.
With the door closed, measure the bottom of the door and transfer your marks onto the door sweep. Using your heavy duty tin snips or a hack saw cut the door sweep to fit the bottom of the door.
Place your door sweep against the bottom of the door making sure the rubber seal or nylon brushes come in contact with the threshold or floor.
The trick is to install the door sweep so it contacts the threshold or floor evenly but is not too tight that it binds the door and prevents it from closing. This is where the oval slots, [adjustment slots] come in handy.
Adjusting the Door Sweep
Install the screws in the middle of the oval slot but dont over tighten them. Positioning the screws in the middle of the slot allow you to micro adjust the sweep up or down. Try opening and closing the door a few times to check the fit. Then finish the job by tightening the screws.
Test the door to ensure that is still opens, closes and locks easily. Readjust the sweep if the door does not function properly. That’s all there is to it.

