
While are remodeling this bathroom we decided to change out the 23 year old existing exhaust fan with a new, properly sized Panasonic WhisperCeiling exhaust fan. We felt the existing fan was too noisy and not large enough to handle the bathroom size. After measuring the room and using the bathroom fan sizing formulas here to properly size our new fan we decided on the WhisperCeiling fan. Sizing your fan to the room is important as using too small a fan will be ineffective and too large a fan will waste energy and suck out too much air resulting in heat or air cooling loss.
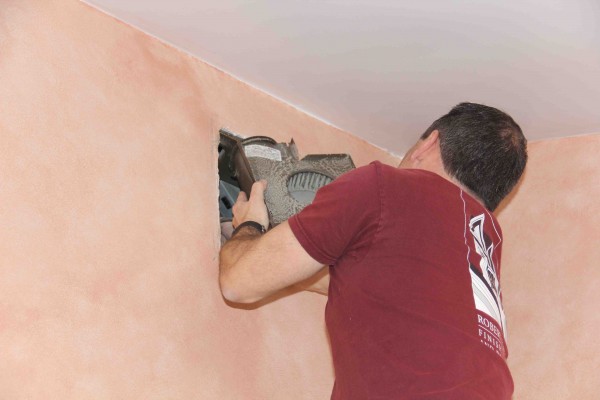
The best location for this fan is exactly where the old one was, reason being that their is existing duct work going to the outside vent is already installed.
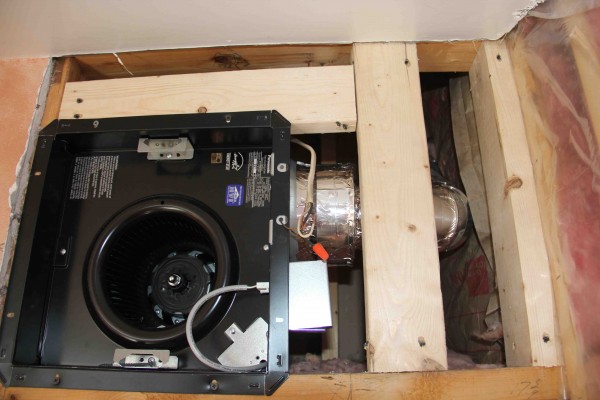
Unfortunately the newer fan was a different size as the old fan so we had to tear open the soffit to enlarge the framing. Normally this would have bummed me out but the we were replacing the old, noisy fan with a Panasonic WhisperCeiling fan. This fan is designed to be installed onto the framing and then drywall or blue-board applied over it.
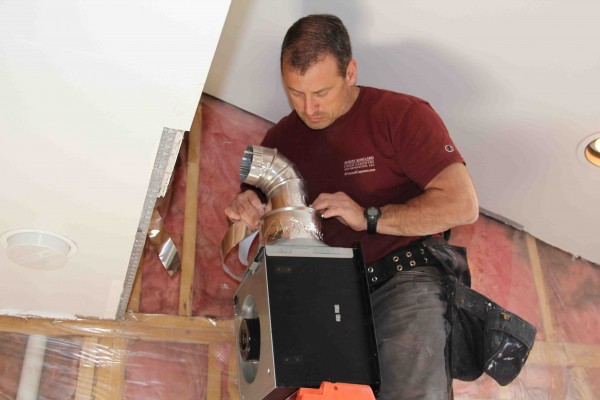
The WhisperCeiling fan we are using has an air volume of 190 CFMs and only puts out 1.3 sones. The fans motor uses ball bearings for long life and has a totally enclosed condenser motor and a large blower wheel to quietly move air. The theory behind the large wheel is a small wheel turning very fast will create more noise than a large wheel turning more slowly for a given airflow. A larger wheel fan also moves a large amount of air at reduced RPMs further reducing noise.
The WhisperCeiling fan also has a built-in damper to prevent back-draft, which helps to prevent outside air from coming through the fan and sinking down into the room.
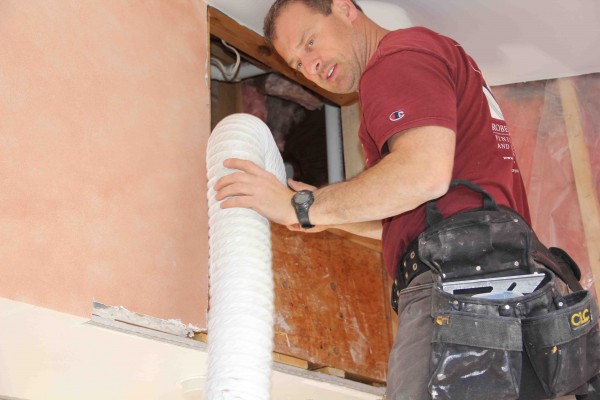
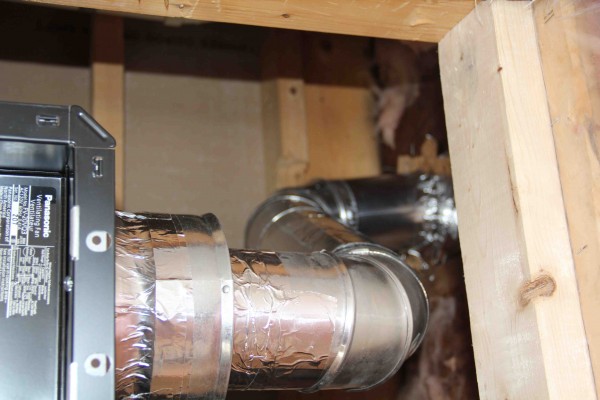
Once we got the old fan out it was apparent that we needed to tear out and replace the old plastic hose duct and install new 4″ Lambro # 229 aluminum pipe with two adjustable elbows.
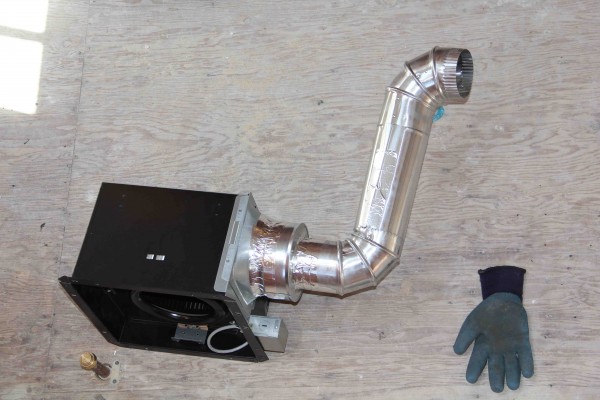
Note – the WhisperCeiling fan required a 6″ to 4 conversion connector in order to use the 4 inch Lambro pipe and existing sidewall vent hood. I installed all of the aluminum pipe with the seams up to avoid any moisture leaking out of the seams resulting in possible ceiling stains.
The main reason why I wanted to change out the plastic hose was that after 23 years the hose becomes brittle as well as it develops dips where moisture can condense and pool. Pooling water will eventually cause odors or leak into the ceiling cavity below.
Using Solid Pipe
The advantage of using the smooth aluminum pipe is that it ha less air resistance than the ribbed plastic hose duct. At the end of the day the aluminum pipe is just a better quality material to use for this installation.
We made sure to cover all pipe, elbow and connection seams with aluminum tape to prevent air leakage and to hold the fittings and seams together. [Do not use duct tape!]
Moisture In the Bathroom Is The Real Problem
When humidity builds up in a bathroom that doesn’t have proper ventilation, warm moisture-laden air moves toward cooler surfaces, such as the walls, where it condenses back into water.
Moisture vapor can peel wallpaper or paint off the surfaces and encourage the growth of mildew and mold. Moist air can condense inside the wall cavity, where it can cause rot, mold and serious structural damage to wall studs, sheathing, and ceiling and floor joists above and around the bathroom.
Mold is a fungus that thrives in warm, dark, humid environments and is commonly seen in bathrooms with no exhaust fans. Mold spores grow on wet or moist surfaces such as wood, wallboard, and bathroom tile. The only effective way to prevent mold is to attempt to keep indoor moisture [humidity] levels low.
A properly sized bathroom fan collects the bathroom’s moist air and immediately expels it outdoors, through duct work in the walls or ceiling. Most times people use the fan during the shower but immediately turn it off after they are done showering but the reality is that the fan may need to be left on to properly clear out the bathroom of humid air.
For many years I have been telling my customer that a good rule of thumb is to close the bathroom door and run the fan for 20 minutes. That’s great in theory but in reality is folks, especially kid
s, forget to turn off the fan and leave it on all day while at school of work – they just forget. This is only is this a huge waste of energy. To address this issue I have been installing timer switches in all of my bathroom remodels.
The real beauty of having a timer is that the exhaust fan can be turned on during the shower, and left running after the shower to clear the room of moisture, allowing for several air changes in the room depending on the CFMs [cubic feet per minute] of your exhaust fan.
Adding A Timer or Humidity Switch
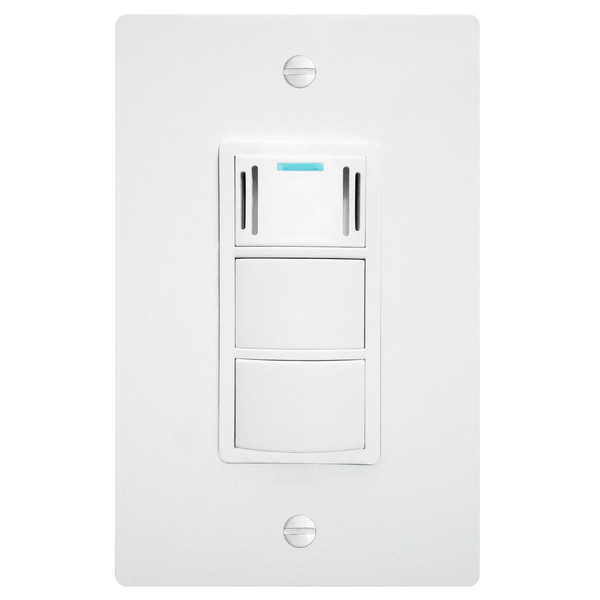
On this bathroom remodel I decided to use the DewStop condensation sensing fan switch. The DewStop is intended for use in bathrooms and other high humidity areas.
When moisture in the air becomes too heavy and the air cannot support the moisture [dew point] it then triggers the DewStop built in sensors. The DewStop will turn ON your fan and run the fan to clear the room.
Condensation Sensing Fan Switch
I am purposely placing the DewStop on a circuit that also controls the shower light. This way when the shower occupant takes a shower they will turn the fan switch on to activate the shower light. I feel that by placing the switch on the same circuit as the light I am getting a head start at controlling moisture. If turned on manually the DewStop will run for 30 minutes before turning off.
Note – An important thing to note is that on larger bathrooms or when the DewStop switch is located far away from the shower it may not activate until the room is completely full of steam and at high humidity [dew point].
To read how to install the DewStop timer switch and also get an insiders view on how it operates read this review: DewStop™