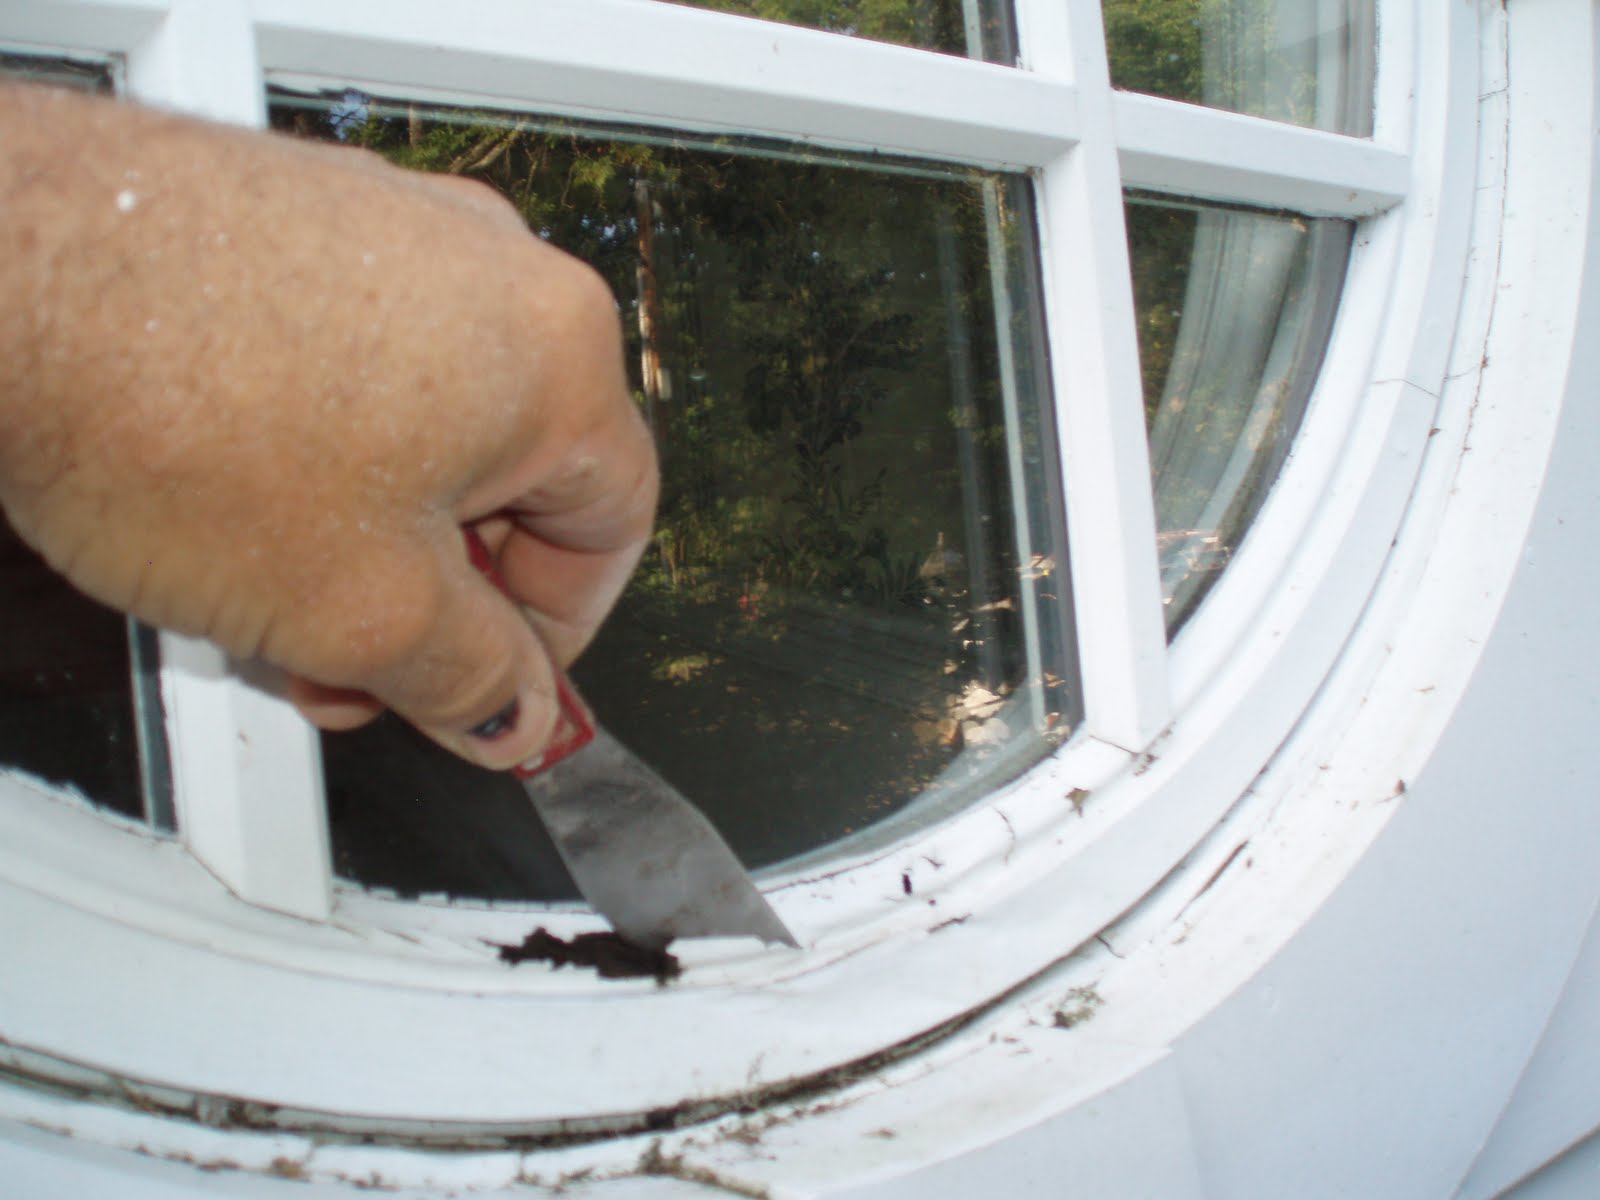
The pair of 17 year old, round window shown in this post were rotted and needed replacing.
The homeowner, frustrated with the short life span of the previous windows asked me to research other options.
We chose an Anderson clad exterior and wood interior window with a pvc trim kit. The trim kit is from Advanced Trim Wright [ATW]
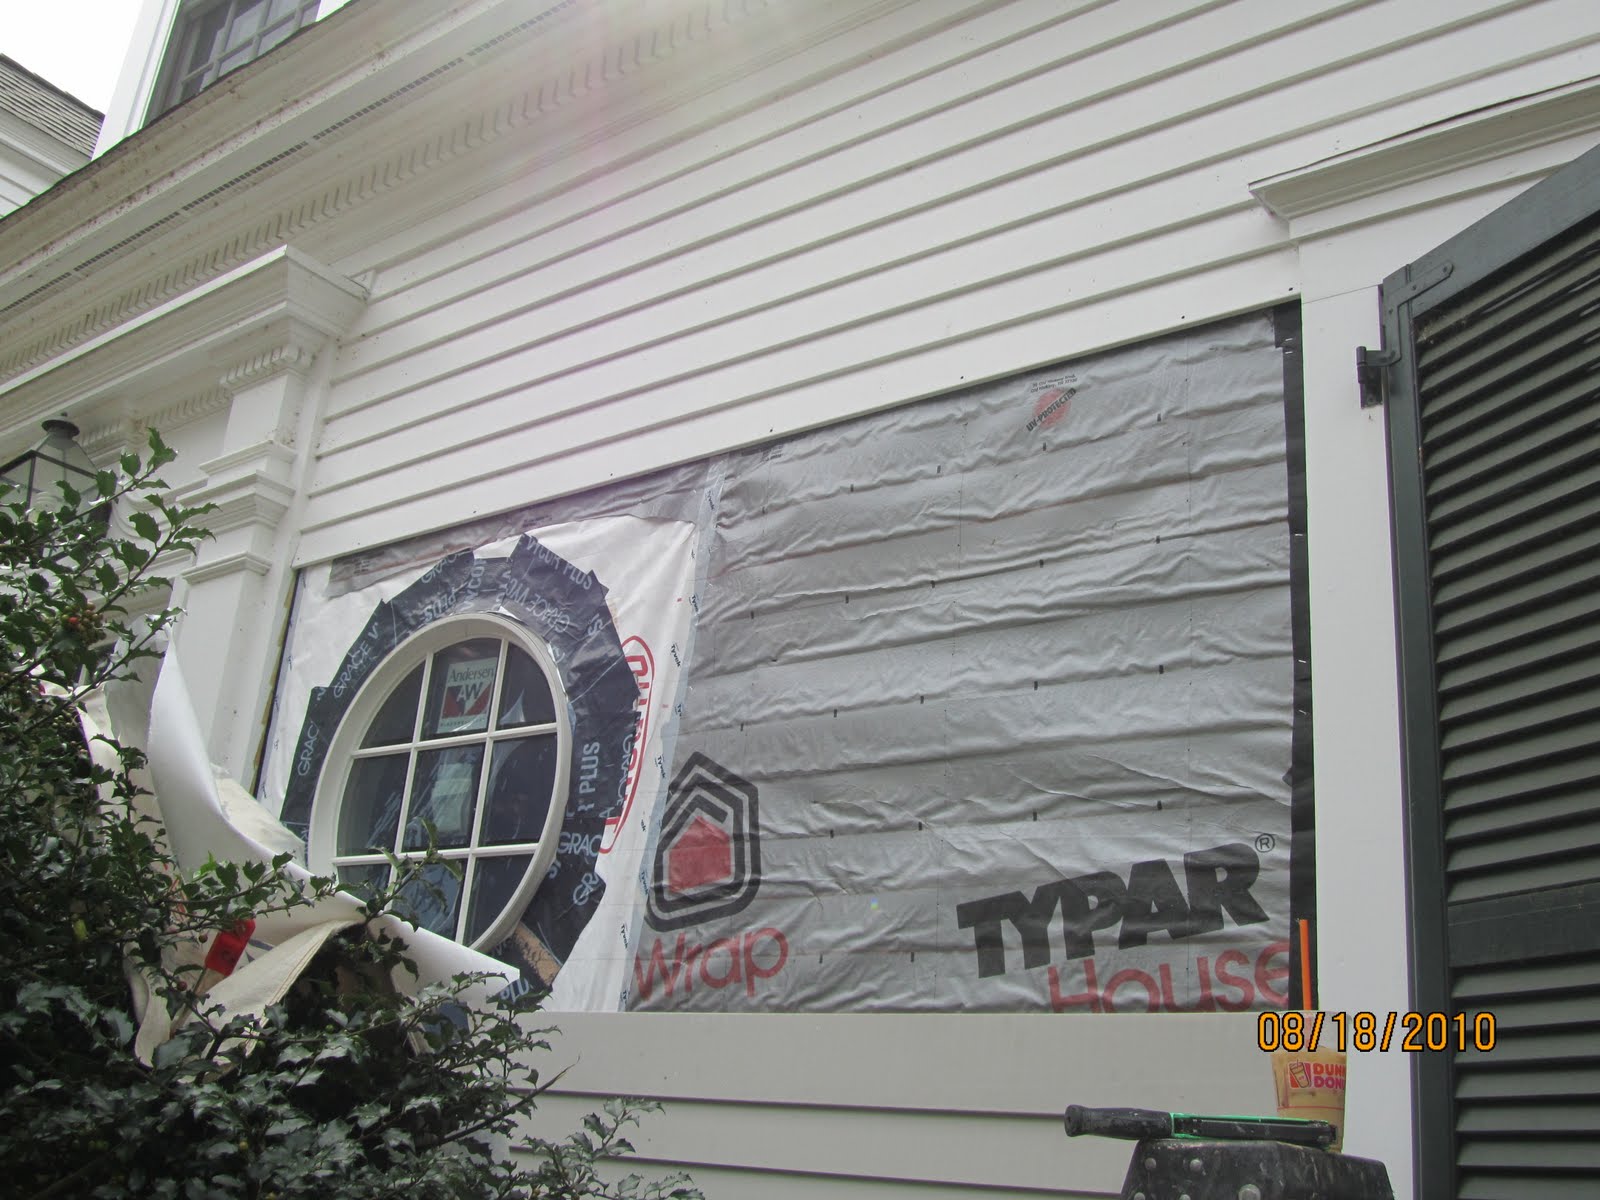
Unfortunately the windows had leaked into he sheathing and rotted the plywood sheathing and 2×4 framing. Minor structural repairs had to be addressed before the new window could be installed.
The new window was installed and flashed around the house wrap.
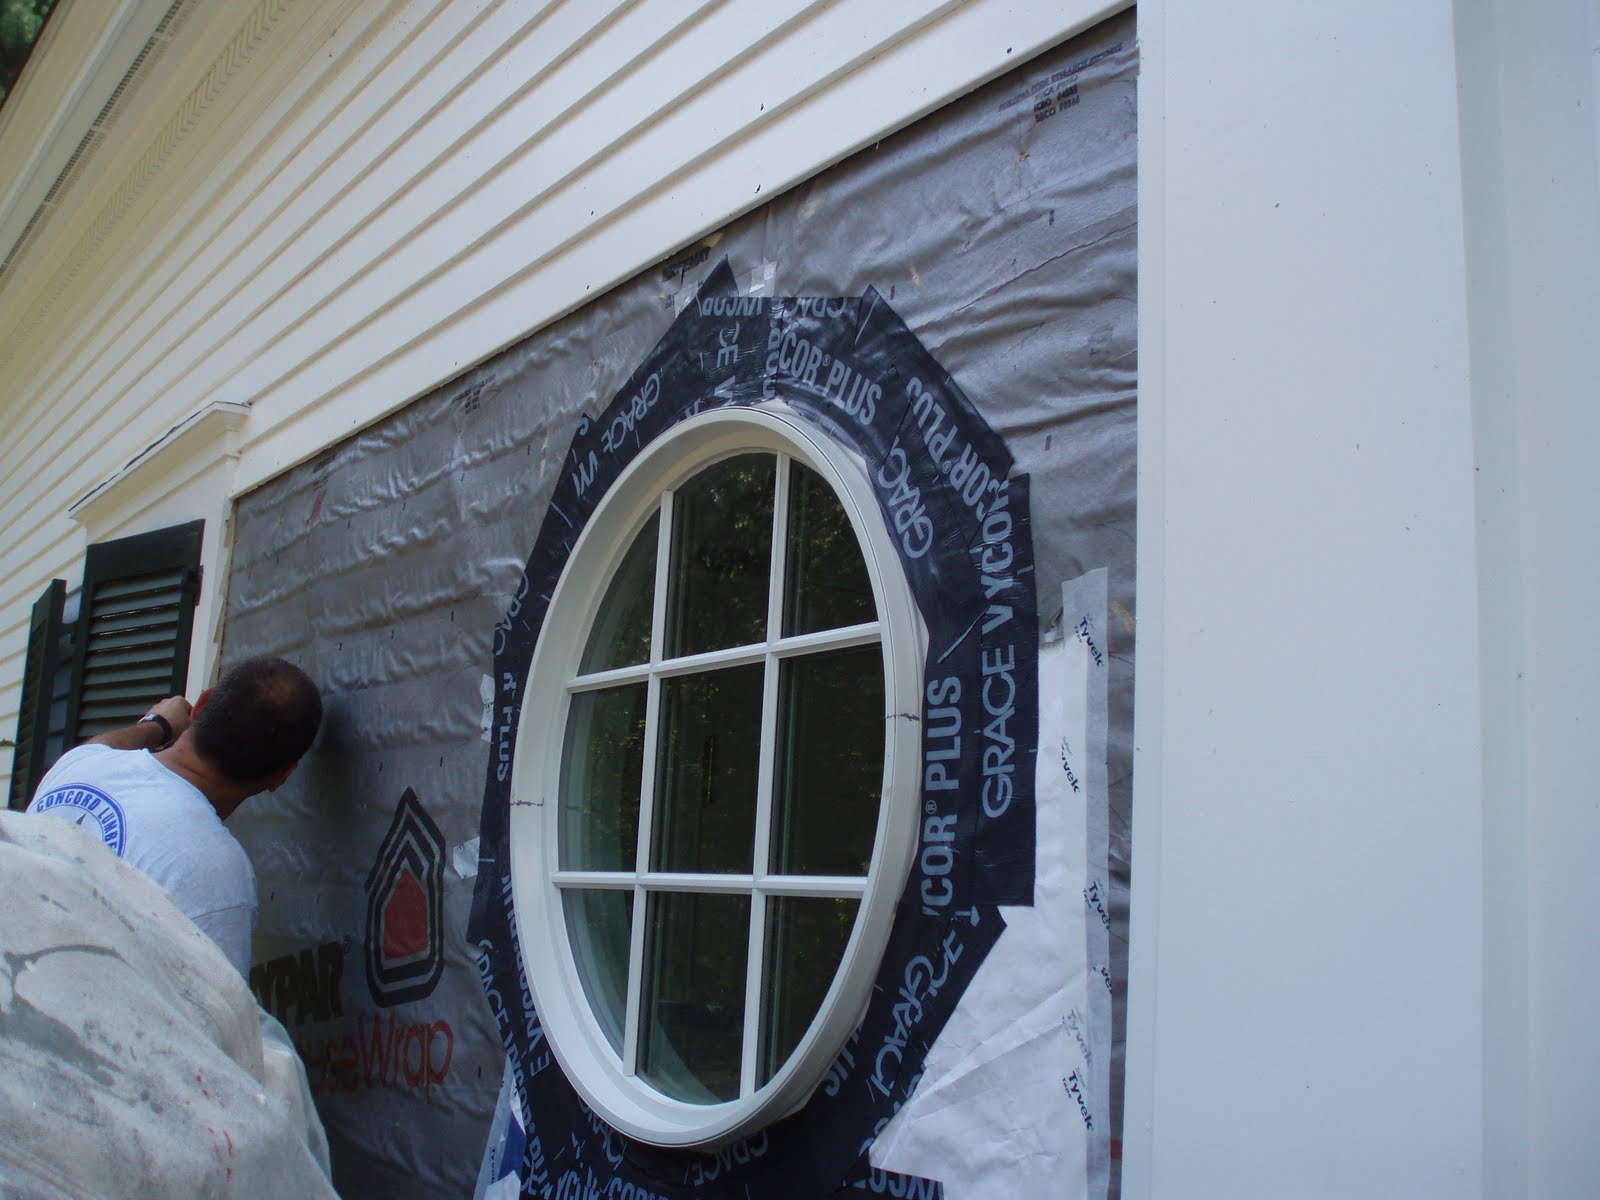
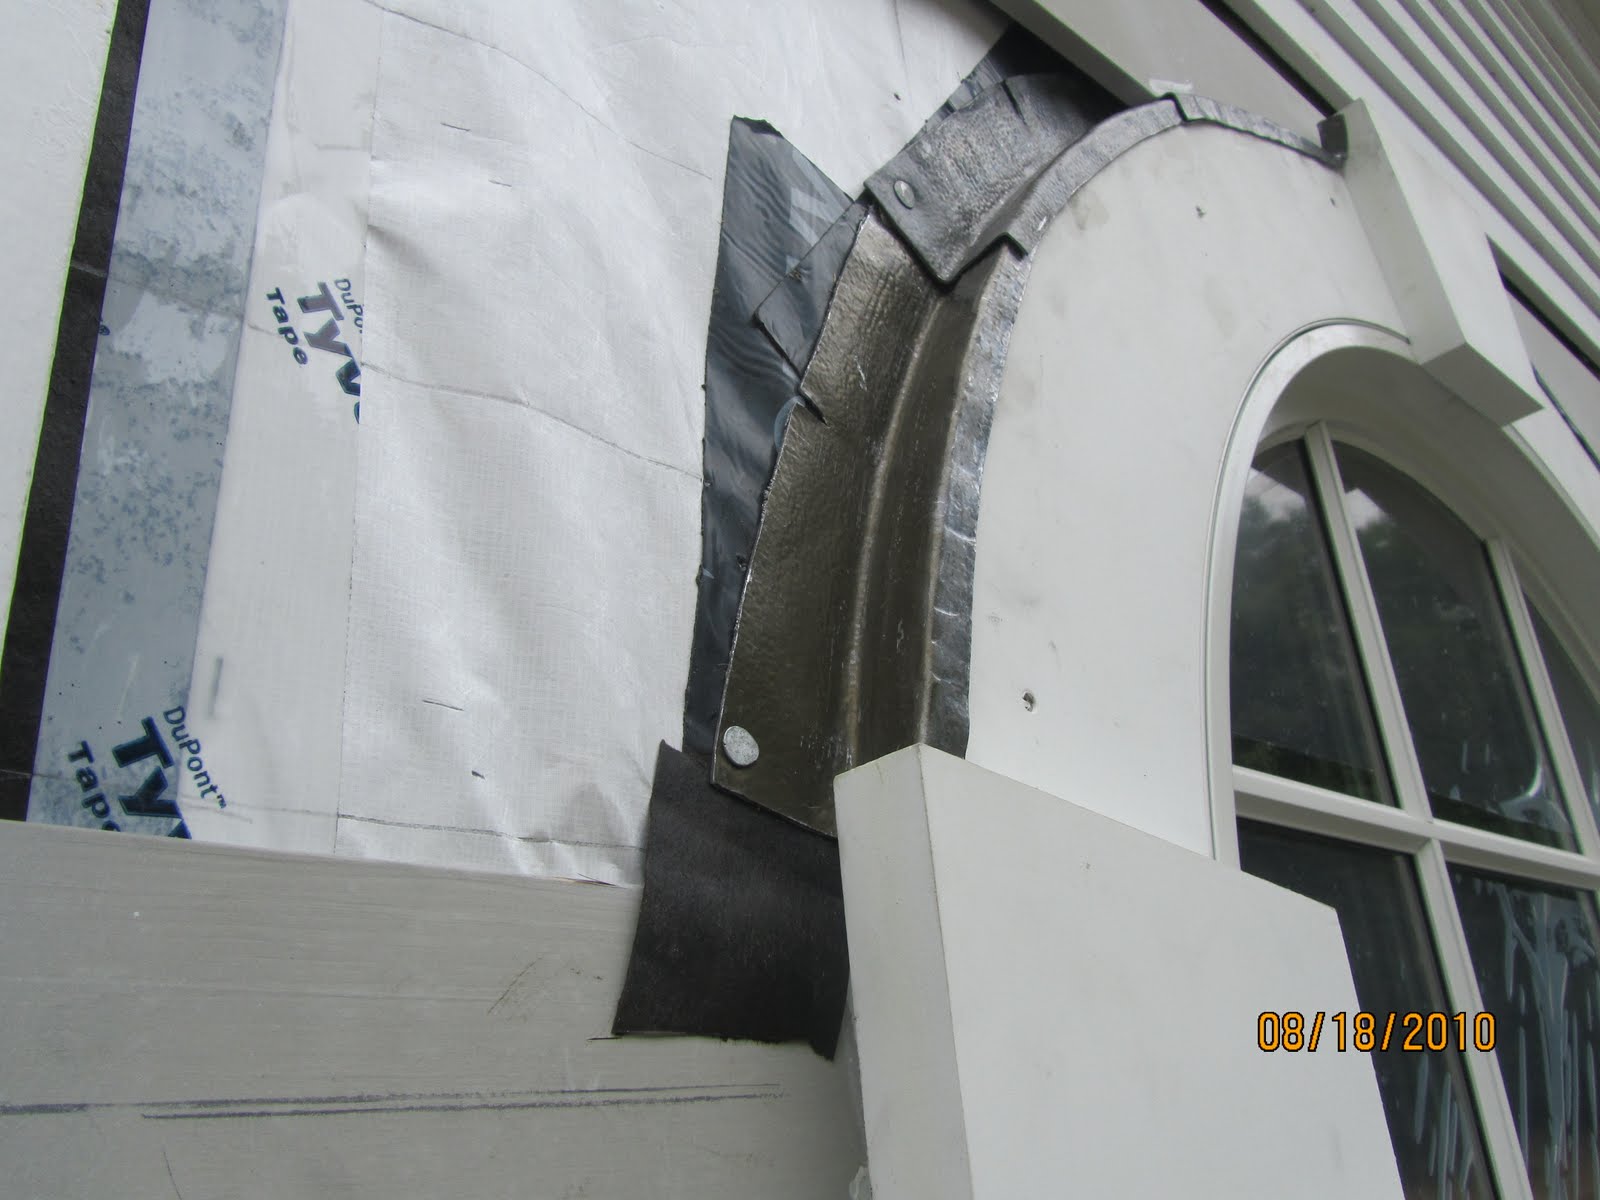
All of the patches we added and any other visible vertical seams on the house wrap were taped. We used Vycor rubber flashing tape.
We also took the time to add tar paper splines behind the left side vertical trim and the window trim casing on the right. These two areas have continuous vertical clapboard joints and the tar paper provides for a continuous flashing plane to shed moisture away from the house.
Rubber Flashing
Two layers of rubber flashing were applied. Top layer shown here.
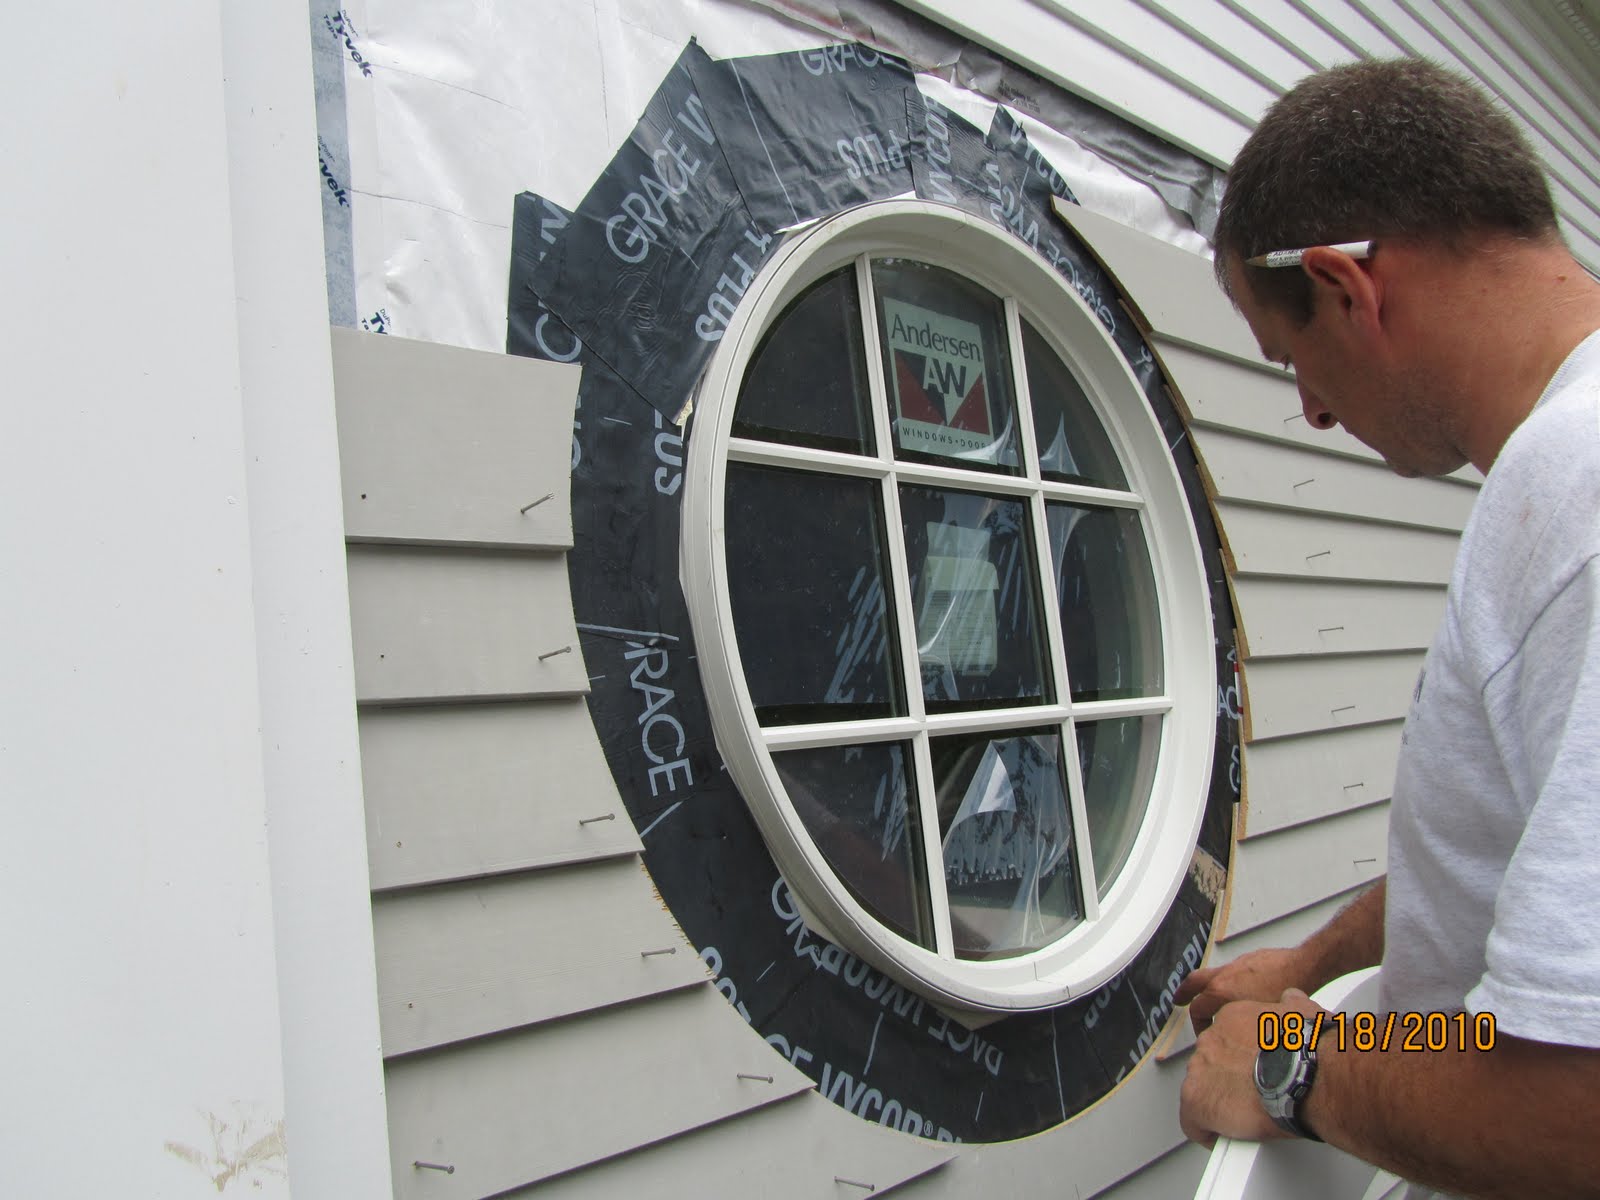
Testing the one piece ATW trim kit for fit. I used this trim kit to scribe my clapboards but you could also easily use a compass and set it up off the window jamb.
All of the clapboards were cut with a jigsaw and all of the end grain was primed prior to installation.
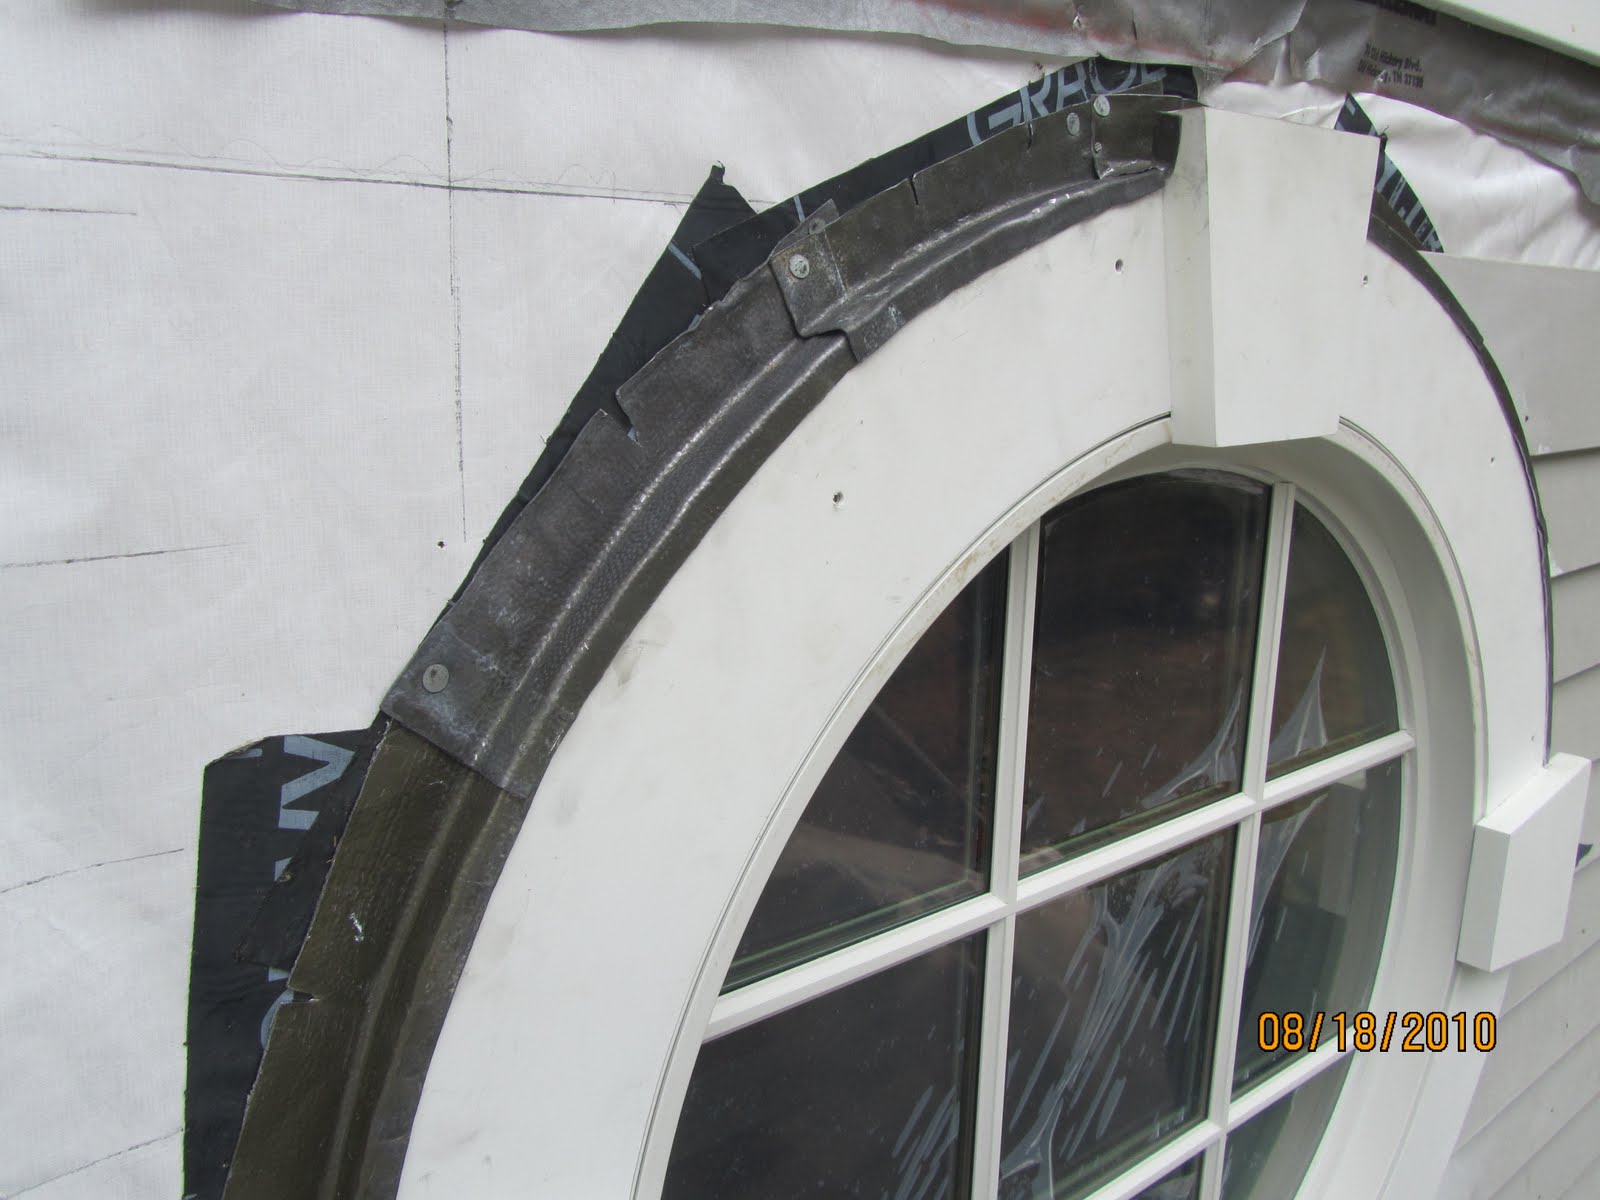
There is no metal drip cap over the round window. We used lead flashing and molded it to fit over the window. [photo below]
Overlap Flashing – think Like A Drop Of Rain
Flashing woks by overlapping and providing a place for water infiltration to follow and drain from. To to better understand this try to visualize the path of water flowing down and around this window trim.
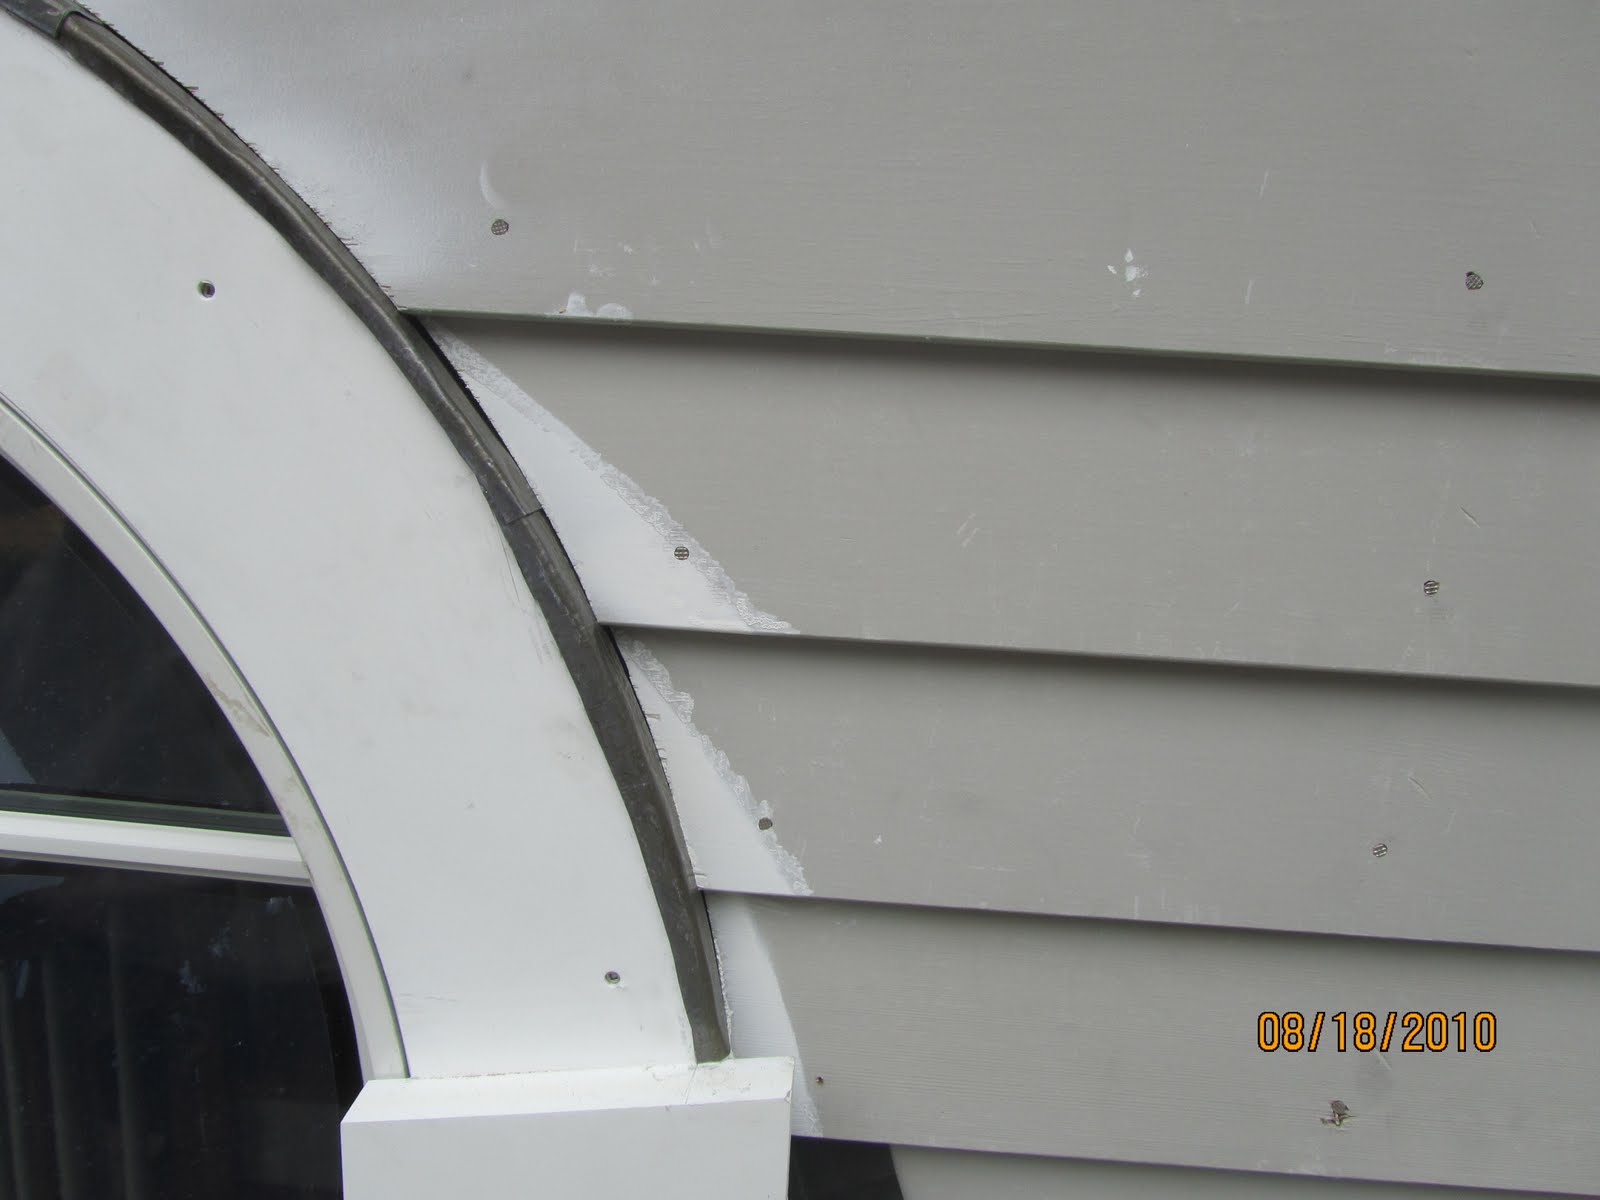
You need to try to keep water from penetrating the siding joints. This is often impossible to do so as a back up we install flashing behind the joints and drain the water out from behind the siding and on top of a lower section of siding.
The siding fit to the ATW trim and installs over the lead flashing. Care was taken not to nail to close to the window edge and into the lead flashing.
All nail holes were set and filled. Quality caulking installed in all vertical joints and around the window.