How To Cut In A Router Table Insert Plate

Router Table Insert Plate Installation
There are several ways to cut an opening in the router table to fit a router table insert plate. The challenge to doing this is cutting the table top and getting the router plate to fit perfectly. This article will explain how to cut in a router table insert plate.
Using a template to guide a router for this cut out is one way, the other involved using a router and a jigsaw, and is faster. The use of a template is needed in both methods, and reduces error by minimizing tedious measuring and layout.
Using a template with guide strips allows you to keep the router base flat on the table. Not only does this provide better router base support, but it allows me to cut through the entire table top using a standard router bit.
The plan was to create a template to first cut the rabbit for the router table insert to sit on and then add spacer strips to the template to cut out the hole for the router plate / router. This article will show you my approach to doing this with a router.
Items and Tools Needed
- Router Plate Insert
- Plunge Router
- ¼”, ½” or ¾” Router bit. [I used ¼” and ¾”]
- Scrap plywood / screws
- Clamps
- Framing square
- Tape measure
- Pencil
Router Table Insert Plate
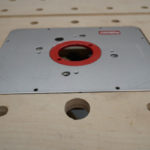
The first step is to acquire a router table plate. I already had a router plate [Woodpecker Woodworking] that I was using on another workbench and wanted to relocate it. You will need the plate in order to make your cut-out template.
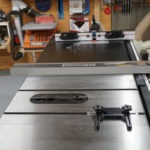
Router Table Insert Plate Location
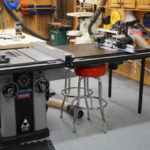
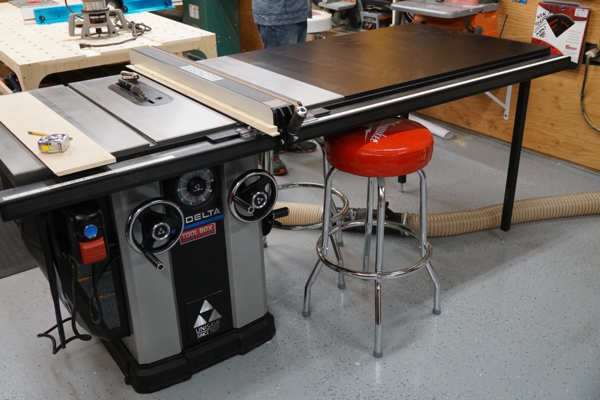
I chose to locate my router closer to the user side of the table, verses centering the plate, for two reasons.
First, I wanted to be able to easily reach under the table to adjust the height of the router. I do not have a crank style plate, and having it closer meant less reaching toward the center of the table. Second, having it closer to the user side allows the user to maintain a good stance and balance.
Another factor that I considered was the Rockler Router Table Fence I planned on using. Because I was not centering the router in the middle of the table saw table, I had to consider that my fence might over hang the edge of the table. The final router plate placement location was decided using a combination of keeping the router closer to the user and NOT having the router fence overhang the table, which could become a snag / bump hazard.
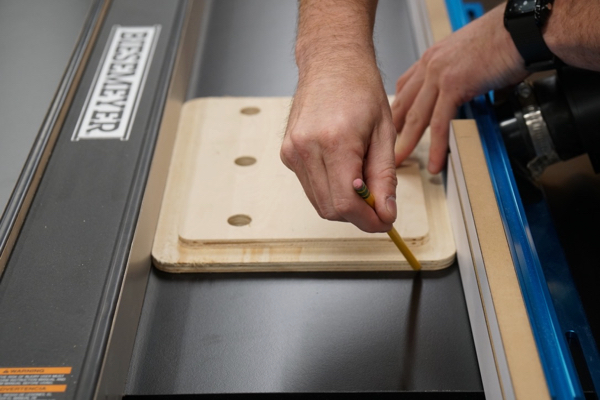
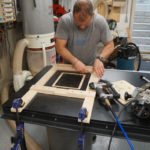
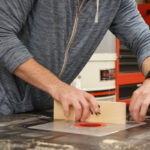
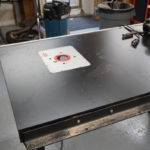
Mark the Router Plate Location
Once I had the perfect spot for the plate I used the table saw fence to align and keep the router plate square. Once square I traced around the plate to give me a visual reference to go by. This proved helpful throughout the installation.
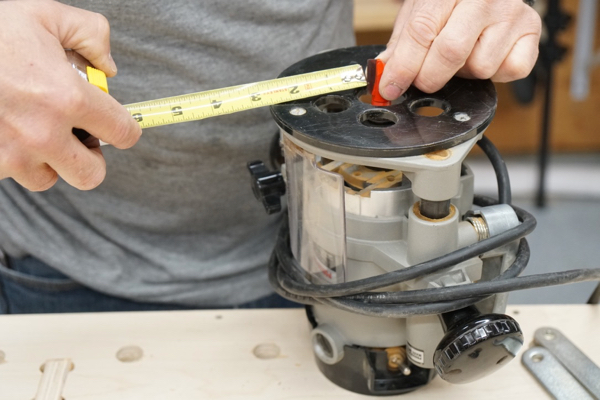
Measuring Your Router and Bit
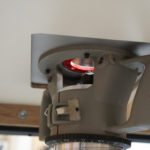
In order to find out what size to build the template, you will first need to know the distance from your straight-cut router bit to the outside of the router base. My ¾” router bit measured 2-1/2”. Make sure to check in all four directions, if your measurements are off, loosen the router base plate screws and readjust the base plate.
NOTE – I used a ¾” straight router bit because I wanted to match my old router plate design which had a ¾” rabbit for the plate to sit on. In hindsight, I should have used a ½” router bit because it better matched router plates corner radius.
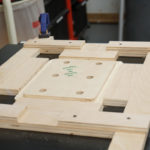
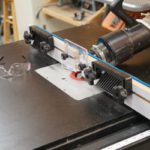
Using a Template with Guide Strips
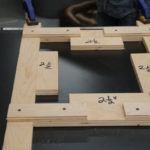
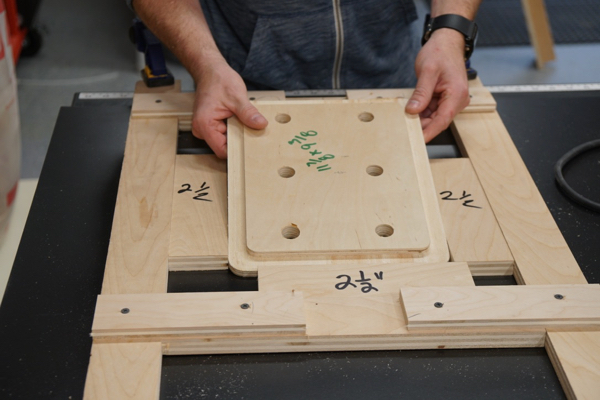
Making the template itself is pretty straightforward. I ripped four pieces of scrap ¾” plywood, log enough to span across my table saw table. I placed the router plate over my traced lines. To stay accurate, I ripped scrap plywood “spacer strips” to 2-1/2” and placed them against the router plate. (2-1/2” is the distance from the tip of the bit to the outside of my plunge router’s base)
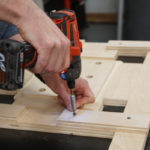
I kept referring to my trace lines and also used the table saw fence, locked down on one side. I constructed my template around this plate and 2-1/2” spacer scraps. I then screwed the 4 parts together with smaller strips of ¾” plywood. Similar to a gusset plate. Use at least 3-4 screws to keep the template from moving.
While assembling the template, make sure all of the parts are snug together. I again used the table saw rip fence as an anchor point to push against while measuring, cutting and assembling. Once I was sure everything lined up and made sense, I clamped the strips down on the table saw table, double check everything, and check for square.
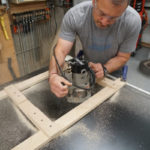
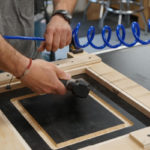
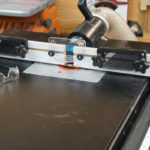
Rout the Recess for the Router Plate
Set your router to the depth of your router table insert plate.
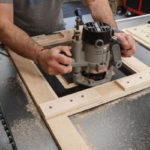
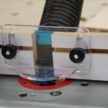
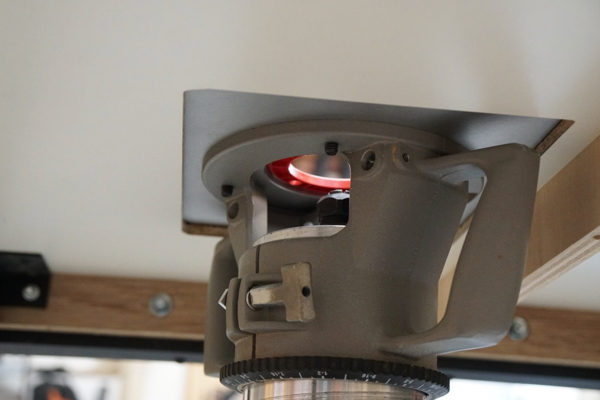
NOTE – My hand-held plunge router has an oblong shape at the base. To keep me oriented correctly I place a black marker line on the base plate. I made sure that this line was in contact with my template on all four sides.
Remove the scrap 2-1/2” spacers and place the router inside the template for a dry fit. Do a dry run with the router bit almost touching the table top. Do this to double check that against your router bit lines up with you traced plate lines. The next step is to rout out the plate recess to the depth of your insert plate. Operate the router in a clock-wise fashion on all four sides.

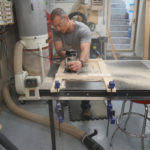
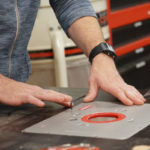
Cutting Out the Center “Cut-Out”
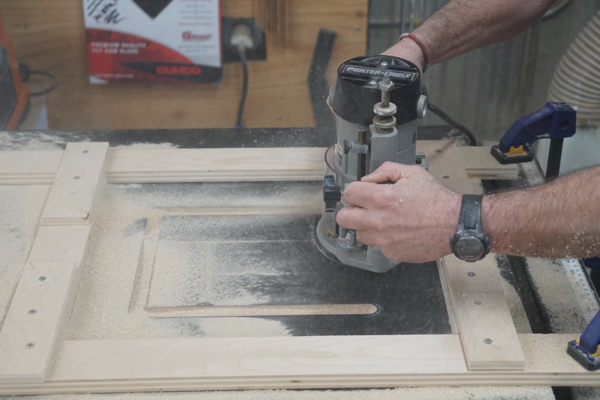
I decided to use a ¼” straight router bit to cut out the center of the cut-out. I figured the ¼” bit wuld create less dust, and it did. I again measured from the edge of the router bit to the edge of my router base which was 2-3/4”. I compared that measurement to the location of the cutout. Based on those two measurements I cut ½” spacer strips to add to all four sides of my template.
I made these spacer strips snug so I had to bend them slightly to get a pressure fit. While not needed, I added some pin nails to ensure they would stay in place. Adding these spacer strips places the router cut ¾” out from the previous cut. Remember I was looking for a ¾” rabbit to support my router plate. Once in place I proceeded to cut out the center section where the router plate and router will sit. I set the router bit depth 3/8” for the first pass and then lowered it to 7/8” for the final pass.

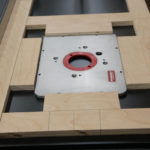
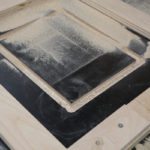
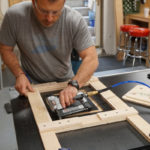
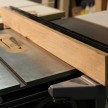
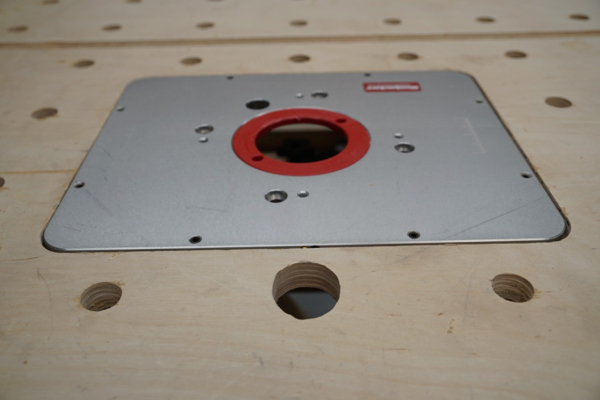
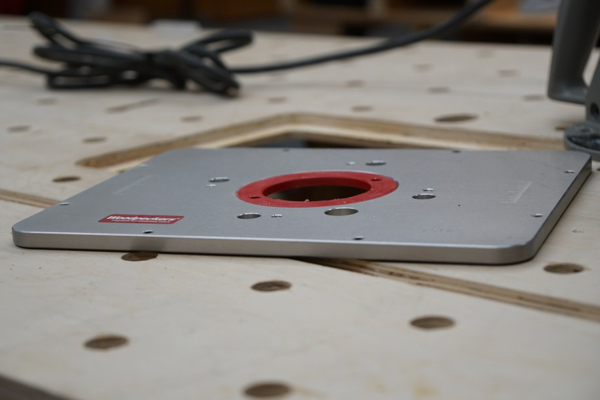
Test Fit the Router Plate
Leave the template in place and do a test fit. The test fit of the router plate showed that the plate was 1/32” high, so I removed the ½” spacers, installed my ¾” bit, and cut the rabbit deeper. I made a pass with the router and then dry fitted it aging until the plate was slightly lower than the table. I then used the plates built in Allen set screws to level it out. Use a scrap block of wood to slide over the table and onto the plate, and vice versa to ensure that the plate and table top were at the same plane.
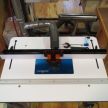
Mounting the Router
Mount the router to the router table insert plate with the screws from the routers plastic base plate.
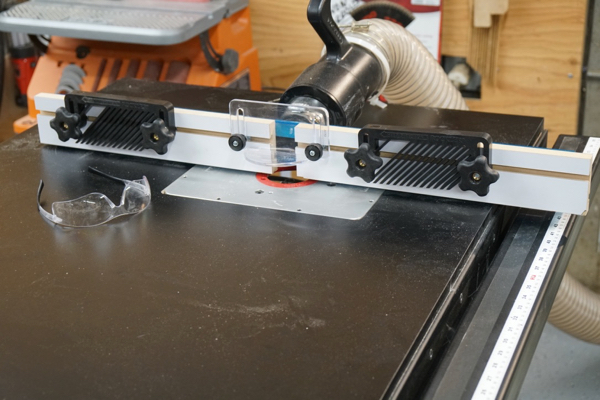
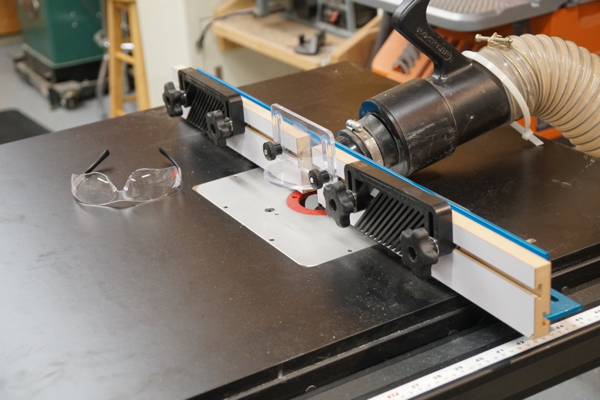
Router Fence
Once this is complete its time to think about a router fence. In years past I made a wood fence that slipped over my table saw fence. It worked great but I was unable to use my table saw when routing. So this time I opted for a Rockler fence, with dust collection and some feather board accessories.
 Steps
Steps
- Locate router plate location on table.
- Square on table and trace location.
- Measure the distance from your straight-cut router bit to the outside of the router base.
- Cut spacer strips to that measurement.
- Place router place on table.
- Place spacer strips around router place
- Make template: Cut and scrap plywood strips to surround the plate and spacer strips. Two strips should span width of the table for clamps.
- Screw strips of plywood onto template to hold it together.
- Check alignment, square and then clamp to table.
- Set router depth to the depth of the router table plate
- Remove spacer strips and dry fit router
- Route in a clockwise fashion
- Add spacer strips to the template to cut out center portion of table.
- Route in a clockwise fashion
- Test fit.