How To Build An Outdoor Shower

Step 4 – Install Support Rafters
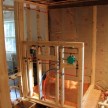
We installed two 2×6 cedar boards on each side of the 4×4 support posts perpendicular to the house wall. This resulted in three pairs of 2×6 rafters, six rafters in total. The rafters each tie a row of support posts together and secure them back to the house.
To install the rafters we temporarily clamped them in place, checked for uniform elevation with a level, and attached them to each post with galvanized threaded rods, washers, and nuts.
Later we will add strips of cedar in a crisscross grid on top of the rafters to achieve a trellis look and also to further support the structure. The crisscross grid could also provide support for future climbing vegetation.
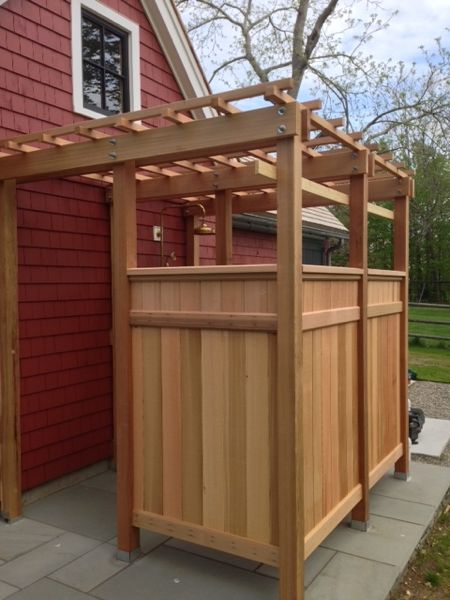
Step 5 – Install Wall partitions
Depending on your design this is the time to install partitions between your support posts. Some folks opt for a solid wall while others prefer the staggered wall board spacing, inside and outside which completely obscures the view of the shower.
On our project, we used tongue and groove cedar to male our walls. We planned for and ripped our boards on a table saw to achieve even spacing of our boards at each post.
To get tight-fitting partitions I squared one end of my horizontal trim board, leaving the other end long. I held it in a position where the partition wall was to be placed and marked it with a utility knife. I then used this board as my reference to make my wall partitions.
TIP: The utility knife technique is a carpenter’s trick for achieving tight miters and other tight-fitting parts. Read more.
We then used pneumatic finish nails to fasten two chamfered, horizontal trim boards to the top and bottom of one side of the wall partitions.
Our partition walls were spaced off the patio 8 inches. Once in place and plumbed, we secured them in place with countersunk, stainless steel screws.
Screws were installed down from the top edge and sidewall. [top and bottom] Afterward we installed the other side horizontal trim boards to hide our screws.
To finish off the partition wall we added a 2×4 top cap that we cut to shed water. This cap also had a dado cut on the bottom to help secure and cover the partition wall seam.
Continue Reading . . .