How To Build A Hidden Water Fountain

Build A Hidden Water Feature
Statues, vases, disappearing fountains and rock fountains are becoming popular backyard focal points. Just go to any garden shop and you’ll see dozens of options for Koi ponds, waterfalls and basin fountains.

Installing a disappearing or hidden-basin water fountain doesn’t take up as much space as a waterfall or Koi pond but still gives you the sound of bubbling water and a great looking focal point for your landscape.
With a disappearing fountain, water is pumped through and out a fountain standpipe from a hidden reservoir buried in the ground. The water then overflows the basin rim and seems
to disappear into the ground.
Installing a hidden or disappearing water fountain is a great DIY project and a way to add the soothing relaxing sound of moving water to a patio, pool or flower garden area
How to Build A Hidden Water Fountain:
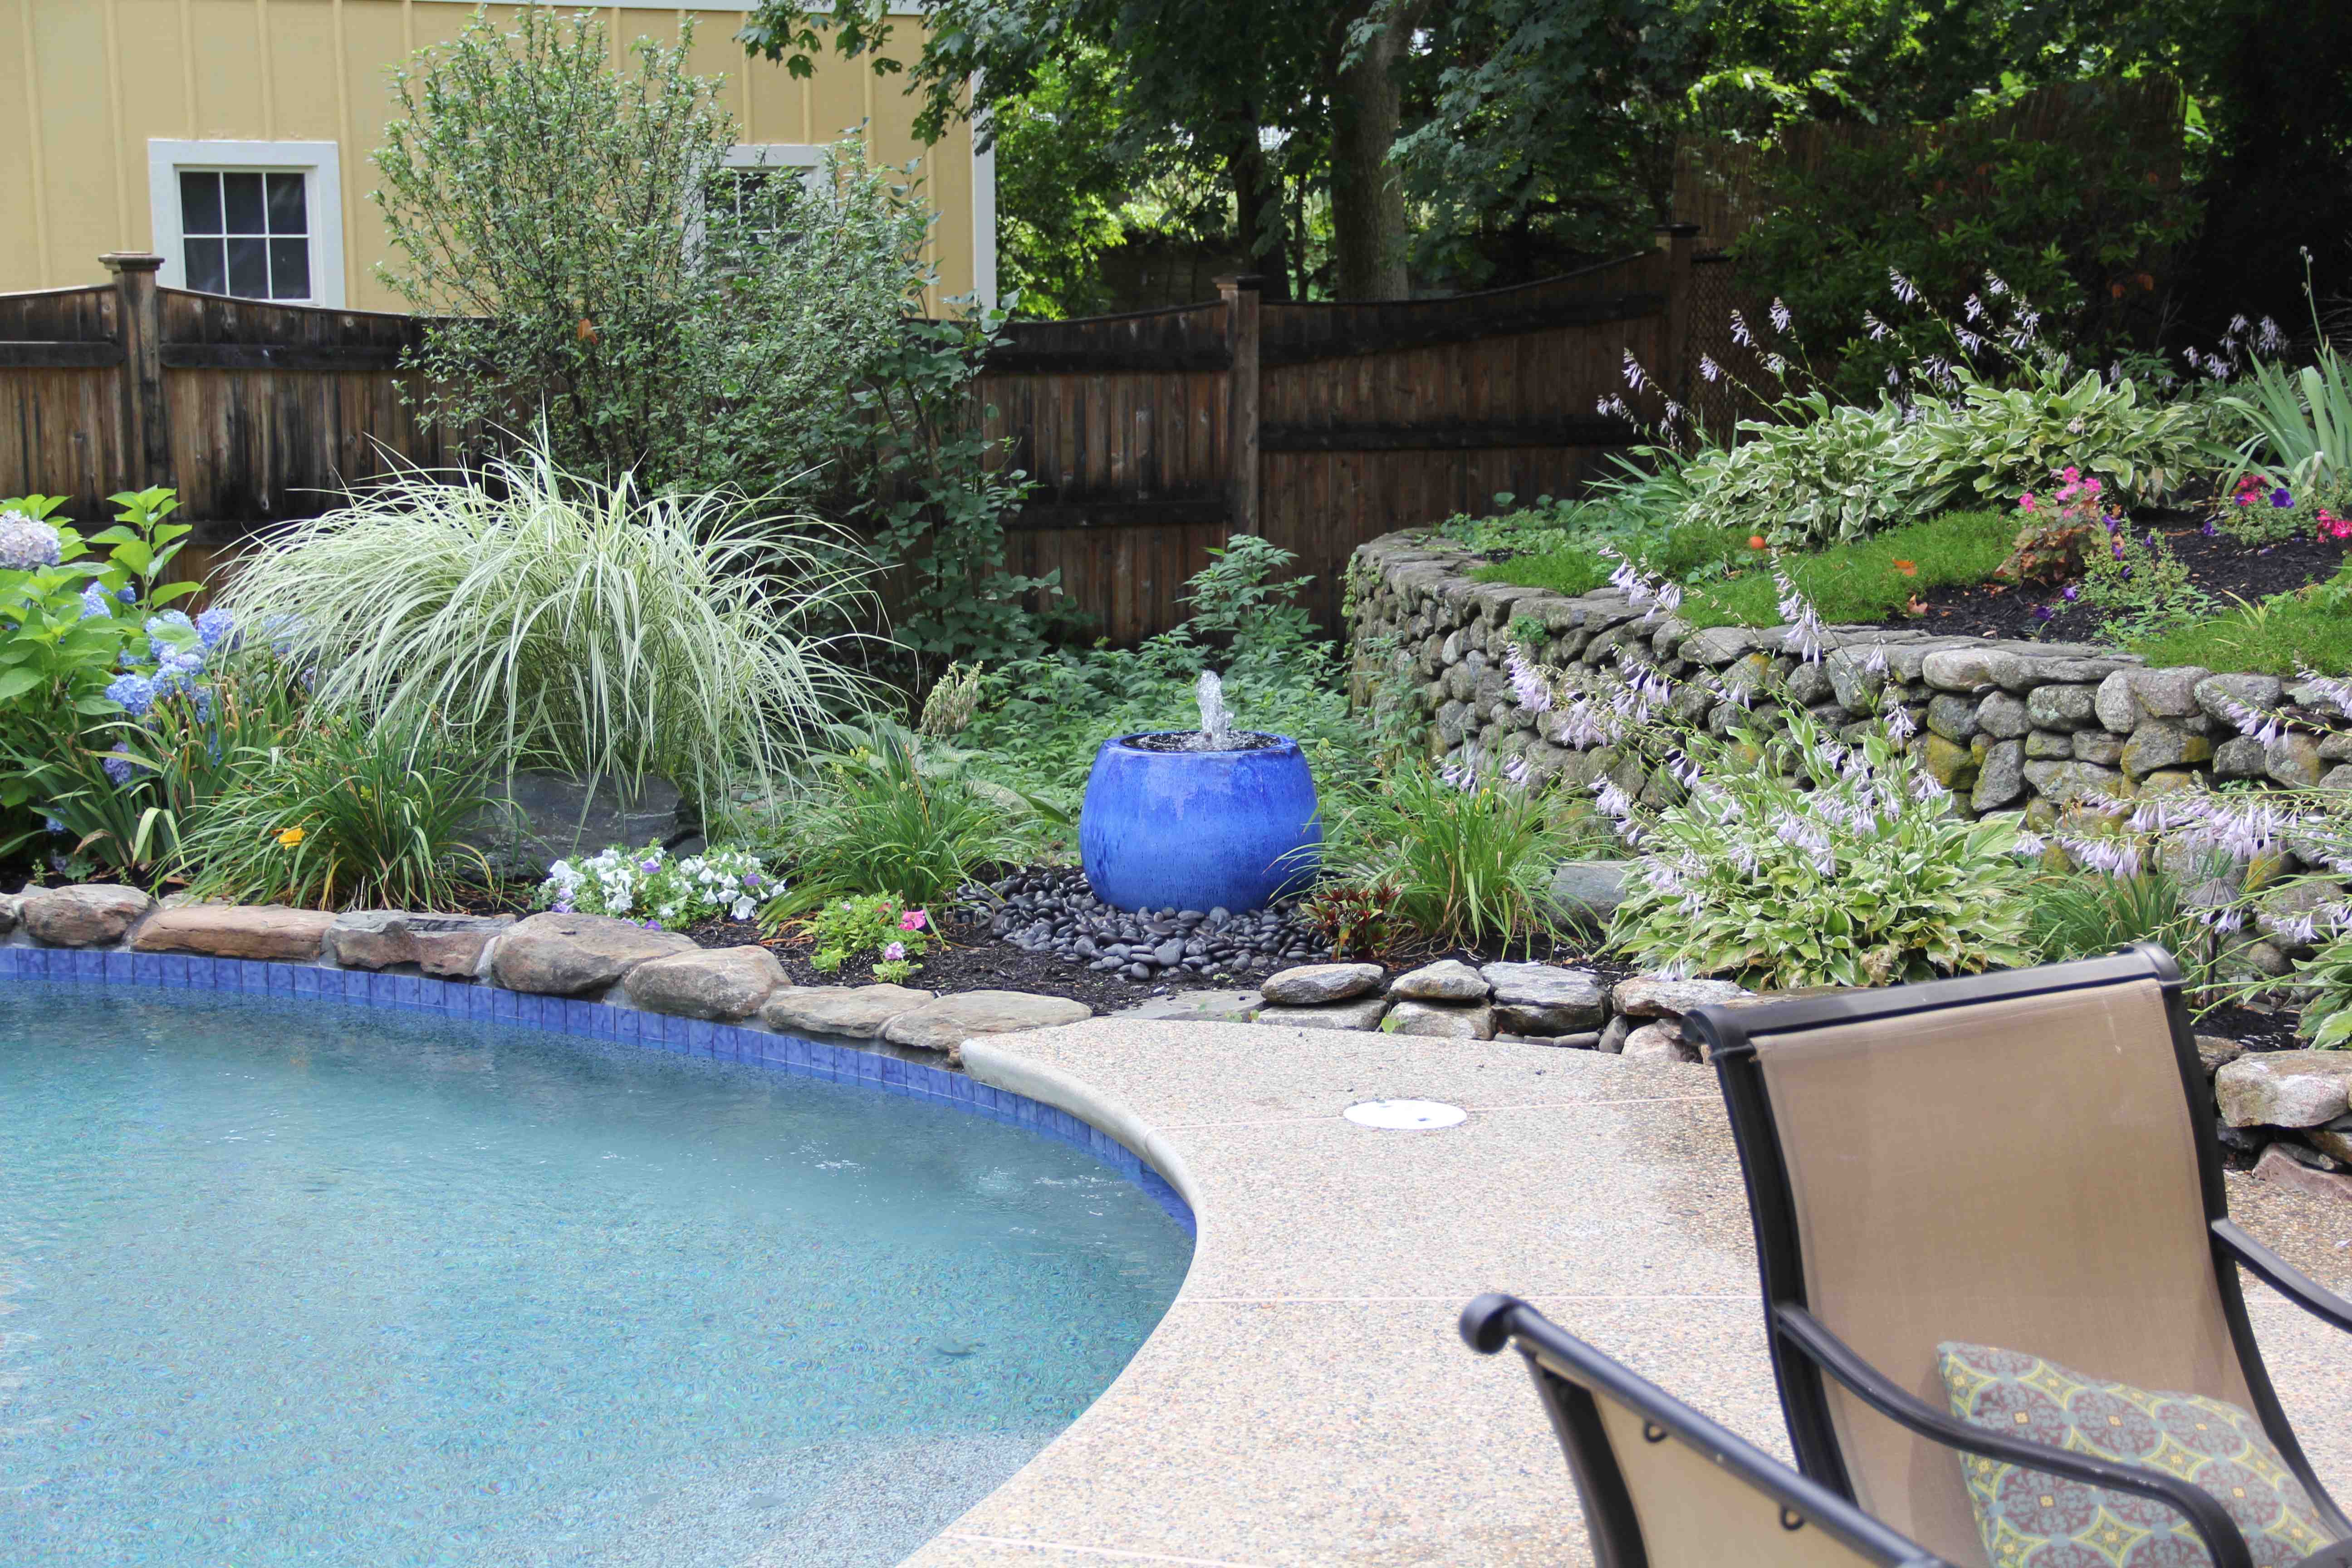
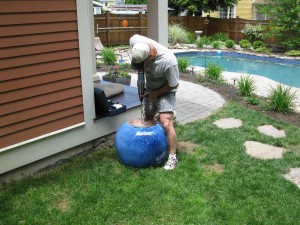
Recently a friend gave my wife and me a beautiful blue glazed pot for our wedding anniversary.
The blue glaze matched the tiles surrounding our pool. My wife has always wanted a water feature by the pool and asked me to make this glazed pot into a water fountain. I recall her saying, “That shouldn’t take you too long, it seems pretty easy.”
So my “honey-do-list” on that weekend was to learn how to build a hidden water feature using the glazed pot.
After some research I learned that a glazed pot is suitable for a fountain and has a life expectancy of 20+ years. I was happy with tha
Choosing The Hidden Fountain Location:

I chose my location based first on the fountain’s best setting in the pool area and second on its access to power.
The spot I chose was at the end of the pool near a table, chairs and umbrella. This location was also suitable to get an electrical conduit to by following the stone wall.
Designing the Hidden Fountain:
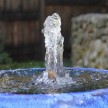
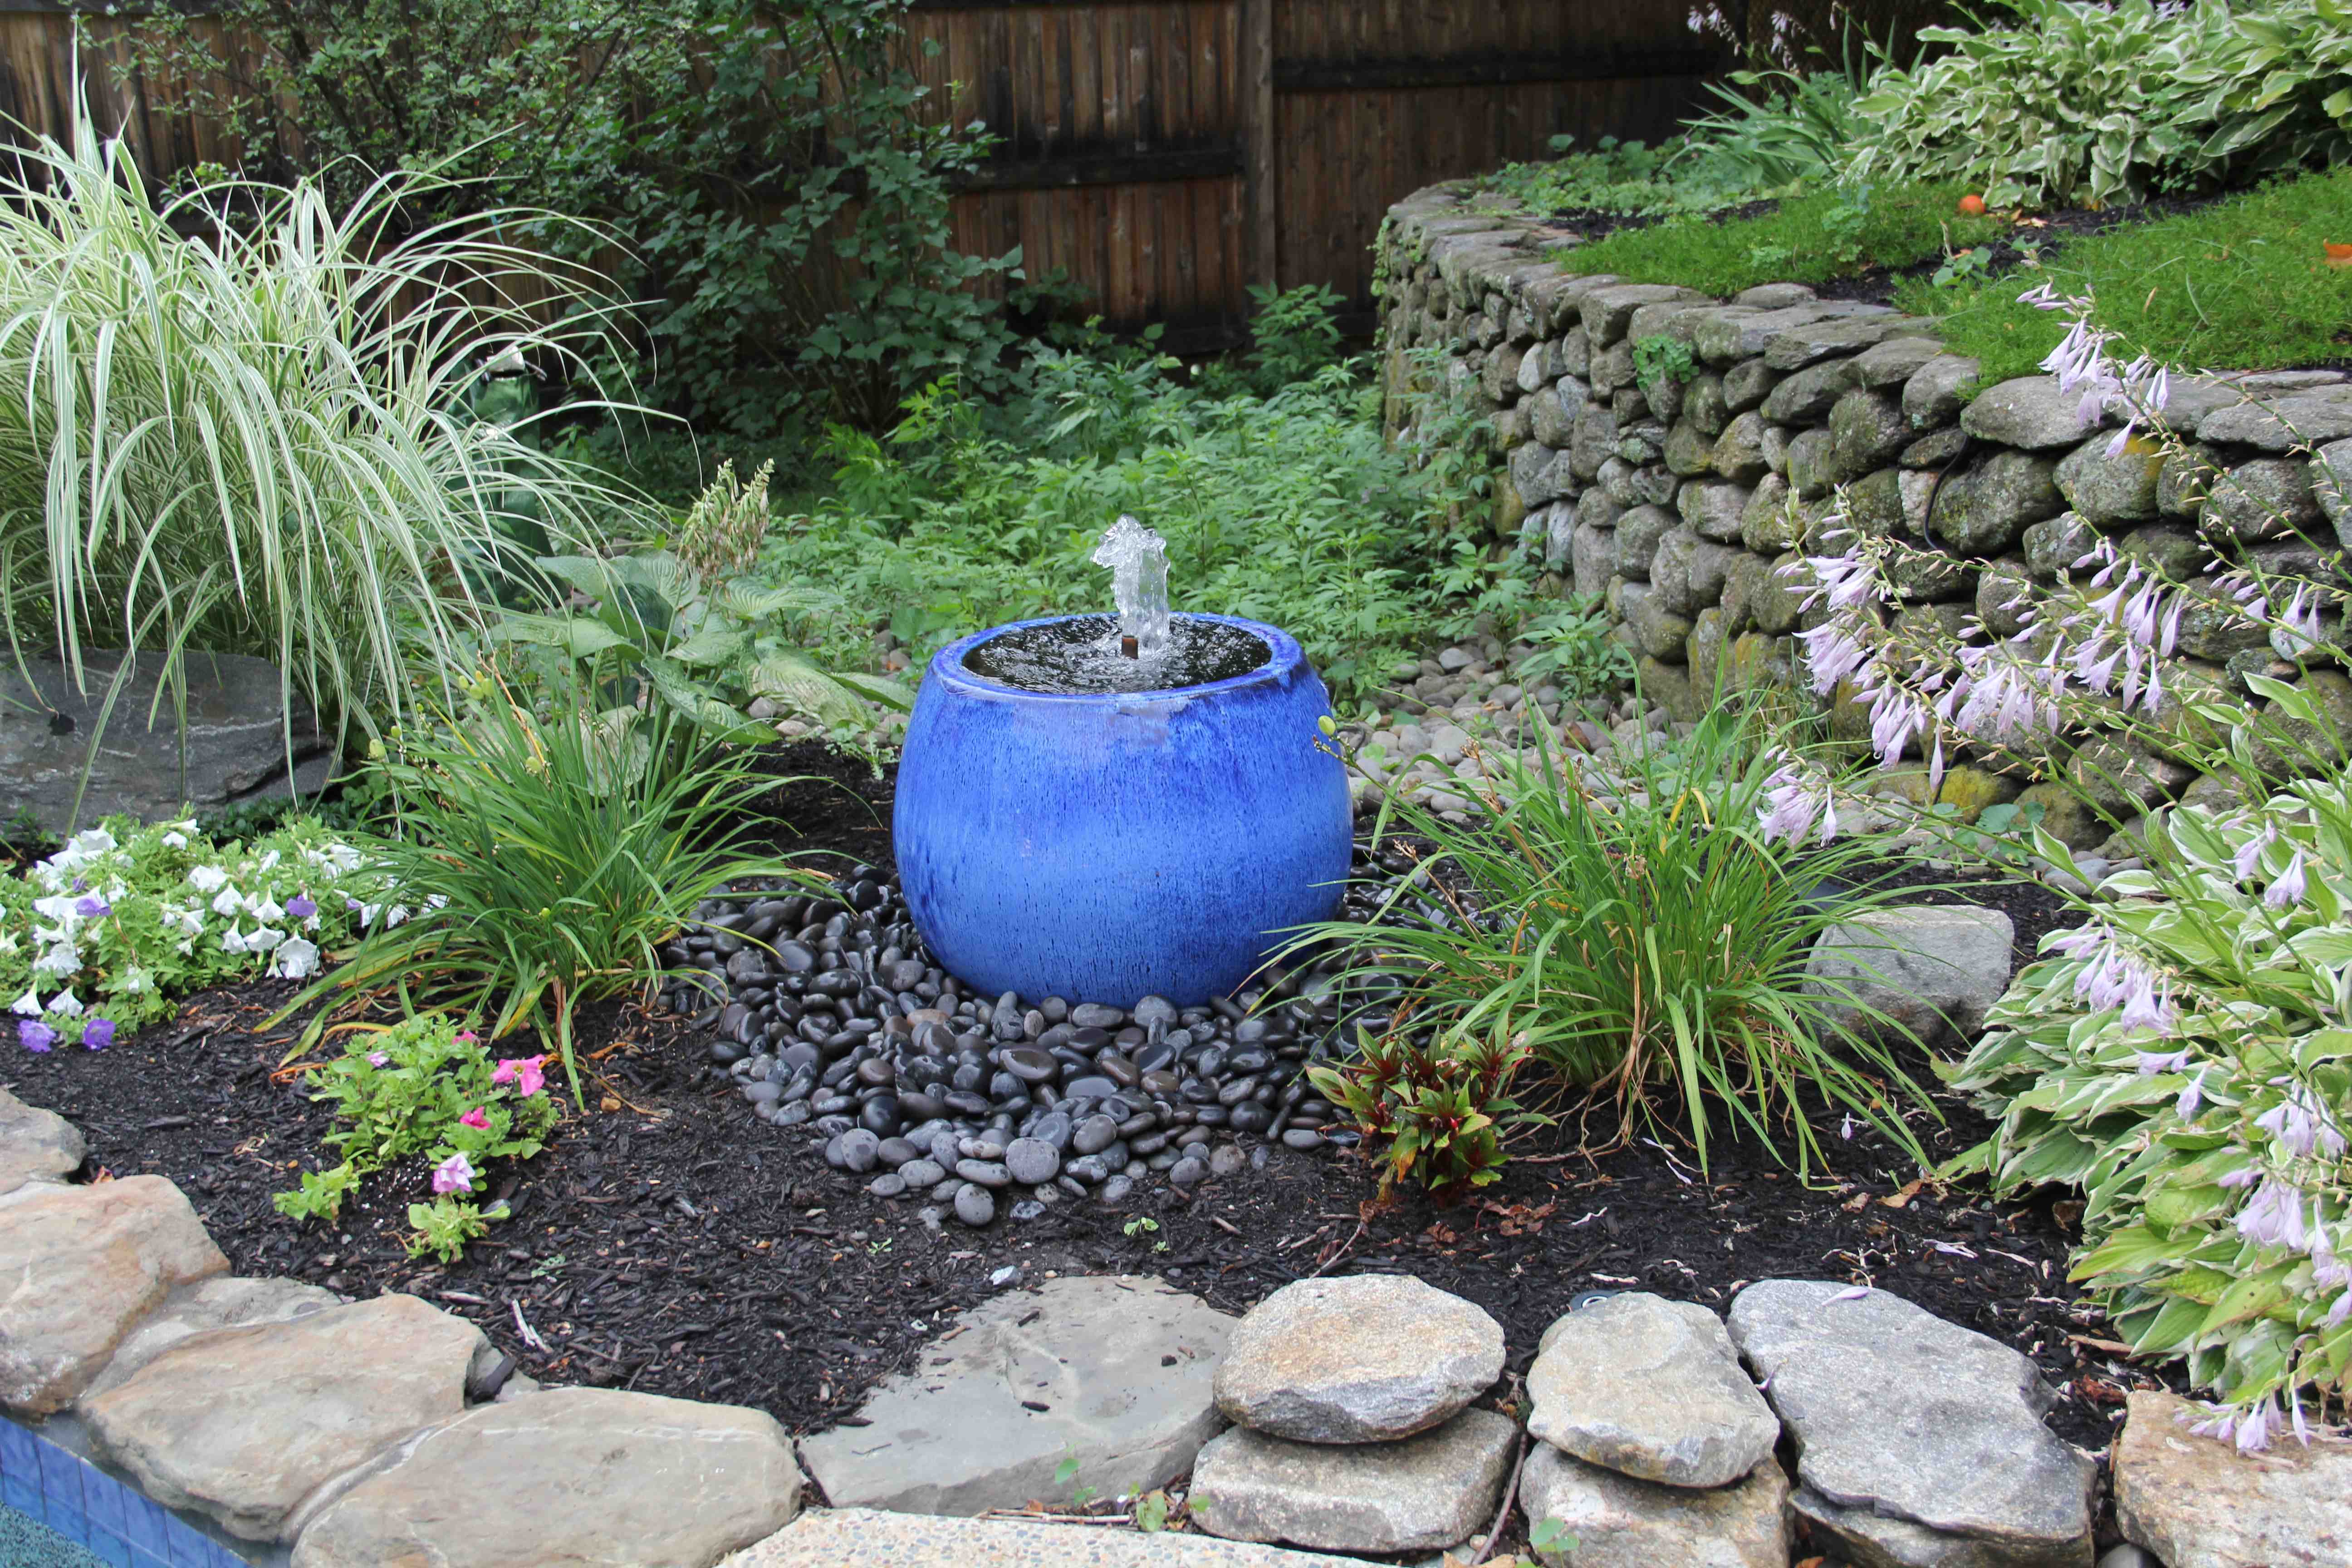
My vision was to have a 3/4″ copper pipe protruding approximately one inch above the waterline at the glazed pot’s rim. The water plume will cause the water in the pot to overflow and run over the pot’s side and disappear onto river rock stones around the pot’s base.
I needed a method to collect the overflow water and re-circulate it back to the fountain.

After visiting my garden center I learned that they sell plastic basins with a grill specifically designed for what I needed. The basin is called a “disappearing fountain basin.”
I bought the basin and a pump suitable for recirculating the water. Next stop was the hardware store where I purchased some copper pipe, quick disconnect, copper elbows, a few stainless steel clamps, a shutoff valve and some marine epoxy.
At this point my idea was a theory. I was still unsure as to how I was going to configure the fountain pipe and secure it to the pot.
I wanted to achieve several things with this project:
1. I wanted to install a shutoff so I could restrict and control the flow of water.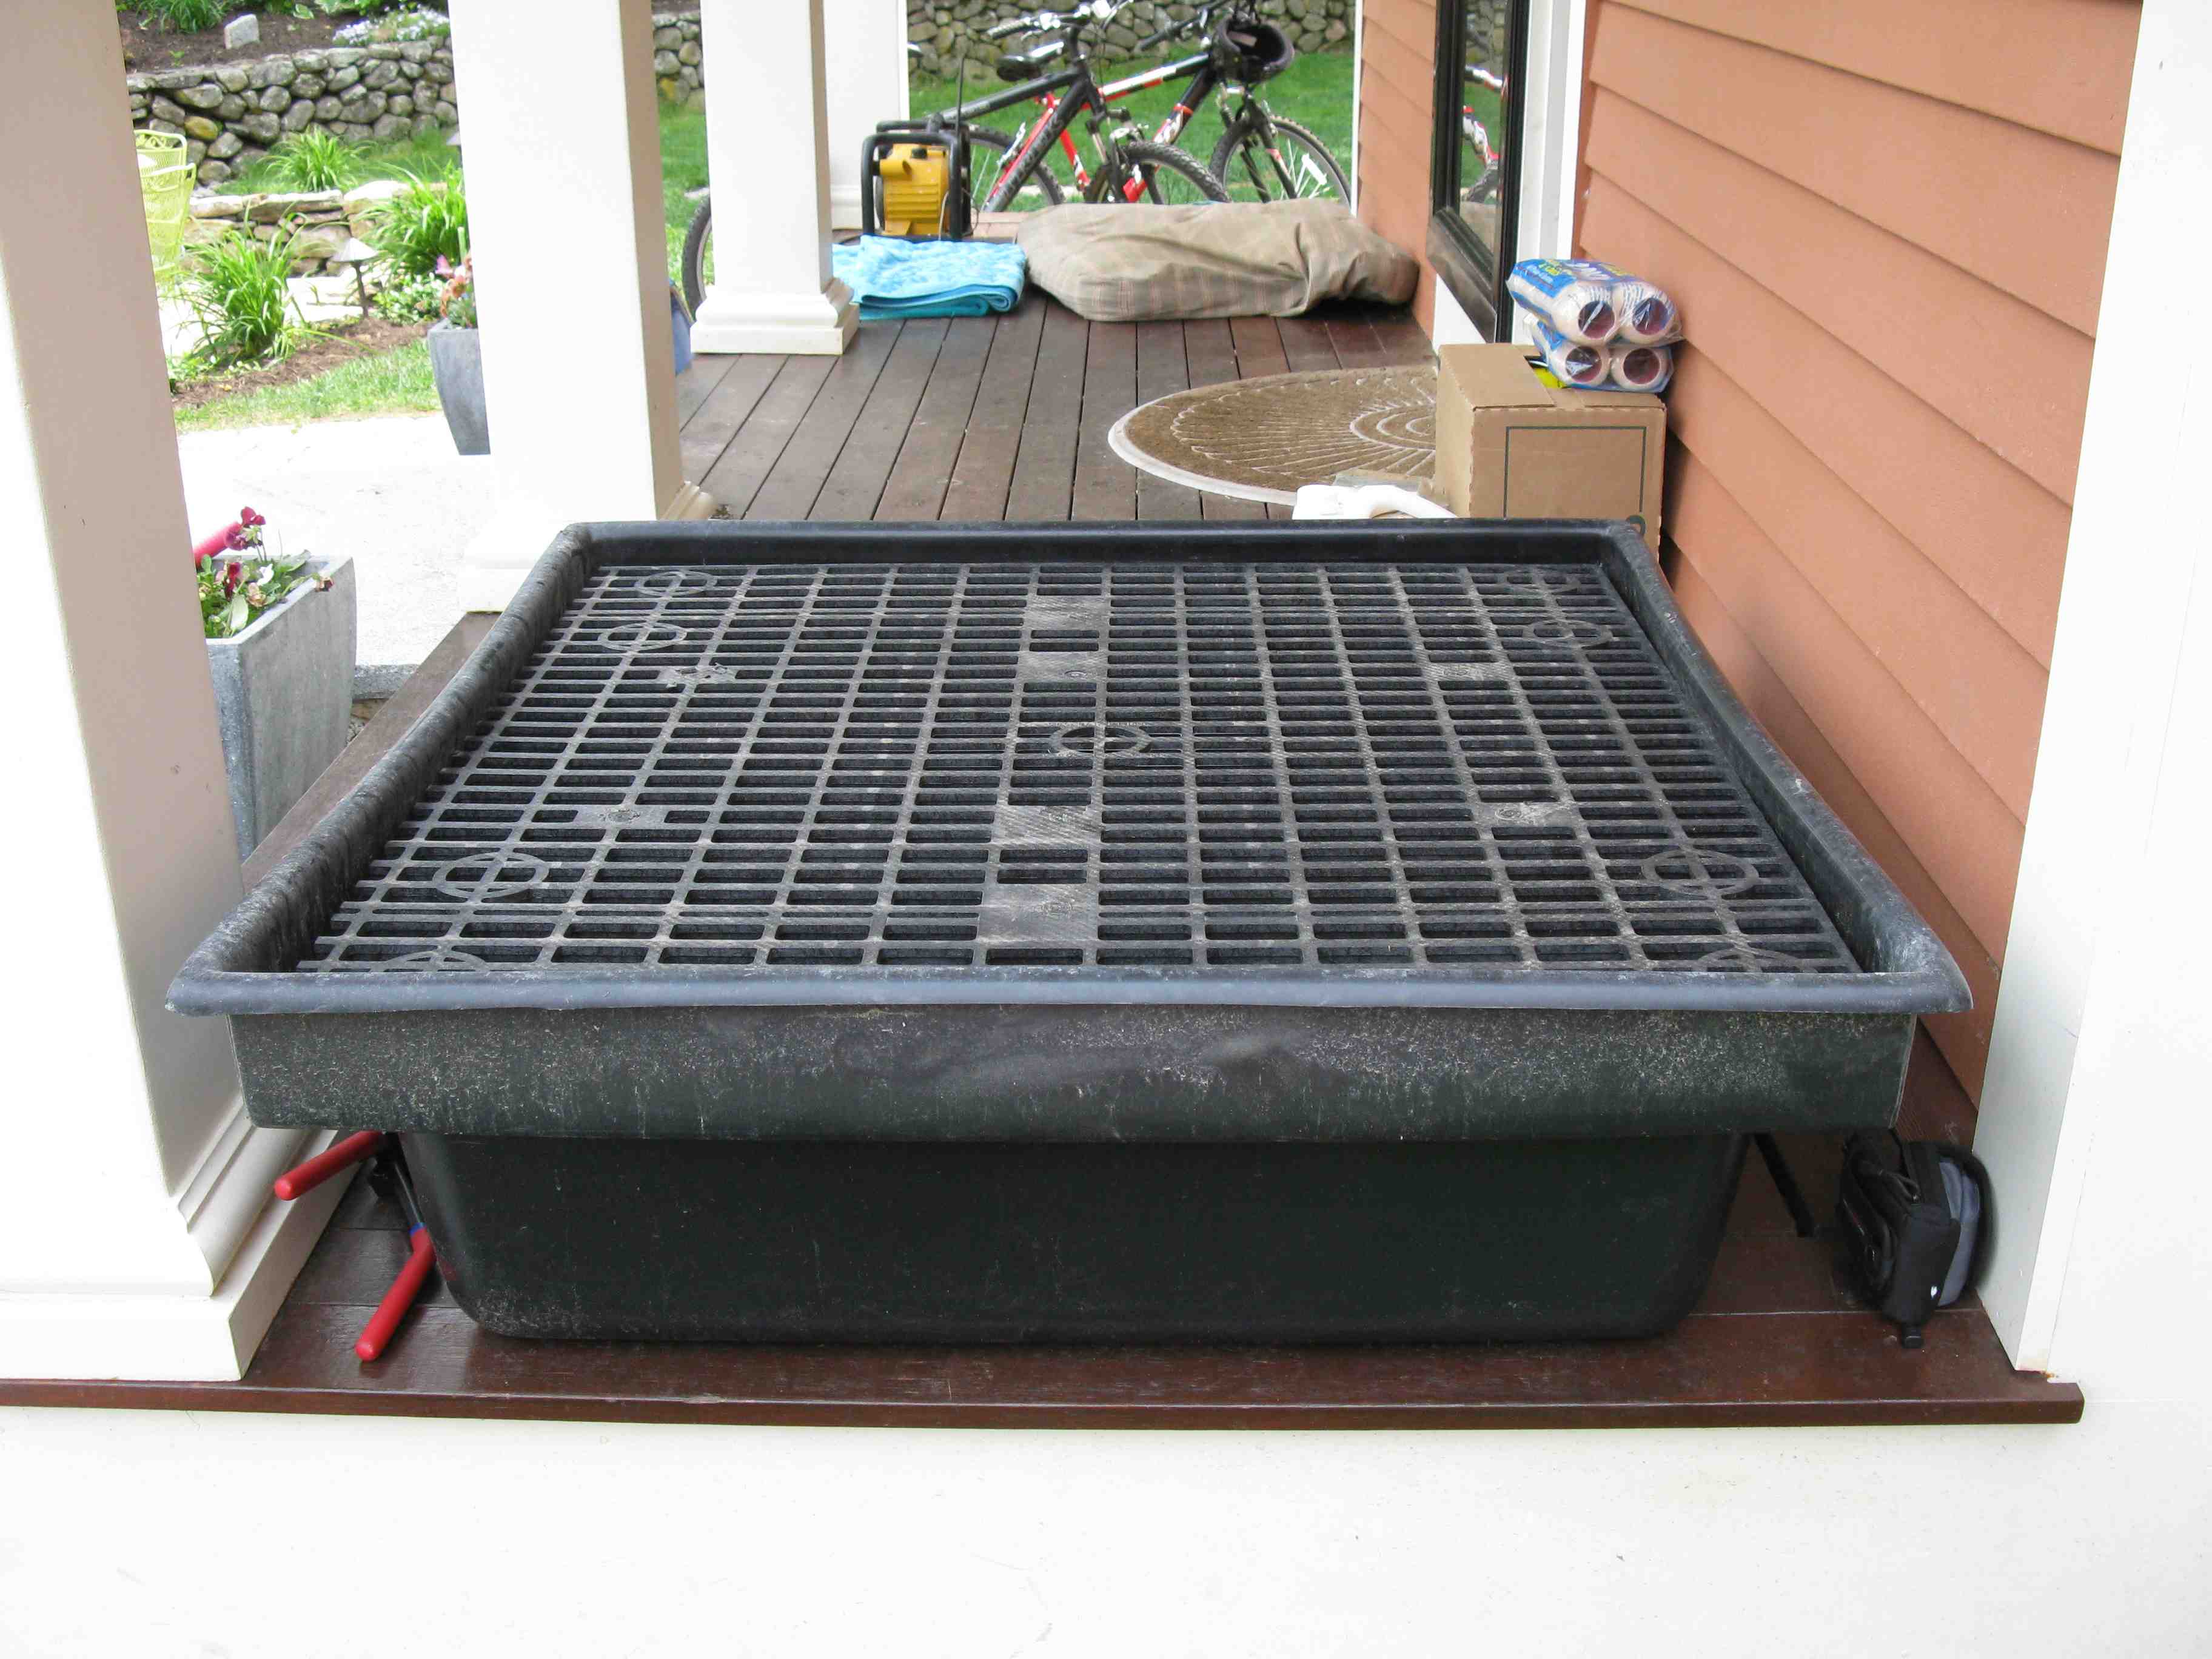
2. I wanted to be able to disconnect the pump from the bowl for winter storage.
3. I wanted to be able to hear the splash of the water as the water overflows from the pot.
4. I wanted to be able to easily drain the basin or service the pump if/as needed.
5. I wanted to control the pump with a timer.
The Hidden Reservoir Basin:
I chose to purchase my pump and basin from a local nursery.
The basin is 36” x 36” x 14” deep and is made of reinforced plastic. The grating is reinforced PVC with a mesh netting covering the grate. The mesh netting helps keep debris and small stones from falling into the reservoir. Cost for the basin was $200.00.
The basin will house: the reservoir water pump, some pipe and other connections and will be filled with water.
This basin is designed to be installed at ground level and covered with decorative stones. I planned on using Mexican beach pebbles which are black and smooth.
Water Pump:
With help from the nursery water fountain expert I chose a Little Giant submersible pump which is designed for continuous circulation.
This pump can handle up to 400 gallons and pumps 475 gallons per hour. The pump cost $100.00. I plan on running this pump only 16 hours a day and controlling it with a timer.
Making The Fountain Connections:
To keep my options open, I chose a pump powerful enough to push the water above the waterline. If it proved to be too powerful I would restrict the water flow with the shut off valve I purchased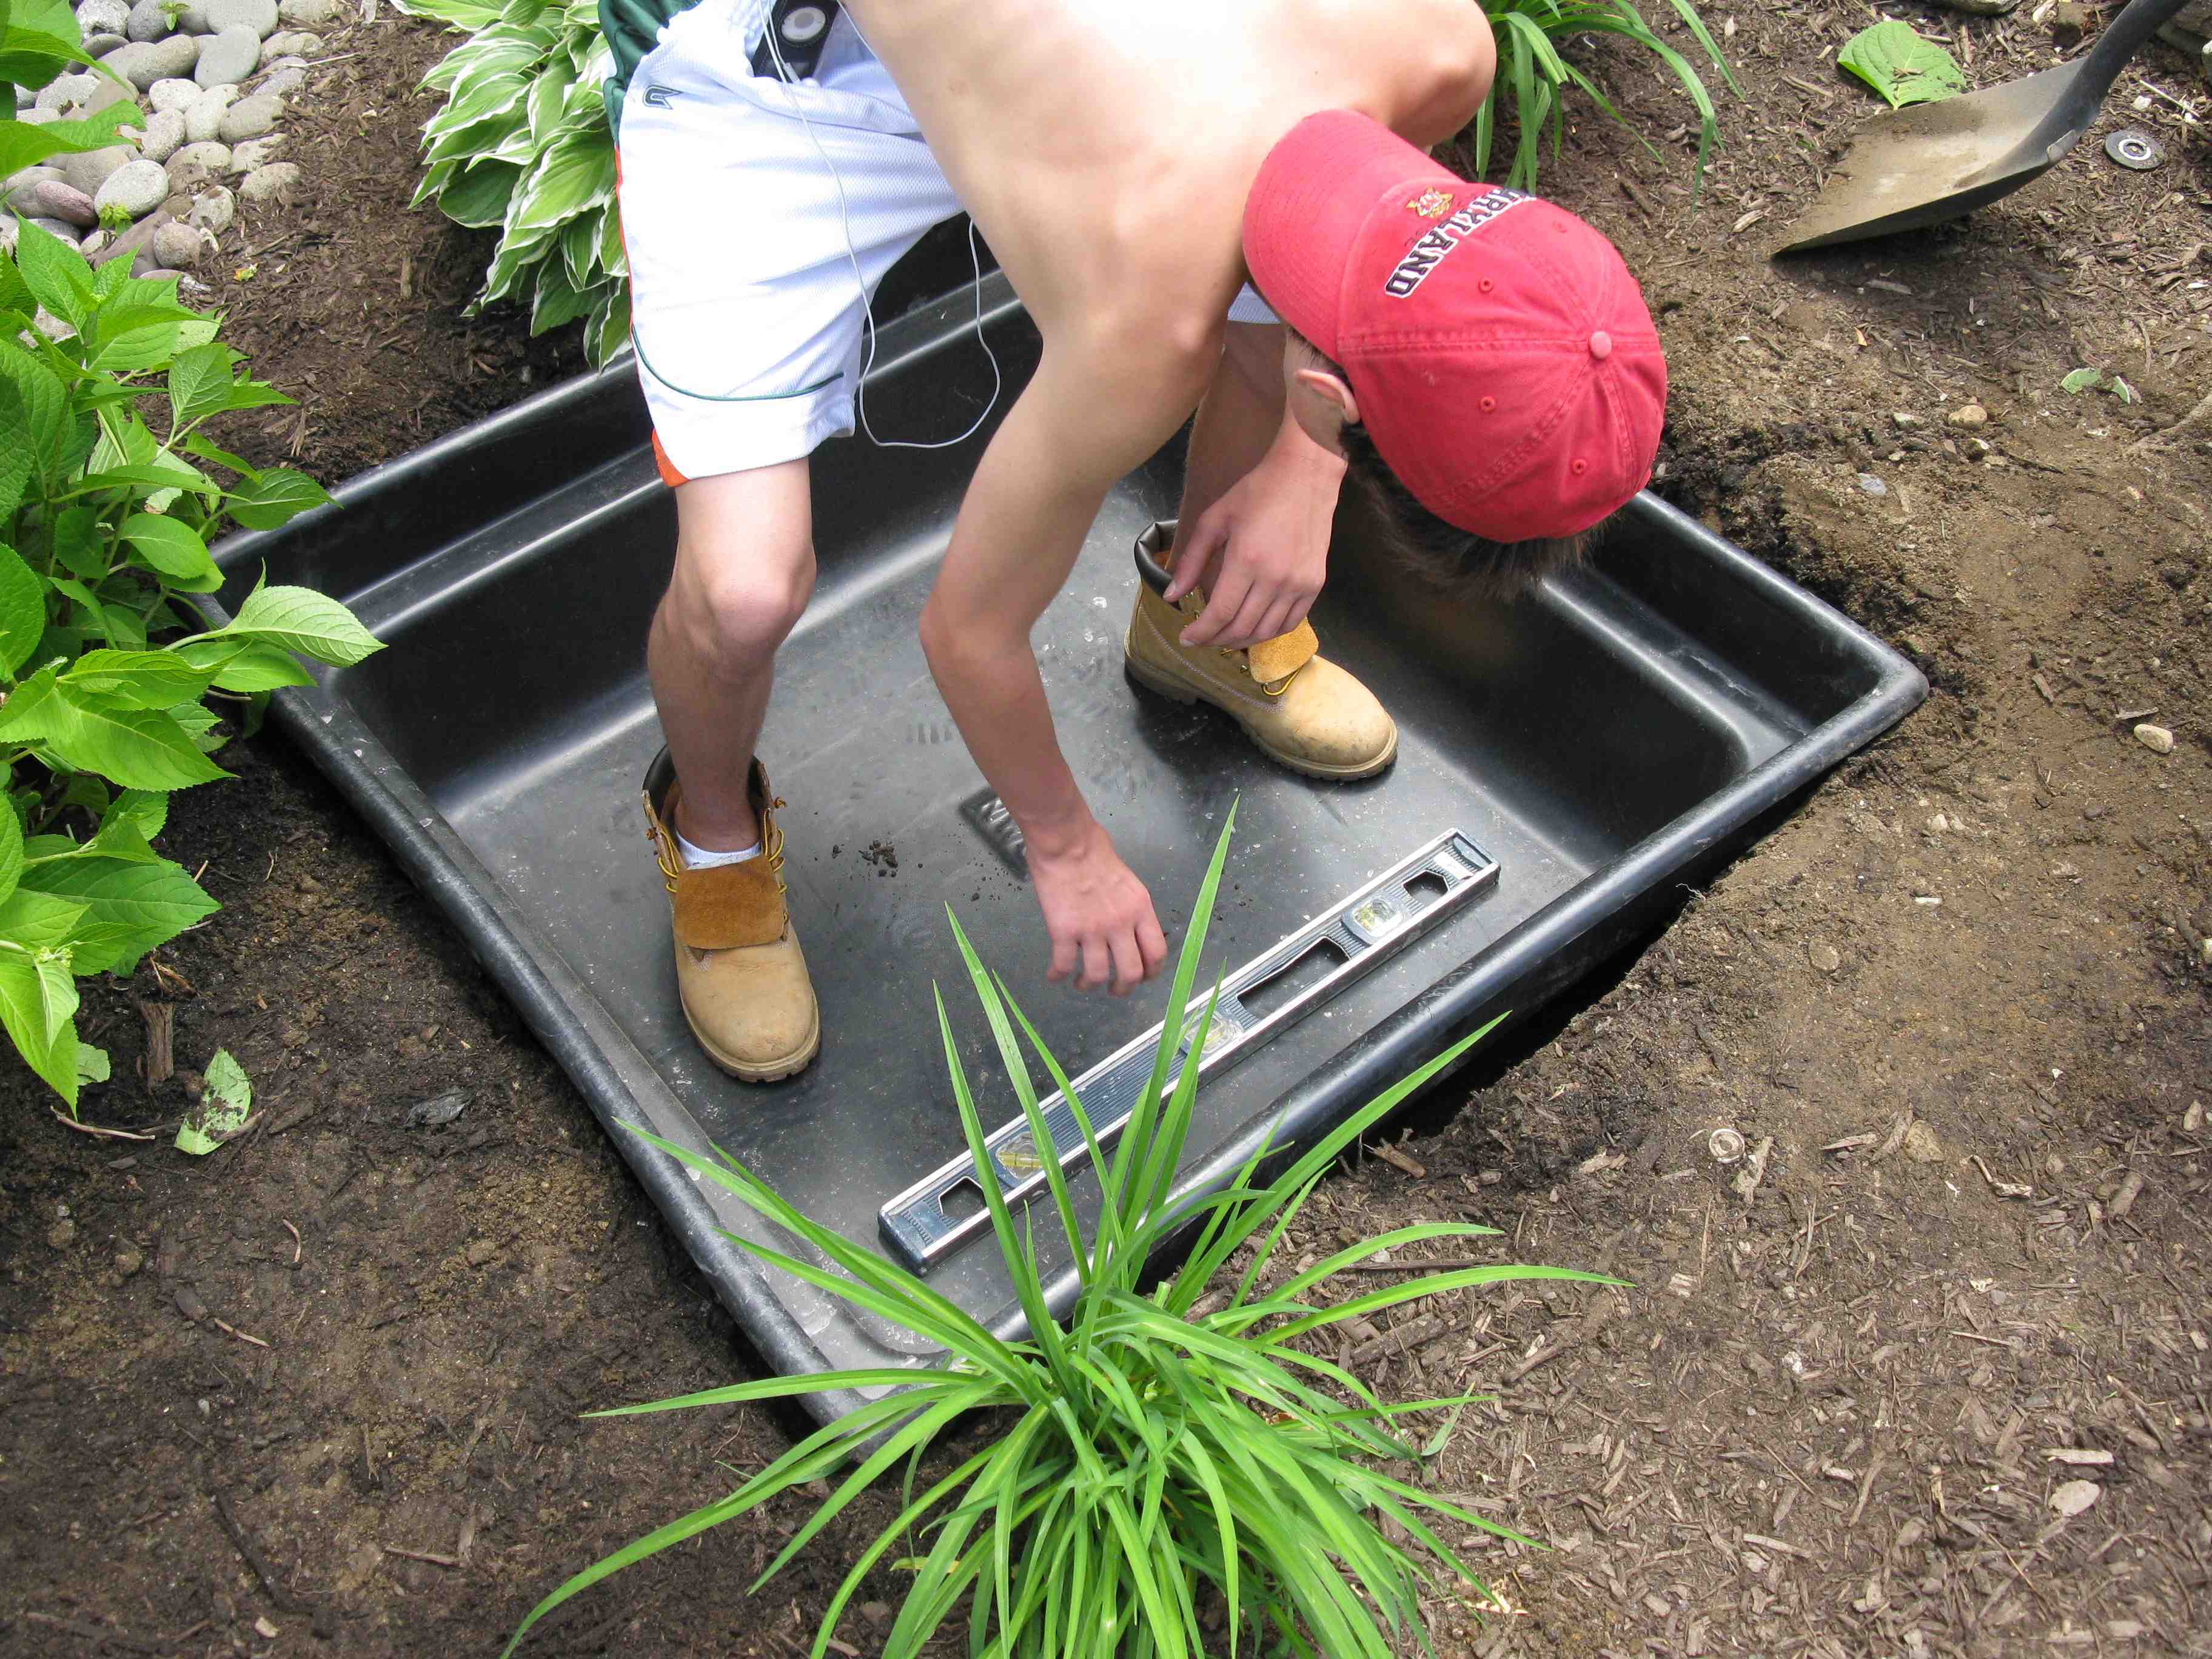
I played around with different pipe configurations, swapping elbows and hoses until I came up with a design I liked. Remember my plan was to make the pump that would be easy to disconnect.
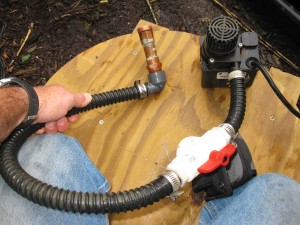
Below is the shut off valve that I used to restrict the water flow. It’s important NOT to put anything that restricts the flow of the water ahead of the pump intake.
I finally decided on and connected the shut off valve with a pair of 3/4″ x 3/4″ nylon barb adapters and stainless steel clamps. I wrapped Teflon tape to the nylon threads before s
The shut off valve is connected to the pump with 3/4″ hose and a stainless clamp. The hose that came with the pump screws onto the pump and stays in place without connectors. This allows for quick disconnect to clean or store the pump.
After some experimenting with a variety of connectors I finally arriving at the configuration shown below.
I chose a 90 degree irrigation elbow insert (1″ x 3/4″) to connect to copper pipe.
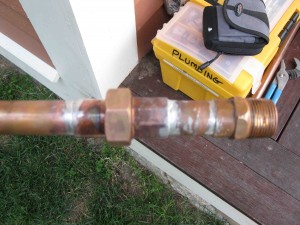
The PVC elbow connects to a 3/4″ copper threaded “X” male adapter fitting. A short piece of 3/4″ pipe separates the male adapter from my disconnect fitting.
The disconnect fitting will allow me to drain the pot and remove it for winter storage.
Attached to the disconnect fitting is a long piece of ¾” copper pipe that makes up the main fountain pipe that will run up and through the basin. The copper tube
will be mounted through a hole drilled through the center of the glazed pot.
Installing The Hidden Reservoir:
The glazed pot will eventually be installed on the basin as shown below. Installing the hidden reservoir required my digging a hole about 14″ deep and 3′x3′ square.
We lucked out and were able to get our hole in without having to move the irrigation pipe in the bottom of the hole.
When I saw this pipe it gave me an idea that I might want to add an auto-refill to the basin so I wouldn’t have to re-fill it once a week.When preparing the reservoir basin hole use care to make sure the bottom of the hole is flat and level in
both directions. If not, the reservoir will be out of level and you will not be able fill the reservoir to its capacity.
Once the hole was excavated and leveled we installed the reservoir, checked again for level and back filled and tamped. [note: level not shown properly, hold level on edge]
I chose to leave the reservoir basin approximately 1-2″ higher than ground level to account for mulch and help keep the mulch and dirt out of the water in the basin.
Because the ground slopes away the reservoir sticks out of the ground higher in the rear.
Because this area can’t be seen from the patio I decided not to slope the ground up to the basin.
Installing The Copper Fountain Head:
Part of my plan was to install a 3/4″ copper “standpipe” up through the basin’s bottom to deliver a plume of water at the top edge of the basin’s rim.
The basin will hold water and the standpipe will prevent water from flowing out of the pot when the pump is operating.
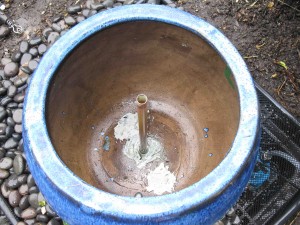
To do this I used a 3/4″ masonry bit to drill a hole through the center of the pot. This hole will allow the standpipe to reach the pump in the hidden reservoir below.
Drilling this hole was nerve racking because I did not want to damage the pot. I knew the replacement value was approximately $200.00.
While drilling I had to ream the hole a bit for the pipe to fit. I wanted a tight fit. Once all of the components and dry fitted I would permanently epoxy the standpipe into the glazed pot.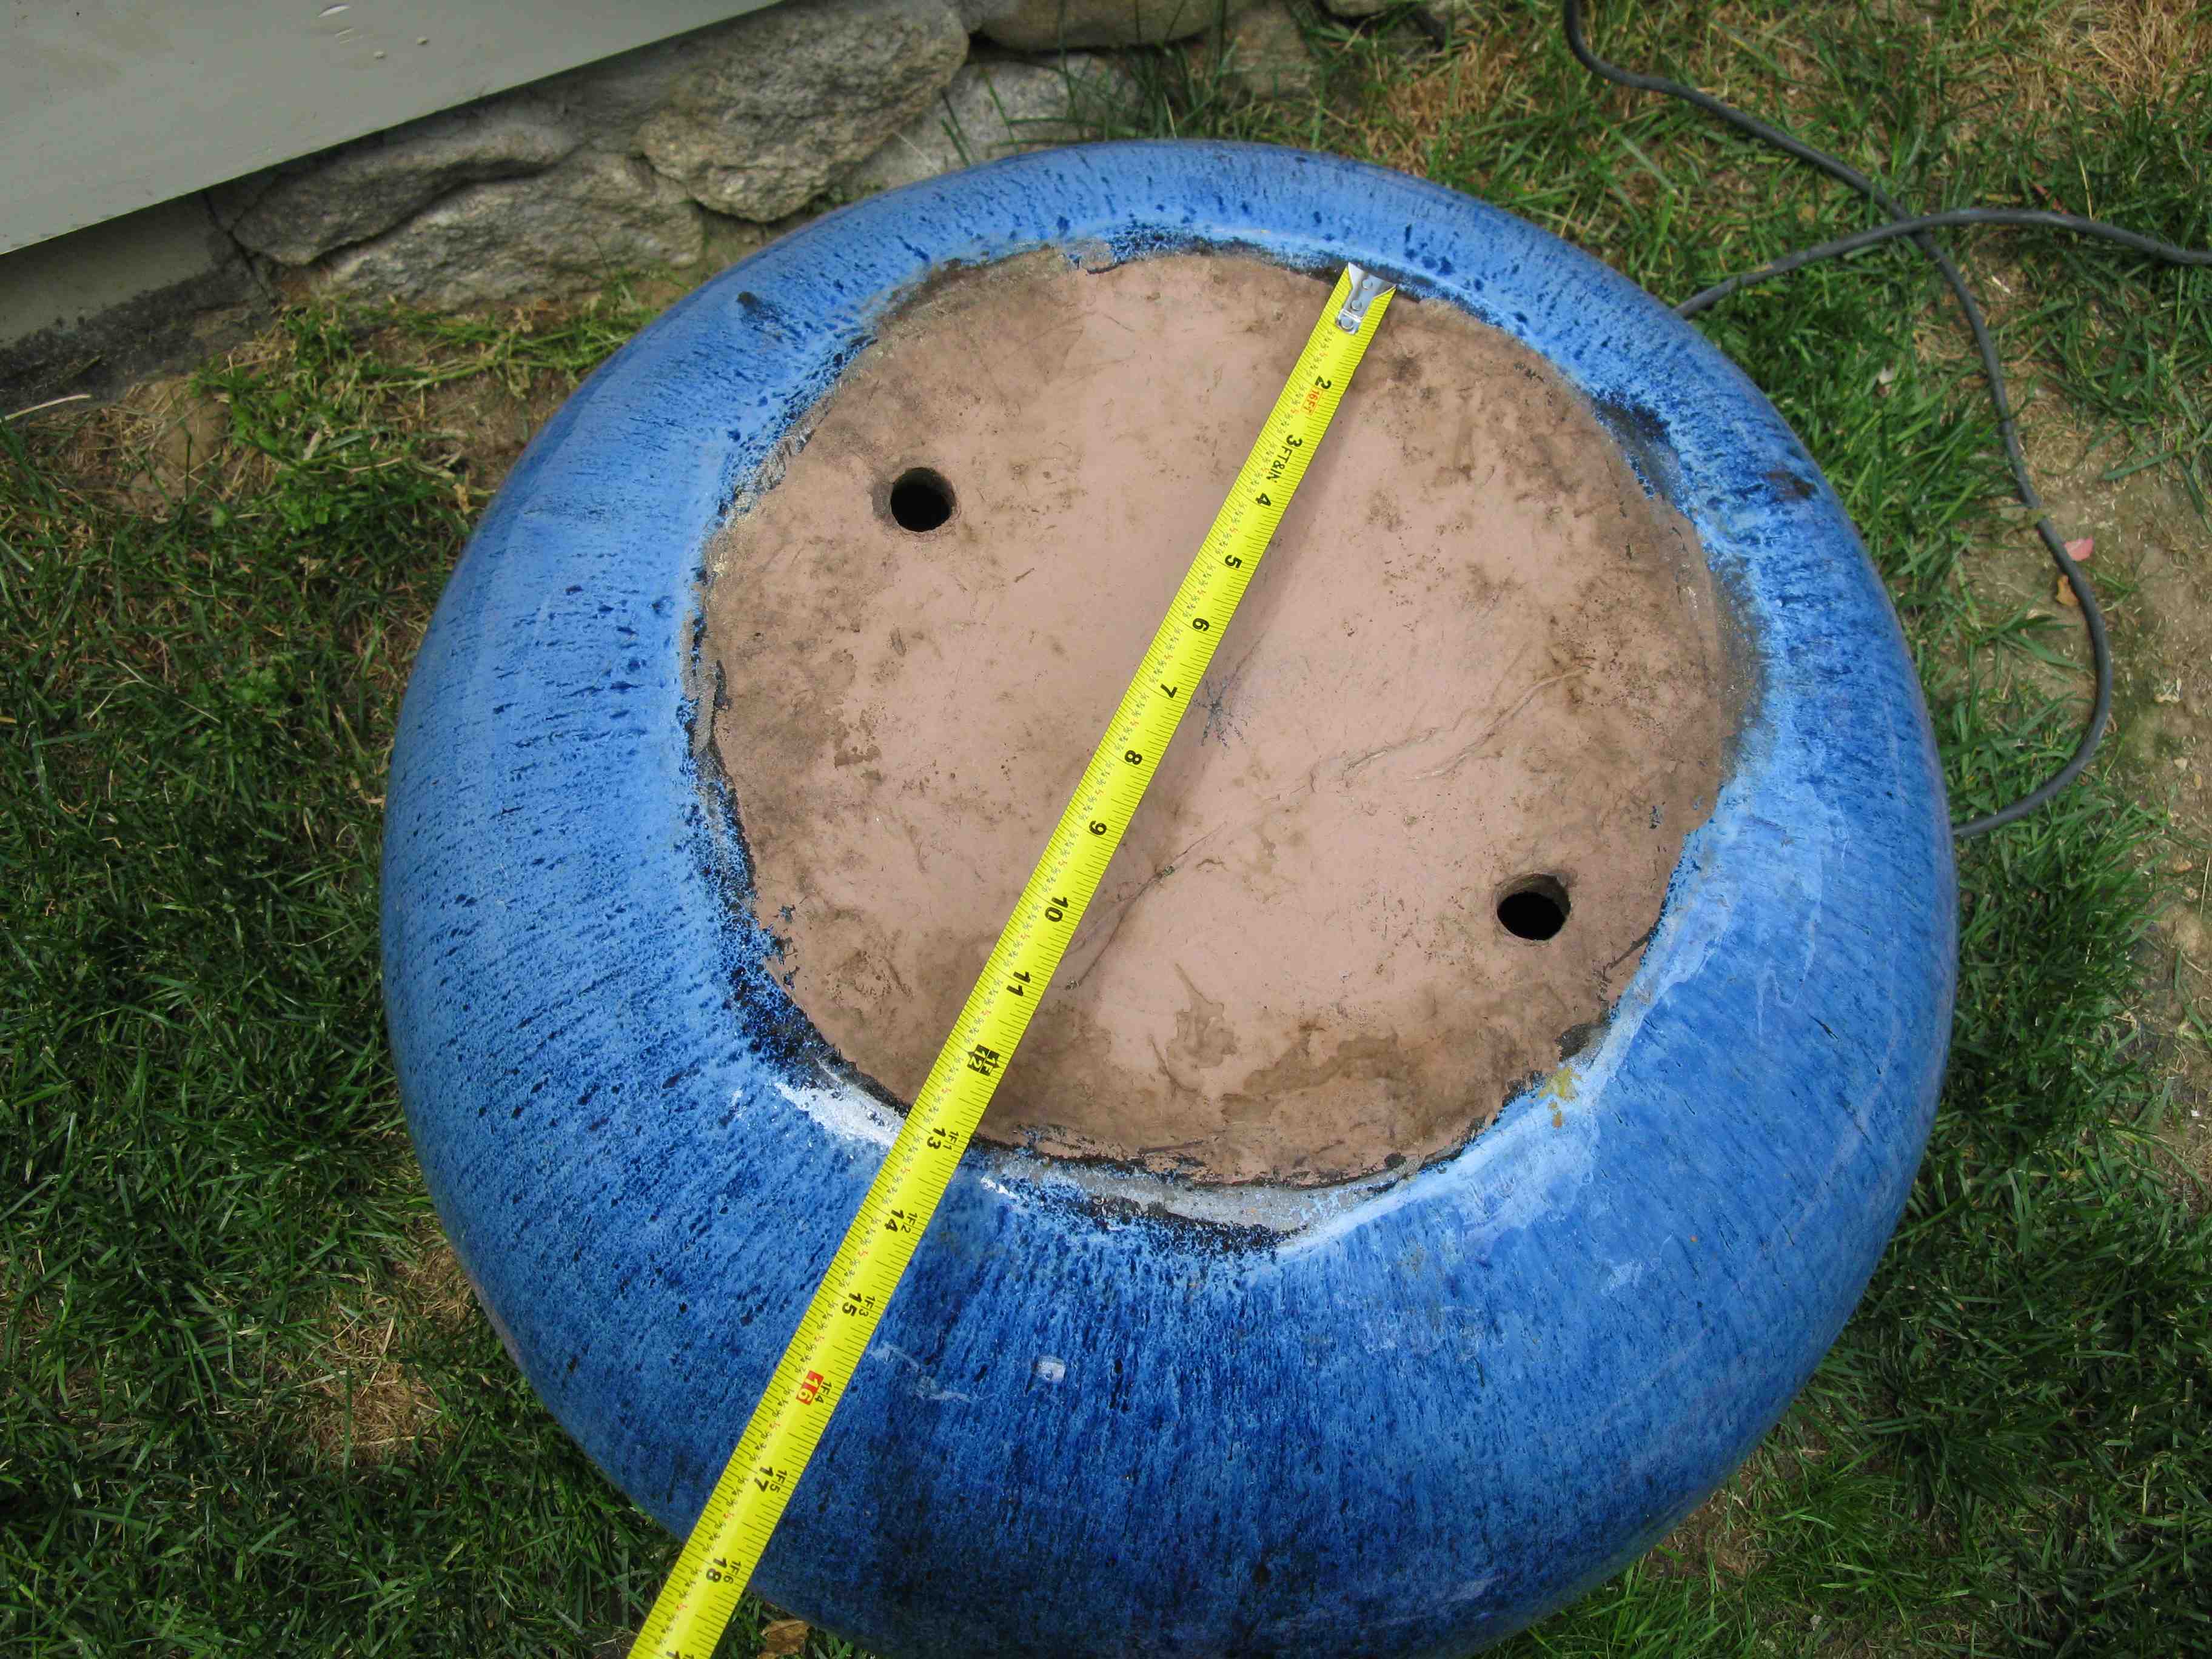
I test fitted everything first before soldering and I then placed the pot onto the reservoir basin and checked for level. The pot can later be shimmed a bit if needed.
Next step was to drill a hole through the reservoir basin grate for the copper standpipe to reach the reservoir and pump. I used a 1” Forstner bit for this but a spade bit would work too.
I later ended up enlarging this hole so I could remove the pot, if necessary, without removing the standpipe and quick disconnect fitting
The existing glazed pot came with two drainage holes which I filled in with Marine epoxy. I also used the Marine epoxy to secure the copper standpipe in
the center hole of the glazed pot.
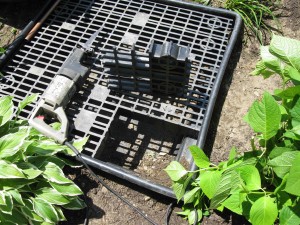
Cut An Access Hole:
Using a reciprocating saw and a metal cutting blade I cut a 1′ x 2′ access panel into one corner of the grating. This panel allowed me to access the pump and shutoff valve to control the water flow as well as the copper standpipe in order to disconnect for winter storage.
The idea behind this panel is to provide quick access without having to remove the glazed pipe.
Concrete blocks and brick help support the grate and inside corner of the access panel.
Soldering the Copper Standpipe Connections:
 Part of learning how to build a hidden water fountain was learning how to solder . I first dry fitted everything. Then I used a propane torch to solder all of the copper pipe fittings.
The threaded end of this pipe screws into a PVC threaded elbow which connects to the pump. The large nut in the middle is the quick disconnect fitting.
Test the Components Before Installing:
Testing the pump and fittings is important to work out any problems or issues. When I tested my fountain, the flow of water from the pump was strong.
 I was glad I installed the ball valve to control the flow.
When the standpipe was held vertical the pump pushed out a 5-6″ plume of water.
Putting It All Together:
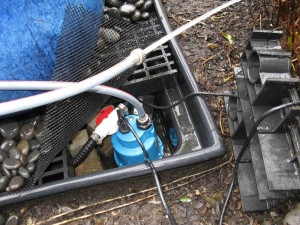
- This basin is heavy when empty and adding water to it at approximately 8lbs per gallon increases this weight so I added cinder blocks directly under where the basin sits. The blocks will take the weight and stress off the PVC grate and transfer it to the ground.
- I then routed my copper fountain standoff pipe through the grate and attached it to my pump and hose assembly.
- I lowered the basin pot over the standoff pipe and used my level to hold it plumb. Marine epoxy was then used to secure the pipe to the pot so it could hold water.
- The copper standpipe protrudes 2” above the basin rim.
- Once the epoxy dried I checked again for level, shimmed the level if needed, and then filled the basin with water. Test again.
- I finished the top of the PVC grate with 1 to 2″ Mexican pebble rock. The rocks will hide the PVC grate.
- The pump pushed a 5-6″ plume of water and the basin held water. As the pot overflows, the water follows the contour of the basin and drains back into the hidden reservoir.
- I then added additional rocks to hide the square edge of the reservoir and to overlap to the mulch.

Other Considerations:
Electrical:

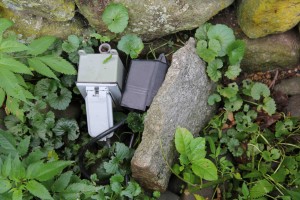
The submersible pump has an 18′ cord and I hid that cord under mulch and river stones and plugged into an outdoor GFI rated outlet. The outlet is 15 feet away hidden behind a rock.
I installed this GFI specifically for the hidden fountain. This electrical line was installed in pvc pipe and an 18” deep trench from the house. I turn the fountain on and off with an outdoor timer that plugs into the GFI outlet.
Filling The Fountain:
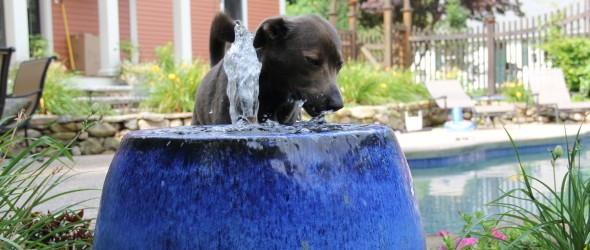
I used the fountain for a year but I later tapped into that irrigation line and added a sprinkler head into the reservoir.
The reasoning for this was my two dogs were drinking a ton of the water and the rest is lost through splashing and evaporation. I was filling the basin once a week with either a long hose or a five gallon bucket – yuk!
Now when the irrigation system turns on to water the plants around the basin it also fills the basin. The irrigation pipe comes out of the ground and goes into the rear of the reservoir basin with to power cord.
Garden supply stores sell auto fill valves but I decided to do it this way, keeping its simple.
Keeping the Water Clean:
I use Algaefix pond care to keep the water clean. Algaefix effectively controls different types of algae that plague ornamental ponds and fountains and will not harm plants or animals. This solution treats 50 gallons of water with one teaspoon, applied once a week.
A capful of chlorine bleach also works well and is cost effective.
Cost:
- Total materials for this entire project cost was approx. $ 600.00.
- Labor hours to install basin was approx. 8 hours.
- Labor and material hours to install electrical line was approx. 6 hours and $70.00
- Electrician labor and material costs approx. $ 300.00
Materials needed:
- Basin
- Reservoir basin and grate
- Submersible Pump
- Copper pipe, shut off valve, connectors
- Teflon tape
- Marine epoxy
- Stones or peoples
- Timer
Tools Needed:
- Shovel
- Level
- Propane torch and solder
- Drill
- 1” drill bit
- Putty knife for epoxy
- Hose to fill basin and reservoir
- Reciprocating saw and metal blade
- Adjustable wrenches
I