Building a TV Bookcase Wall Unit

We wanted to complement existing details in the house so we chose to incorporate similar bookcase flat panel cabinet doors and side panels that are also found in the adjacent kitchen cabinets.
Because space is limited and this bookcase is centered between two doorways we choose to make the bookcase base cabinets and upper shelves the same depth, 16-inches.
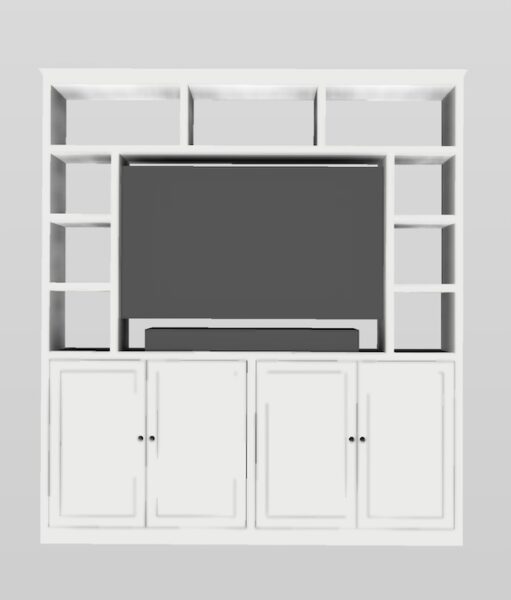

Bookcase Design
Our design will have 4 base cabinet flat-panel doors and two vertical flat panels, running full length, on each side of the unit. When figuring face frame material we ensured that the side panels will fit between the wall and face frame.

Using A Story Pole
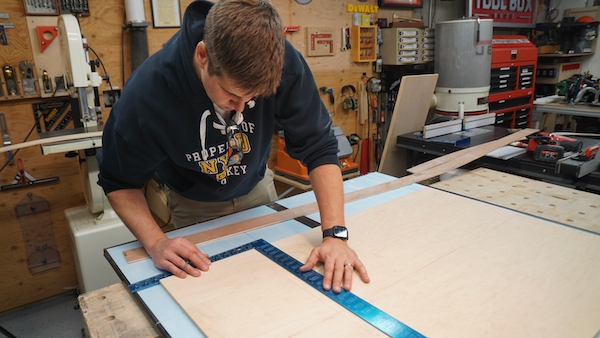
Making a sketch is often the first step in getting the design and proportions decided. After a conceptual design is formed the next task you need to do is take accurate measurements.
The next step is to make a “story pole.” A story pole is a layout tool for measuring, marking, and transferring accurate measurements. Using a story pole eliminates the tape measure, is more accurate than paper, and once marked can be used throughout the project to continually check your progress. I use rips of ¼” luan or 1×3 boards cut to the height of a floor height or a “story.”

I usually make three separate story poles; vertical, horizontal, and depth. On them, I mark locations of anything in the area of the bookcase. Locations such as tops, bottoms, widths of windows and doors, electrical outlets, baseboard, trim, etc.
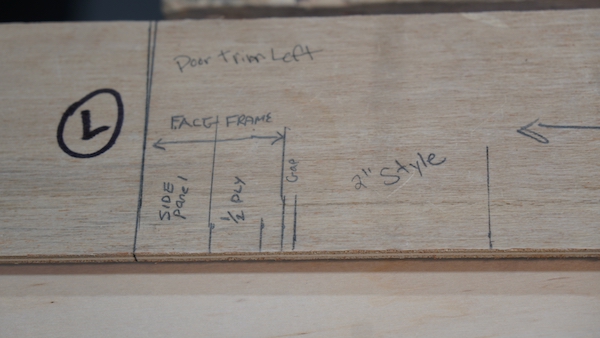
Back in the shop, I will use the story pole to draw out and construct my bookcase, face frames, and doors. I draw everything on the story pole including gaps between doors, face frames, and 3/4 “ side/top panels.

Bookcase Materials
For this project we chose to use Birch plywood for the cabinet and shelf frames, back and door panels, and Poplar for the face frames, shelf nosing, and door styles and rails. Poplar crown molding will top off the bookcase.
Cut Plywood Parts To Size
Using our story pole for ALL measurements, we determined that our boxes [base cabinet and upper shelf boxes] would be a 15 inch depth. Once the ¾” face-frame and ¼” back-panel are added we will achieve our desired 16-inch total depth.
We ripped the bookshelf box components on a table saw, all at once. We also ripped our shelves to size, labeling everything with a name. Labeling everything as you handle it eliminates the guesswork later on assembly.
We used a track saw to cut the plywood to the lengths on our table saw and then started constructing our boxes, but a straight edge, clamp, and circular saw would work as well.
Assembly Tips
We purposely are building our cabinet ½” shorter than the ceiling for three reasons:
- The ceiling may be off. [check with level]
- Allows for an easier installation and not scratching the ceiling.
- Crown molding will hide the ½” gap

ProTip –
Consider building your project in components as opposed to one huge unit. This assists with transport and installation.

Pro tip –
Start your lowest shelf off the floor [at baseboard height or lower] and use a plywood sub-frame, covered with a baseboard face frame. This accomplishes two things:
- It allows for the bookcase to span over uneven or bumps in floors
- It looks nicer and can be blended into existing baseboard trim for a wraparound look.
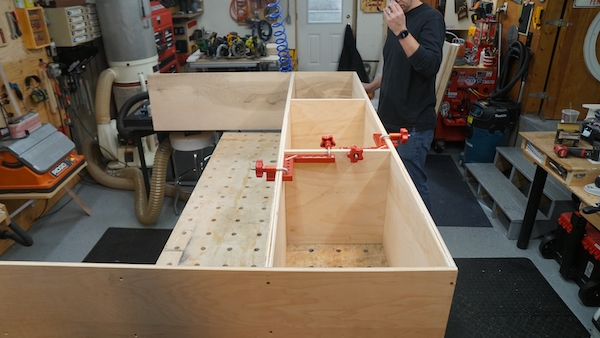
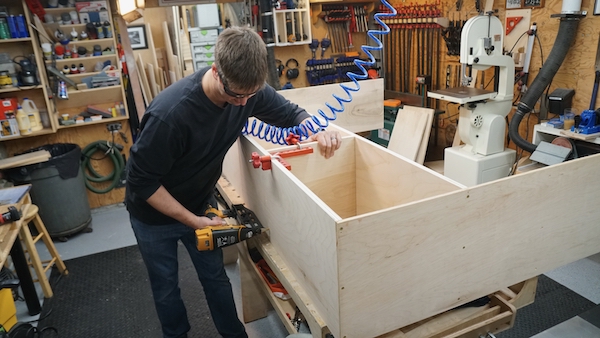
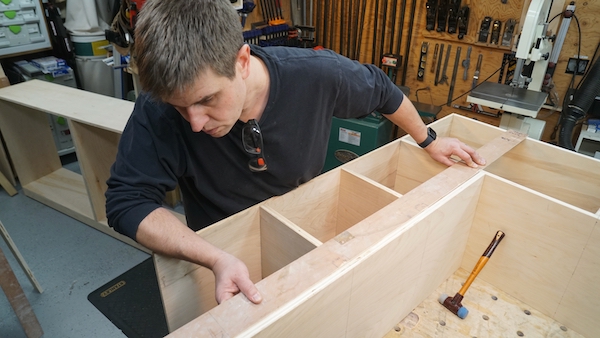
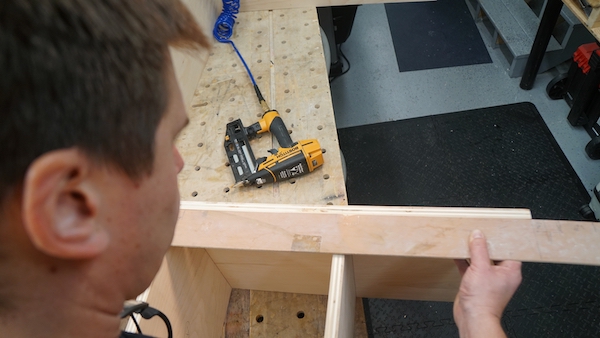
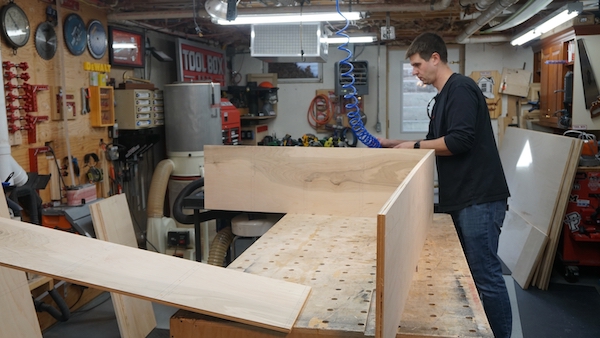
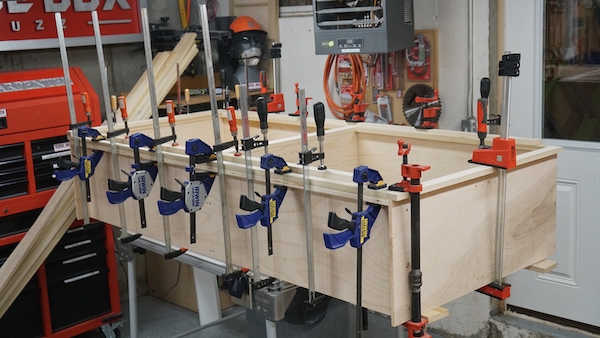
Making the Bookcase Boxes
There are many ways to build cabinet boxes, I was taught to use a tongue and dado method. because it is the strongest joint. Unfortunately, it also requires a large table saw and dado blade to make the cuts and requires much more effort.
Other methods include using biscuits, dominos, screws, or nails. It all depends on your skill level, what you have for tools, and how much time you want to invest in this project. I will add that if you put heavy objects on or in your project you will want to use the tongue and dado method or biscuits/dominos.
For this project, we used screws in areas that would be hidden, such as the base cabinets, and the upper bookcase outer sides. In the visible areas, we used 16 gauge finish nails and filled them with wood filler.

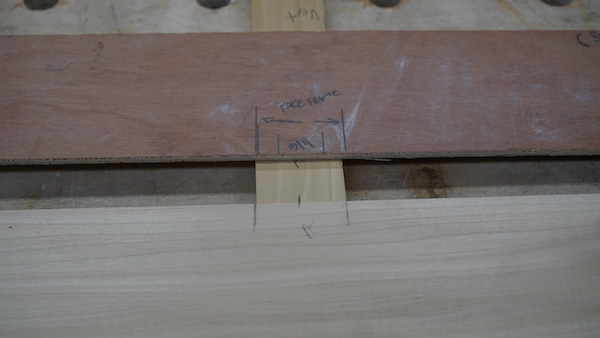
Building A Bookcase | Designing Face Frames
Face frames are primarily used to hide exposed plywood edge laminations. It also is useful to hide the gap between adjustable bookcase shelves and side panels. Face frames provide a good-looking, durable edge, and protect vulnerable edges from damage or high wear. Solid wood edging can also be shaped with a router to create a bead, round over, or other desired detail.
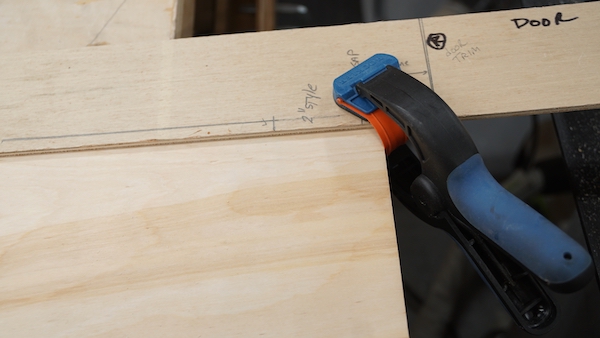
For our project, we decided on 1-1/2” face frames and 2-1/2” styles and rails. The bottom of the bookcase has a 3” face frame [baseboard] as does the top board. The top has a crown molding fastened to it tight to the ceiling.
Run the side face frames [full length] from top to bottom to hide your horizontal face frame end grain. This is similar to your door construction where you will run your Styles [vertical] board full length and the Rails [horizontal] connect to that.

Base Cabinet Shelves | Shelf Nosing | Deflection
The base cabinets have one adjustable shelf on each side. The shelves are 3/4″ Birch plywood with 1-1/2″ edge banding on the door side. We used a Rockler shelf pin jig to install 4 holes for each pin giving the shelf a 4-5″ adjustment range.
When solid wood is applied to the shelves, I refer to that detail as shelf nosing. Shelf nosing stiffens plywood which is super important when determining bookshelf spans and trying to avoid shelf deflection or sagging. Thicker nosing can be used on longer shelves to eliminate or reduce deflection.

These bands prevent the shelf from sagging. Sagging is measured in deflection, or the maximum distance in which the middle of the shelf bends as a result of weight [books] placed on the shelf.
The longer the shelf, the more it will deflect, the shorter the shelf the stiffer it will be. Deflection of 1/4″ or less is a good goal when designing shelving.
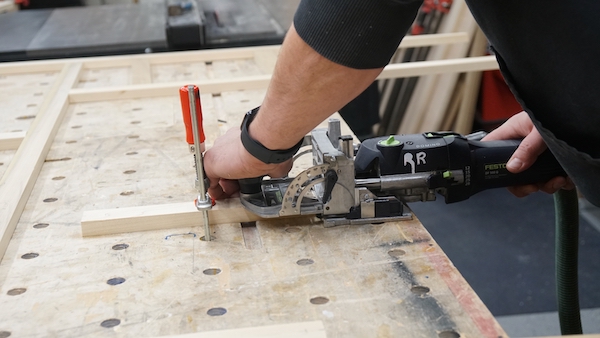
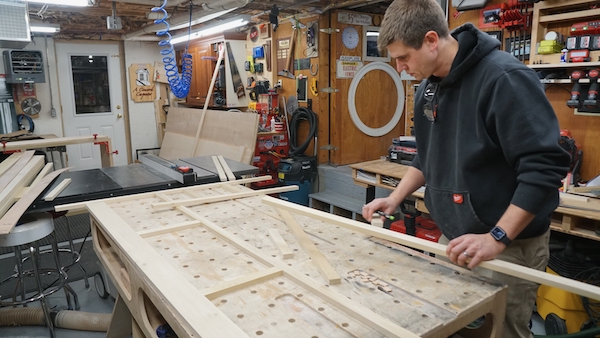
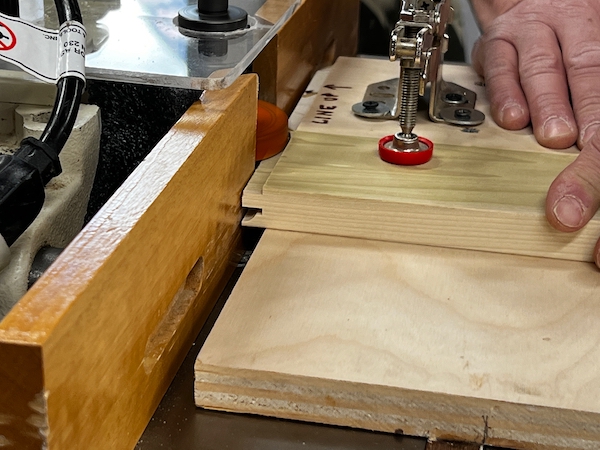
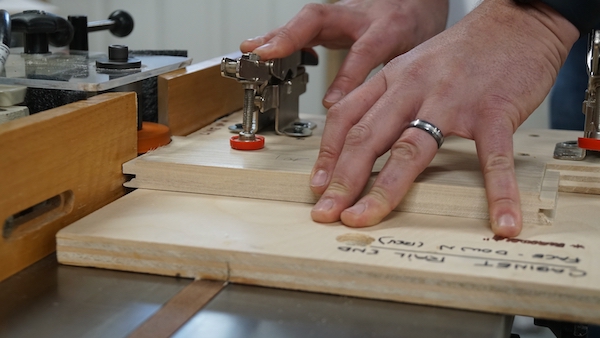
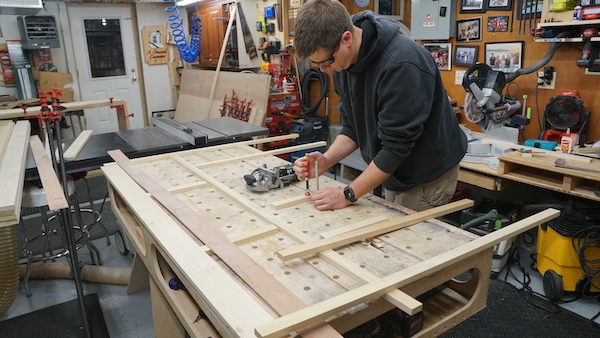
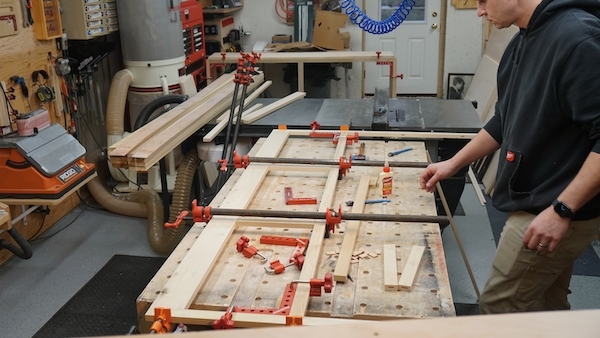
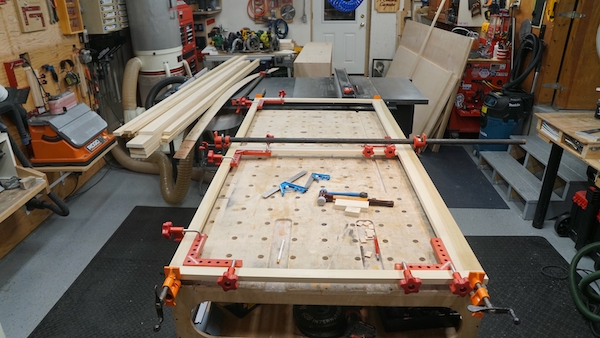
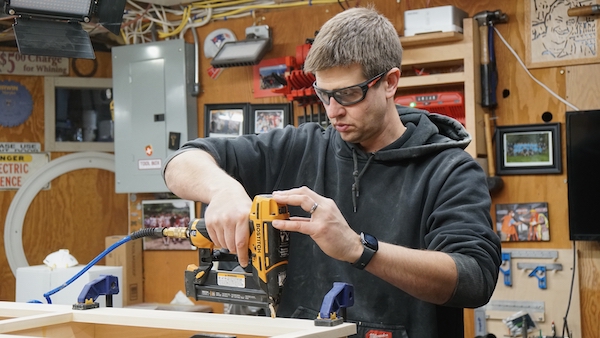
Face Frame | Cutting, Labeling, And Assembly
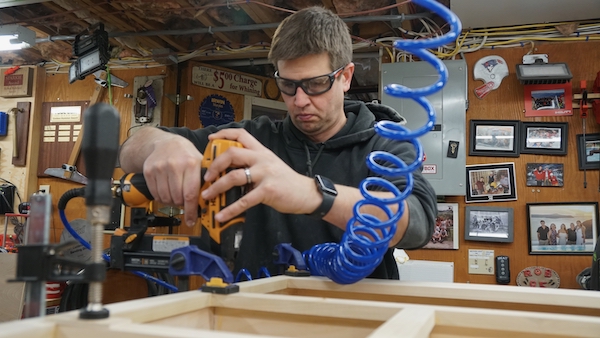
Similar to the plywood boxes we use our story pole to cut and label all of the face frames at one time. Once finished we dry fit all the parts and marked them for a tenon [domino] We used a Festool Domino [tool] to cut in 1” dominos into the connections of the face frame. When dry fitting we make a mark on each board to indicate where to install the domino. We also label each part to assist later when assembling.

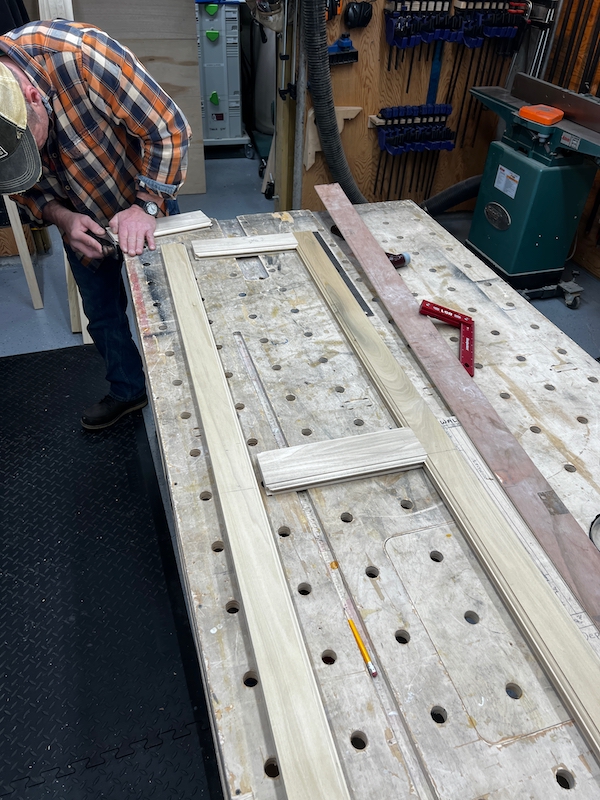
After cutting in the tenons we dry fit everything, double-checked with the story pole, and then apply glue and clamps to the frames.
For this project, we build two face frames: the base frame and the upper bookcase frame. The shelves in the base cabinet received 1-1/2” nosing.
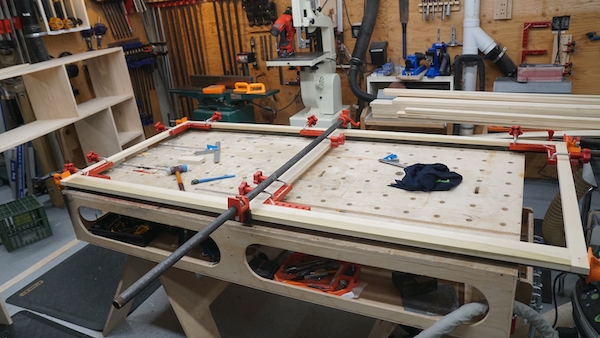
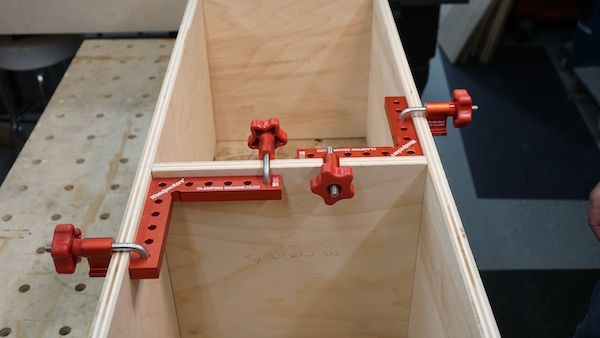
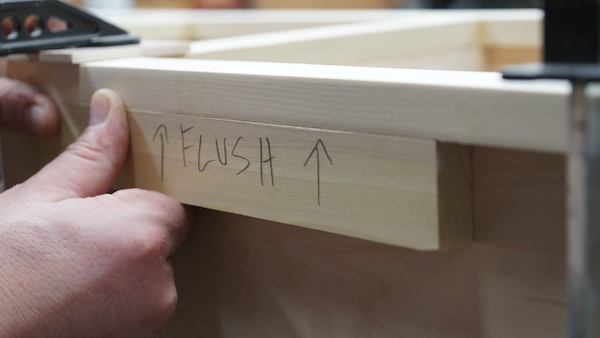
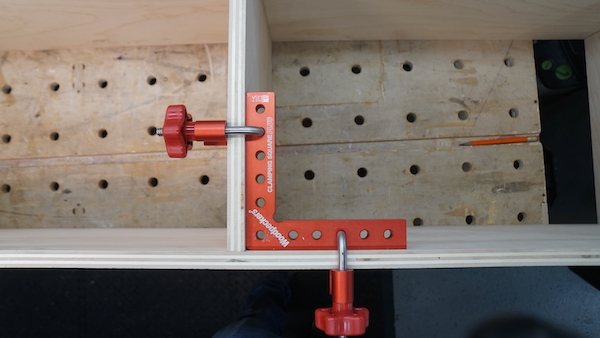
Clamping | Pro Tip
- 90-degree clamping squares help with the assembly and squaring up your face frames. You can buy clamps like I used or Build Your Own Clamping Jig.
- When clamping ensure your face frames meet and are square, and flush, minor inconsistencies can be sanded out later.
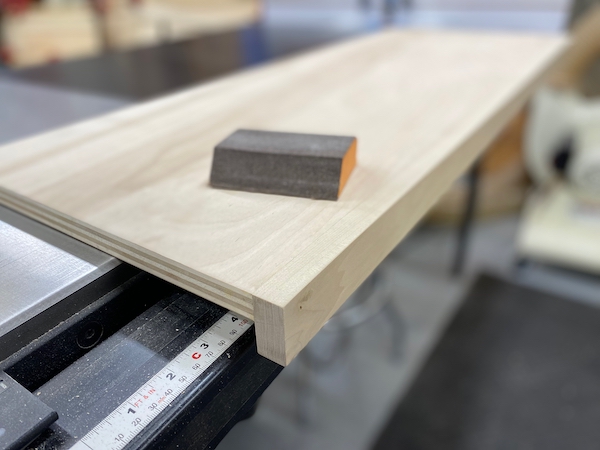
Bookcase Sanding | Pre-Assembly
Once the bookcase, base cabinet, shelves are assembled I like to sand the insides and any visible sides with 80-100 grit sandpaper to clean up the plywood. It’s easier to sand these items now before the back panel and face frame are applied.
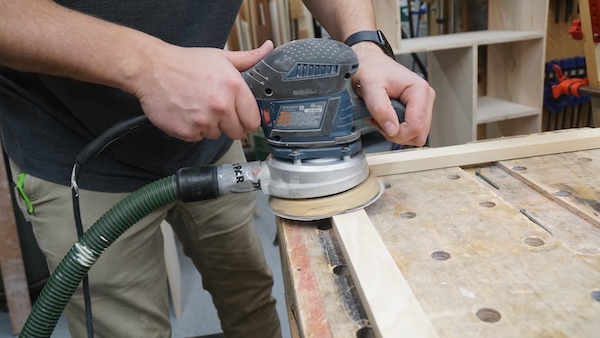
I also do this with the face frames, applying filler to all of the joints, then sanding flush. I also sand the back of the joints to remove any glue or anything that will prohibit the face frame from fitting the case box tight. Lastly, I sand the entire face frame to remove any mill marks that will show through the paint later.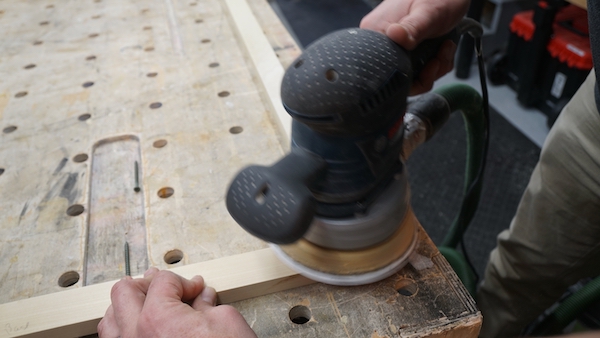
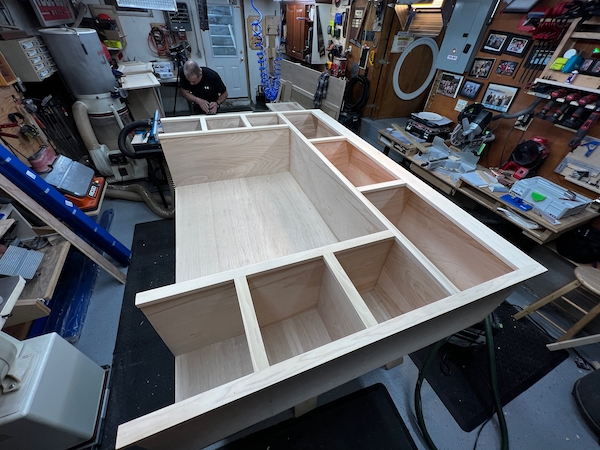
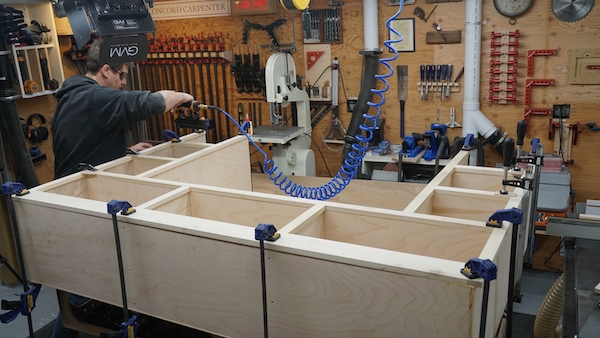
Bookcase | Back Panel
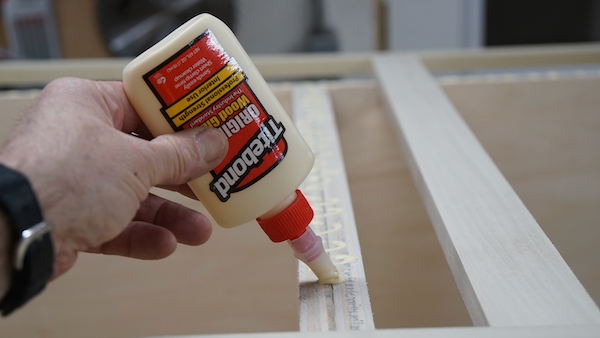
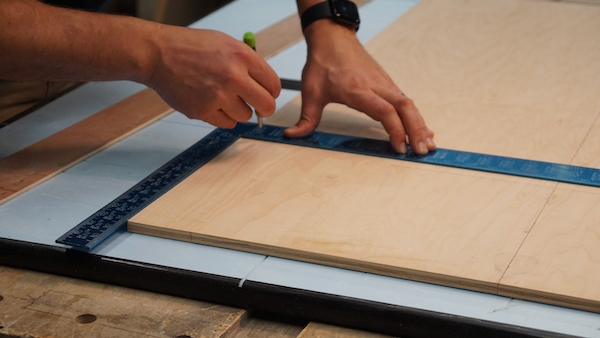
We used 1/4 “ Birch plywood as the bookcase and base cabinet back panel. Using the story pole we measure and cut the panel to size.
After checking diagonal measurements on the cases we apply glue to the entire back plywood edge and fasten the plywood panel to one side, working [aligning] the outside edges of the bookcase to the plywood and fastening as we go. This plywood alignment process squares up the bookcase. For fasteners, I use 3/8” crown staples, but you could use finish nails or screws.

Pro Tip –
Our side panels hid the side edge of our back panel. If you chose NOT to do side panes you will need to rabbit the side panels in order to recess and hide the back panel edge.
Installing the Shelves
The upper bookcase shelves are fixed, but the base cabinet has one shelf on each side with adjustable pins. I use a self-centering shelf jig to drill these holes and usually prefer 3 or 4 holes for adjustment verse and the entire side of holes.
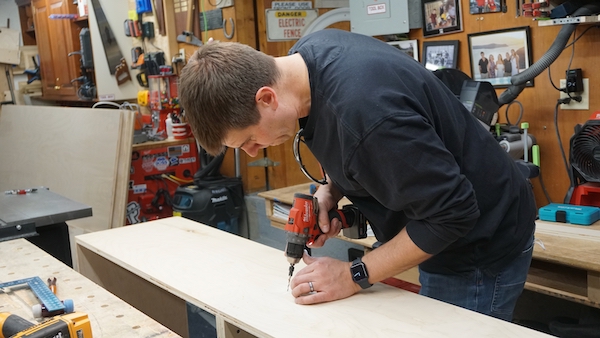
Attaching the Bookcase Face Frame
The face frames are then fastened to the base cabinet and bookcase top with glue and a few brad nails. The brad nails hold the face frame in place until we can clamp the assembly.

Sanding the Face Frames
Once the glue has cured I fill all the visible seams and any nail holes in the face frame, base cabinet, and bookcase.
I like to use a block plane and slightly ease all of the face frame and shelf nosing sharp edges. Then I sand the face frame to plywood seams flush.

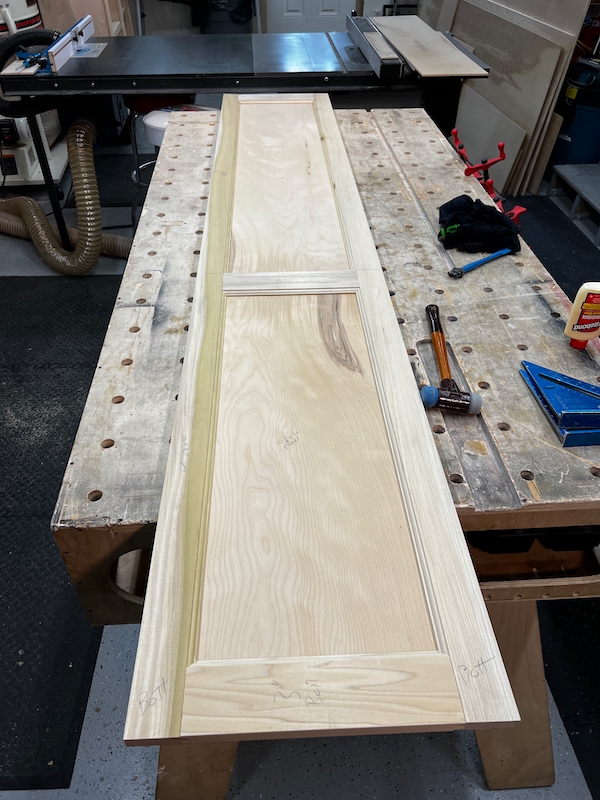
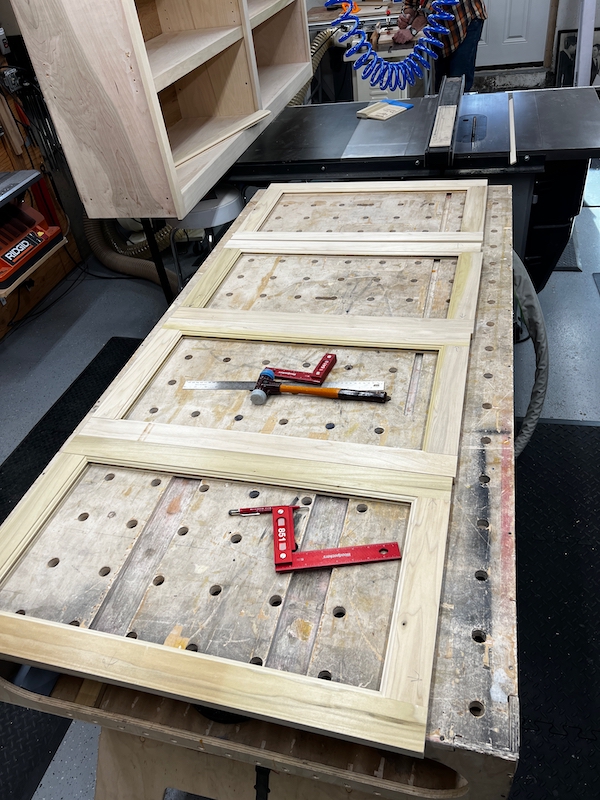
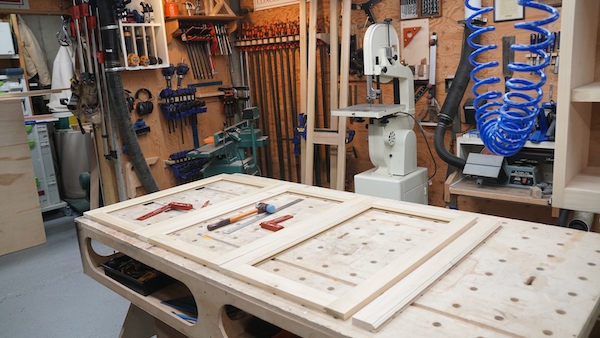
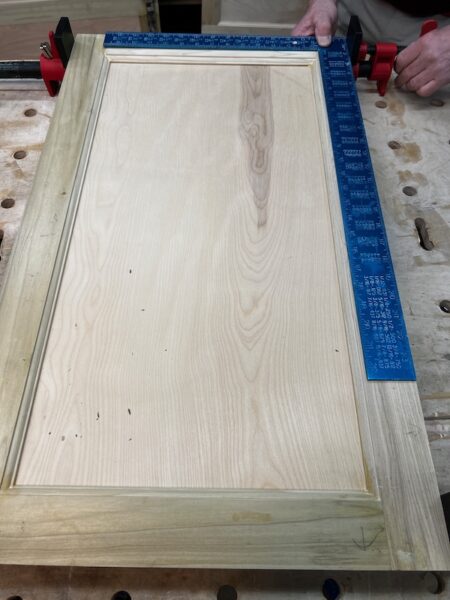
Bookcase | Doors and Side Panels
The next step in this process is to build the bookcase doors and recessed side panels. We decided on a true style and rail construction, but you could build yours with plywood and flat stock fastened to the plywood. Style and rail construction is a technique used in the making of doors and wainscoting with floating panels.
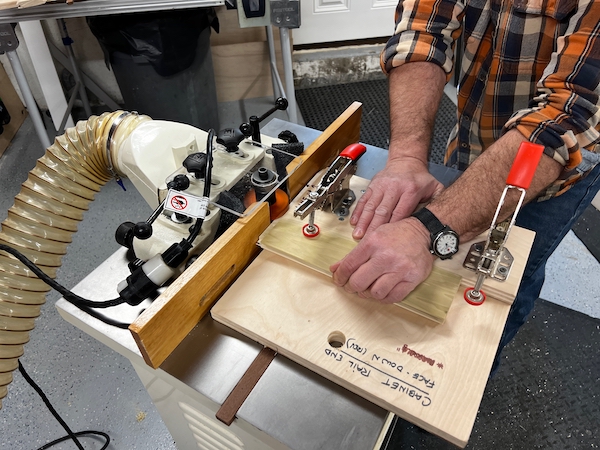
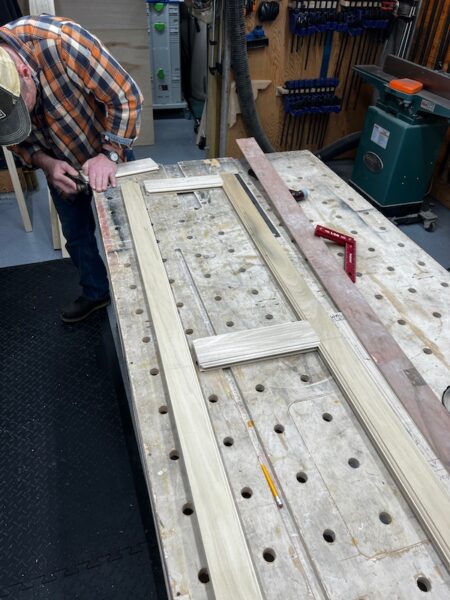
Milling The Door Styles And Rails
Referring to the story pole, we rip all of the stock to size and cleaned the edged on the joiner, as needed. Once the stock was straight and flat I use a shaper and a cope and style bit to make the necessary cuts. Simple hold-down jigs hold the stock secure as it passes the wood shaper bit.
The styles receive on long detailed groove the entire edge-length of the board and the rails receive the same edge groove plus end grain coping.

For this project, we decided to use 3/8″ Birch plywood for our side panels and door panels. Our decision was based on the speed of use vs. having to glue up solid stock and then mill it to size.
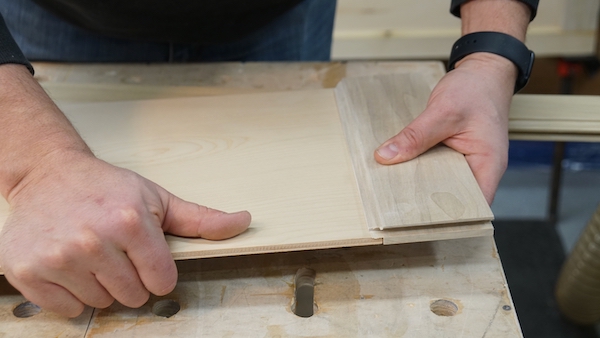
In order to get the 3/8″ plywood to fit into our style and rail groove, we had to use a 1/2″ dado bit to shave a “smidge,” of the plywood thickness. Once the plywood panels were cut to size we ran the edges over the dado bit to get it to fit.
Note – When measuring and sizing the panels it’s best to first dry-fit the panel or door first and measure inside groove to inside groove, then deduct 1/8″ [W x H] from that measurement. The story pole can also be used for this if you marked the style and rail groove.

Glue is applied only to the coped areas where the style and rails meet. The panel is never glued to the frame but is left to ‘float’ within it so that with seasonal movement the panel does not distort the frame.
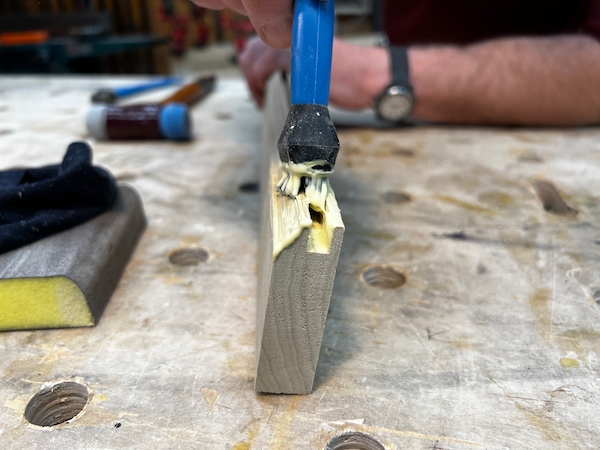
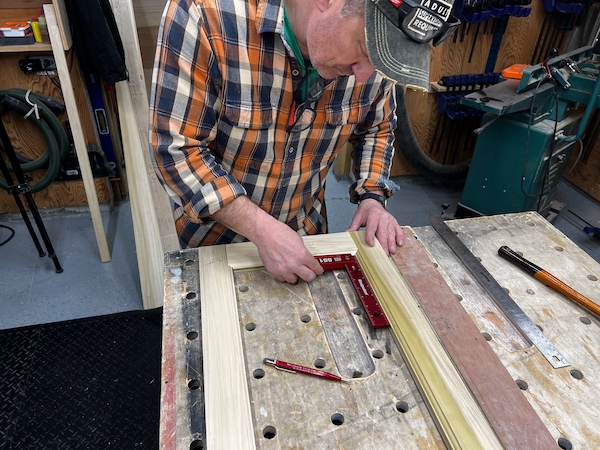
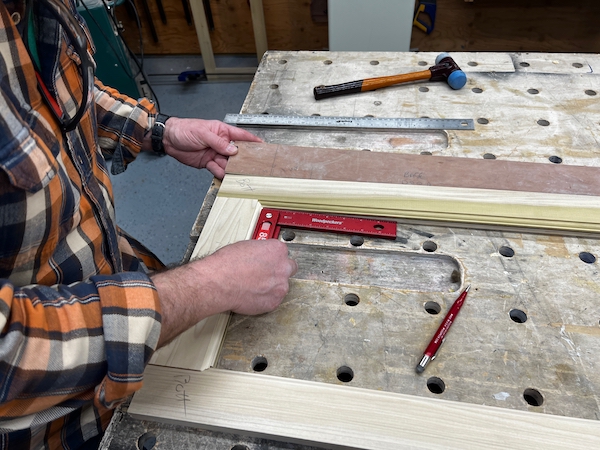
I dry fit the styles and rails coping together and then measure for my panel making it 3/16″ smaller in both width and height. Once the panel is made I glue and clamp only the stiles and rails. The frame is held together by a joint between the edge of the “stiles” and the ends of the “rails.
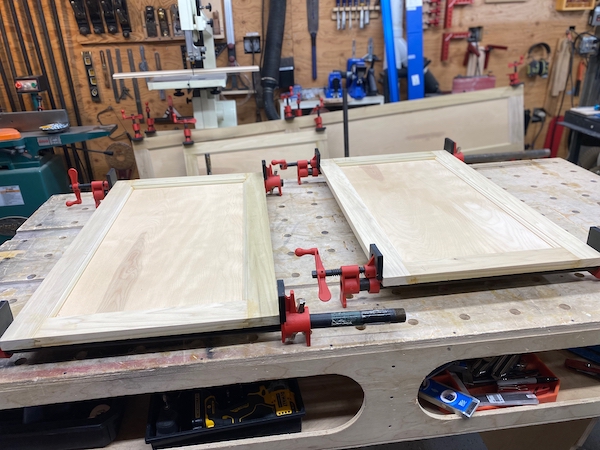
We square the frames, apply clamps and let them dry overnight. It is surprisingly strong when dry.

Pro Tip | Dry Fitting
On EVERY step of this bookcase project, dry-fitting is the best way to test for fit. Once done and if satisfied with the fit then it’s time to glue, fasten and clamp.
Bookcase Door | Fitment
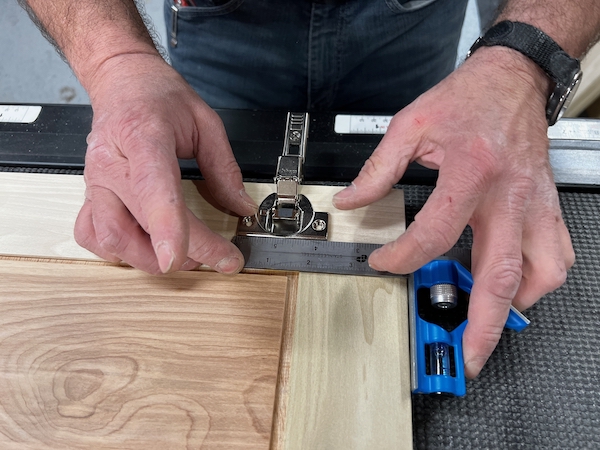
We chose 110-degree Blumm self-closing hinges for the base cabinet. The hinges are hidden and the doors will be installed recessed into the face frame. We used a 35mm Forstner drill bit and a drill press to drill the holes.

After dry fitting the door in the face frame it was time to install them. To install the doors we installed padding on the base cabinet sidewall to flush the hinge with the face frame. We attached the hinges to the door and the door to the base cabinet. While installing the doors 3/16″ luan was used to shim the doors along the bottom, providing a perfect bottom reveal.

The Blum hinges have excellent adjustment capabilities and we were able to dial in the hinges to create even reveals on all sides.
Note – if you have a situation where your reveals are too tight, this is the time to shave a little off a door to make the reveals work.
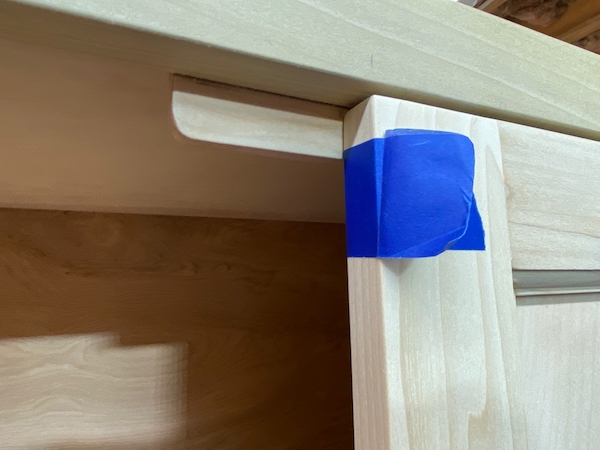
Once the doors were installed we added an upper and lower doorstop to give the doors a positive stop and backing, and to line it up with the face frame.
Hanging The Doors | Pro Tip
- When constructing and fitting the doors, use the existing face frame as a template to ensure your doors fit with a 3/16” reveal on all four sides. Sometimes you may need to trim a little here or there to get the look right.
- The face frame is not flush with the base cabinet plywood side. Depending on your hinge, you may need to install a block to flush out the plywood prior to hinge installation.

- Gluing and fastening a small doorstop top and bottom of the inside cabinet, middle door seam will help stop the door and keep them in the same plane as your face frame.
- When installing the doors to the face frame using 3/16” strips of wood as shims to ensure your bottom reveal and help during installation.

Preparing For Installation
Prior to installing the base cabinet, we’ll need to remove the baseboard and base cap. This will allow the base cabinet to be pushed tight against the wall. We use flat bars and putty knives to remove the base cap and then the baseboard. If the baseboard is on top of the hardwood floor it will come off easily. If the baseboard runs behind the hardwood floor and sits on the subfloor it will be more difficult and may require us to use to pry the board off the wall to fit a reciprocating saw blade behind to cut the nails.
Once the baseboard is off we will use the nail holes to help locate wall studs and then transfer the line all the way up the wall, this helps us fasten the bookcase to the wall.
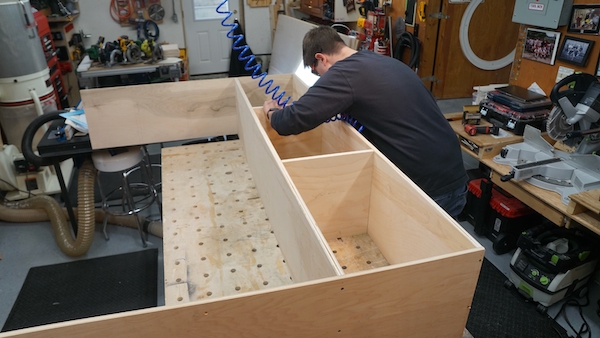
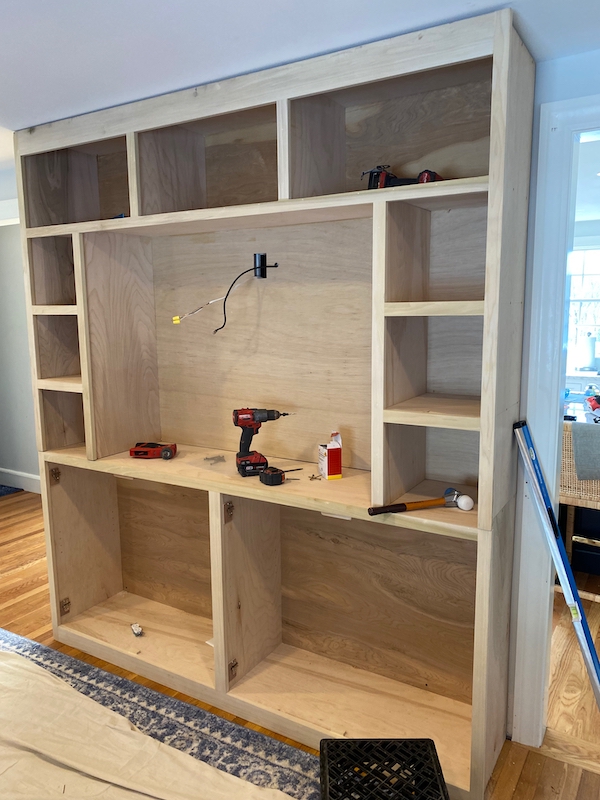
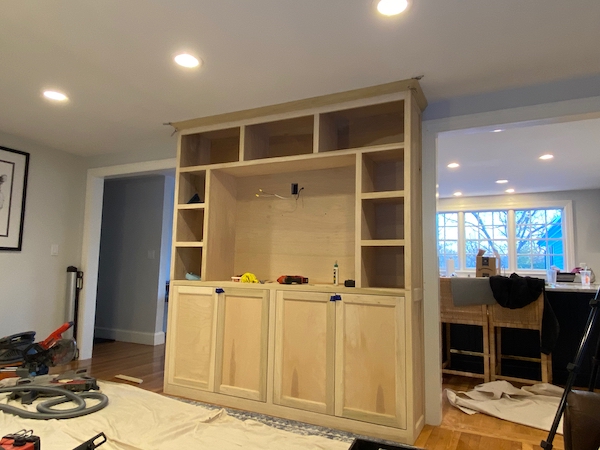
Installing the Components
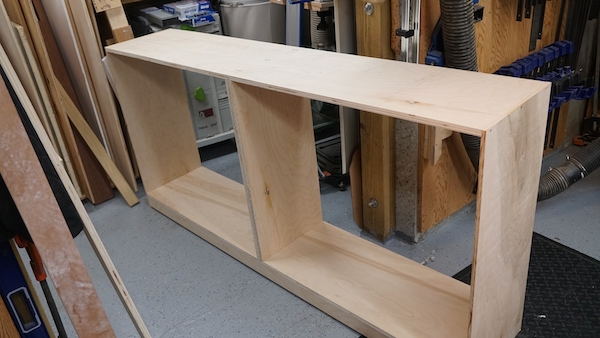
Base Cabinet
The base cabinet is the first component to be installed. The first step is to find a centerline on the wall and base cabinet. Next, place the base cabinet in place and see how level it sits on the floor and against the wall. In our situation, there is one wall outlet that will need to be located on the back wall of the cabinet and cut out. The outlet will serve as power for any components inside the base cabinet.

If the base cabinet is not level on the floor or tight to the wall, we can make adjustments to the sides by shimming, scribing, and cutting. We intentionally left the back wall and front toe kick of the base cabinet high so it would not touch the floor and cause leveling issues. All of our adjustments will be done by cutting or shimming the base cabinet sides.
Once satisfied that the cabinet is level on the floor and plumb to the wall we will install screws thru the rear panel into wall studs.
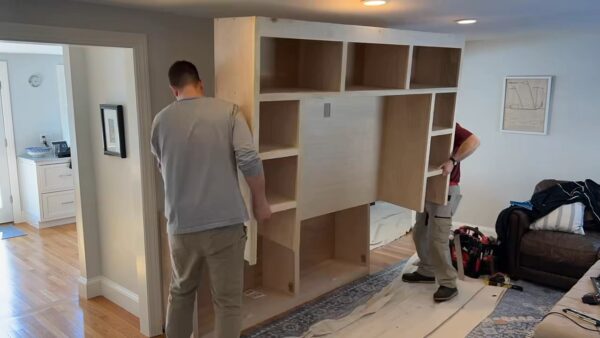
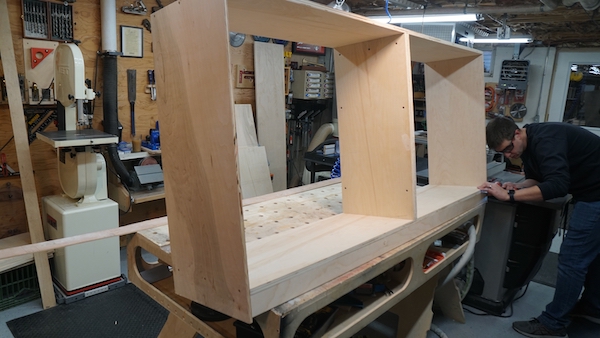
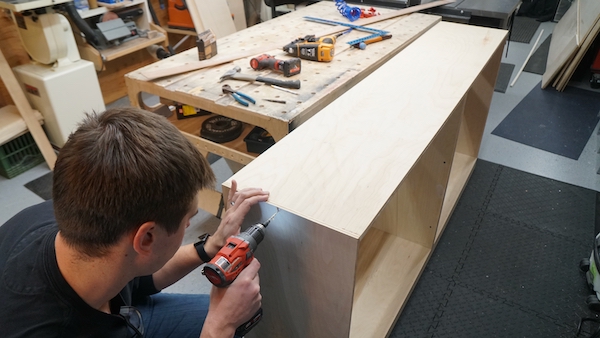
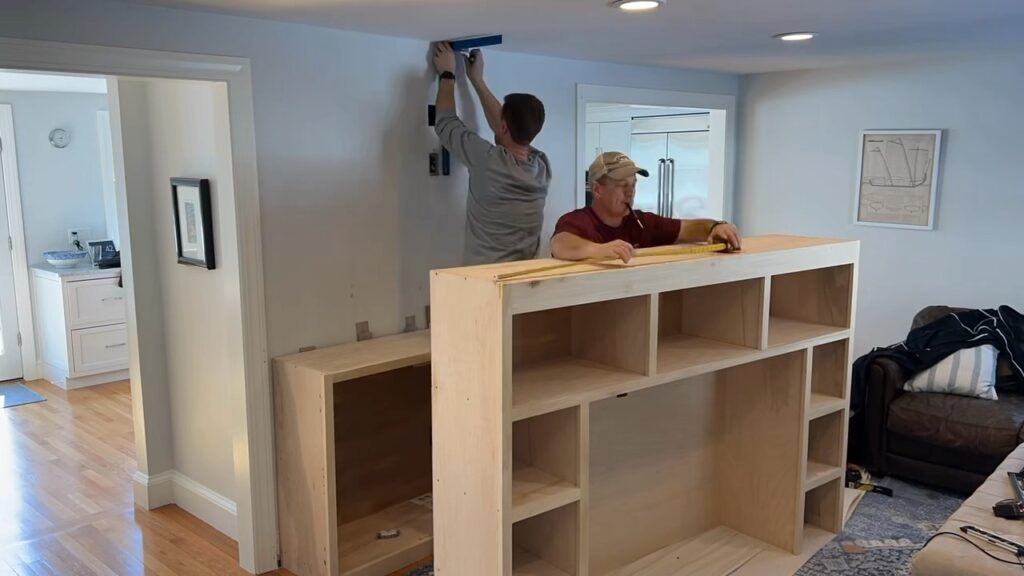
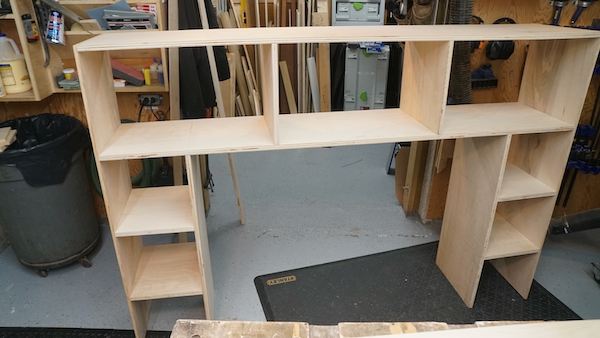
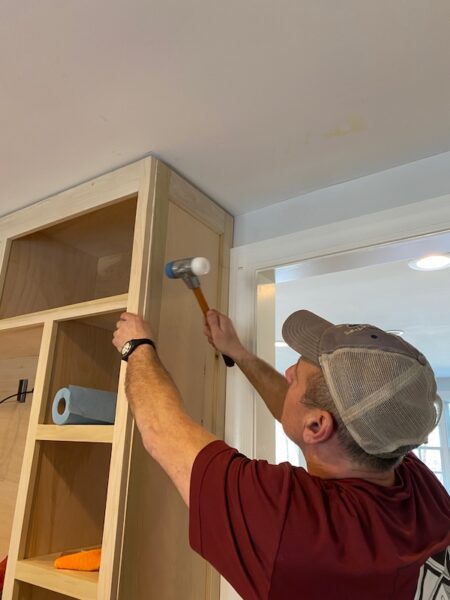
Upper Bookcase
The upper bookcase sits on top of the base cabinet and secures to the base cabinet top with eight screws. Using the story pole, we located the upper bookcase partitions on the base top and pre-drilled holes to help us in the field.
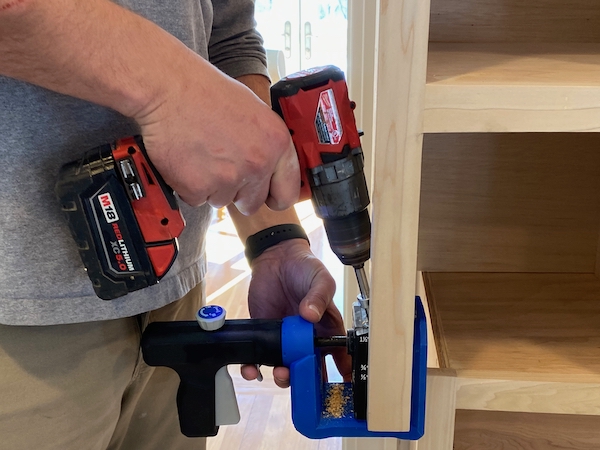
To fasten the otter side walls to the base cabinet – we drilled two pocket screws on each side. This ensured that the far left and right face frames lined up.
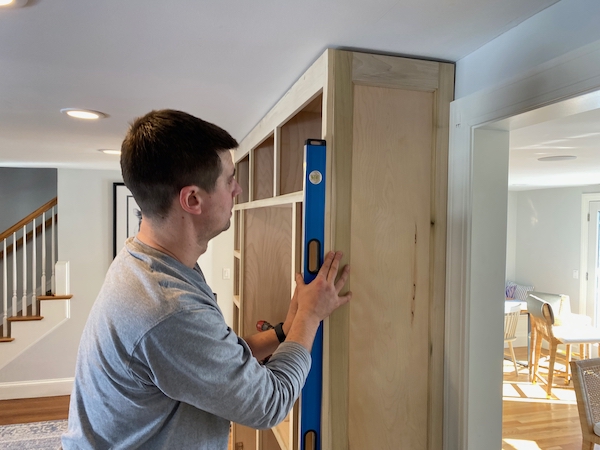
We marked a centerline on the ceiling and the front of the upper bookcase as a reference. Once satisfied that the upper cabinet was level and in line with the base cabinet and plumb to the wall we will install screws thru the rear panel into wall studs. The upper cabinet was secured to the wall studs and ceiling strapping with screws.

Note – We dry-fit the vertical side panels to check the fit between the upper and lower units, and made necessary adjustments, prior to fastening the upper unit.
Bookcase | Side Panel Installation
Because we built the base cabinet and upper bookcase as two units, the side panels and crown molding are installed in place once the other two are installed.

We dry-fitted, scribed as needed, and then fasten the side panel to the bookcase with glue and short fasteners. The screw can be used in hidden areas such as behind the baseboard or crown molding. Measure the distance from the wall to our face frame and cut our panel to fit.
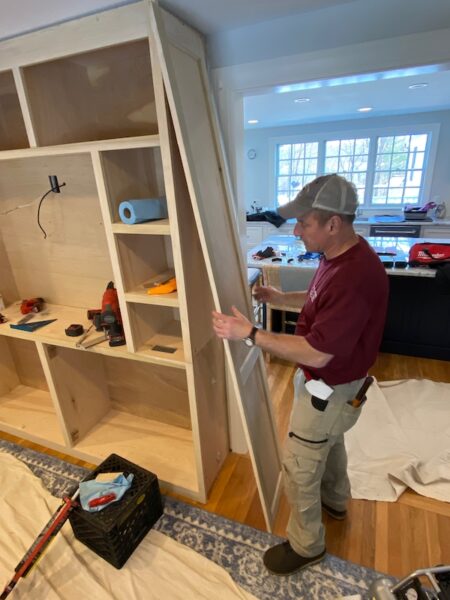
It’s a good idea to make these panels a little wider than needed in case you had to shim the bookcase off the wall a bit. When we made our story pole we check the floor and wall for level and plumb and did not feel the need to make the panel wider than 1/8″ to 1/4″.
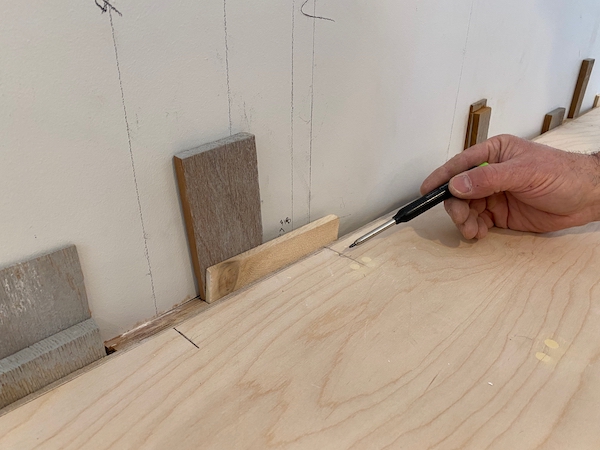
Pro Tip – When in the shop we cut a 10-degree back bevel on the wall side of each panel. This bevel will allow us to push the panel tight to the wall with only the pointed bevel tip touching the wall. Additionally, if any hand planeing is required, we will only have to plan the pointed edge and not the entire 3/4″ thickness.
Crown Molding
The last component to the built-in is the crown molding. We built our bookcase 1/2″ shorter than the ceiling to account for any uneven issue and facilitate getting the top bookcase onto the base cabinet. The crown molding will go up again to the ceiling, closing this gap, and be fastened to the top bookcase fascia. Crown molding is an awesome way to finish any bookcase.
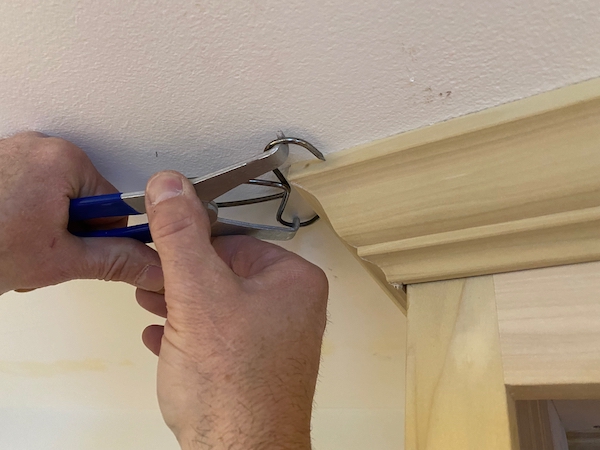
Pro Tip – If the ceiling is too far out of level strive for straight crown molding on the bookcase and either caulk the crown to the ceiling gap or float joint compound on the ceiling to fix the gap issue.

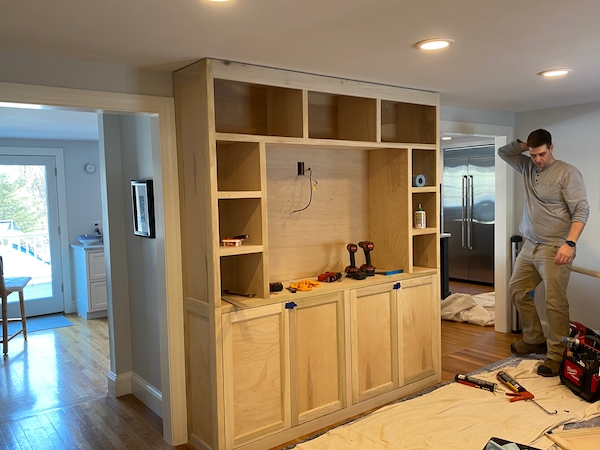
Conclusion
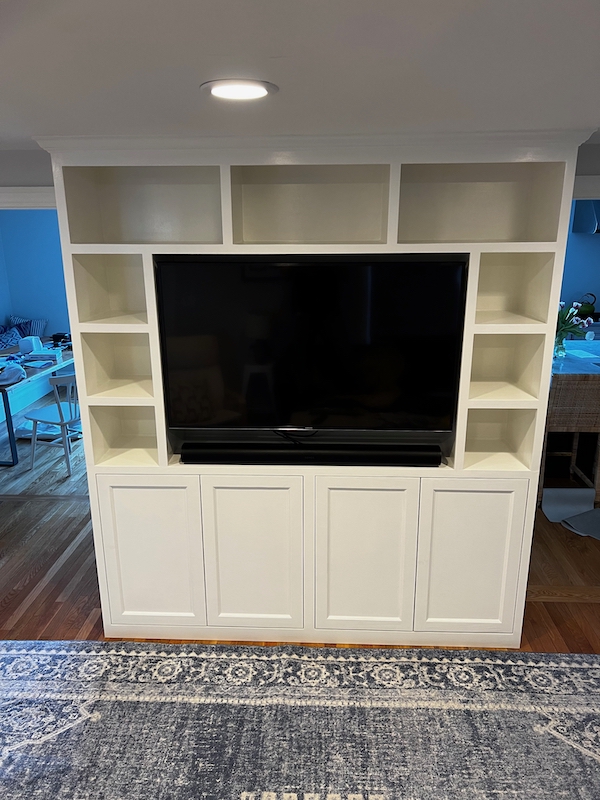
After all of the components are installed and fastened, you will want to fill all the nails holes and sand, and prepare for paint. Once the unit is primed, the side-panel to wall seams and crown molding to ceiling seams can be caulked.
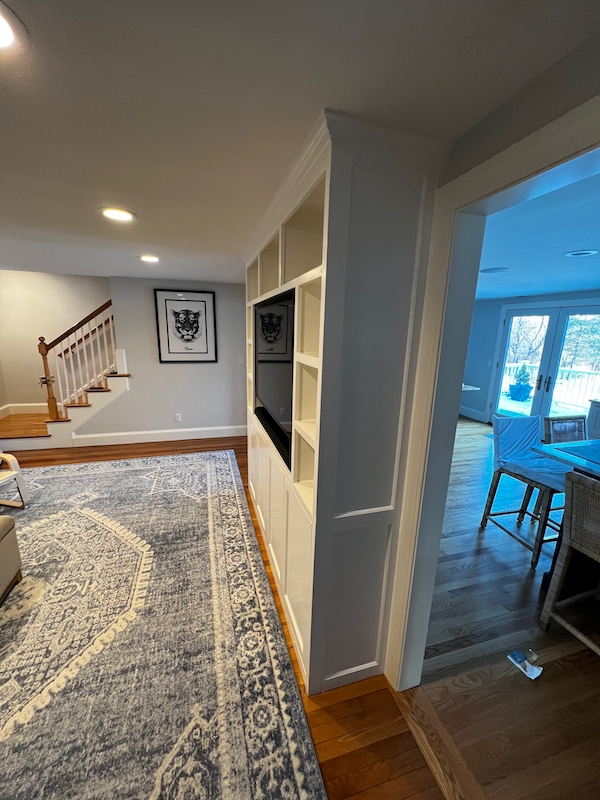
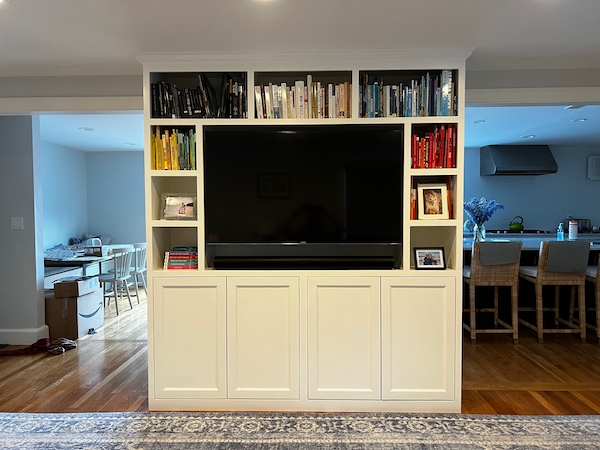
Finished Photos

Bookcase Vertical Side Panels


Finished – left side
Building a TV Wall Unit and bookcase – How-To Video

Bookcase How-To Photo Gallery