Gas pipe projects are becoming more and more popular. A simple internet search brings up a slew of gas pipe projects that show you how to build a bench, table with legs, hanging beds, and numerous shelf configurations. In this article we show you how to build a gas pipe wall shelf with reclaimed wood.
Design
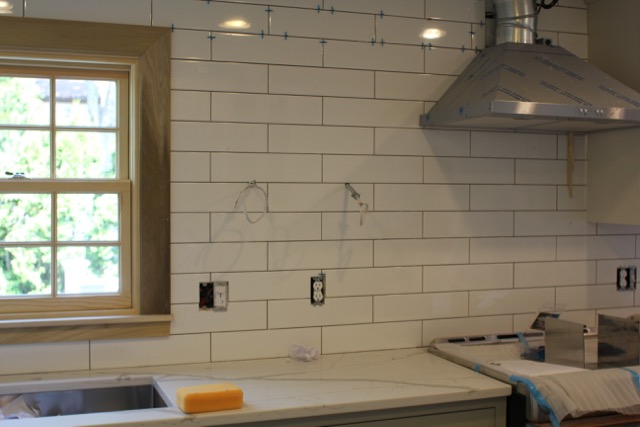
We wanted to create a simple, industrial looking shelf that would fit well in a white subway tiled wall. We decided that ¾ black gas pipe would be a perfect fit for our design, and once complete, we would paint the pipe a high gloss black. For the shelving we decided on two, open shelf format constructed out of recycled wood.
The BEST way to design a gas pipe wall shelf is to first sketch it out on paper. A sketch helps you visualize your project and will help you determine the pipe sizes needed.

Start with measuring the space where the shelving will be installed. [Length, height and width]. With those measurements you can then decide on your shelf size and proportions. We built our shelf to be 30-inches wide and 24-inches tall with a 12-inch space between shelves.
You will want to determine the number and width of shelves. Here are some details to consider:
- Number of shelves
- Width of shelves
- Depth of shelves
- Height of unit
- Wiring considerations
- Mounting considerations
- Obstructions such as light switches, thermostats or outlets
Understanding Shelf Deflection
When thinking about shelf width, keep in mind shelf sagging or deflection. Shelf sagging is measured in deflection, or the maximum distance in which the middle of the shelf bends as a result of weight [books] placed on the shelf.
The thicker your shelf, generally the stronger it is, and the further apart shelf supports need to be.
The longer the shelf, the more it will deflect; the shorter the shelf, the stiffer it will be. Deflection of 1/4″ or less is a good goal when designing shelving.
The fronts of the shelves are sometimes reinforced with ¾” thick solid wood that can be milled with a profile or left square for a beefier look. Nosing can add a nice accent to the shelf edge.
Wider shelves that will receive a heavier load should have a wider nosing or additional, closer spaced, pipe supports. Hardwood shelf nosing applied to shelves can help resist and prevent deflection. Read more on deflection here.

Before designing your shelf take some time to see what type of gas pipe is available in your area. Big-box stores carry gas pipe, but I purchased mine from a plumbing supply store. Both places will usually cut and rethread gas pipe for you if you need custom sizing.
Now it’s time to think about your pipe needs.
¾” Gas Pipe Sizes
Stock ¾” pipe comes in the following sizes:
- 3-feet
- 4-feet
- 5-feet
- 10-feet
- Other sizes would have to be custom cut and threaded
Stock ¾” Fittings [Nipples]
Gas pipe fittings come in many thread sizes and lengths. These black pipe nipples allow you to find the proper fit in different situations and come in these sizes:
- 1” to 6” in ½-inch increments
- 7” to 12” in 1-inch increments
- 18-inch
- 24-inch
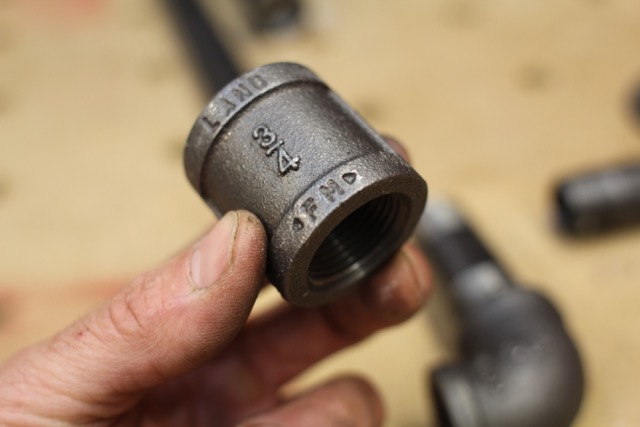
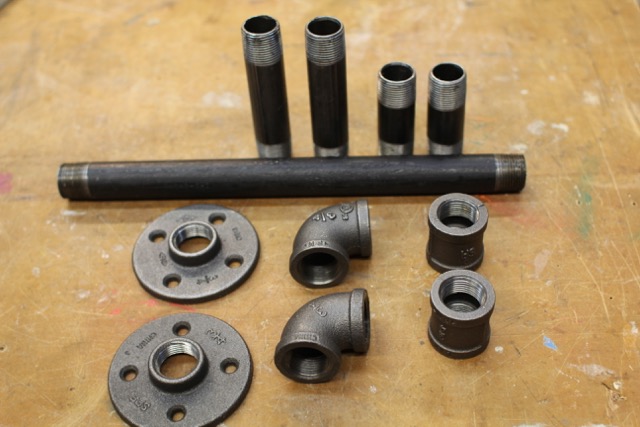
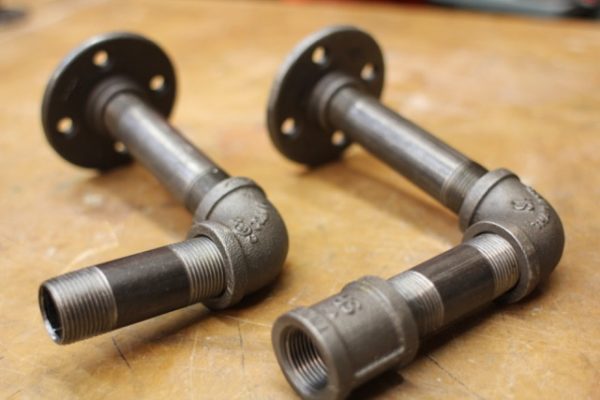
Needed ¾” Connection Fittings
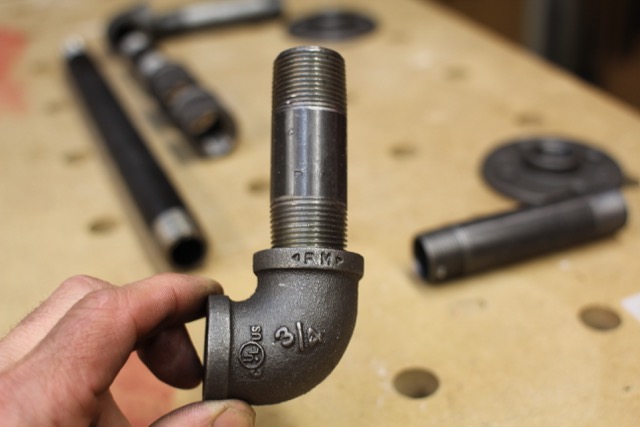
- 90-degree elbows
- Tee-Fittings [3-way connection]
- End Caps
- Unions [two-way connection]
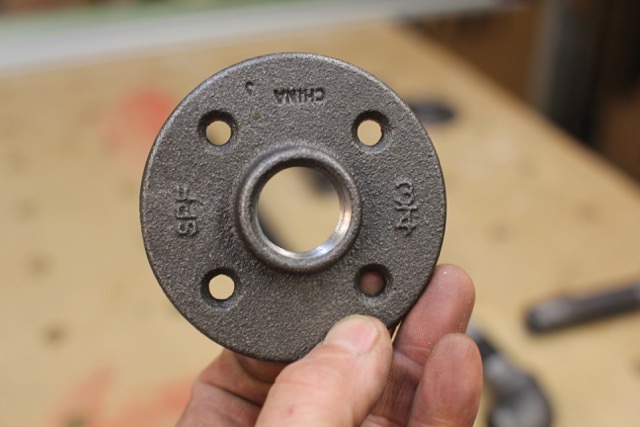
- Floor flange [also a wall mount]
Use Solid Blocking [If Possible]
It’s always a good idea, when installing a gas pipe wall shelf, or other heavy items to a wall, to install them into wall studs or solid blocking. Since wall studs never seem to line up where you need them, we opted to install solid blocking in the open stud bays when the kitchen was gutted.
We planned on our shelves to be no more than 30-inches wide and be at the approximate height as the new kitchen cabinets we were installing. So we installed 3/4 “plywood and cleats in two wall stud bays from 40-inches off the floor all the way up to the ceiling. This blocking ensures that no matter where we install a fastener we will hit solid backing.
Without solid backing you will need to rely on wall anchors, expanding bolts or Molly fasteners to hold yourself. Alternatively you can install a vertical pipe leg to support your shelf and mount your unit to a counter or floor.
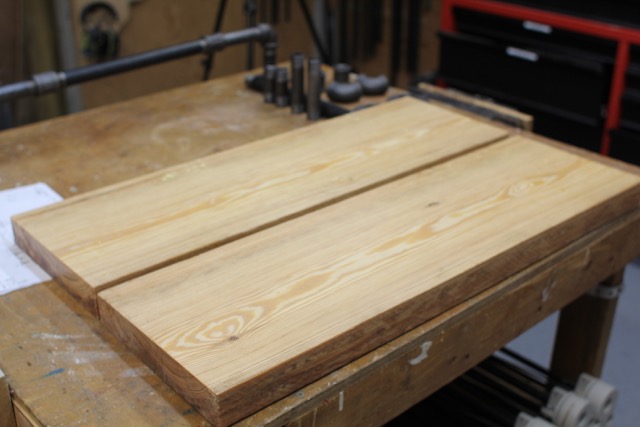
Sourcing Wood
In our search for a recycled board, we went to Longleaf Lumber in Cambridge Ma. Long Leaf Lumber is an antique and reclaimed lumber company. They produce reclaimed wood flooring, paneling, counter and tabletops, stair treads, resawn beams, moldings, mantels, and rough-sawn lumber.
We purchased a 7-foot, 2×10 pine board that was recycled from the Boston Rubber Shoe Company building built in 1883. We paid $100 for it.

Understanding how to mount and secure your shelf is crucial during design, construction and ultimately the fastening stage.
Shelving can be mounted to the ceiling, wall or floor. I’ve seen situations where a gas pipe-shelving unit could not be installed to wall studs, so a horizontal wood, mounting strips we applied to the wall and secured to the wall studs. This horizontal mounting strip allows the shelving unit to then mounted anywhere along that mounting strip.
Clean the Gas Pipe
Prior to assembling our gas pie wall shelf we wanted to paint all the pipes and parts. The pipe comes from the factory with an oil residue on it. Oil is needed for the thread cutting process and manufacturing of gas pipes
Clean the pipes with acetone. Wear the heavy duty dish-washing gloves and use ventilation when cleaning with acetone.
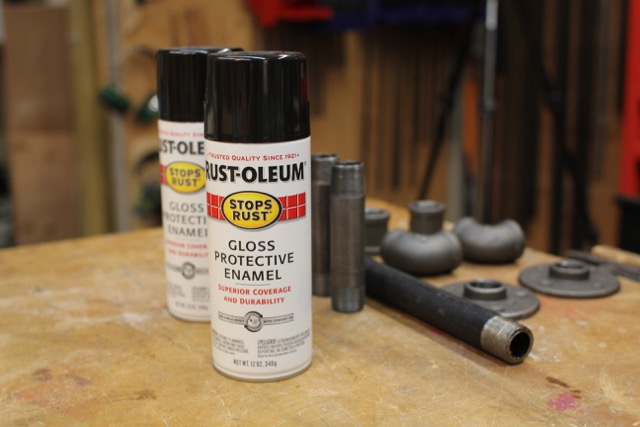
Painting the Pipe
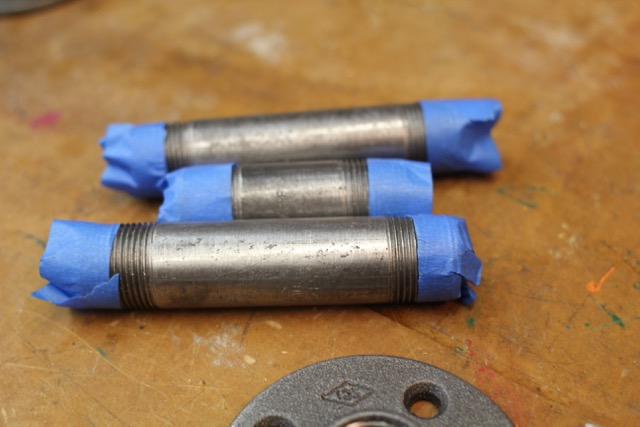
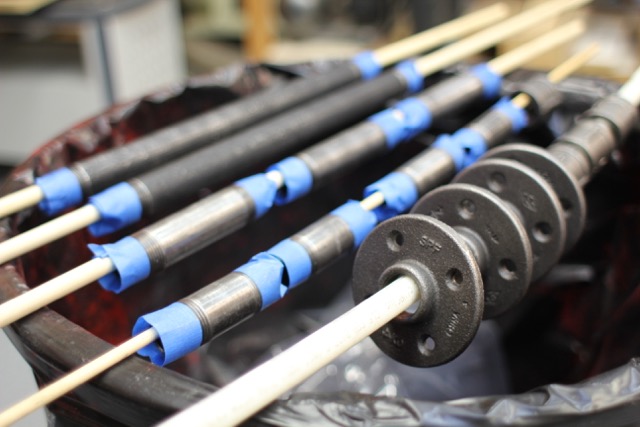
After the pipes are clean, scuff them with 220 grit sand paper and then cover ½” of the thread with blue tape to keep paint off the threads. Once protected I spray painted them with a Rustoleum high gloss black paint. Paint all metal parts black.
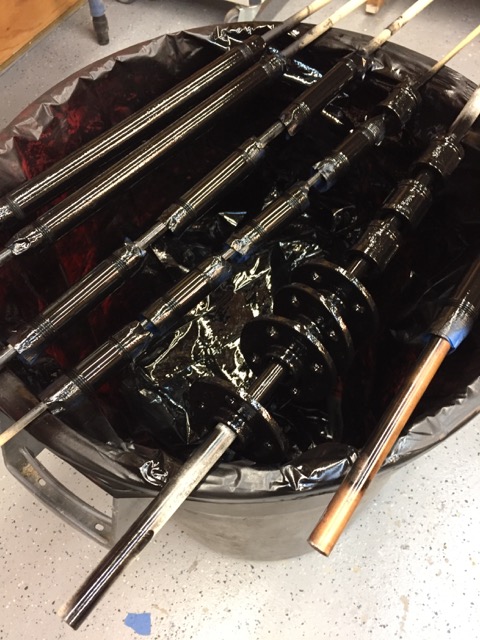
Painting Tip: Use 3/8” dowels or pipe as a spray rack. Suspended the rods over a clean and empty trash barrel, insert the pipe and any nipple fittings over the dowel. The dowel allows you to spin the pipe as you spray paint keeping your parts from touching any surfaces while the paint dries.
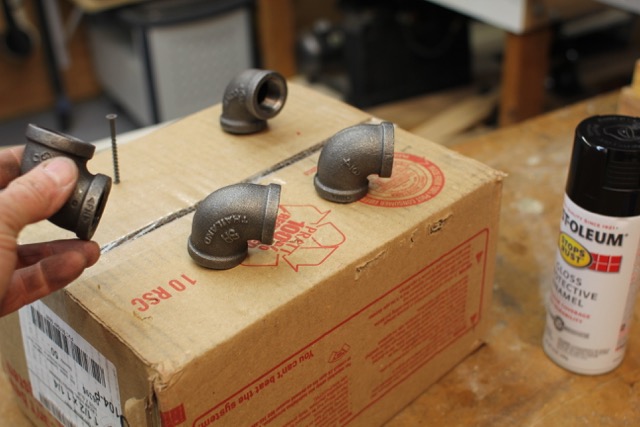
I also stick long screws into a cardboard so I can spray paint the elbow fittings.
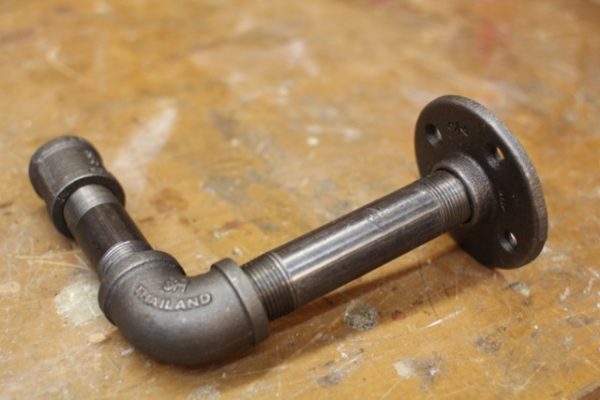
Attaching Pipe
The beautiful thing about making a gas pipe wall shelf is how easy the pipes and fittings all screw together. While a pipe wrench would certainly make these connections permanent, I do not think you need to use anything stronger than a solid hand tightening.
After the paint has dried 24-hours, assemble the shelf.
Attaching the Shelf
The shelving can be installed and secured three ways, all affect the overall design:
- Rest on top, or nested between the pipes
- Holes drilled through shelf and pipe inserted through shelf – using an elbow or union to support the shelf
- Pipe flanges applied to the underside of the shelf
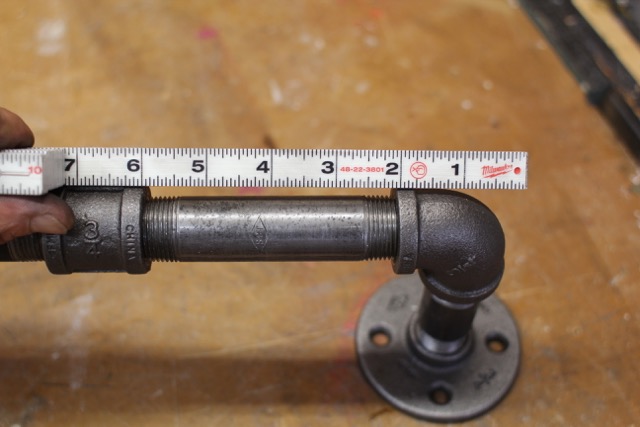
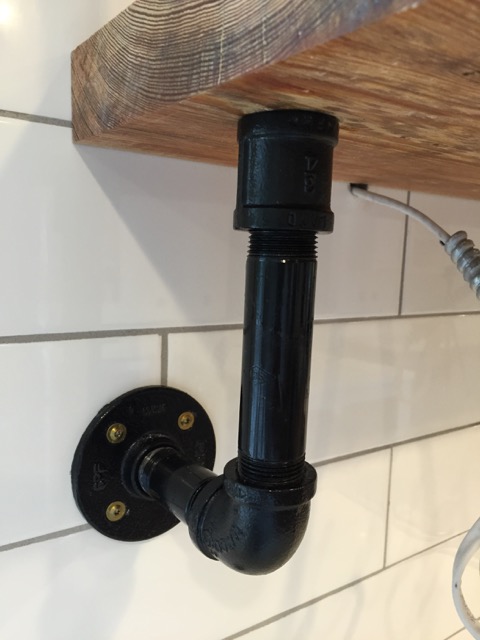
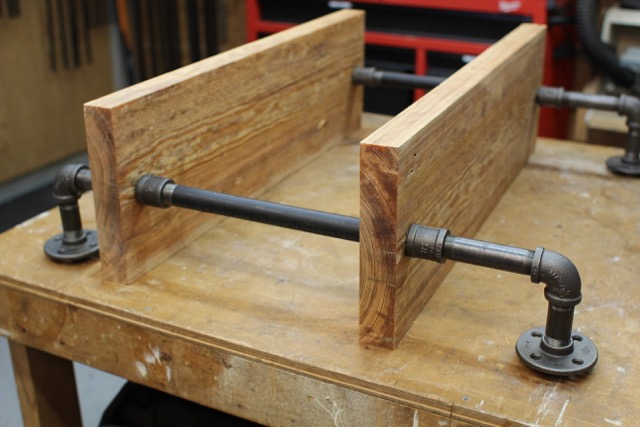
We decided to drill a hole in our shelving to allow the pipe to travel through and secure the shelf to the pipe. We designed the shelf so it has ¾” pipe couplings under each shelf to support the shelf.
Tip: Assemble pipes and shelf and lay on a level flat surface. Adjust the connections and wall flanges so the flange touches the flat surface and is in same place as the back shelf edge.

Drilling Holes For Gas Pipe
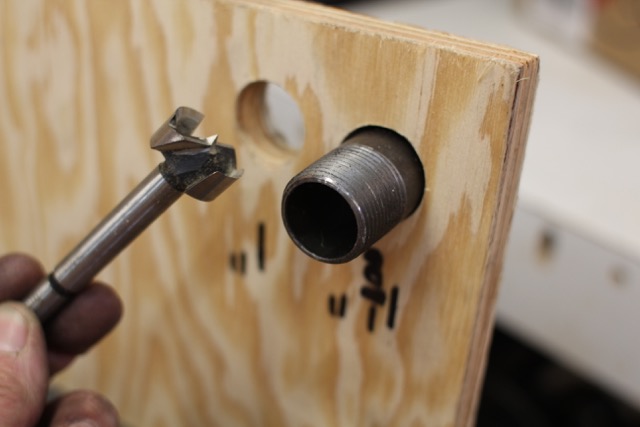
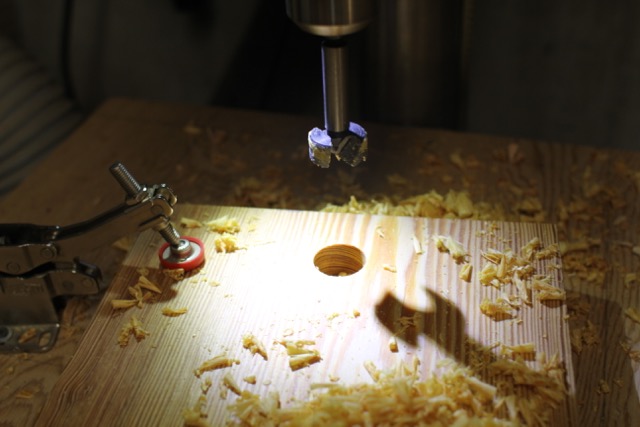
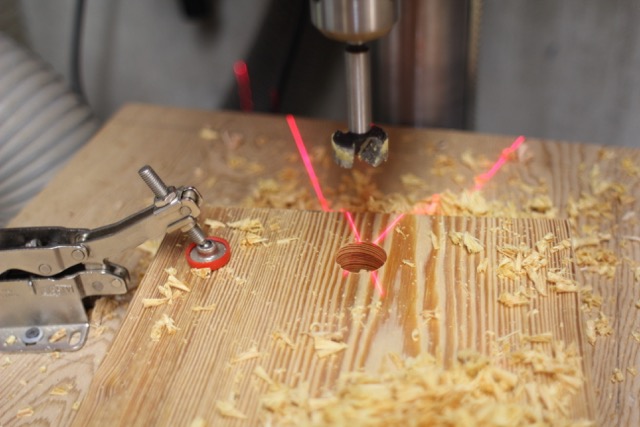
On both shelves, we measured in 1-3/4” from the center of the shelf edge and marked the center of our pipe hole.
To drill the hole we used a 1-1/8” Forstner bit and used a drill press. Forstner bits drill fast clean and consistent holes. The size of the hole was large enough to allow the pipe top side through but not large enough for the coupling to not support the shelf. By using a slightly larger hole this shelf can be lifted and the tile wall behind the shelf cleaned is needed.
Material List for Our Gas Pipe Wall Shelf
- [2] ¾” x Fitting
- [2] ¾” x Fitting
- [2] ¾” x Fitting
- [2] ¾” x Fitting
- [2] ¾” x 13” Fitting [custom cut]
- [4] ¾” elbows
- [4] ¾” Wall mounts
- [16] 2” GRK structural screws
- Drill and 1-1/8″ Drill bit
- Spray paint
- Acetone
- Rubber gloves
- Blue tape

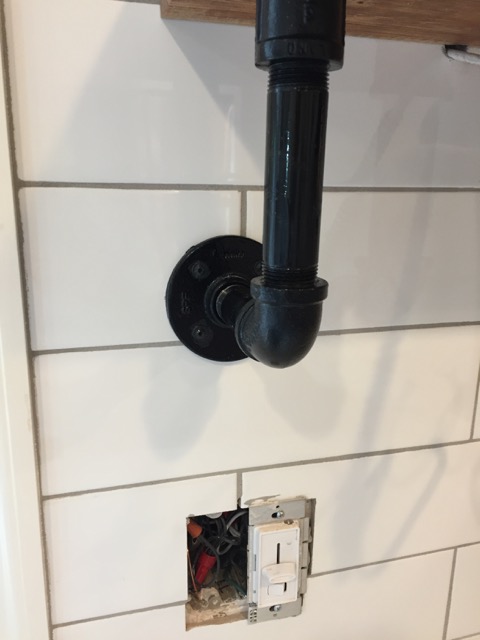
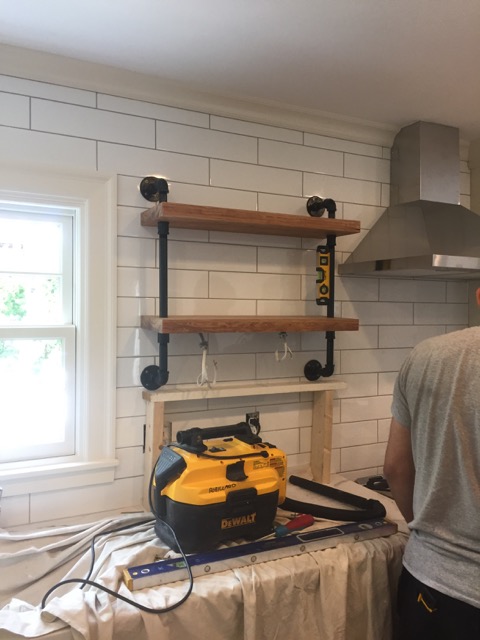
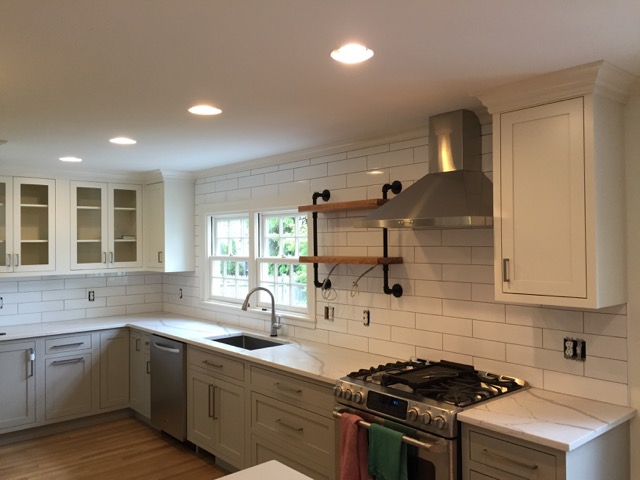
Our shelf was designed to be centered between a window and the stove ventilation hood. The client specified the height and I constructed a simple 2×4 and pine support shelf to hold the shelf unit at the proper height while I leveled the shelf and marked the mounting holes in in the wall flange on the wall tiles.
Note – Under shelf lighting will be added later.

Tip: Mark the center of the wall space and the center of the shelf as reference marks. Also place a level on the pipes and ensure the vertical pipes are plumb prior to marking the holes.
Mark all of the holes with a marker and use a masonry bit in my drill and pre-drilled 16 mounting holes through my tiles. I used a 1/8” glass/ceramic bit to start all of the holes and then a ¼” bit to enlarge the holes. Use a larger drill bit than the shank of your fasteners to avoid cracking tiles.
I again used the temporary shelf to hold the “weight” of the shelf unit while I focused on the fasteners and mounting application. I used care not to over tighten or place too much torque on the fasteners to avoid cracking the tile.
Fastening Tip:
Use a level on the wood shelving and on the pipes [magnetic torpedo level works great] to ensure everything is square and level.
Shim your temporary shelf with wood shingles as needed to achieve level. Alternatively you can have someone hold the shelf and you can mark and install one fastener and then use that fastener and a level and have your helper pivot the shelf unit until its level. [Harder to do] Install a second fastener to hold the level position, and then install the rest of the fasteners.
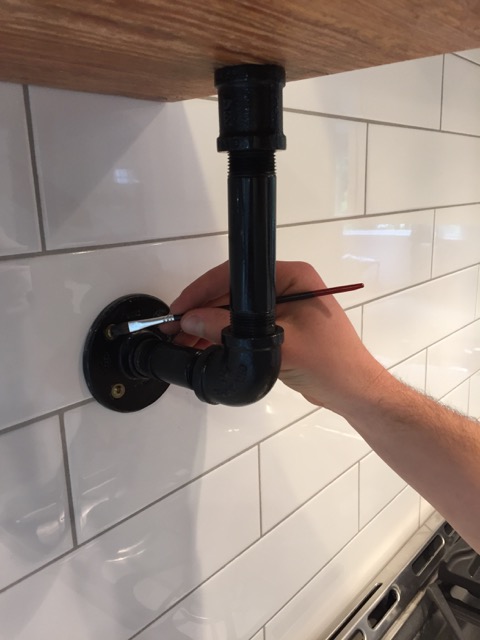
We then used an artists brush to paint the screw heads black.
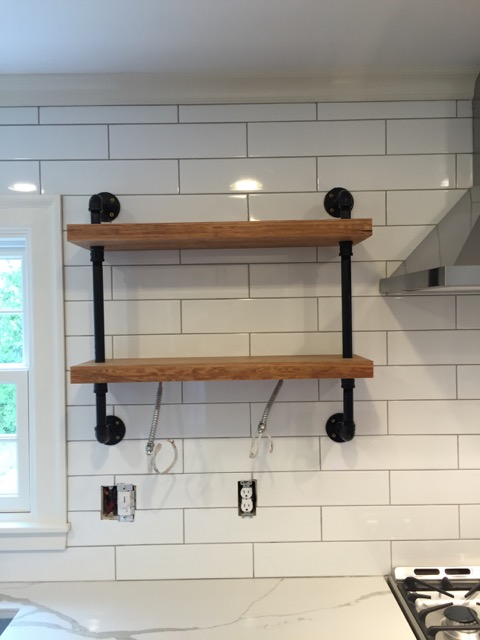
Summary
Creating a gas pipe wall shelf or anything with gas pipe, can be a rewarding DIY project. Add some recycled wood, with some history, and the result is a gorgeous custom shelving unit, better than any store bought shelf and a great conversational piece.
How To Make A Gas Pipe shelf Video: