

The fireplace is often the most dominant element in any room it’s in. Replacing a fireplace is definitely a cosmetic choice but besides pleasing your eye, an updated fireplace can also add resale value.
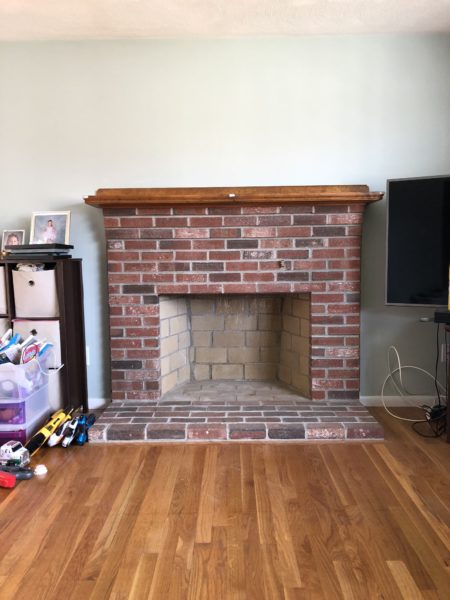
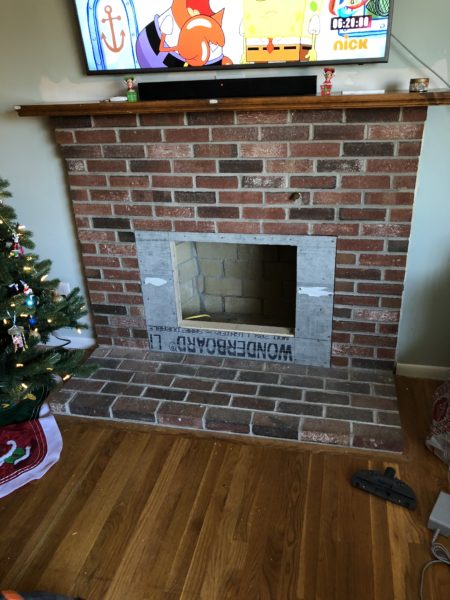
When the cold winter weather months arrive we welcome interior work with open arms. This December we moved inside, to do a fireplace makeover for a client who was fed up with the old brick look. The house was built in 1976 and the brick fire place was original.
Due to issue with the damper the fireplace was deemed inoperable, so it was decided to custom build the fireplace and mantle around a new electric insert. Gas was also not an option for this project so electric was really our only option.
Designing
When designing your fireplace makeover you must take into consideration the following things; fuel and size.
Fuel:
- Electric
- Gas
- Wood
Due to issue with the damper the fireplace was deemed inoperable so it was decided to custom build the fireplace and mantle around a new electric insert. Gas was also not an option for this project, so electric was really our only option.
Size:
Calculate the amount of space you are looking to heat along with the available size for insert and pick something that will work best for you. Fireplace inserts come in a variety of sizes and some are even designed not to produce any heat but provide an ambiance feeling.
The fireplace is often the most dominant element in any room it’s in. The eyes are naturally drawn to the darkest object in the room and often times it’s the firebox. Realistically you want the fireplace and mantle to complement everything around it. Replacing a fireplace is definitely a cosmetic choice but besides pleasing your eye, an updated fireplace can also add resale value.
Fireplace Makeover
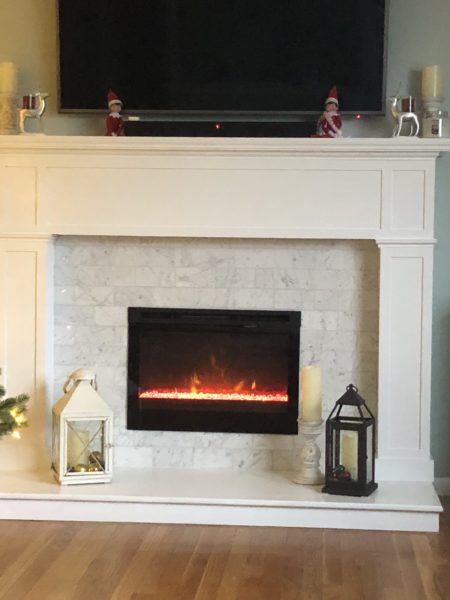
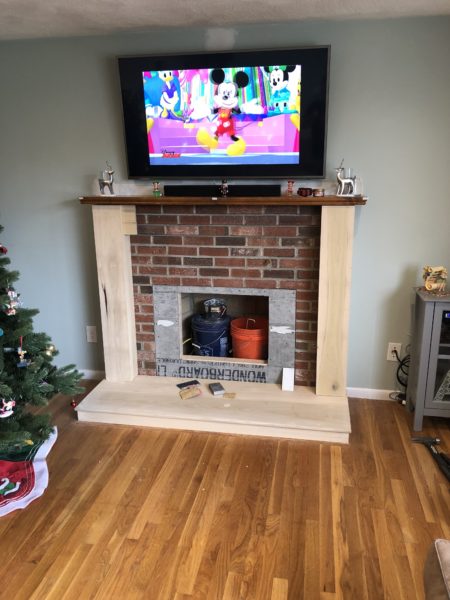
Our client really loathed the look of the brick fireplace and wanted to cover it up. Their vision was to see a clean white subway tile surround, with a 55″ flat screen TV mounted above a wood mantle.
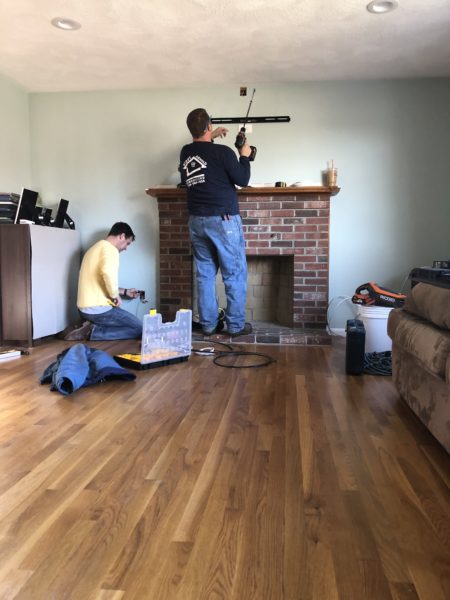
Step 1: Running Wires in the Wall for TV
First rule is let the electrical professionals handle the electricity. Our staff has a licensed electrician who does all of our electrical work for us. The client wanted an electrical outlet just above the mantle for Christmas decor and a wireless sound bar. We had to cut out three small squares out of the drywall in order run our wires up into the attic. We also took this opportunity to run our HDMI cable as well.
Item worth noting:
Do not run the electric wiring and the HDMI in the same space. When drilling up into the header of the wall keep a small distance between electric wire and HDMI so there will be no electrical interference. If run together your HDMI could produce poor picture quality.
Step 2: Choosing an Electric Insert
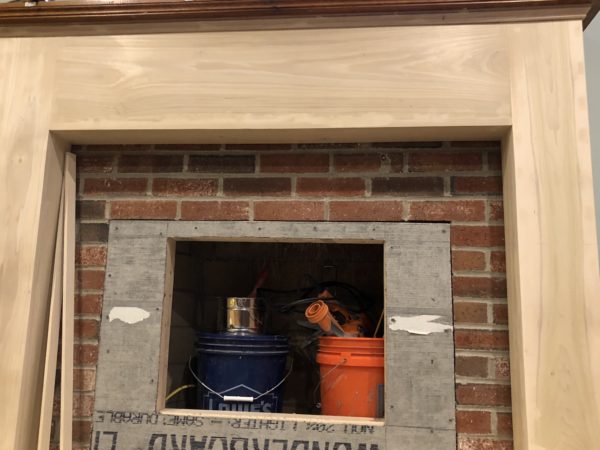
This was a step we left up to the client. There are so many different styles and models it should be decided on by the client. What we did for the client was measure the current opening and let them know what the maximum dimensions were. Anything smaller than these measurements would require us to frame the opening. The client went with a Dimplex 25” Contemporary Fireplace Insert which required us to frame out the opening.
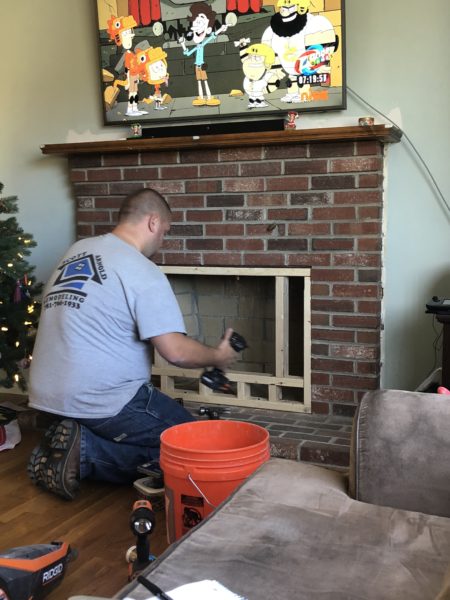
The framing was recessed 7/8″ to accommodate the cement board we were installing. The frame was secured into the brick, using 2-1/2″ Tapcon screws, on the top sides and bottom. The frame measurements were 24″W x 18-3/4″H x 7-7/8″D.
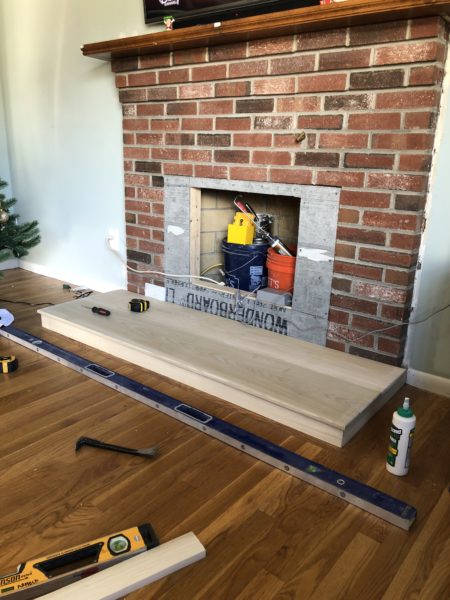
Step 3: Covering the Brick Step “The Hearth”
Many folks cover the hearth with granite, marble or tile. Our client disliked the brick look, and did not want a stone hearth. They chose to make a wooden hearth to cover the brick step.
To build this hearth cover, we first installed 2-1/2″ trim on all tree sides of the hearth. this trim was fastened to the brick and floor with construction adhesive and some 16d nails pre-drilled into the hardwood floor. Furring strips were then added to the top of the brick step, and at the same height as my vertical trim. the furring strips were fastened to the brick with construction adhesive.
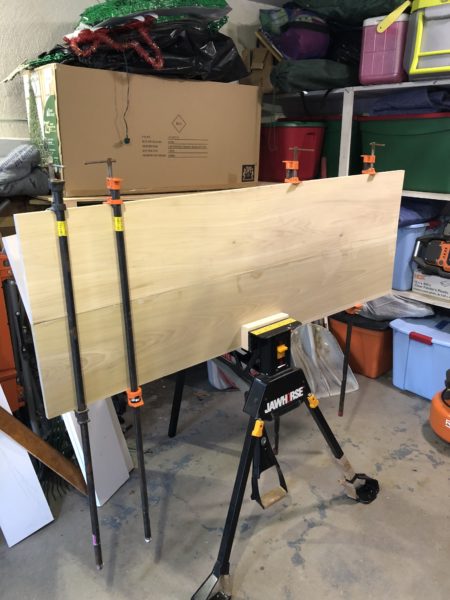
The next step was to make the hearth top. I joined 2 pieces of 1″x 12″ poplar with biscuits and glue securing with several pipe clamps. When joining two panels like this, ensure that the panels are flat before applying clamping pressure. This can be accomplished with a framing square, level or other flat edge. We let the glue set overnight, filled the seam with wood putty and sanded it smooth.
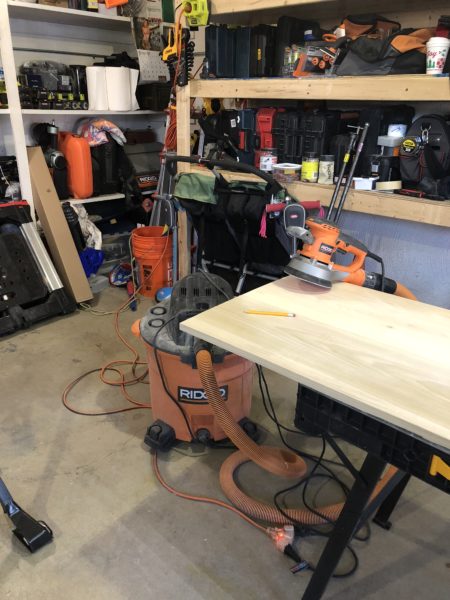
We routed the edges, sanded and installed on 2-1/2″ poplar trim to hide the front of the brick. The wood sat perfectly over the brick and we nailed into the trim with 1-1″4 finished nails. We filled all the nail holes with wood putty and hand sanded smooth.
Step 4: Building the Columns
The columns were made from 1″ x 8″ poplar. Outside and front were full size and the inside return to the brick was cut at a smaller width. We glued, nailed and clamped the pieces together. Once the glue dried we filled the seams with wood putty and sanded them smooth.
In order to get our Poplar to secure to the brick we used a Ramset [concrete nailer] and fastened 2″x 4″ supports along the side of the fireplace (unfortunately we didn’t get any pictures of this). We secured the Poplar on the left side and right side of the 2″x4″ supports.
To secure the mid section of the mantle we installed support braces. These braces were set back the thickness of the front piece and cut to length. This piece was also secured to a 2″ x 4″ cross support which was fastened with the Ramset into the brick. All seams and nail holes were covered with wood putty and sanded smooth.

Step 5: Tiling
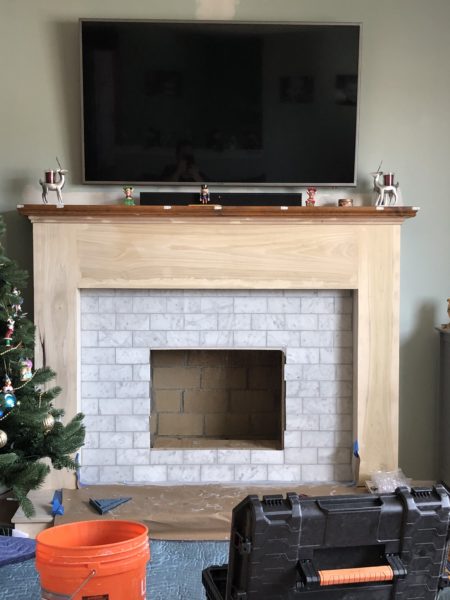
The section that needed to be tiled was approximately 8 square feet. The Client selected Carrera Marble subway tile.We used kraft builders paper to protect the hearth floor under our work surface.
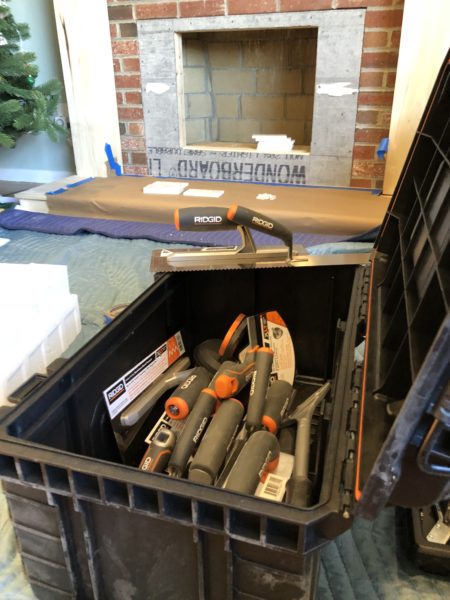
We tiled up the fireplace and placed a temporary shelf for the tile to sit on at the top of the framed out section using the new Ridgid Tool Tile Laying Tools. After the tile set we grouted with a sanded grout and left for a day before returning to finish the mantle trim.

Step 6: Installing Trim
Once the tile is set, grouted and dried you can begin working on the trim of the mantle. Our client did not go overboard on the trim. The sky is the limit and it is all about what the client wants. On our project we used 1″x3″ poplar for the base modeling at the bottom of the columns and used 1/4″ x 1-1/2″ lattice strips to run the edges and add a boxed in look. Along the top underneath the shelf we used a pine shingle style molding as well as the tops of the columns.

Step 7: Paint
Once your trim work is complete you want to assure that your nail holes are filled and sanded. You are now ready for paint. Poplar is a great choice of wood when the end result will be paint. One coat of Benjamin Moore white primer and then one coat of Benjamin Regal Select paint and we were complete.
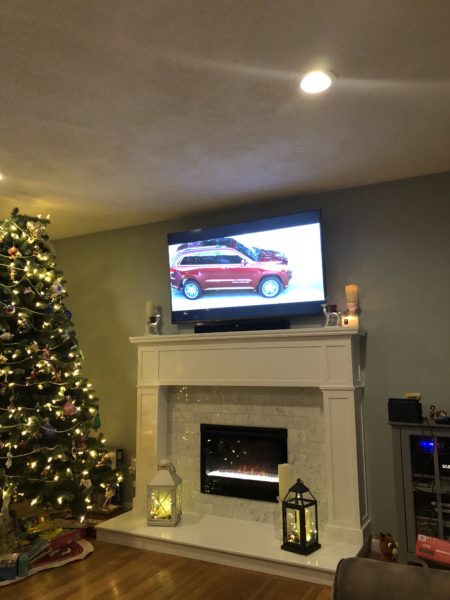
Step 8: Enjoying the Fireplace
With the chill in the air and the holidays knocking on the door we wanted to give our client and their family something spectacular. With hosting holidays there is just something about the warm look of a nice fireplace regardless of the source of heat.