

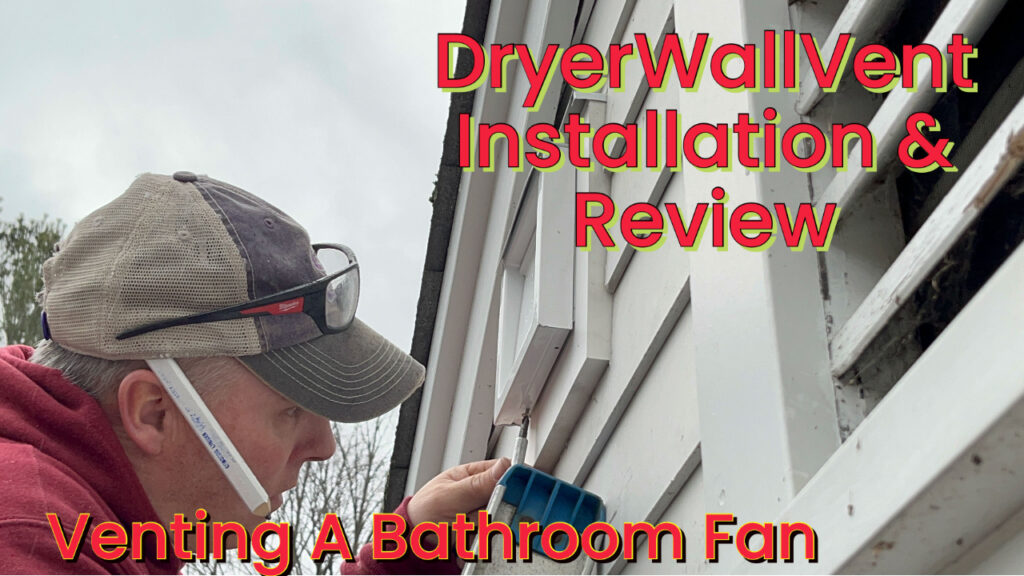
Dryer Wall Vent [Best Practice]
The folks at InOvate products reached out and asked us to install and review their DryerWallVent. So, we took it to one of our remodeling projects and installed it.


My first experience with this company was almost 10 years ago at the JLC Tradeshow where I saw their Dryerbox product. The Dryerbox is a recessed box installed between wall studs, behind a dryer to avoid the common problem of a crushed vent hose.

First Impression
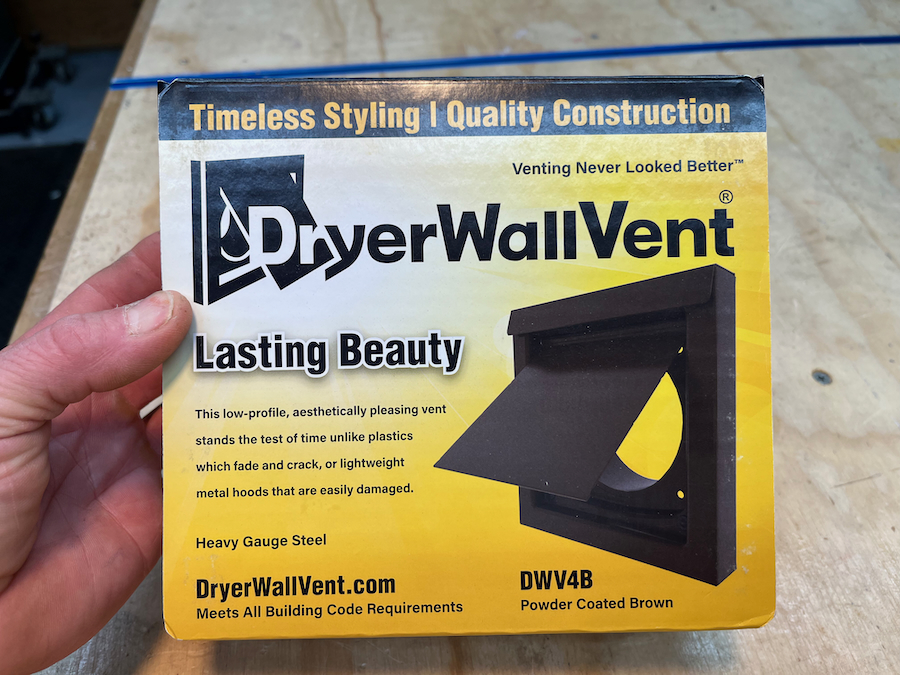
My first thought was how thick and robust it felt, comparing it to the thin aluminum and cheesy plastic vents commonly sold at lumberyards.
The plastic vent hoods are tough to connect to ducts, fall apart, melt and crack. The aluminum vent hoods usually come with a small, crimped connector but are too thin, and dent too easily.

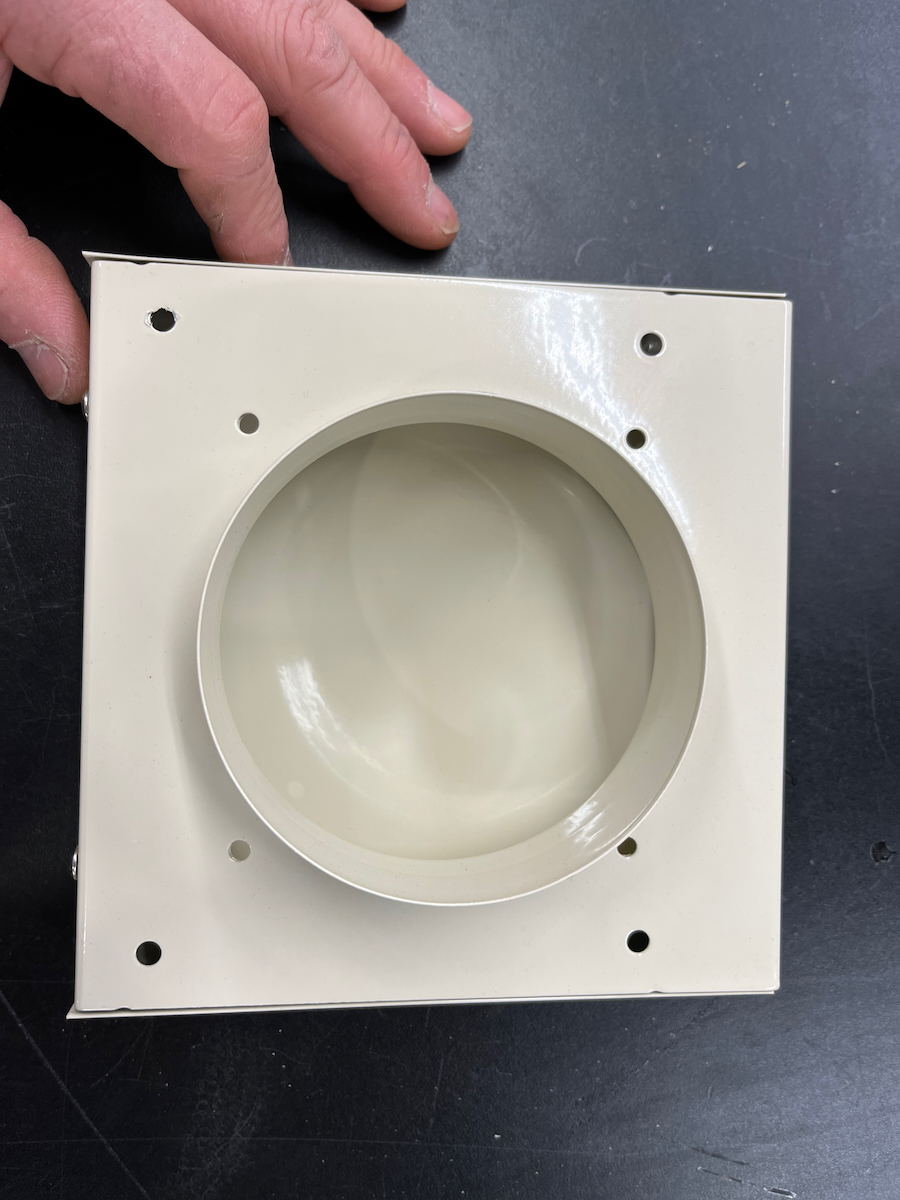
The 4” duct connection is slightly smaller allowing an easy slip-in connection and eliminating a common frustration with other vent hood connections.

The vent is made in the USA and has a powder coat finish that is applied to Galvalume® steel. Galvalume is a coating used over the top of steel that’s composed of aluminum, zinc, and silicone for corrosion and rusting resistance. It outperforms a galvanized finish.
Great Solution to Available Options
At my lumberyard, the only semi-rugged vent has a screen, tack welded to the vent. I must fight the screen with wire cutters and pliers to remove it, always cutting my hands in the process and spending a half hour doing it.


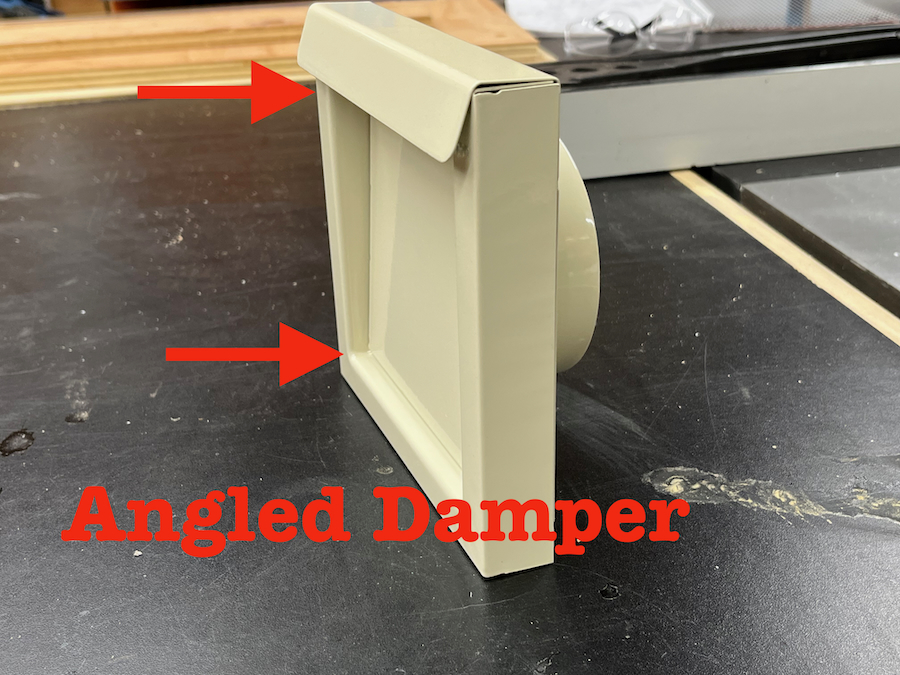
Magnets Hold Damper Closed. Damper Covers Installation Fasteners From Weather.
The DryerWallVent does not have a screen to clog with lint which can make the dryer overheat, or even result in a fire. It’s a well-thought-out design and some of the standout features are:
- Low profile design with a gravity-assisted, angled damper, and built-in magnets. The magnets hold the damper closed to prevent backdrafts and damper flapping in high winds.
- Four built-in holes for fasteners that are completely covered by the damper.
- Two different fastener options, with a built-in, secondary wall plate.
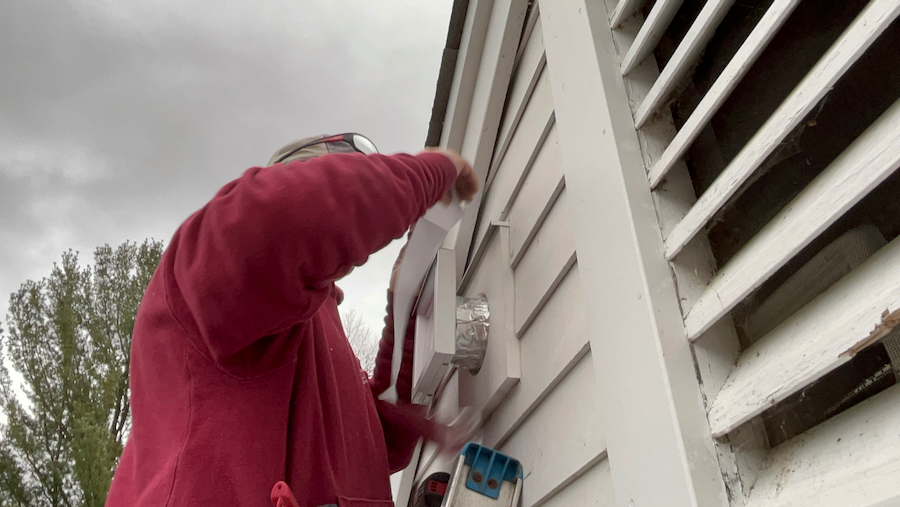
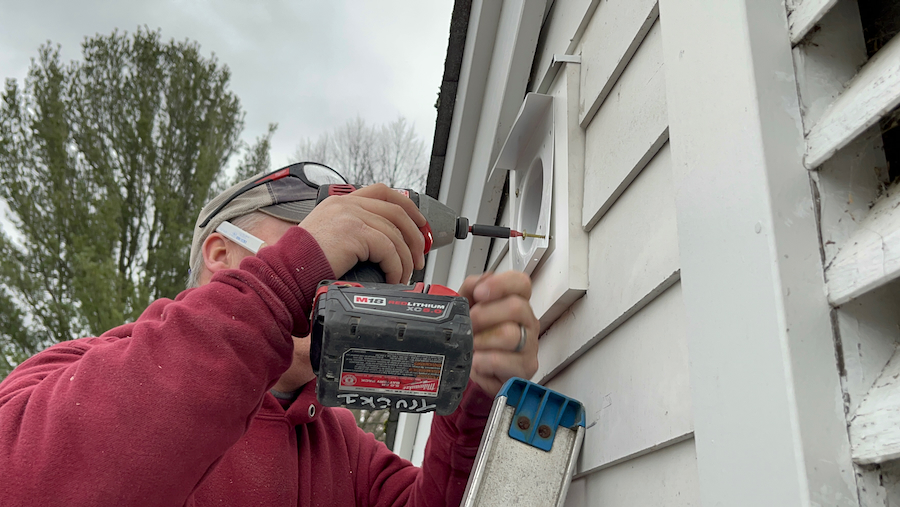
Installing the DryerWallVent
Installation is simply a matter of slipping the collar into the duct, in our situation we had to crimp the end of the solid pipe to fit. Once fitted, open the damper, and install four screws.
For installations with a larger opening [hole] through the wall, the secondary back plate allows for a wider fastener footprint. We had to use the secondary fastener holes on our installations due to previously cut [larger] holes.

Price
The DryerWallVent sells online for $45.00 and comes in 4 standard colors and custom colors. I am going to try to convince my lumberyard to start carrying these.


Conclusion
The WallDryerVent is built-to-last, and I have no doubt that the vent we installed will last if the Cement board siding on the house does.
Installing A Dryer Wall Vent Video
