Cutting Concrete Block To Install Window

Installing A Basement Egress Window In Concrete Wall
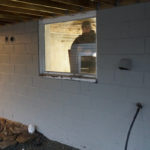
We recently were asked if we were interested in cutting concrete blocks to install a window. The client had an existing single pane glass window that was much narrower and shorter than the opening required to install two new Anderson windows that they had acquired.
Concrete Wall Cutting Companies
Typically we would hire a concrete company to cut foundations for us, but that can get costly at a rate of $1600 a day. Using a gas cut off saw was also an option, but this house is occupied and we thought it best to avoid the exhaust from the engine.
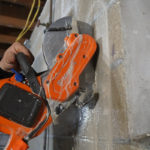
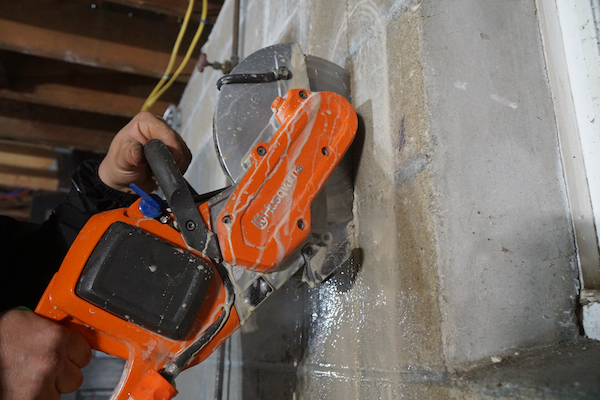
We finally settled on using a Husqvarna 9-inch cordless cut off saw. This saw runs on batteries and does not pollute the house with fumes. Click here to read the tool review on the Husqvarna 9-inch Cut Off Saw.
Because this saw has a 3-inch depth of cut we knew we would need to make these cuts from both sides of the wall.

Measuring The Windows – Layout
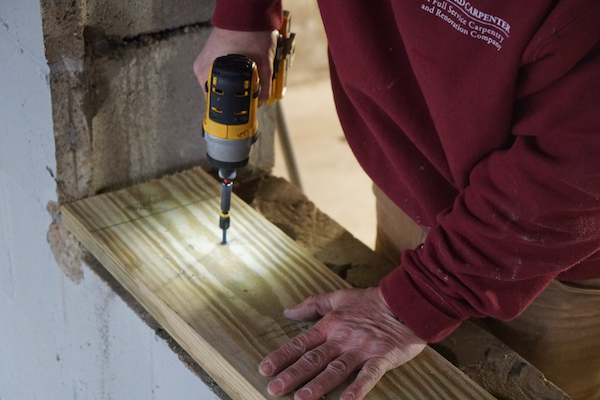
We were going to install the windows side by side with a 2×4 between the two for a nailer and to accommodate a small amount of trim. The windows would be installed within a frame of 2×8 pressure treated framing lumber.
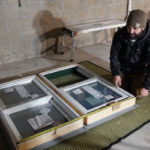
To determine our framing rough opening, we placed the windows on the floor, with a 1-1/2” space between the two and measured the width and length, adding 1″ to the width and ½” to the height measurement, for plumbing and shimming. Once we had this measurement the next steps were to figure out the framing measurements.
We added 6 inches on the width of the opening to accommodate two 2×8 jack studs on each side. We decided to cut the bottom of the window on a mortar joint that would allow us to install a 7-1/4 inch header on top of the window. Adding these measurements to our rough opening measurement gave us the total concrete block to cut.
Preparing – Cutting Concrete Block To Install Window
With the total measurement figured out, we transferred this measurement to the concrete block wall and leveled and plumbed out marks on the wall with a permanent marker. The marker does not wash off like chalk does, and is darker and easier to see over pencil.
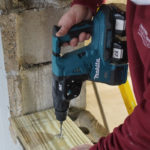
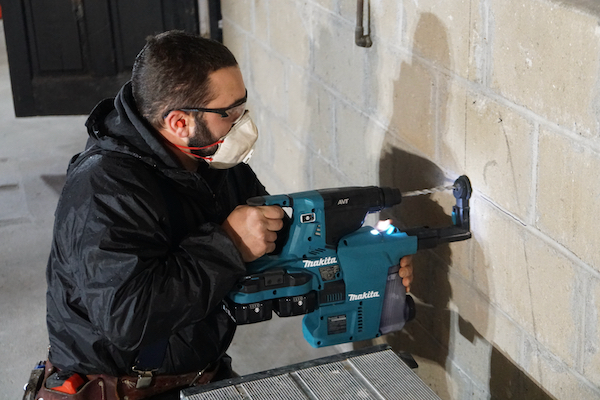
Once the window was marked out on the inside we used a Makita hammer drill and drilled through holes in the concrete block at all corners. These holes were then used on the exterior of the wall to locate our cut lines. We repeated the step above on the outside.
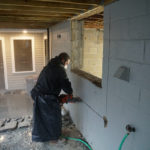
We then set up a water hose to our saw for a concrete block wet-cutting operation and had a wet vacuum ready to collect the slurry.
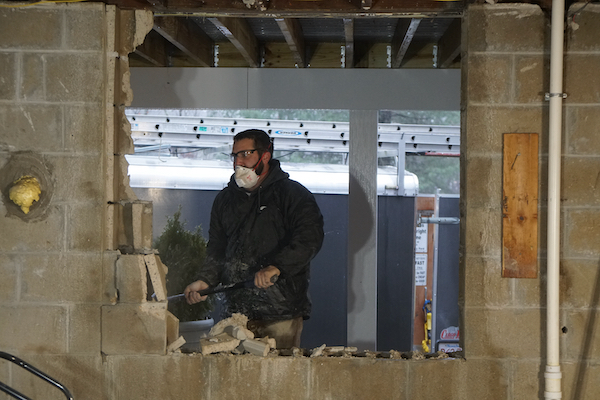
Cutting the Concrete Wall
When cutting an opening in an existing block wall, try to align it with existing mortar joints.
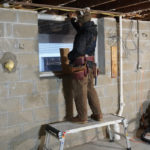
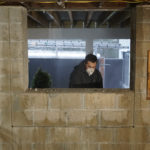
We used the saw to score the line and then to make a 3-inch deep cut on both sides. Once complete we used a sledgehammer to break the concrete blocks at the scoreline.
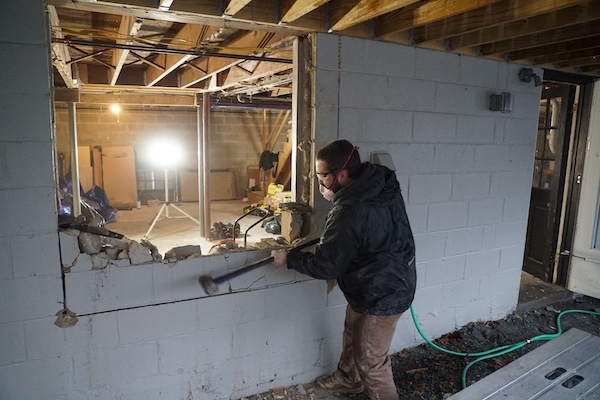
Once you’ve opened up the wall, you’ll have a number of partial concrete blocks that will need to be filled in with mortar or replaced.
We brought the window opening lower than needed to be able to break the opening at a mortar joint and to allow for a 7-1/4” header above.
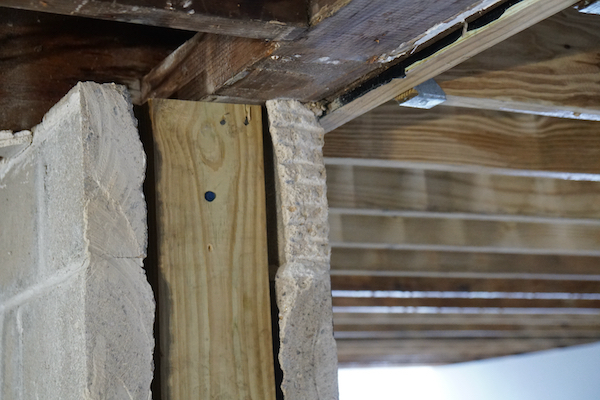
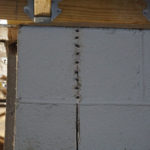
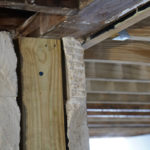
Repair the opening as required, adding wire mesh to the cavities to give your mortar something to hold on to, or install a pressure-treated ”wood buck” and secure it in place with Tapcon masonry screws.
NOTE – we installed a 2×6 pressure treated “wood buck” into one cavity and secured it in place with concrete screws. We were then able to nail our framing to this buck.
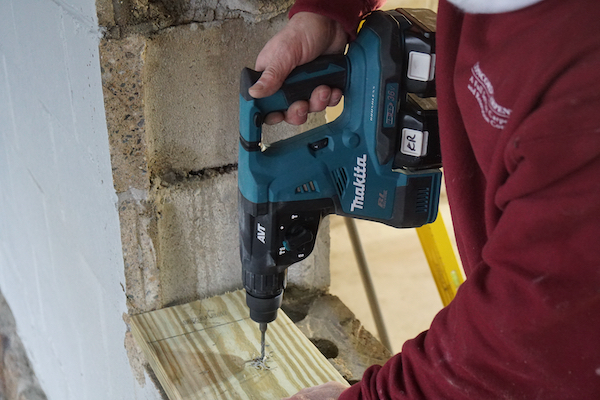
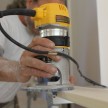
Fastening Framing To Concrete Block CMU
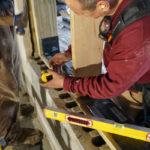
We used pressure treated lumber in all areas that contact the concrete. 2×8 pressure treated lumber was used, and the first piece installed was the rough framing sill. We chiseled as needed, leveled and installed a 2×8 sill plate in the opening. The sill was then fastened to the concrete block with 3-inch Tapcon concrete screws and a hammer drill.
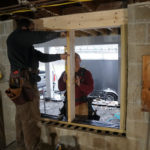
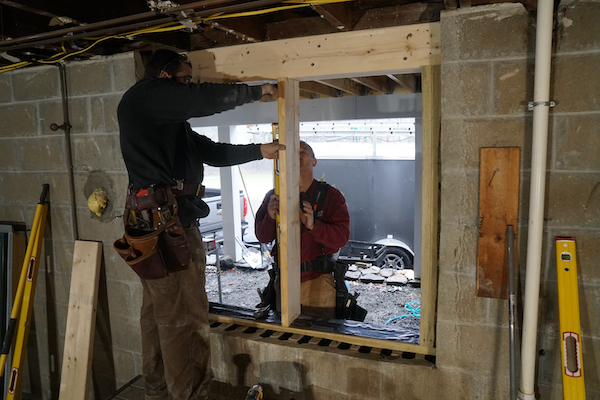
Two vertical “jack studs” were installed on both sides of the opening to support the triple 2×6 header above. The king stud touching the concrete block wall was also secured with concrete screws.
Install A Window Header
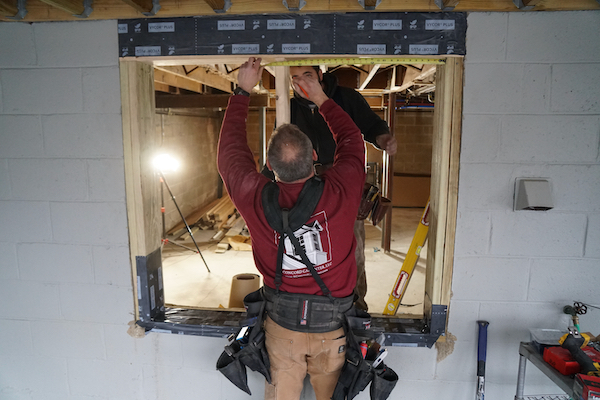
A triple 2×6 header was installed and supported by two 2×8 vertical studs. We measured and installed our middle separating stud and applied Vycor wrap to protect the framing.
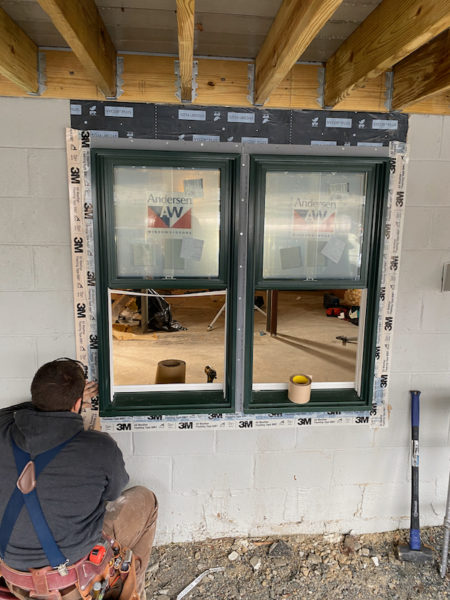
Install the Basement Windows
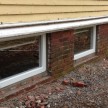
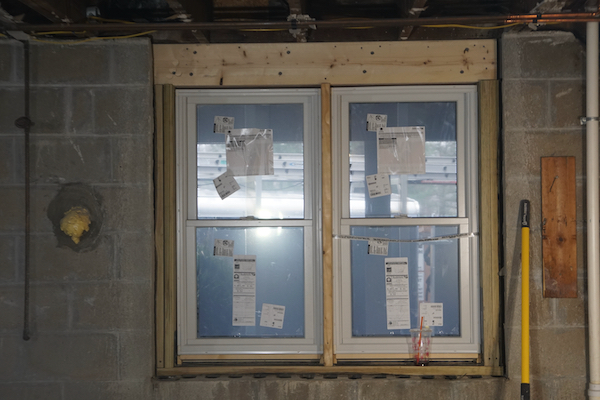
The windows were then installed level and plumb in the rough opening and nailed off with 2-inch nails. Lastly, we taped the window flanges with 3M window flashing tape.
Insulate and Air Leak Seal Around Windows
Insulate the gap between the window frame and the rough opening by filling it with low-expanding spray foam insulation. Use low-expansion foam that is specially formulated for windows so it doesn’t expand excessively and warp the window frame.
Trim Out the Window
The exterior of this window will receive a PVC sill and 1×4 PVC casing. The interior will be framed out and boxed to extend into the room [Extension Jambs] and connect with a future 2×4 wall. Hopefully, this article gave you a decent understanding of how cutting concrete blocks to install a window can be accomplished.
Installing A Basement Window In Concrete – Video