Custom Wood Screen and Storm Door

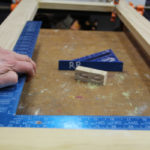
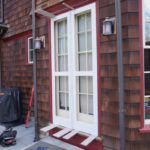
Dry fitting – prior to hinges
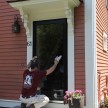
Hanging the Door
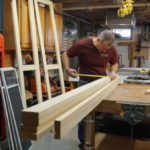
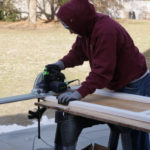
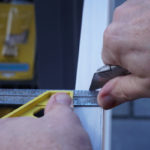
When fitting the door, I usually allow 3/16 in. clearance on the vertical widths and 1/4 in. in the top and bottom. Consider cutting the door bottom at a 12-degree angle to match the threshold. We accomplished this with the Festool track saw and rail guide. The saw and guide ensure a straight, cleanly cut line. (If you don’t have access to a track saw, a rip-guide clamped to the door and a circular saw will also work.
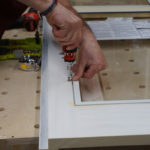
I built the doors to fit the opening, so once we were ready to install them, I knew we would need to trim them to fit. With the doors held in the door opening with shims we were able to mark the reveals and existing hinge mortises and transfer those measurements onto the door slabs.
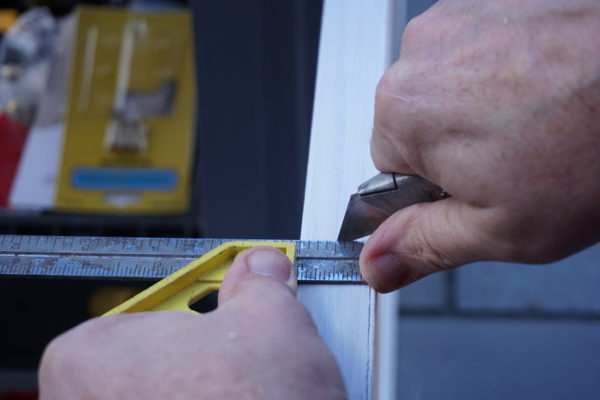
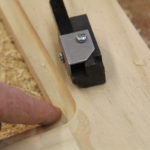
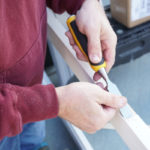
Scoring for hinges
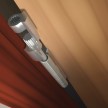
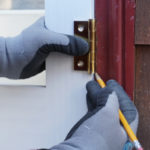
When fitting the hinges, with the bottom shims in place and holding proper reveals, slide the doors to the jamb that will receive the hinges. Mark three hinge locations on both pieces on the door and jamb
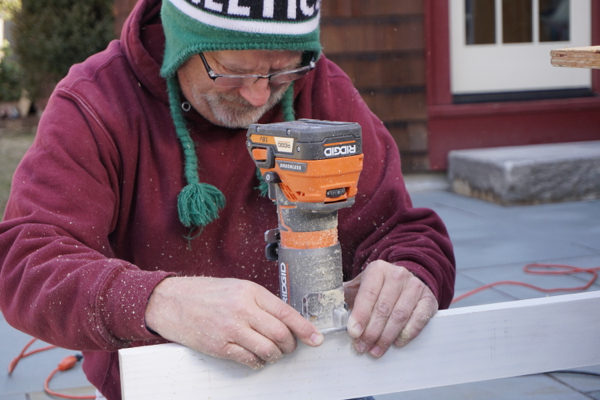
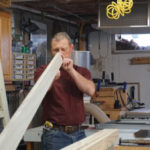
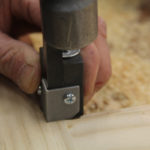
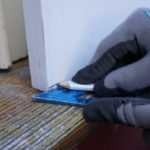
Routing hinge
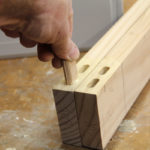
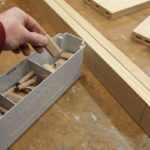
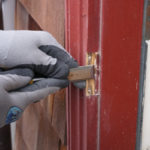
Using a hinge as a guide, we held and marked the hinge profile on the door edge and scored this outline with a utility knife. Scoring the door prevents tear-out from the router bit. A trim router is then set to the exact depth of the hinge and is used to cut out the hinge mortises. I like the router as it provides me with a consistent hinge depth setting and is fast and efficient.
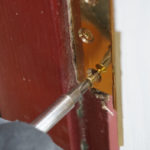
Note: Sometimes after hanging a door on the new hinges, the doors need adjusting to fit. When this is the case, I use a power planer or block plane
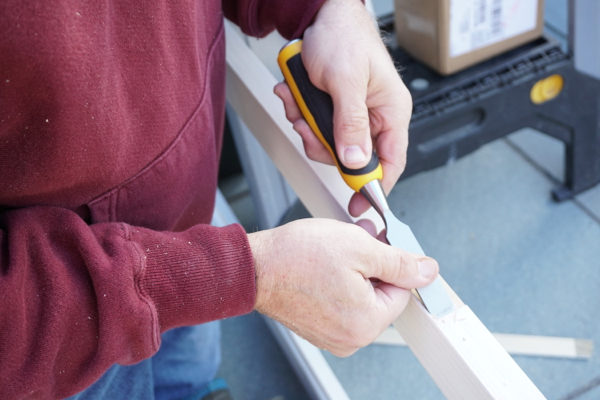
Adjusting routed hinge slot
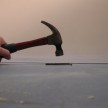
We again used the hinges as a template and pre-drill all of the hinge holes, and then installed the screws. I do not recommend using a drill or impact driver to install brass screws; they’ll snap at the screw head. Use a screwdriver and install them by hand.
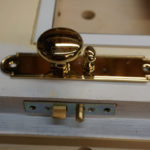
The last step is to install the latch, striker plate, and door slide bolts. Unfortunately, the old slide bolt latch place left a large hole [scar] in the oak threshold that had to be patched prior to installing the new latch strike plate.
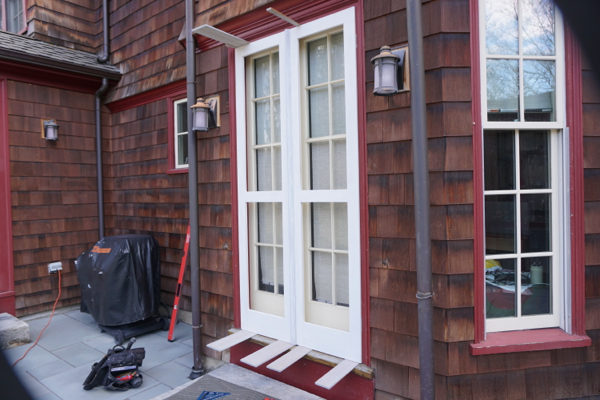
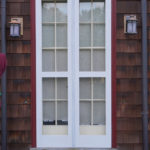
Watch out when you are purchasing and installing handles for your French doors so that they do not interfere with the closing of the interior door. Some doorknobs stick out too far and will prevent the screen from closing properly.
Once we had a good fit we removed the doors and brought them into the shop to re-prime cut ends and install the final coats of paint.
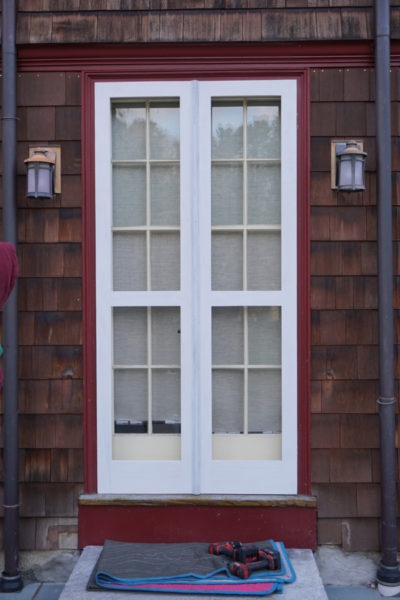
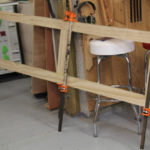
Dry fitting doors
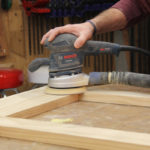
Finishing the Door
Ninety percent of a great paint job is prep. The more time spent preparing this door for paint the better. I sand the door to 80 grit in the shop but a painter should bring that to 120 or 220 grit.
I recommend a coat of quality primer, followed by two coats paint. Ensure to paint all sides and edges of the door to protect against moisture and movement. I also recommend sanding in between coats for a better paint finish.
Note: many exterior wood doors fail because the top and bottom edges were not primed and painted. These edges have exposed end-grain that will wick water into the wood through capillary action.

Cost
Plan on spending $300-400 in wood, $40-50 per screen [4] and $100 in storm panel [4]. In the end, making a combination screen door will cost approximately $900 to build.
Conclusion
Building your own custom door is not only rewarding, it allows you to create the style door you want, using the best materials and saving you money on a carpenter’s labor. If you plan on tackling this project yourself, plan on at least 4 man days to do the entire project.
-
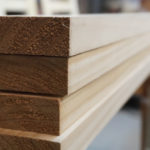
- Accoya wood
-
- Selecting best boards
-

- Squaring stock – jointer
-

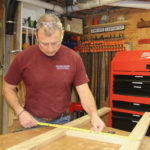
- Cutting parts
-
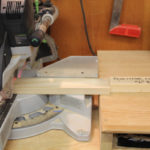
- Miter saw jig
-
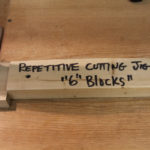
- Repetitive cut jig
-
- Double checking sizes
-
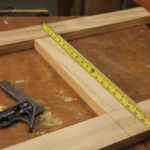
- sizing
-

- lining up frames – for Dominos

-

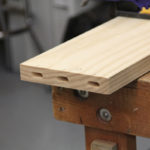
- Festool Domino XL – tenon cutter
-

- Cutting Festool tenons
-

- Festool Domino Cutter – “Floating Tenons”
-

- cutting tenons lower panel
-

- Cutting Domino tenons
-
- clamping for tennis
-
- Lower panel
-
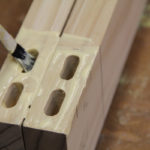
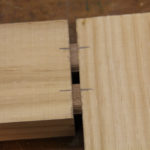
- Gluing floating tenons
-
- complete tenon joint
-
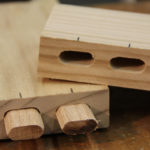
- Festool Dominos- floating tenons
-
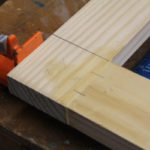
- Dry fit – scrap wood
-
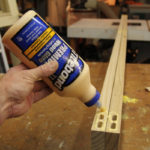
- Exterior glue
-
- Floating tenon
-

- Gluing
-
- Festool Dominos
-

- Clamp up
-
- Clamps – glue drying
-

- Routing for glass/screens
-

- Routing for glass/screen panels
-
- Squaring routed corners
-

- Chisel finished up
-
- Sanding joits
-

- Removing mill marks on face
-

- Tempered glass panel
-

- Setting panels
-

- Stainless energy panel clips
-
- Setting reveals
-
- Cutting reveals – Festool HK Carpentry saw
-
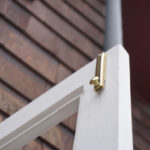
- Dry fitting – prior to hinges
-
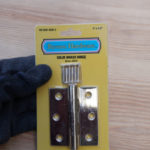
- Solid brass hinge
-
- Hinges
-
- Dry fitting doors
-
- Scoring for hinges
-
- Hinge locating
-

- Hinge location
-

- Routing hinge
-
- Chisel hinge jamb side
-

- Wax for Brass screws
-
- Hinge install
-

- Threshold repair – old strike plate
-
- Slide bolt

-

- Door hardware
-

- Cleaning up lock mortise
-
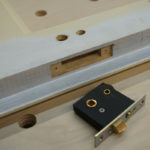
- Lockset mortise
-
- Dry fitting – prior t painting