

Cutting circles freehand with a jigsaw or band saw is not easy and never precise.
A friend of mine called today and told me she needed a 32” round piece of plywood to temporarily protect a glass table. I thought this would be a good opportunity to discuss making a circle cutting band saw jig.
The band-saw shown here is a JET 14 Inch Band Saw Model 708115K. Read the review on this saw here.
There are numerous woodworking projects, such as round table tops toy wheels, lids or archways that call for precise, rounded cuts, the kind that cannot be consistently cut by hand. Realistically a band-saw or a router is best to do these cuts.
I’ve cut circles with circle radius ranging from a few inches to a couple of feet. The only limit is the length of your auxiliary fence.


Making A Circle Cutting Band Saw Jig:
A circle cutting band saw jig can cut perfect circles and the jig itself can be made with some scrap plywood and 30 minutes of your time.
I used an old shelf and some scrap ¾-in. plywood to make my jig. It is essentially an extension table that allows me to install a finish nail [pin] in the top.
Step 1:
First order of business was send the jig through the blade to create the saw kerf, then shut off the saw when the extension table reaches the edge of the saw table, I over cut about 1/8 in. to keep the saw blade away from the jig.

The old shelf I was using as an auxiliary fence had a 1×2 edge nosing applied and I used that nosing, as a stop, to rest against the edge of the band saw table.
step 2:
I installed three scrap pieces of plywood underneath, and against the sides of the band saw table as stability supports.
Step 3:
The supports function to index the table with the blade but also to hold everything steady while you turn the circle stock through the blade.
Step 4:

I level the table and attached an auxiliary plywood leg to the out feed to support the table and keep it from sagging under the circle stock weight. Two screws hold this leg in place.
Measuring your circle prior to cutting:
I then squared a line from the blade down the extension table and use this line to make my measurements on. My friend wanted a 32” radius cut on her plywood so I measured 16” [circle radius] from the band saw blade, made a mark and then installed a 6 penny finish nail.

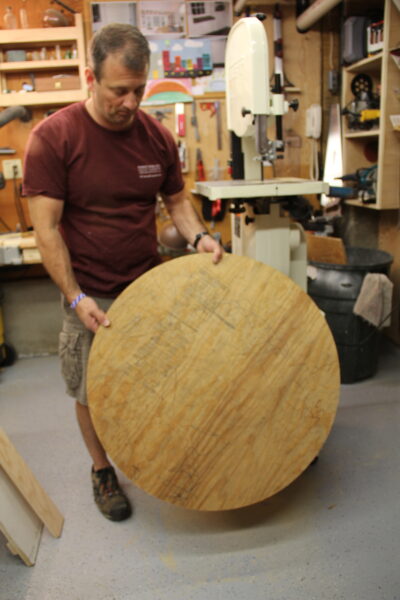
The circle to be cut was plywood and I cut it to a 32” x 32” square, then drew intersecting, diagonal lines from each corner to determine the center. Once I had the center marked I drilled an 1/8-in. hole through the center.
Cutting your circle:
Thinner blades will work better when cutting circles on a band saw jig. In fact a ¼-in. blade is perfect. Placing the circle stock plywood over the extension table 6d nail, ensure that your circle stock is flat to the band saw table.
Turn on the saw and slowly turn the wood though the blade to make a circle.
Cutting different size circles:


This circle cutting band saw jig is ideal for cutting circles anywhere from 2″ to 48″ in diameter but I actually have a much smaller jig for small circles that does not extend nearly as far and does not need an extension leg to support the table.
Avoiding the center hole on your stock:
Some projects like furniture and table top pieces require you to cut precise circular shapes while avoiding the center hole in the stock. To do this on the circle cutting band saw jig you need to use two sided tape and attach your stock to a sacrificial surface. The sacrificial surface can then be mounted to the jig extension table pin. Alternatively, you can simply drill a hole on the bottom of your board, 1/2 way through.