

Colonial Trim To Flat Trim ~ Country Style
Changing Window Trim
After removing the old casing the first step is to mark your margins. Margins are the distance the new trim will set back from the edge of the window jamb. I set my margins at 3/16″ or 1/4″ which ever looks better or matches existing windows.
Because this window was stained the margins were marked or stained for me. I measured 3 1/2″ from the left and right margins to get my bottom trim length.

Once the bottom casing is applied and level I measure up on the left and right sides tot he top margins. Comparing the lengths, in a perfect world there the same measurement, I then cut them the same and install them plumb or at least keeping the same “vertical” 3/16″ or 1/4″margin.
In theory the top trim piece should be the same as the bottom. I always measure the distance between the two vertical trim pieces to get the top trim length.
Remember to hold the board tight to the vertical boards as you nail to get the joint as tight as possible.
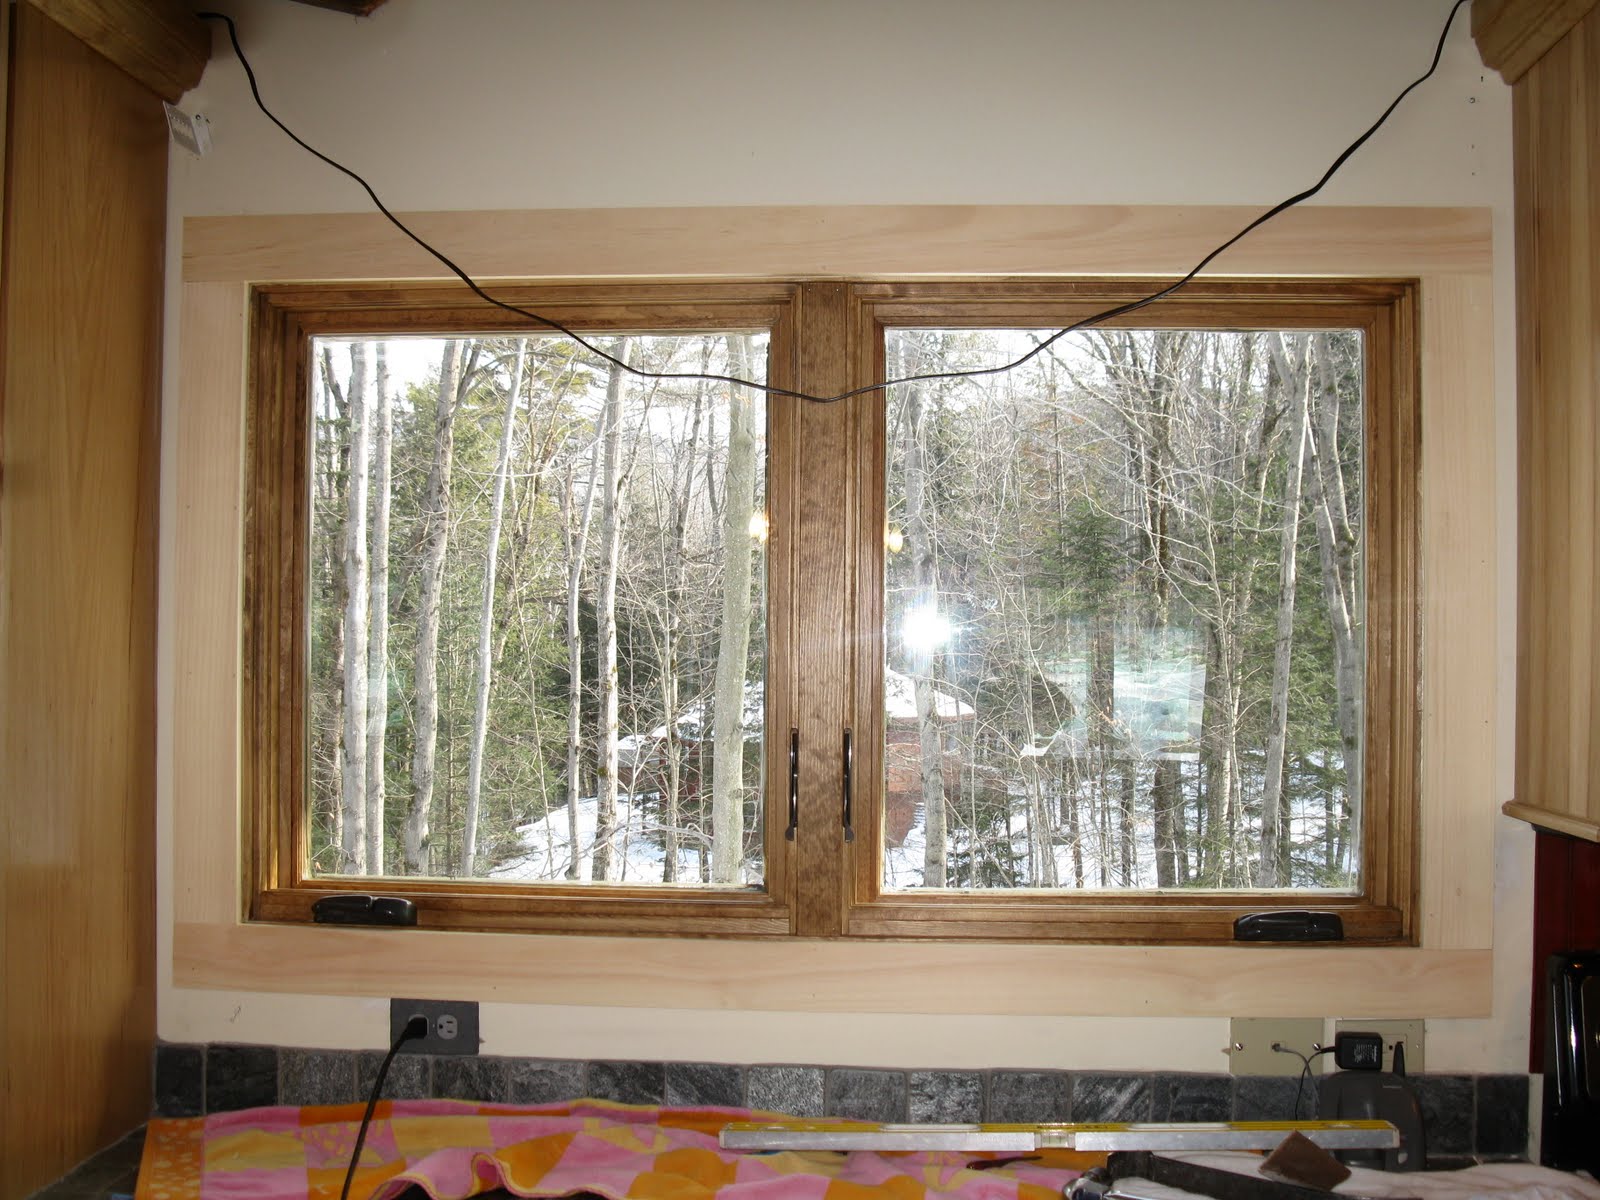
I sanded the trim in place to remove mill marks and soften the edges.
Finished look prior to staining.


