Building Cedar Window Boxes
For the last year or so I’ve wanted to replace the old beat up Pine flower boxes hanging on my shed. Today, while cleaning my workshop, I found some scrap cedar which was exactly what I needed to build new cedar flower boxes.
Sourcing Material
I like using Cedar because it’s naturally insect and rot resistant. Cedar is easy to work with, cut, mill and sand. Based on this, I figured the Cedar should outlast the old Pine flower boxes.

Sizing Cedar Flower Boxes
Typically, window boxes are the same width or slightly smaller than the window they will be mounted under. My shed window width, trim to trim, was 29-inches. The old flower boxes were 24-inches and were centered under the window. I never liked that look, so made the Cedar flower boxes to the exact width of my window trim.
For the window box height, a rule of thumb is to size the flower box to 20 to 25 percent of the height of your window. Another rule of thumb is to create a minimum of 8 inches in depth, and 8 inches from front to back. Using these basic measurements ensure that you have enough room for a selection of plants.
I ended up copying the existing old flower box height, and went with 7 inches front to back and 5-inches deep.

French Cleat Mounting Bracket
To mount the Cedar flower box to the shed, I decided to copy the old flower box, and made a French Cleat system. the old system worked amazingly well, and was invisible once the flower boxes were installed.
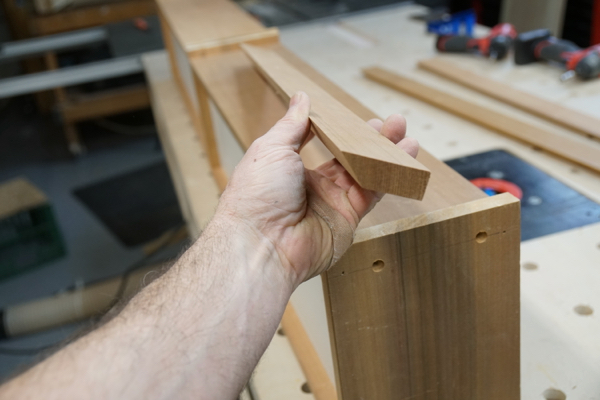
A French cleat is one way of securing window boxes and involves using two “cleat” boards, each with an opposing 45 degree bevel. One cleat is mounted to the shed wall and the other one is permanently mounted to the window box. The shed cleat, is slightly shorter than the flower box cleat, and installed, centered under the window. The reason its shorter is to make it easier to drop the flower box into position and then be able to center it.

Constructing Methods for Cedar Flower Boxes
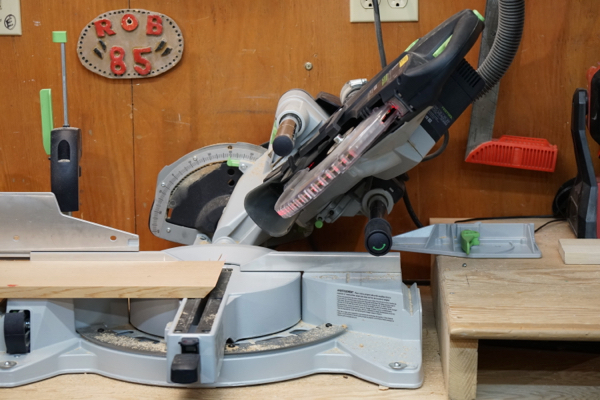
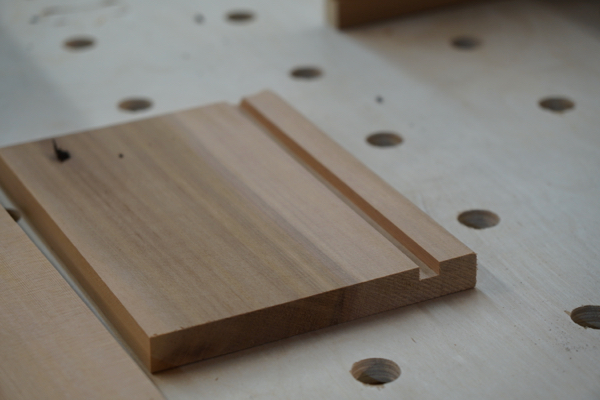
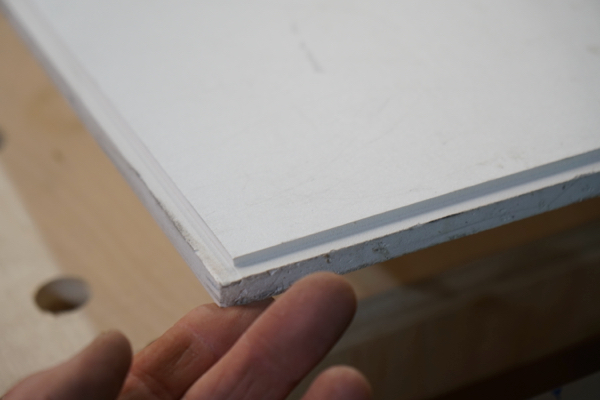
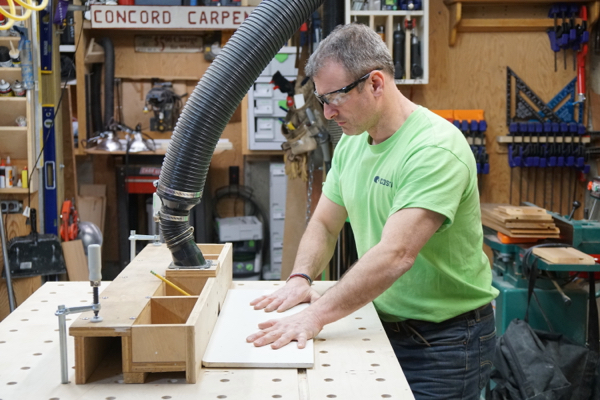
I used a table saw to rip all the Cedar stock to width and then a dado blade to create a 1/4-inch wide by 3/8-inche deep groove. This groove will accept a 3/8″ pvc bottom panel. I figured pvc is the best material to hold the soil and water. In order to get the PVC panel to fit into my 1/4″ groove, I used a router. Using a rabbit bit on my router, I trimmed the PVC to 1/4″ thick, by slightly less than 3/8″ deep. This was done along the panels perimeter, all four sides. this routing procedure allowed the PVC panel to fit nicely in the grooves cut into the Cedar..
Once all the material was ripped to width I cut my front and side panels. The front panel received two miters and the side panels, one miter each. My design was to hide all ingrain from view. The back [shed side] side panels were cut square.
Fastening of Parts
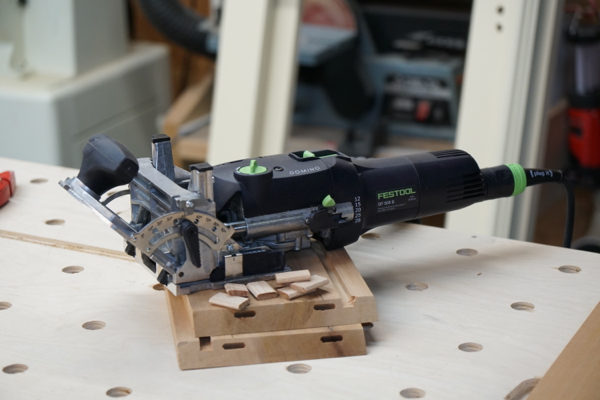
I used a Festool Domino machine, which installs floating tenons. A floating tenon, unlike traditional mortise and tenon joinery, is an insert-able tenon in two opposing slots. these tenons create a very strong joint, which we will need when this flower box is filled with soil.
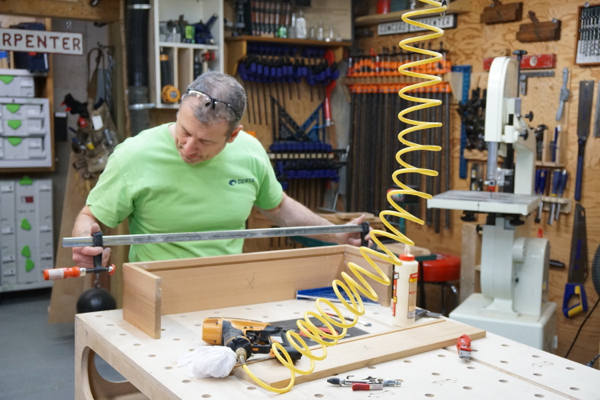
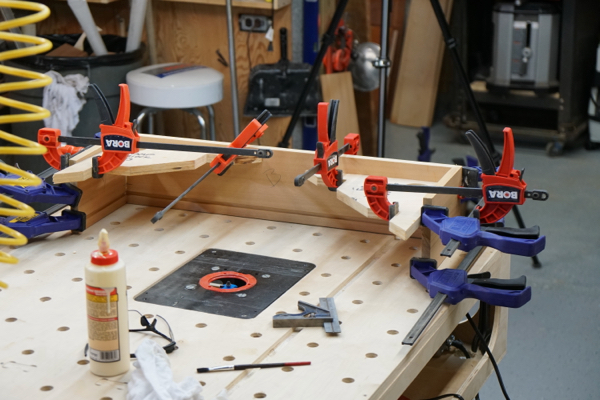
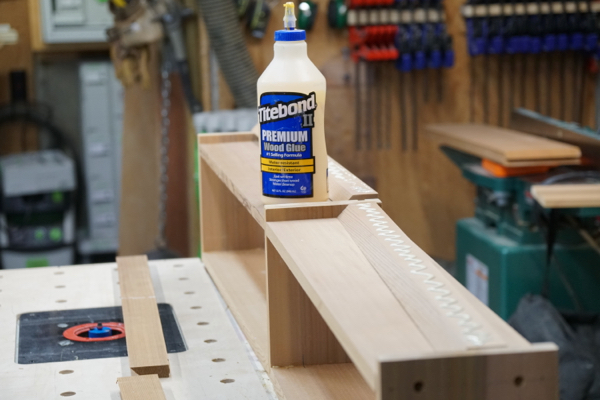
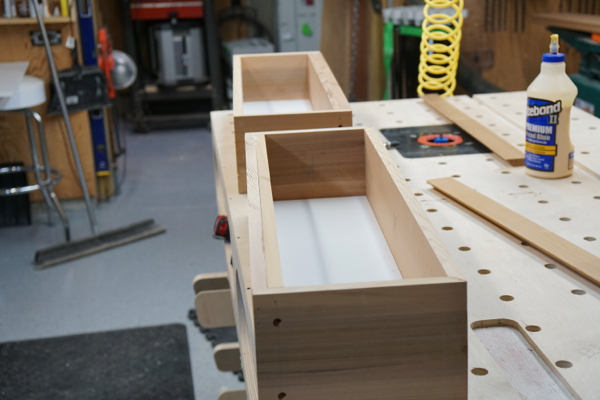
The mitered ends and tenons were glued and clamped. Make sure you have a perfect square, actually a rectangle. I use 90-degree clamping blocks to keep my assembly square.
Rot Resistant Bottom Panel
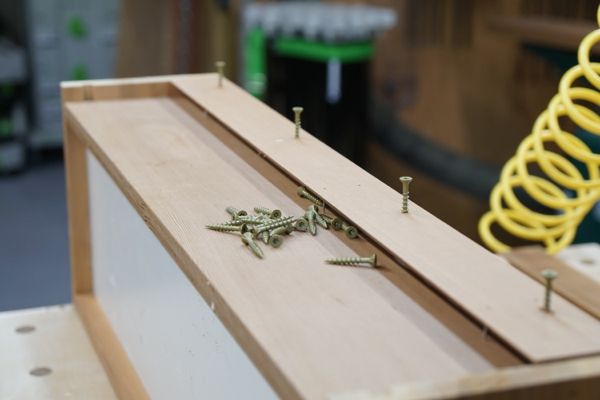
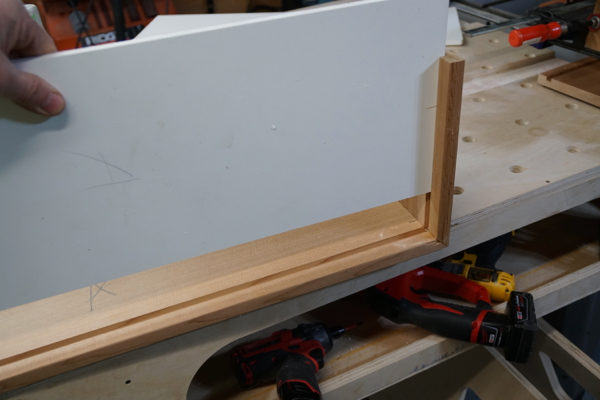
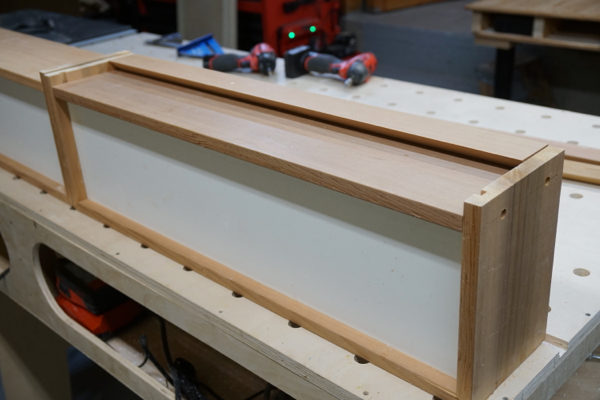
After the mitered parts dried, I inserted my PVC bottom panel and installed the back panel. This back panel was recessed in from the ends of the side panels to allow for, and hide the French cleat. To install the French cleat, I glued and screwed it both back panel.
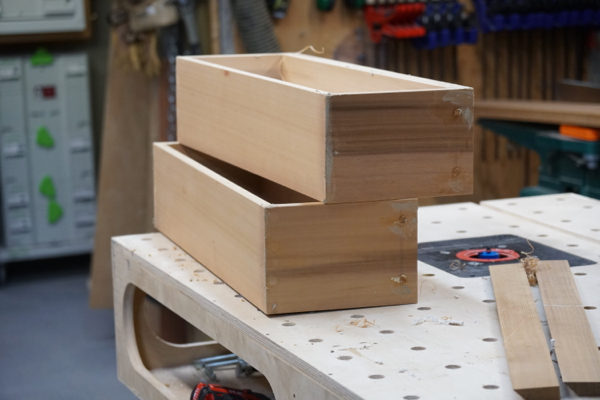
I added screws to hold the side panels and the back panel together. I countersunk galvanized screws and then filled the screw holes with cedar wood plugs and glue.
Note – in hindsight, I would have installed the back panel to the sides first with domino tenons and glue. Constructing the flower box in this sequence would have allowed me to use all tenons and no screws. Oh well hindsight is 20/20.
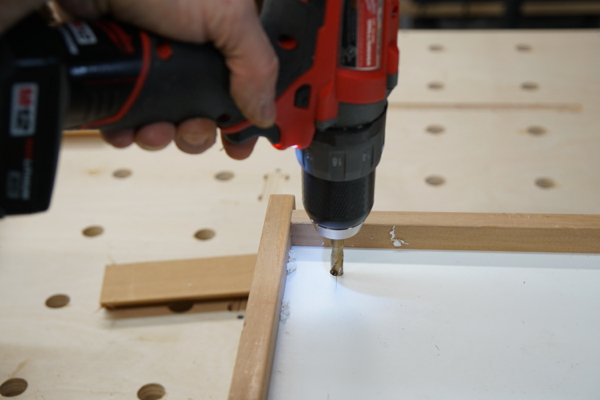
To finish of the construction I drilled 3/8-inch drainage holes in several places along bottom board of each window box. a rule of thumb is to drill one drain hole, every six square inches, to provide proper drainage.
Finishing the Cedar Flower Boxes
I will plug all of the exposed screw holes with Cedar plugs. Then I plan on sanding and rounding over all sharp edges on the cedar flower boxes. I’ll then prime and paint [2 coats] all sides to seal it off from moisture.
Right now there is 18-inches of snow on the ground so I wont be installing these anytime soon!