Built-In Bookcase And Mantle Installation

Shelves And Shelf Nosing:
Next I cut the shelves to the correct width a dry fit them in the case. Once I was satisfied I ripped stock for the shelf edge and glued them on using brad nails and bar clamps to hold everything in place until the glue dried. Once dried the bookcase shelves received a rough sanded. Then I ran them through the router with a beading bit to make the 1/4″ bead detail on the lover edge. I prefer to use my Porter-Cable random orbital sander for this task.
The random orbital sander allow speed and aggressiveness all with the ability to produce a fine finish and no swirl or scratch marks and is great for sanding two pieced of wood with that meet at a joint. The random orbit is produced by simultaneously spinning the sanding disk and moving it in an ellipse, which ensures that no single part of the abrasive sanding material travels the same path twice.
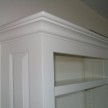
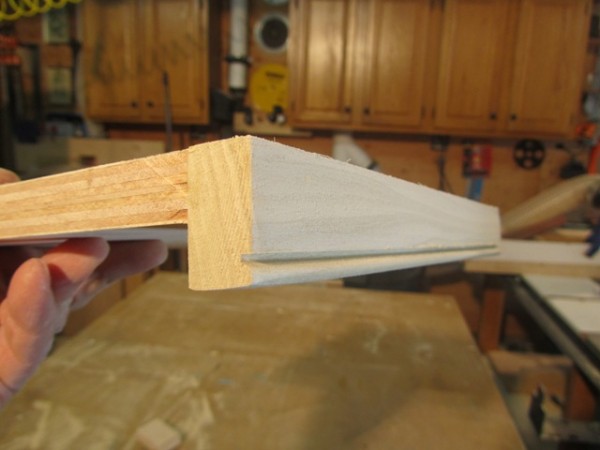
Adding a shelf nosing adds a visual “weight” to the shelf that a nice aesthetic look. In this case I am mimicking the flanking shelf nosing. Shelf nosing also have another important function. The prevent the shelf from sagging. Shelf sagging is measured in deflection, or the maximum distance in which the middle of the shelf bends as a result of weight placed on the shelf. The longer a shelf the more it is likely to deflect. Designing a shelf with 1/4″ or less is a good goal to aim for designing shelving.
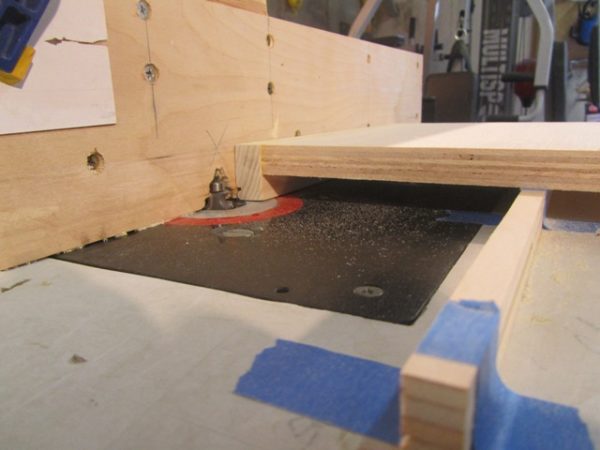
On this bookcase we were mimicking the flanking bookcase so I also needed to make and add a 1/4″ bead from to the inside edges of the bookcase openings. Note the strip of scrap plywood taped to the router table. This was to help keep the shelf level in relation to the router beading bit. The next step was to make bead strips to apply to the bookcase face frame edges. I did this by first applying the 1/4″ bead to a bunch of scrap poplar trim stock and then ripping the bead to size ion the table saw. Make sure to use a sacrificial push block on the table saw when ripping thin strips like this beading.