Building A Step For A Dog Door


Pet Door Step Project:
I decided to install a dog door in my home for my two dogs. The idea was purely selfish as my family and I were getting tired of getting up from the couch to let the dogs in and out. Its rough enough with one dog but obviously doubles with two.
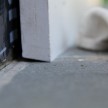
The best installation location for this new dog door was plagued with a height issue from step one. [No pun intended] On the interior side there was a baseboard radiator and on the outside the porch deck was 7 inches lower than the interior floor.
My height issue was that the lowest spot that this door could be installed was still 16″ inches above the outside porch deck. At that height I mine as well have installed a Giraffe door because it was way too high for my dogs to use.
Solving the Height Issue:
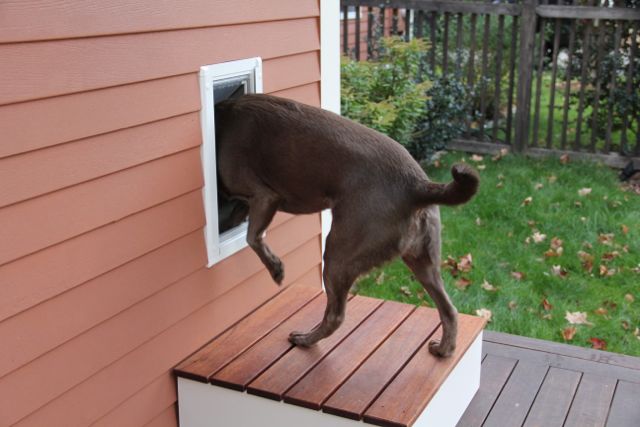
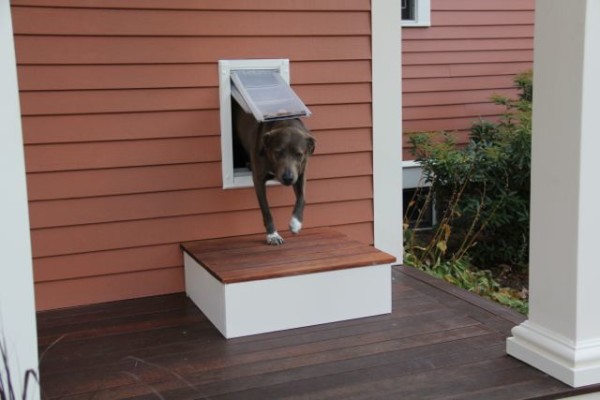
I almost scrapped the idea until I realized that building a step for a dog door was the solution. By placing this dog step on the exterior side I would be able to reduce the distance in half, matching the interior house height.
Having a step cut the height in half and made the transition through the door much more comfortable for the dog.
Measuring For The Step:
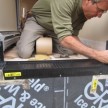
I watched closely and measure my dogs steps and determined that 24 to 28 inches would be plenty for them to exit the pet door, land on the step and then take an additional step prior to them needing to step off the landing. I actually laid tape measure on the floor and watched the dogs walk by it. for my dogs it seemed that 24 inches was perfect.
I decided to make my step or stoop 24 x 24 inches square.
Building A Dog Door Step Video:
Building the Step:
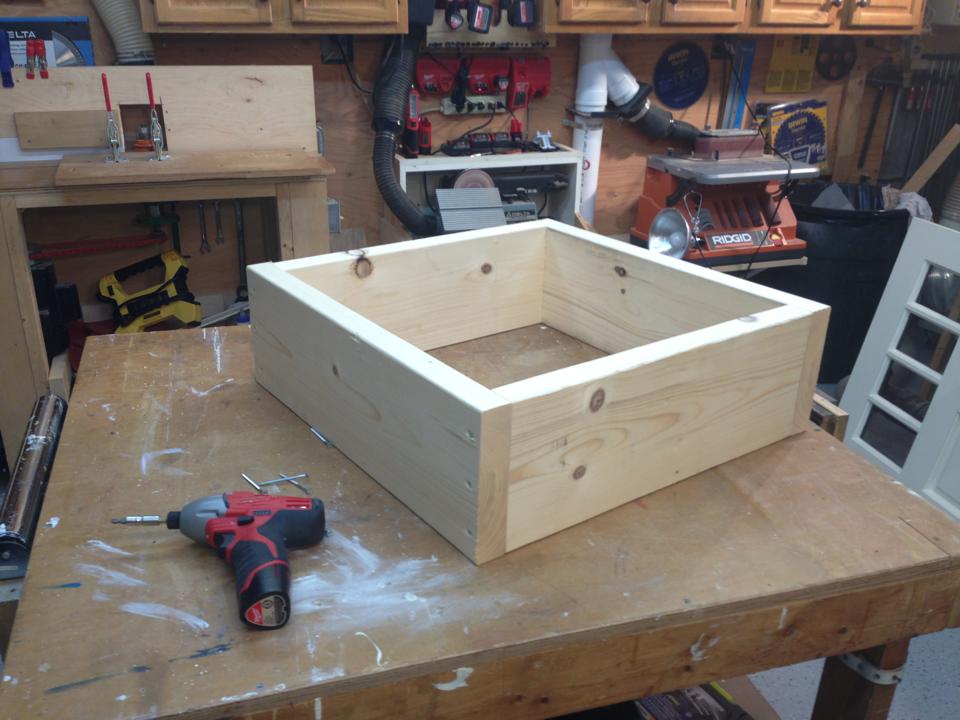
I used 2×8 framing material to build my step frame.
By using 2×8 framing stock [actual measurement is 7-1/4 inch] and 3/4 inch mahogany decking I was able to build a step at 8 inches which was exactly half the height from the porch deck to the bottom of the pet door.
The best part was I did not need to rip material on a table saw.
Note – If your door step is going to be exposed to rain and snow use pressure treated framing material. My step is on a covered porch, I chose to use standard framing.
 Using my 24″ square measurement I determined that if I wanted to have 3/4 PVC trim applied as well as a 3/4 inch overhang on my Mahogany decking that I was going to have to deduct 3-inches on the framing. 24 minus 3 equals 21 inches.
I cut the following pieces in order to make a 24-inch square frame:
- Two 2×8 parts at 21 inches
- Two 2×8 parts at 18 inches
I cut these parts and screwed them together with three 2-1/2 inch decking screws.
Once the frame was complete I picked up some scrap 1×4 mahogany and some left over pieces or 1×8 PVC and moved onto the next step. [again no pun intended]
Trimming the Step: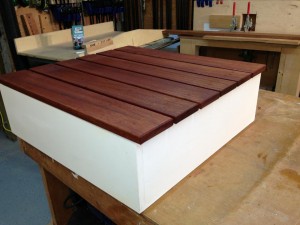

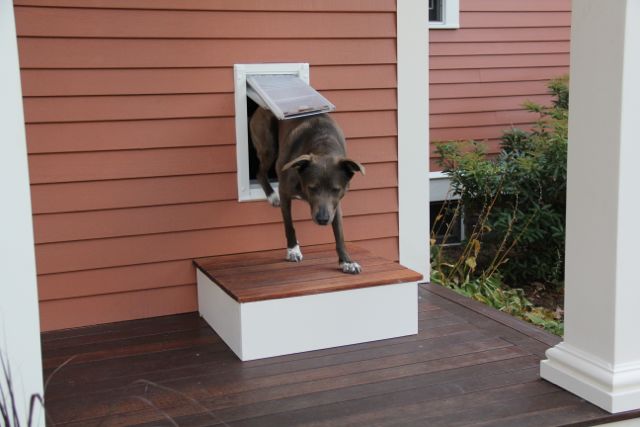
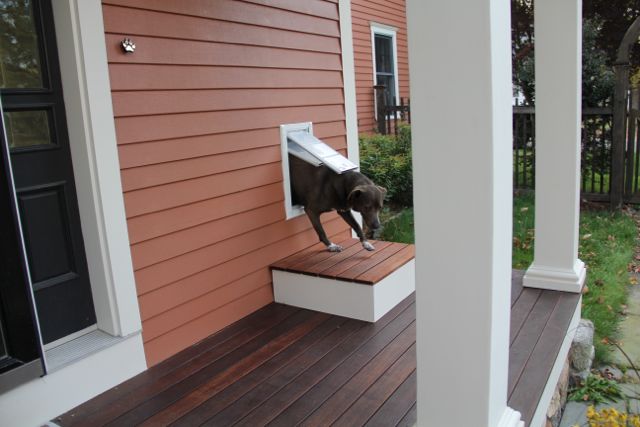
This particular dog step is going to sit on a decorative porch with nice columns, trim and Mahogany decking. The only way my wife was going to allow the step and dog door to go in was if it looked similar to and matched the existing porch.
That meant that the step had to be a mini-porch in looks.
I used 1×8 PVc trim to apply to the step frame sides and did this prior to installing the decking.
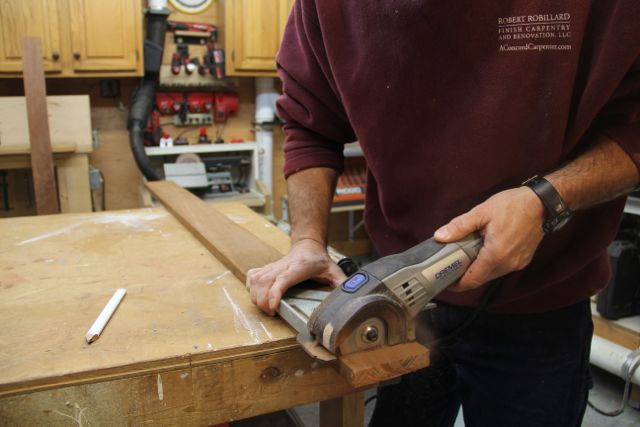
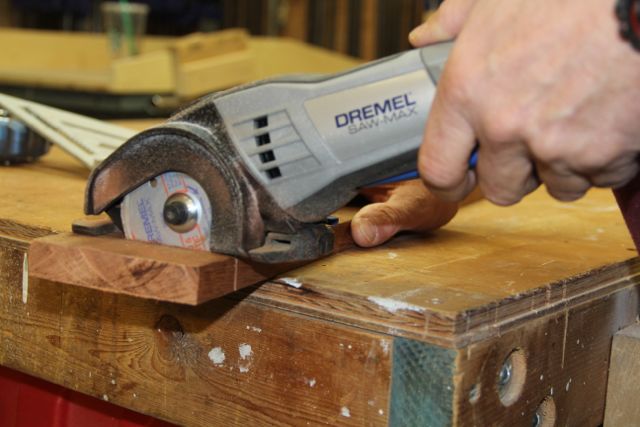
I used my Dremel Saw-Max with a carbide disk which I received from Home Depot to review. The Dremel is powerful enough to cut through my PVc trim and Mahogany decking and is super easy to control. It allows me to follow a cut line easily, with one hand and is compact and efficient on small DIY projects like this.
If your a DIY-er this is a safe alternative to using a circular saw or miter saw. Here’s my reasons why:
- Comfortable handling and good maneuverability
- User friendly and safe: one-hand use, superior line of sight, easy to control
- Versatility: makes perfectly straight and clean cuts in a variety of materials
- Plunge-cuts and flush-cutting ability
- Super affordable at $99.00
Ok back to the project!
Applying the PVC Trim:
- Instead of measuring I use the Dremel to rough cut the PVC an inch or two longer than the frame. I then held the PVC boards against the frame and use a utility knife to mark the end of the 2×8 frame onto the pvc. this is an old trim carpenters trick [no tape measure needed] and allows for super accurate and tight fitting boards. Try it!!
- I cut one board at a time with my Dremel and then tacked it to the frame with a brad nailer. Once all four sides were installed I permanently fastened the pvc trim with cortex screws and pvc plugs. SEE: Installing Hidden Fasteners in PVC Trim
Installing the Mahogany Decking:
- I measured and cut one mahogany board so that it had a 3/4-inch overhang on each side of the pvc trimmed frame. I used the Dremel with a speed square to keep my cut line super straight. Deck board overhangs look nice and I also needed to match my existing porch overhang.
- I then installed Mahogany decking board with two stainless steel trim head screws on each end.
- Once the first board was installed I then held the subsequent board to the first and marked them with my utility knife, again eliminating the tape measure process. I squared a line and used the Dremel and a speed square to make super accurate and straight cuts. Installing these boards the same as the first board.
Finishing the Door Step:
- Using a foam brush I applied once coat of Australian Timber Oil [Mahogany Flame color] to the Mahogany boards allowed it to penetrate and then wiped it off with a rag. This is the same oil that I used on the porch several years prior.
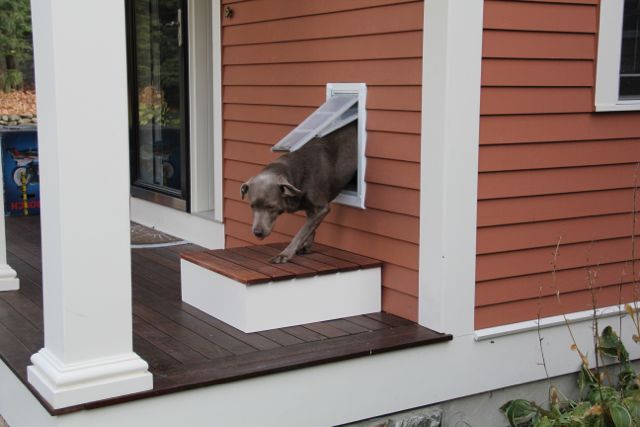
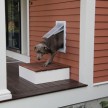
- After letting it dry overnight I placed the new step under the dog door. No fasteners hold this down, it’s heavy enough to stay in place and the dogs movement over it do not affect it.
Training the dogs To Use the Dog Step and Door:
The one rule when training is never to shove your pets through the door and avoid scolding them if they are nervous.
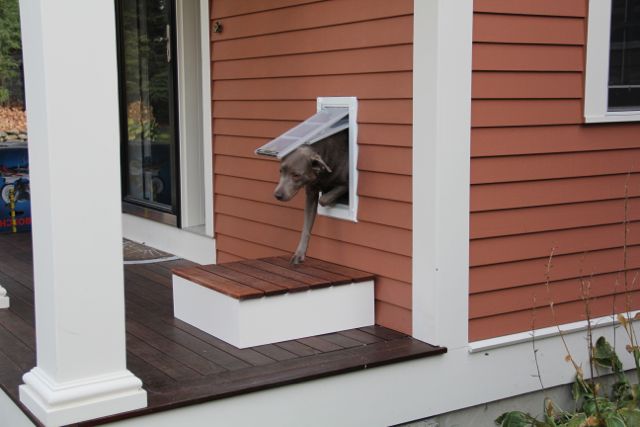
Open the flap and let them see the outside and use food treats to coax them to go through it while open. After a few repetitions hold the door open less and less until the animal gets comfortable touching and pushing on the flap. I used treats to lure them outside, then I’d go inside and repeat the process.
After doing this a few times they get the hang of it. Project completed!