
How to Build a Custom Laundry Cabinet
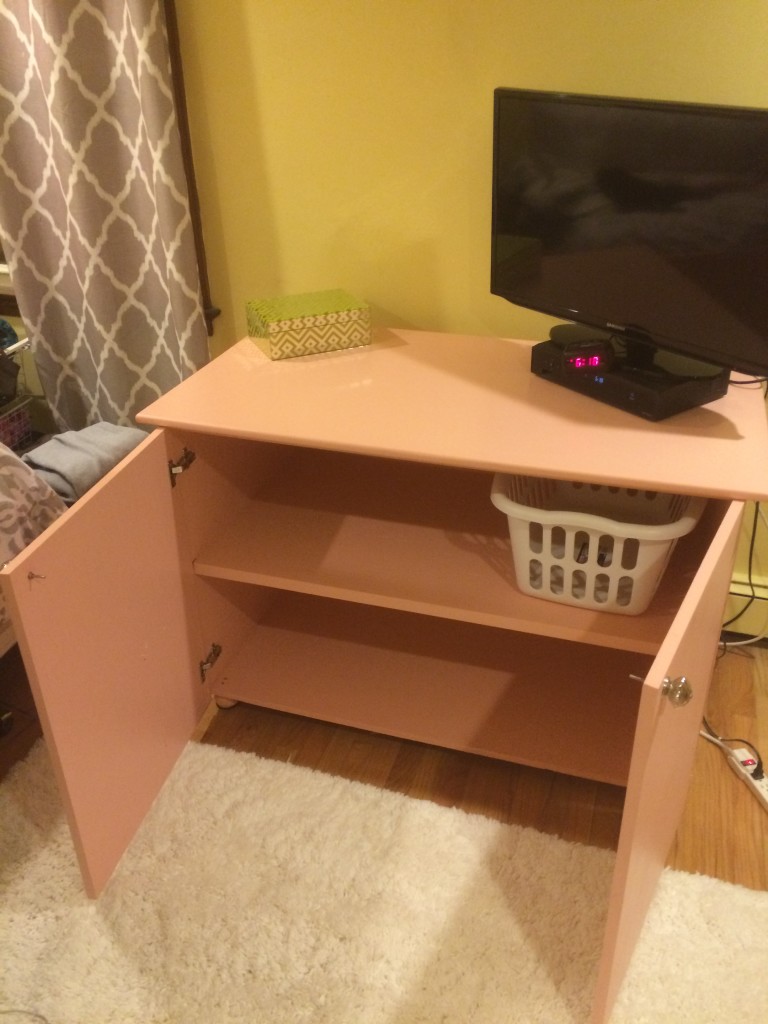
Laundry Cabinet
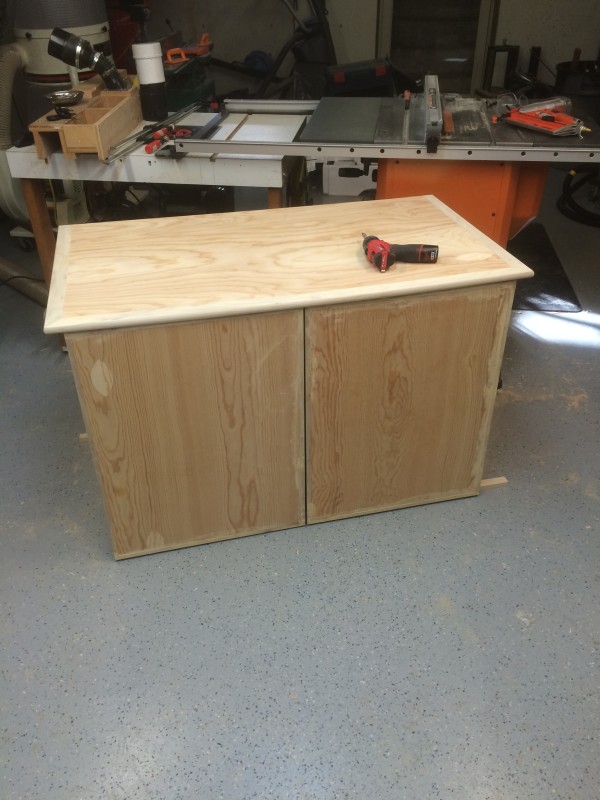
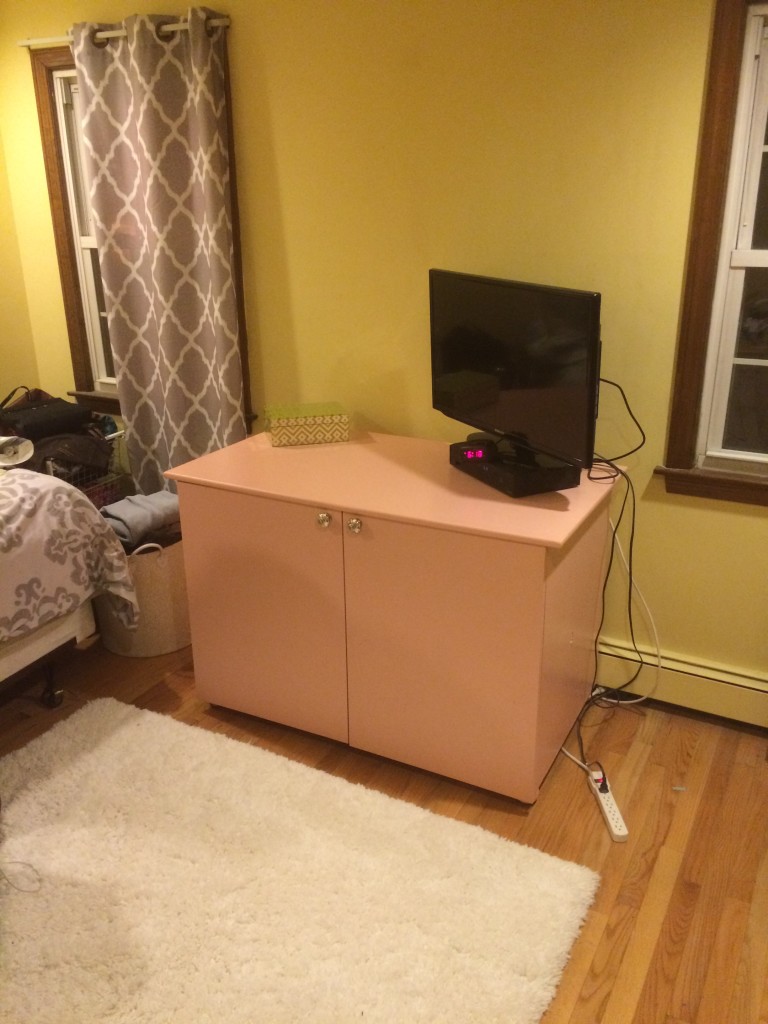
This article will focus on “How to Build a Custom Cabinet.” More specifically, a cabinet that is designed to hide four laundry baskets.
The customer wanted a paint grade cabinet to put between her two bedroom windows. she wanted two doors in order to keep her laundry baskets hidden. Part of determining the cabinet size was considering what type and size laundry baskets she used.
How to Build a Custom Cabinet:
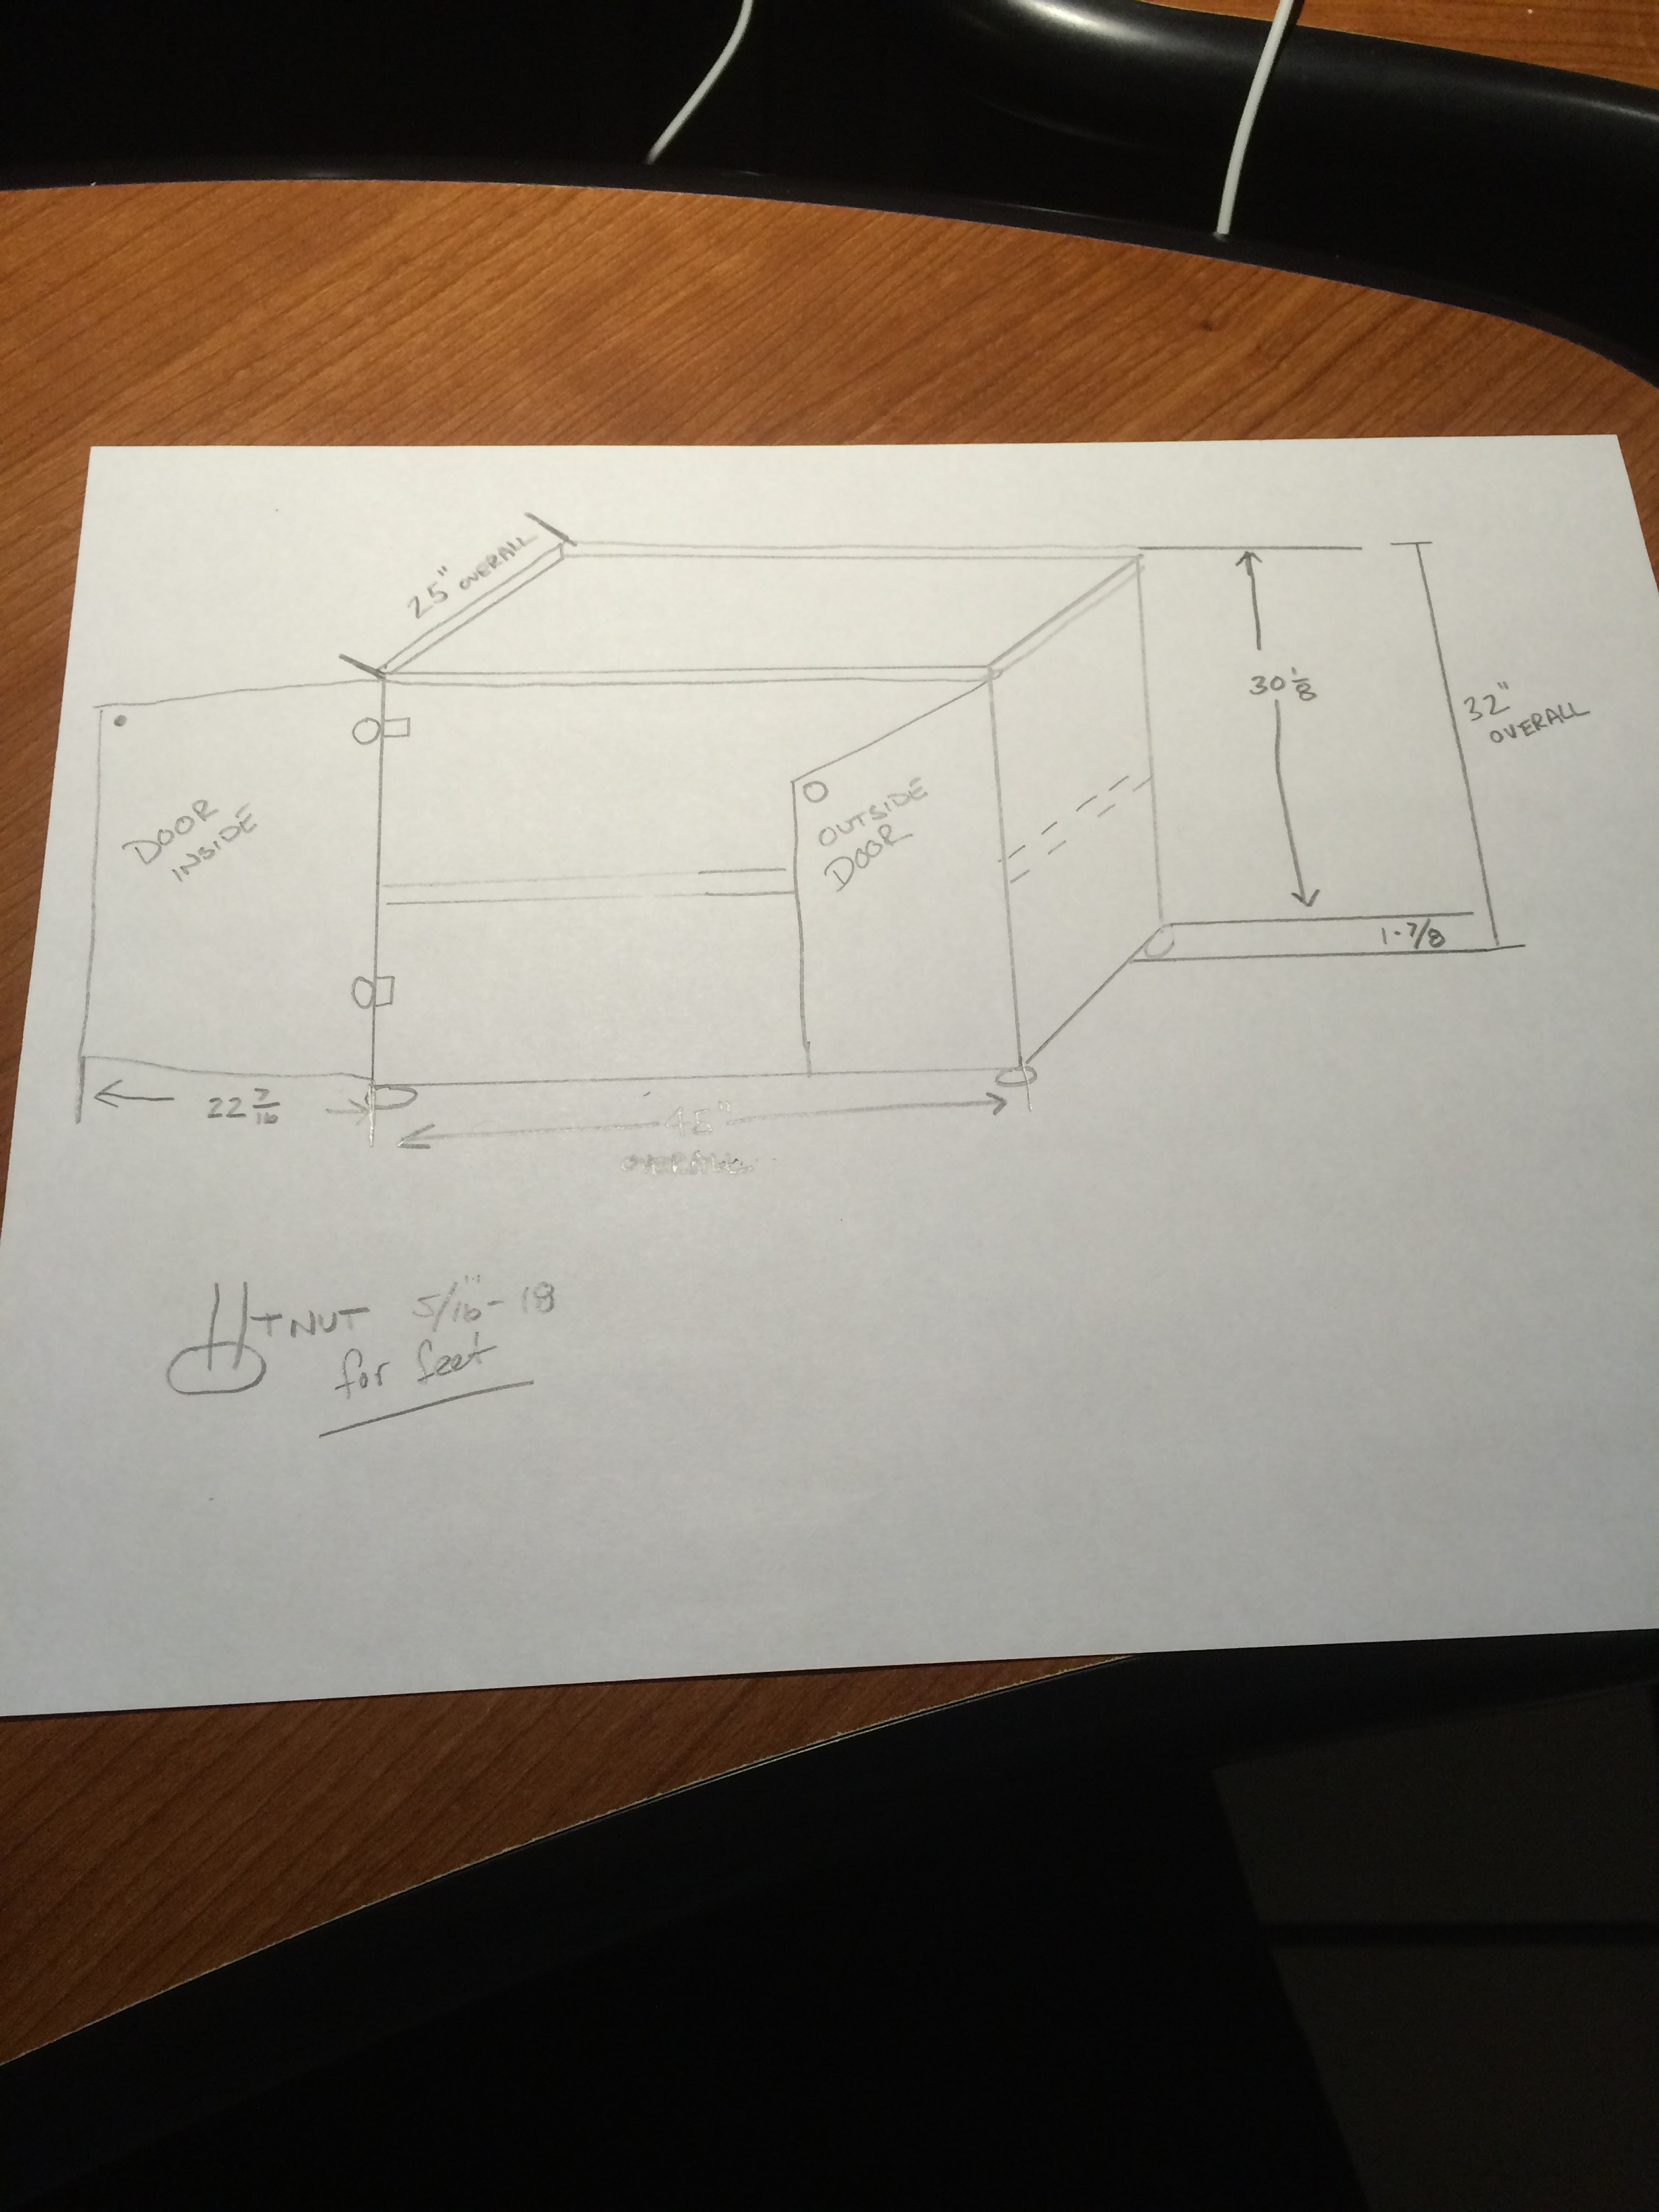
Step 1: Determining the Dimensions
When determining the dimensions of your cabinet there are several things you need to take into consideration:
- Height
- Width
- Depth
- Doors (1 or 2)
- Strength
Make sure you have all of this figured out prior to starting. Measuring several times and having exact measurements will ensure what you are building will fit its desired resting place. Draw a mockup of your cabinet prior to starting your project and make sure it is what the end user wants.
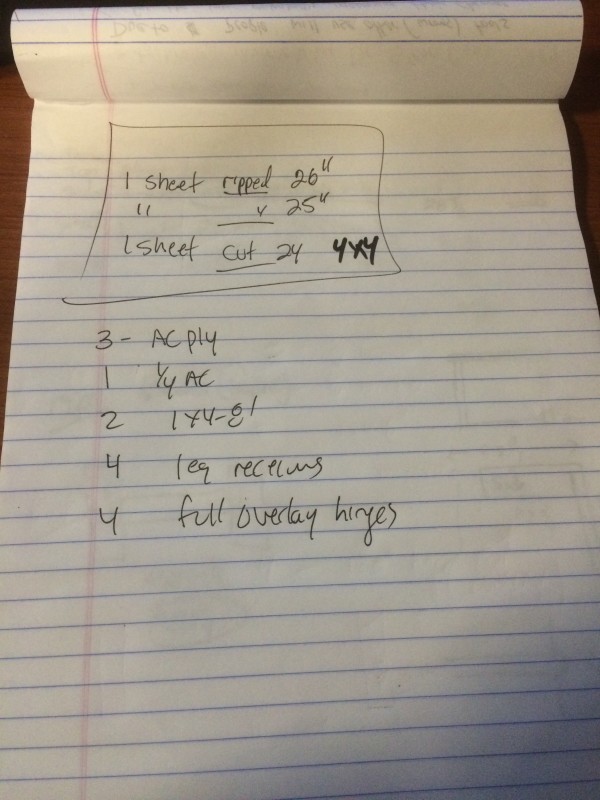
Step 2: Making a stock list
To the best of your abilities create a stock list of all the items you will need. This will give you a better understanding of what you need. Having a list ready when you go to the lumber yard will speed up the ordering process and give you more time on making the cabinet. Most local lumber yards will actually rip the wood for you, making it a lot easier to handle sheets of plywood when you are working alone.
TIP: Have lumberyard “rough” size the plywood for you.
In my project, we called the lumber yard told them we needed two sheets of ¾” AC plywood ripped. One measured at 26” x 96” and one ripped at 25”x96”. We also needed the back panel, ¼ AC plywood ripped in half, 48”x48”
By having the lumberyard do this cutting we were able to reduce the plywood size from 48″ x 96″ to half that size. This not only made transporting the plywood easier but also greatly reduced the weight and size of the sheet stock when handling it in the work shop.
How to Build a Custom Cabinet:
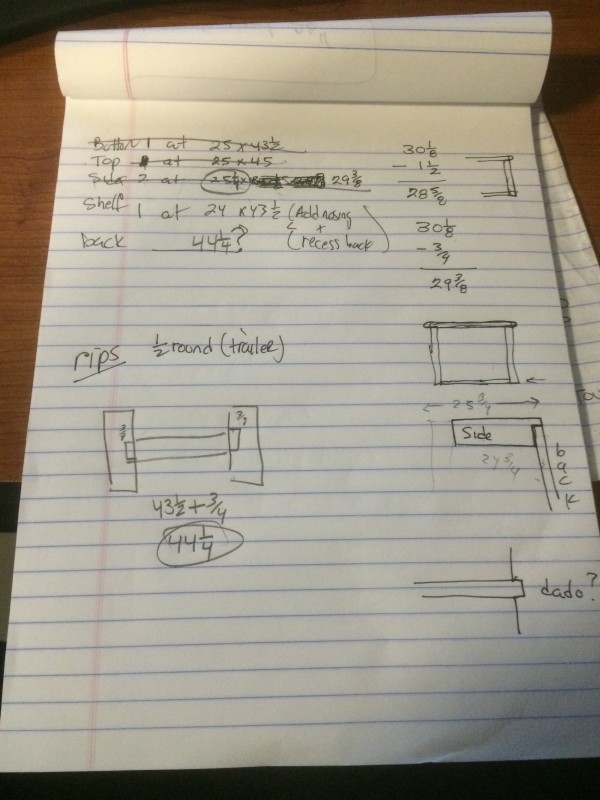
Step 3: Making a cut list
Once you have all your lumber back in the shop, break down the cabinet into a cut list. Take each of your measurements and write them down. Know which orientation you want to have the panels attach. Do you want the “finished” face of the plywood exposed or hidden? [Plywood has a two finished sides – a good and a better finish] Are you going to have a nosing around areas where you would see the plywood?
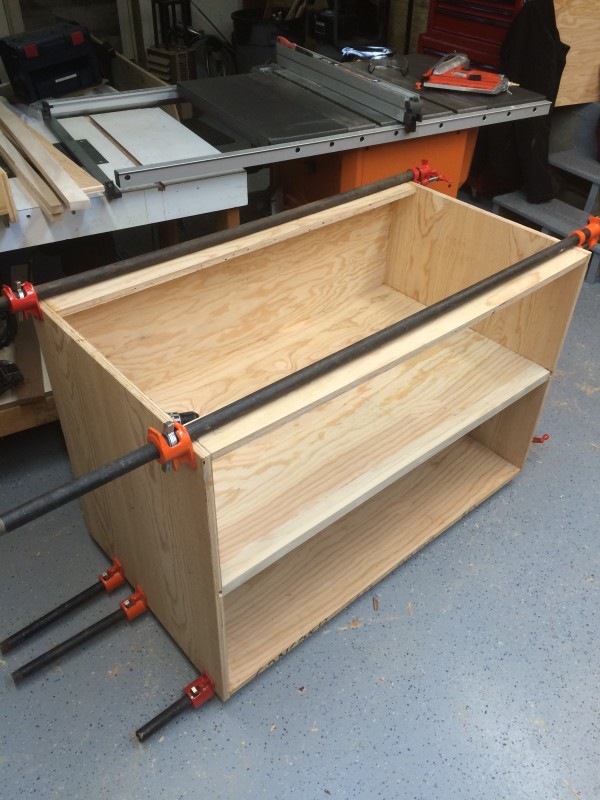
In my case, I wanted the plywood facing exposed on the outside for painting and the other side of the plywood hidden inside the cabinet. The bottom shelf and middle shelf were the exception. Both of those shelves have the finished face where you see them once the cabinet doors are opened.
We decided to put ripped edge pieces of poplar wood to hide its showing. We also decided to dado the middle shelf into the sides.
Step 4: Making your cuts
Once you have your list established, start making your cuts according to your list. Make sure you mark what each piece is to easily identify them when you start your assembly. I mark the plywood edge, that will be hidden after assembly.
We cut 3/4″dadoes int he the two cabinet side at the midway point, to support the middle shelf.

How to Build a Custom Cabinet:
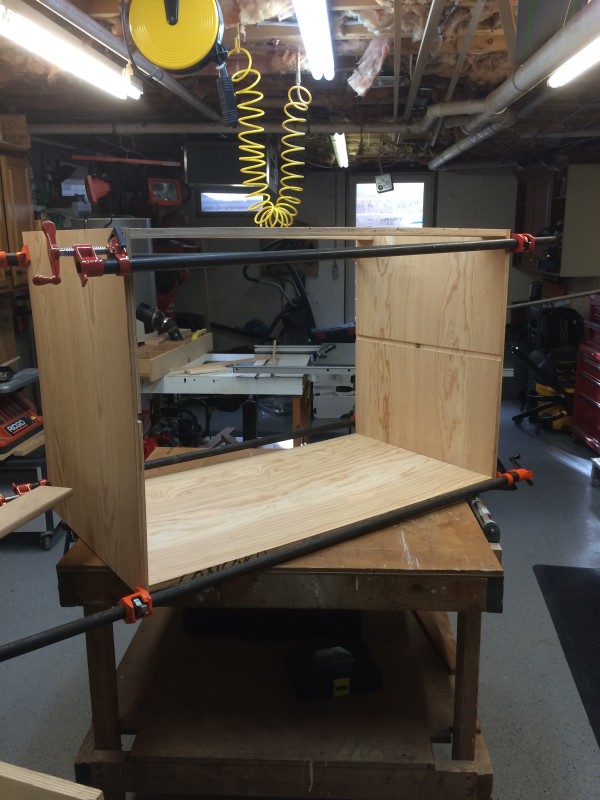
Step 5: Dry fit your cabinet
Putting the pieces together without glue, biscuits or nails allows you to make modifications and fix errors. When you have all the pieces in place, you will get a good picture of what you are working with. You will now need to think of how you are going to fasten it all together now.
For this laundry basket cabinet, we knew that there could potentially be some weight issues. One bin of laundry wouldn’t weigh that much, but in our cabinet, the customer was going to have four total. In addition to that, she was going to have her small flat screen TV on the top as well as her cable box. We decided to use biscuits, glue and finished nails.
Step 6: Covering your plywood edges
AC Plywood is made up of several layers and can be an eye sore. Even when you use the router and sand the heck out of it, you can still potentially see the layers. Most cabinet makers will cover their edges with either poplar or wood veneer edging.
We took strips of poplar, mitered them at perfect 45 deg and covered our top shelf. We then glued them and brad nailed them into place. We secured them with bar claps while the glue set up. Once the glue had set, we removed the bar clamps, filled the brad nail holes with wood putty and sanded it smooth.
Finishing TIP: Once the nosing is glued on and dried, use wood putty with a putty knife to fill in any nosing to plywood seam gaps.
To learn more on how to apply solid wood edging, check out our how to article on Applying Solid Edging to Plywood.

How to Build a Custom Cabinet:
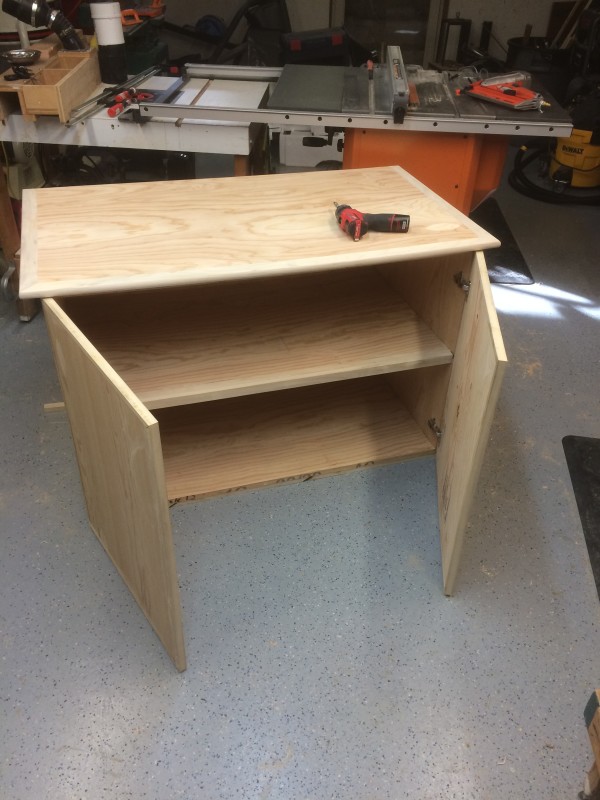
Step 7: Assembly
Here is the final fit test – you’ll need clamps long enough to mate your parts.
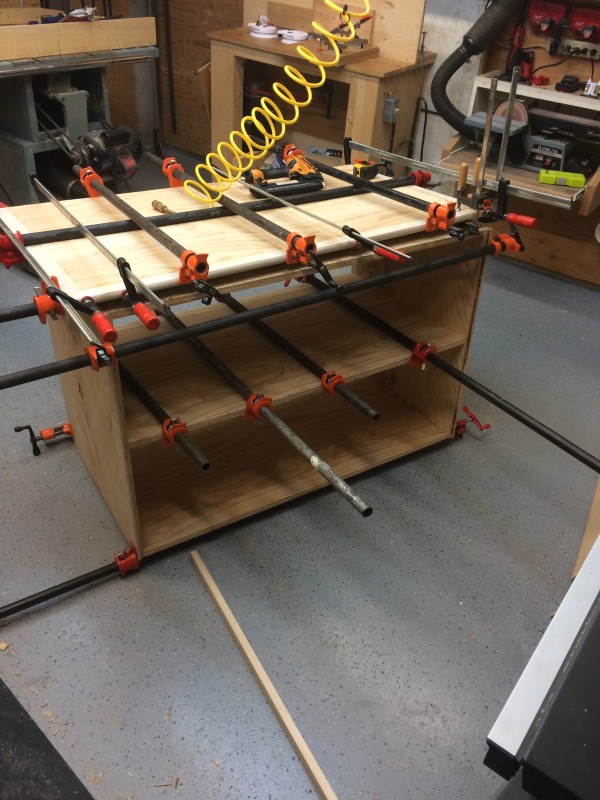
Make sure you have ample room to work. There are going to be bar clamps everywhere! Make sure that you wipe away excess glue! This will eliminate tons of unneeded sanding
Good things about working in a well-organized shop was there was plenty of clamps and enough room to set up the cabinet. I think we ended up using a total of 16 bar clamps ranging from 4’-8’ long. They were strategically placed together to ensure the proper pressure was applied. We made sure we had a wet rag and wiped away the excess glue.
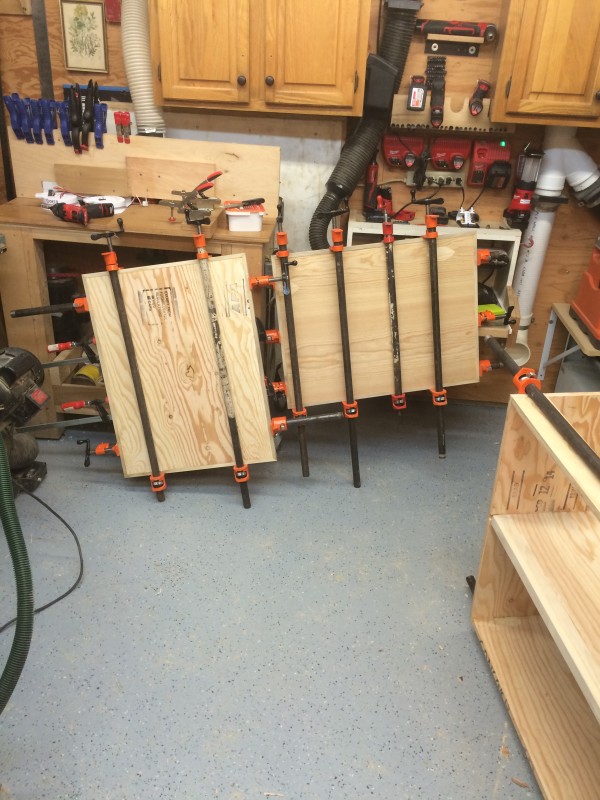
Step 8: Door Assembly
During the drying phase, now is a good time to work on your doors. Again, think about covering your exposed edges with something nicer than just the face of the plywood. Again cabinet makers would use a maple or birch plywood or cover them with poplar or wood veneer.
On my doors, poplar was the easier solution. Cutting the poplar in 3/4” strips we mitered the edges to a 45 and fastened them with glue and brad nails. Using eight 4’ bar clamps for each door, we set them aside to dry. Again wiping away the excess glue to avoid hours of sanding.
How to Build a Custom Cabinet:
Step 9: Securing the top to the cabinet
When securing the top shelf to the cabinet, you should take into consideration what the top will be used for. You could potentially need to add some support to the top to avoid buckling.
We ripped down two strips of plywood and biscuit-ed them into place flush with the front and back. This gave allowed us to put screws from underneath and secure the top. We placed 8 screws on the front piece and 8 screws into the back piece.
Step 10: Attaching the doors
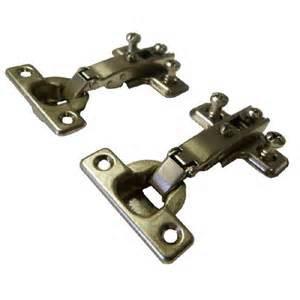
It is very important to know what type hinge you plan on using. There are several types of hinges out there, and you need to know which one will fit your cabinet. Certain style hinges work on certain styles cabinets.
For my custom cabinet, we were not going to use a frame. We needed a full overlay hinge that would secure into the cabinet and onto the door. This full overlay hinge is secures into the sides and sits into a 35mm hole that you drill into the door. We used two hinges per side, mounting them equal distance from the top and bottom. These hinges allow 120-degrees of door opening.
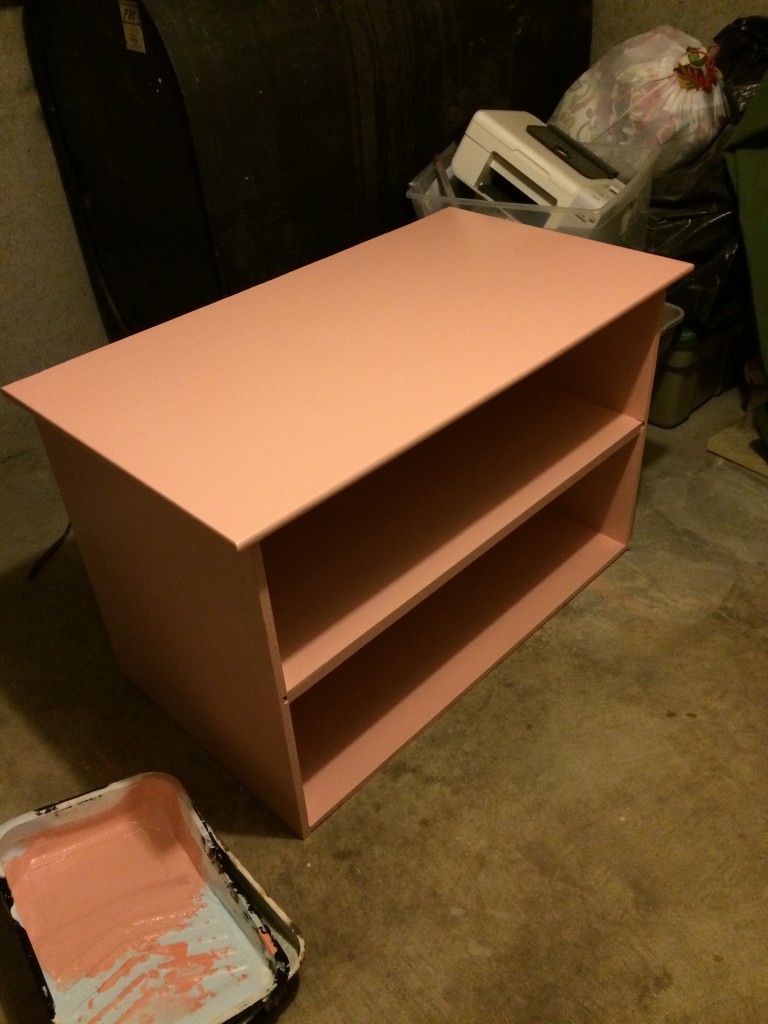
Painting
Step 11: Choosing the finished look
There are several different types of stains and or paints that you can choose to make your cabinet look great. A good rule of thumb is to take some scraps pieces of wood and test out your stain before applying it to your project.
In my case, the customer wanted the cabinet painted. This was my reasoning for going with AC plywood instead of a birch or maple which takes a stain much nicer. We used Sherman Williams primer, tinted to the color she wanted. Applied one coat of primer, then sand. After the second coat of primer we sanded again and then added two coats of paint giving it a nice color.
Well, that’s it in a nutshell! I hope you enjoyed reading this how to article and stay tuned for the next one. Thanks for reading and take care.