Adding a ceiling molding treatment with contrasting paint colors commands attention in almost any room. In this article we will cover how to apply astragal molding on a ceiling.
An astragal is a molding profile composed of a half-round surface surrounded by two flat “fillet” planes. An astragal is an architectural element used at the top or base of a column, and is also found on furniture, French doors [as a door stop] and woodwork.
In the last 20 years of so, astragal molding has become popular as a wall molding. Astragal molding is used to simulate decorative panel outlines on walls, or to add depth and character to flat panel doors by adding an inset perimeter.

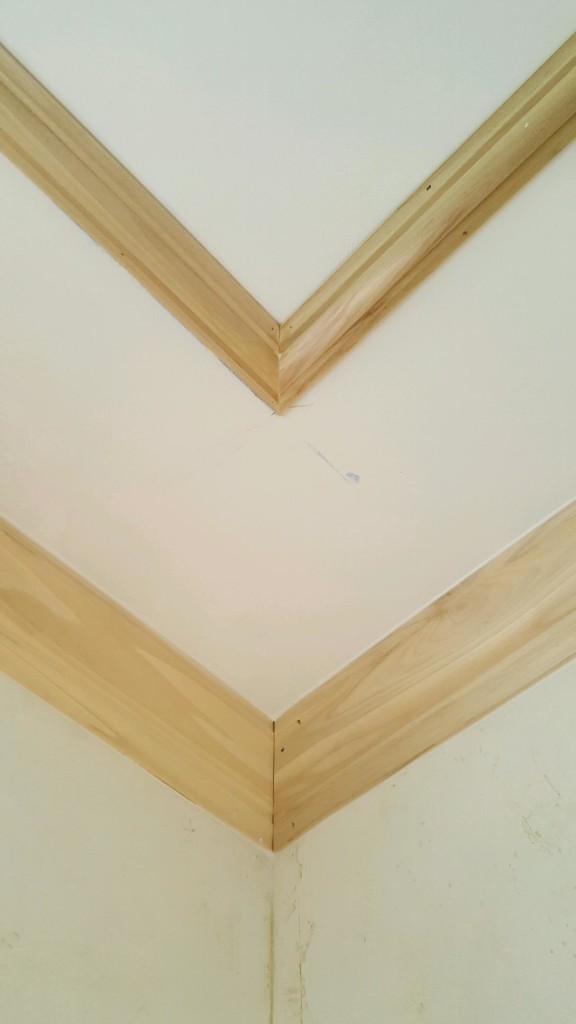
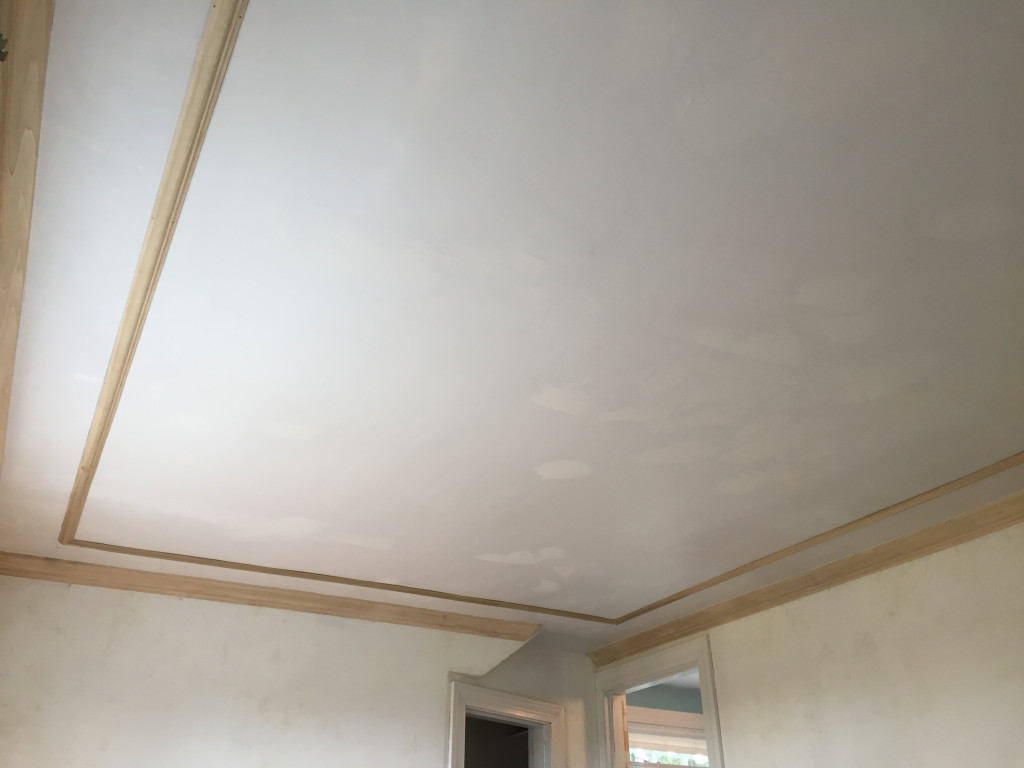
Crown molding changes the perceived shape of a room. In a space that’s tall and narrow, adding a crown accentuates ceiling height while creating the illusion of width. Astragal moldings applied to ceilings almost always are used in conjunction with crown moldings. They are typically deployed 8-10 inches away from the crown molding. When painted a trim color they add a nice layering contrast of light-and dark convex shadow lines. This contrast of dark and light areas gives definition to the crown and astragal moldings, and is a nice architectural effect.
Determine Your Astragal Molding Spacing
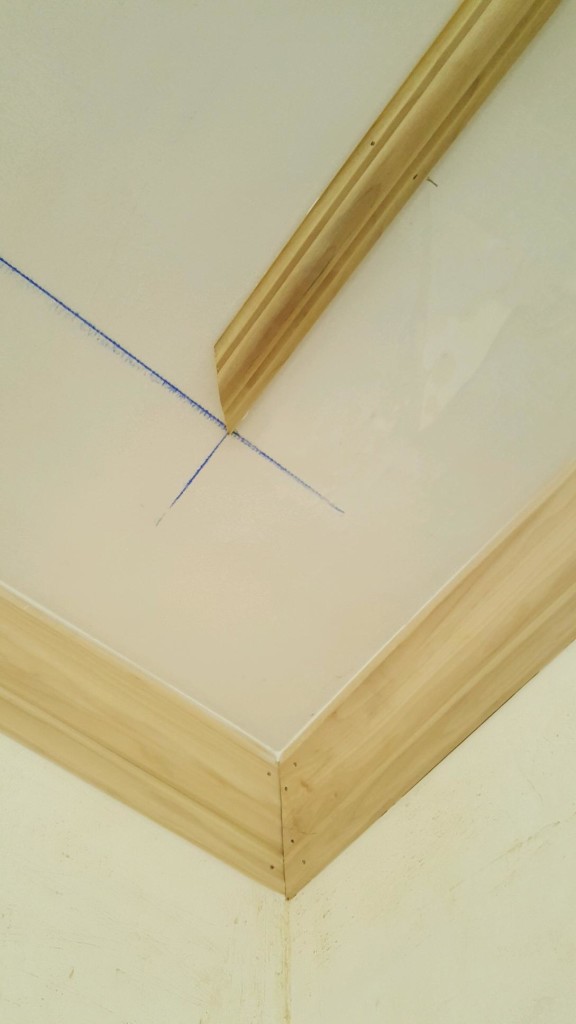
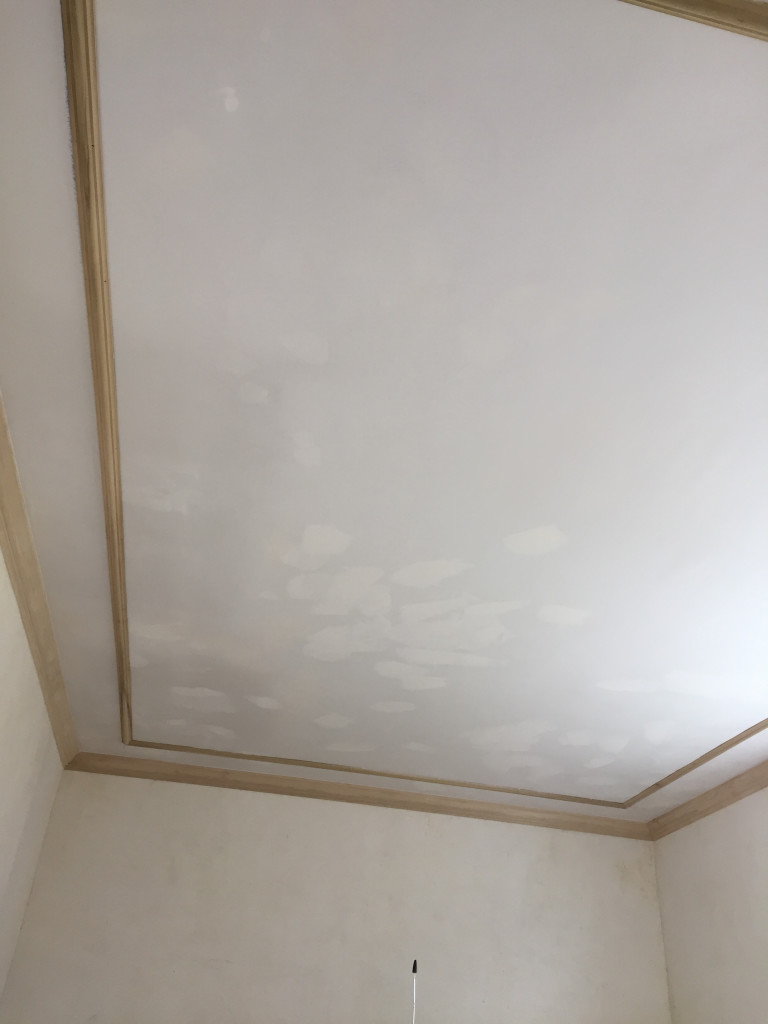
After the crown molding is applied to the room it is time to decide on your spacing for your astragal molding. For this project we chose an 8-inch spacing. The ceilings care 8 feet tall and we felt that an 8-inch spacing was a nice proportion.
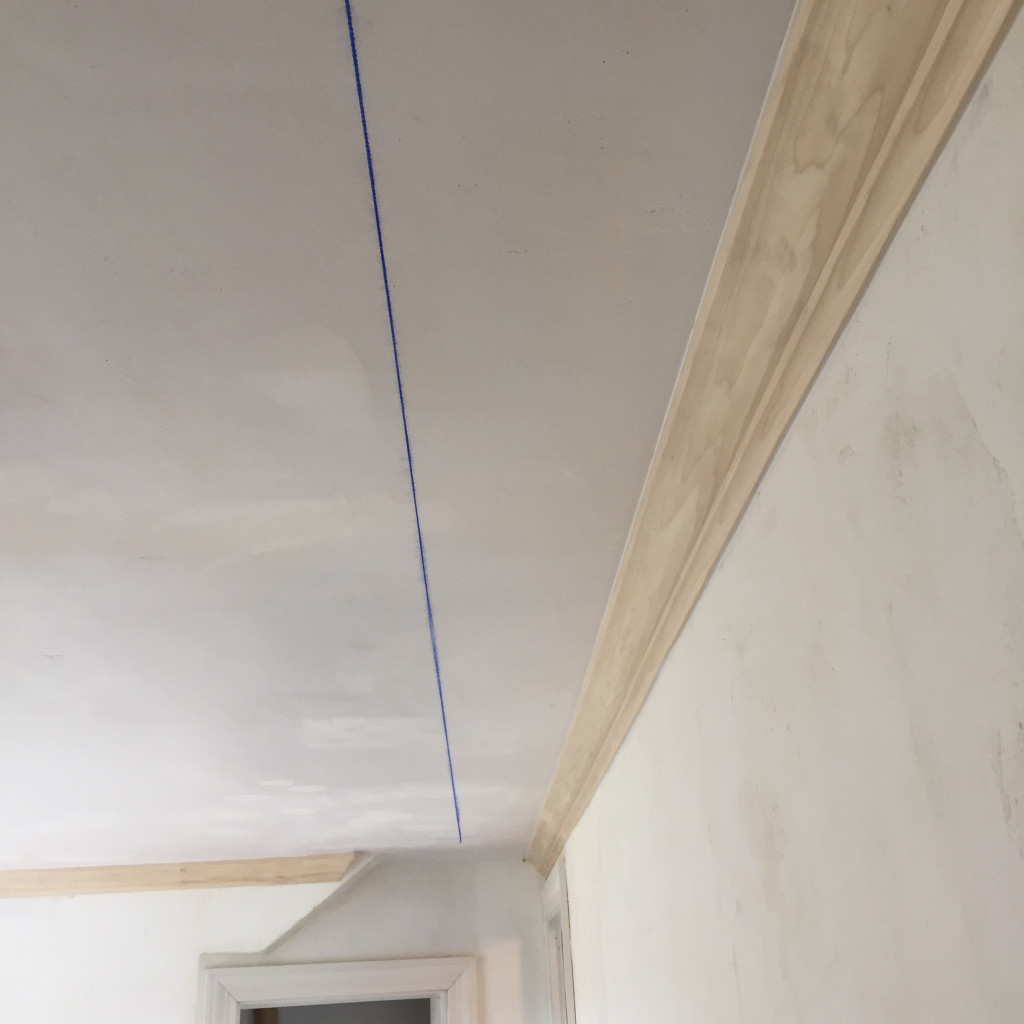
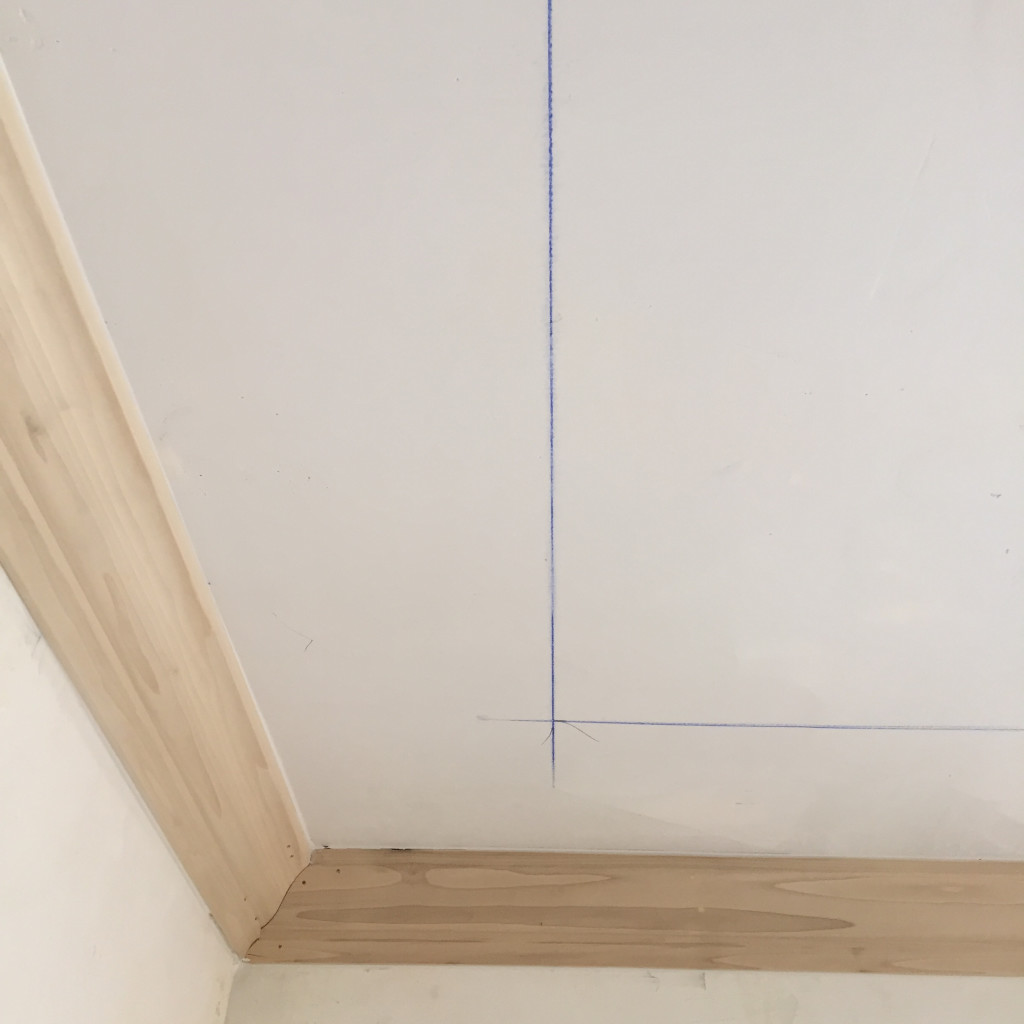
To test our 8-inch spacing idea we used a laser level to shoot a line on the ceiling to get a visual on how the spacing would look. Once satisfied we measured and marked 8-inched off each wall, at each corner and then snapped a chalk line to mark the crown molding side edge of our astragal molding.
Locate Nailers
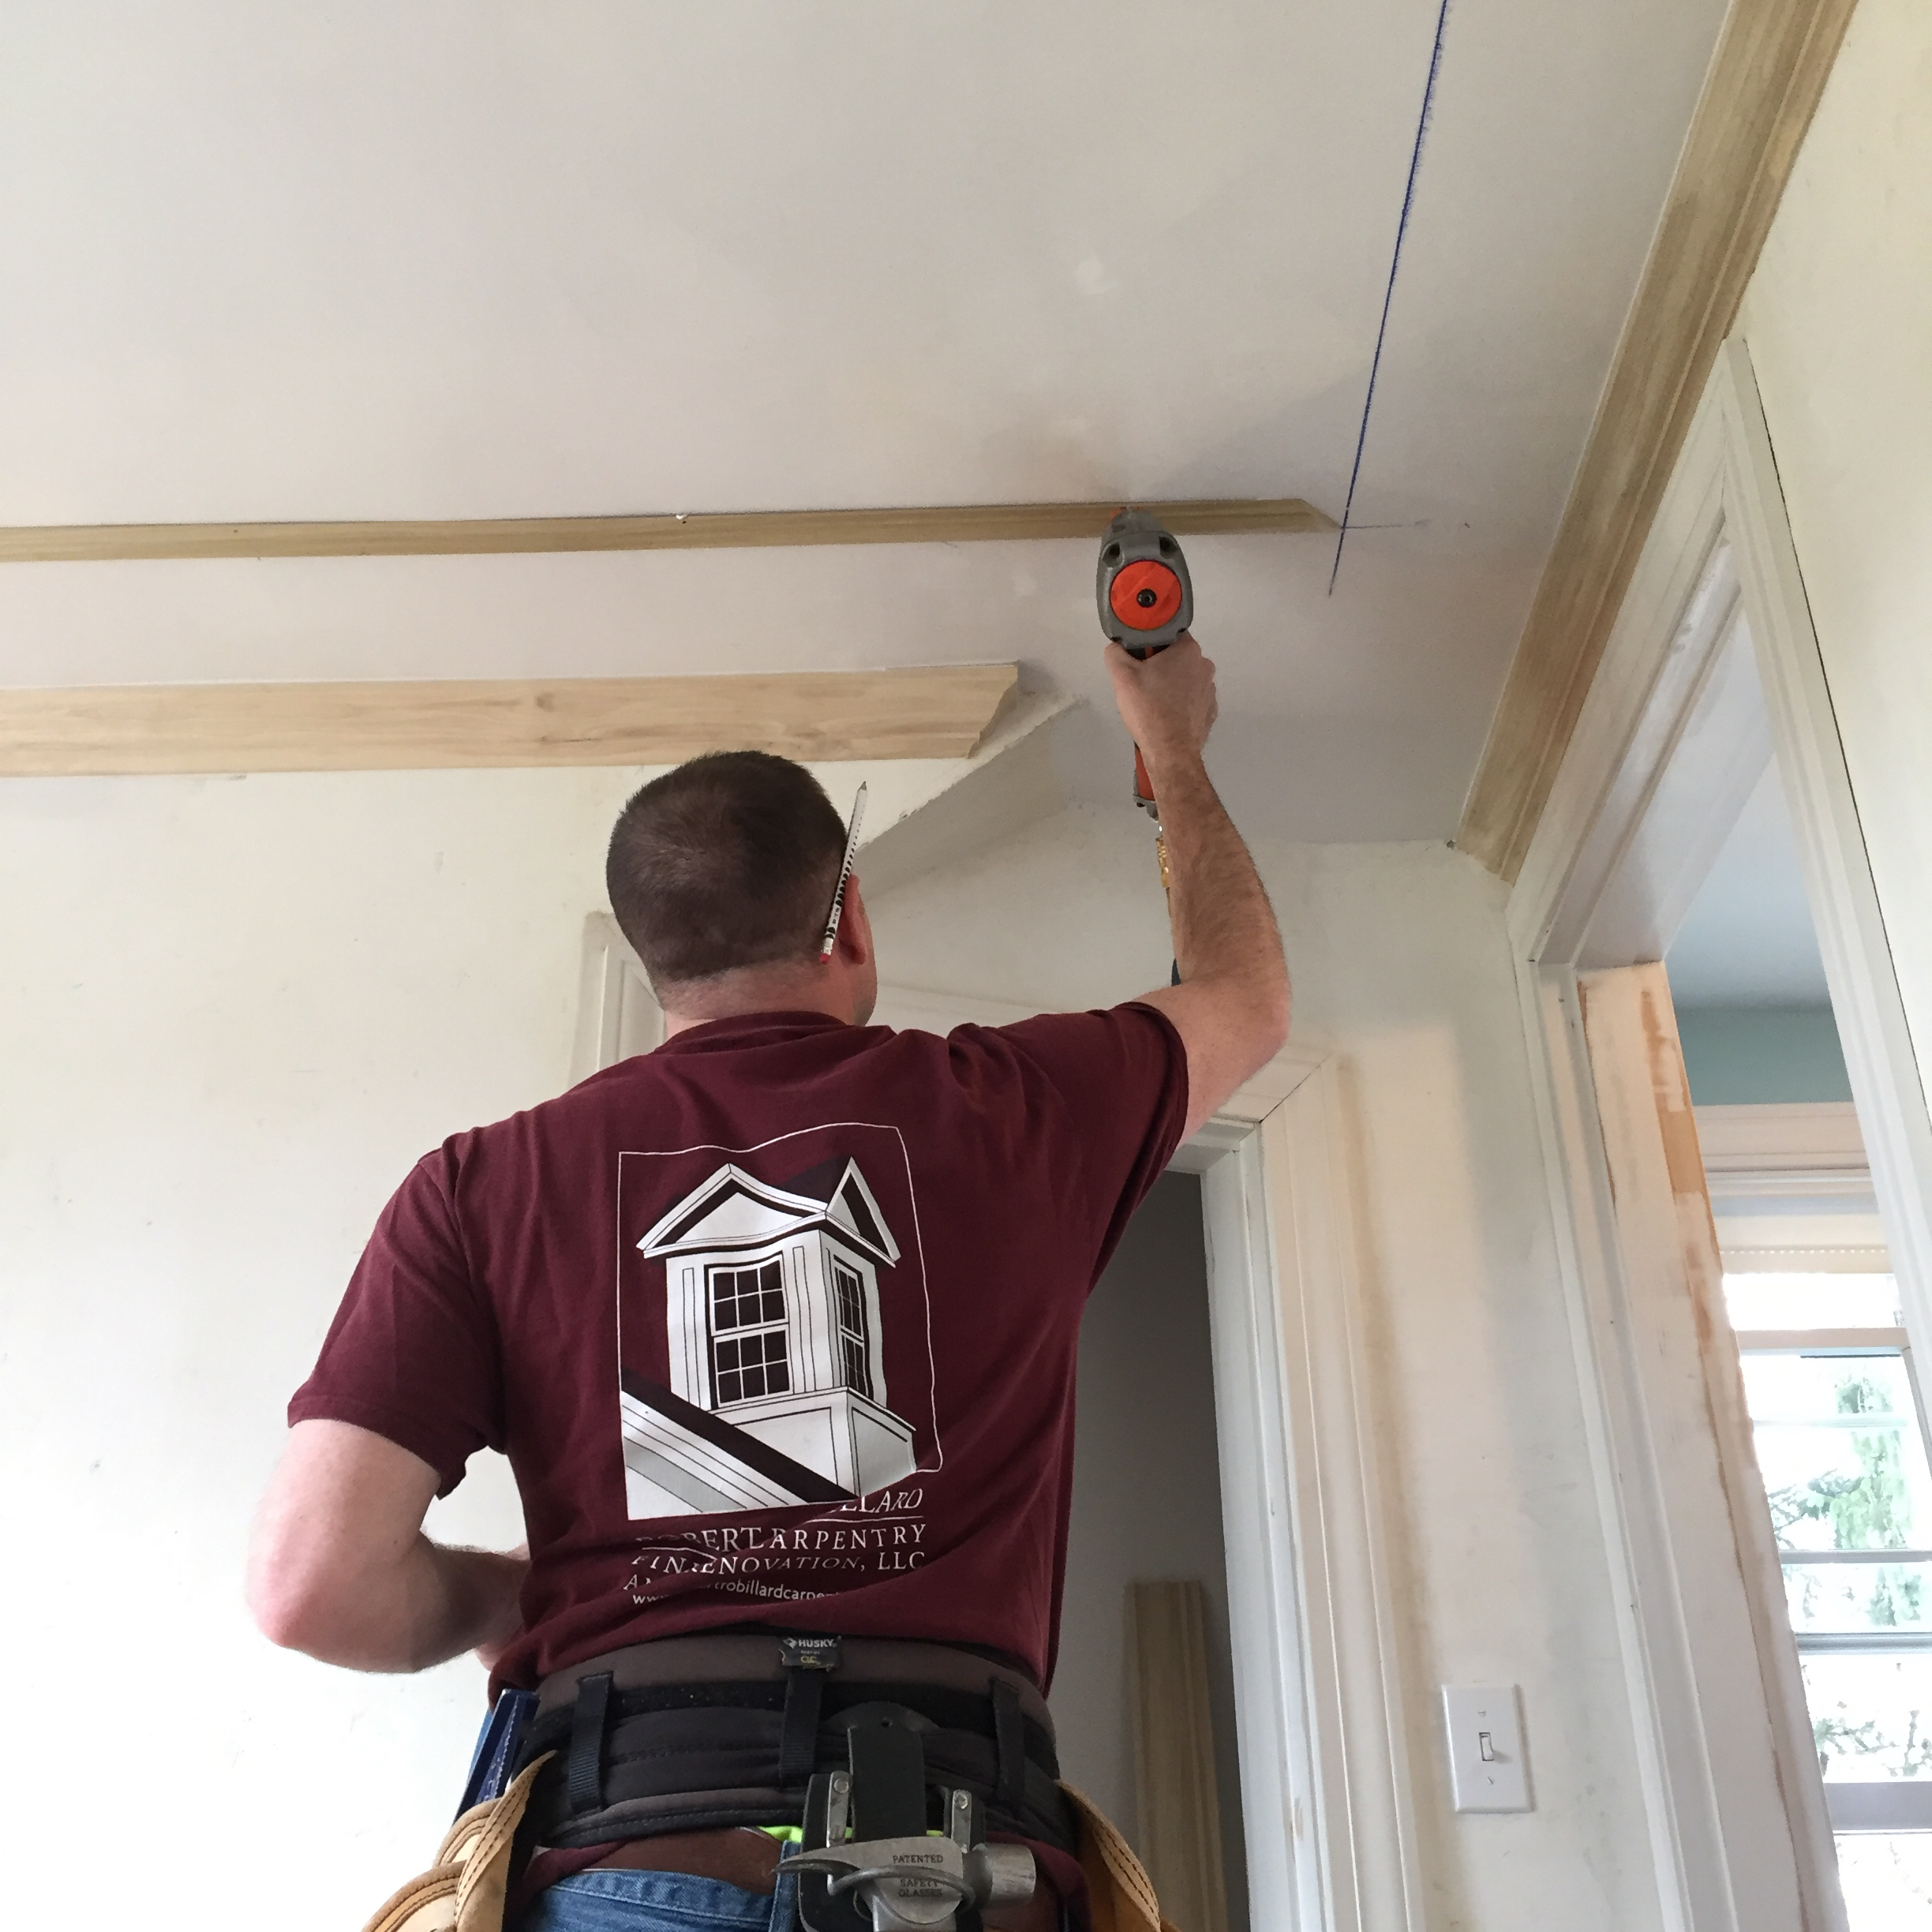
Using a stud finder and a finish nail to penetrate and confirm nailers, we located the strapping in the ceiling and marked their location. Because the strapping is installed perpendicular to the ceiling joists, we were only able to direct nail into solid nailers on two sides of the rectangular molding pattern.

How to Apply Astragal Molding On a Ceiling
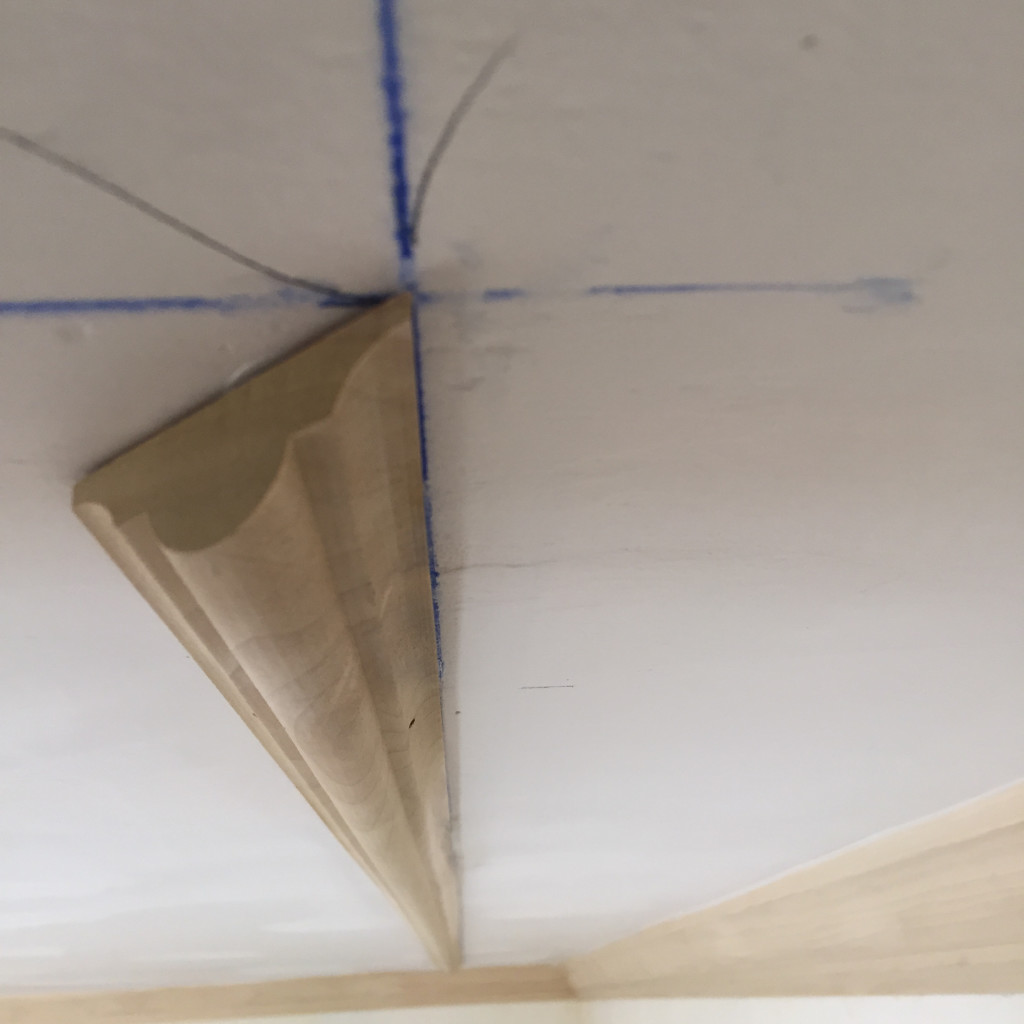
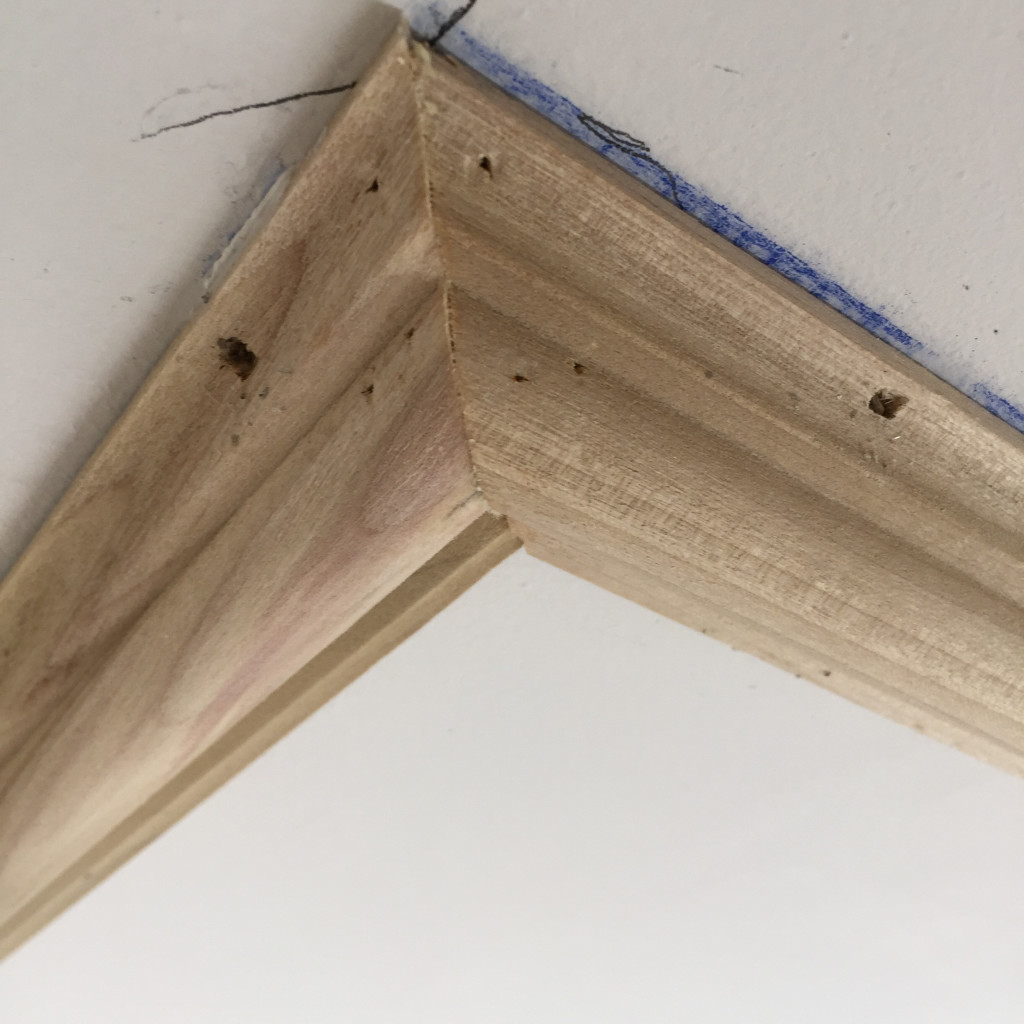
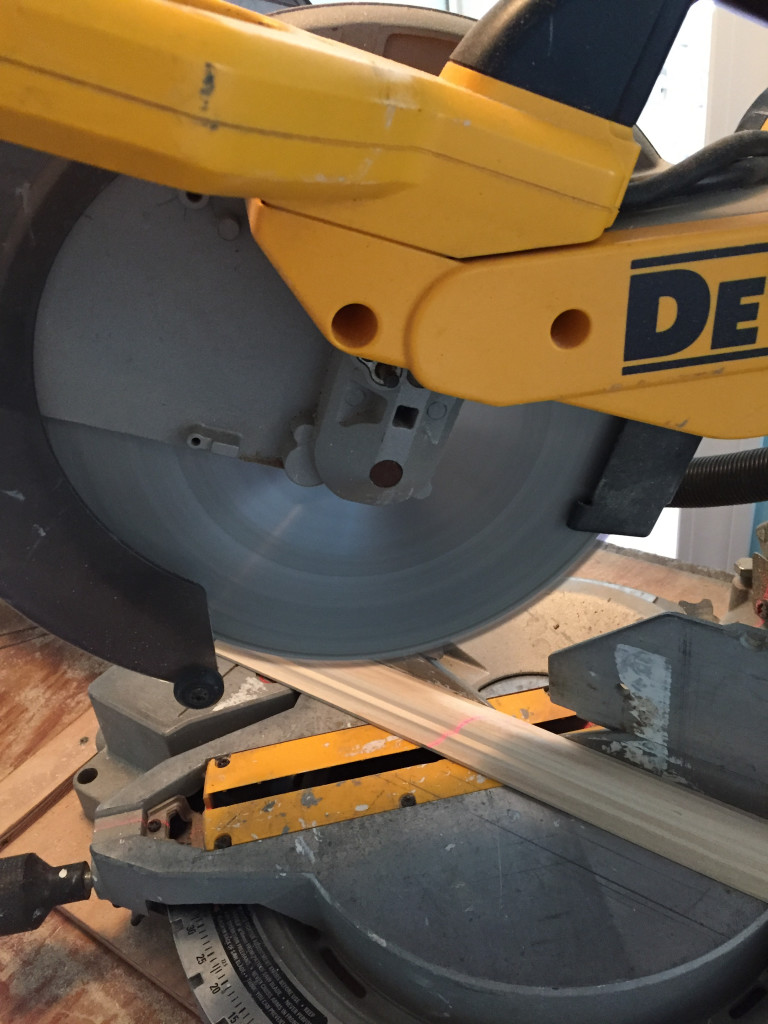
We then measured corner to corner, cut and installed two opposing astragals. Once installed we measured, cut and install the opposite two astragal moldings.
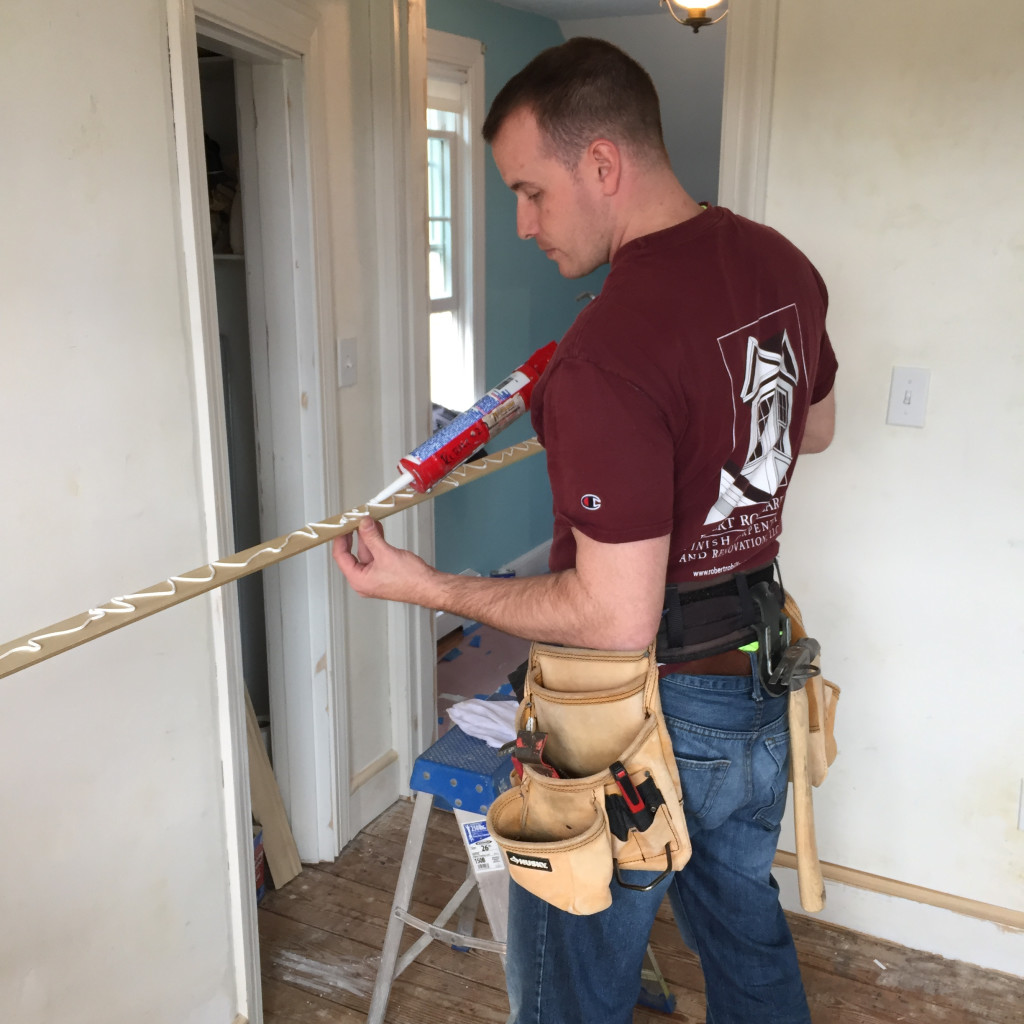
TIP: Use an acrylic latex caulk adhesive, applied to back of the astragal molding in a wave-like pattern.
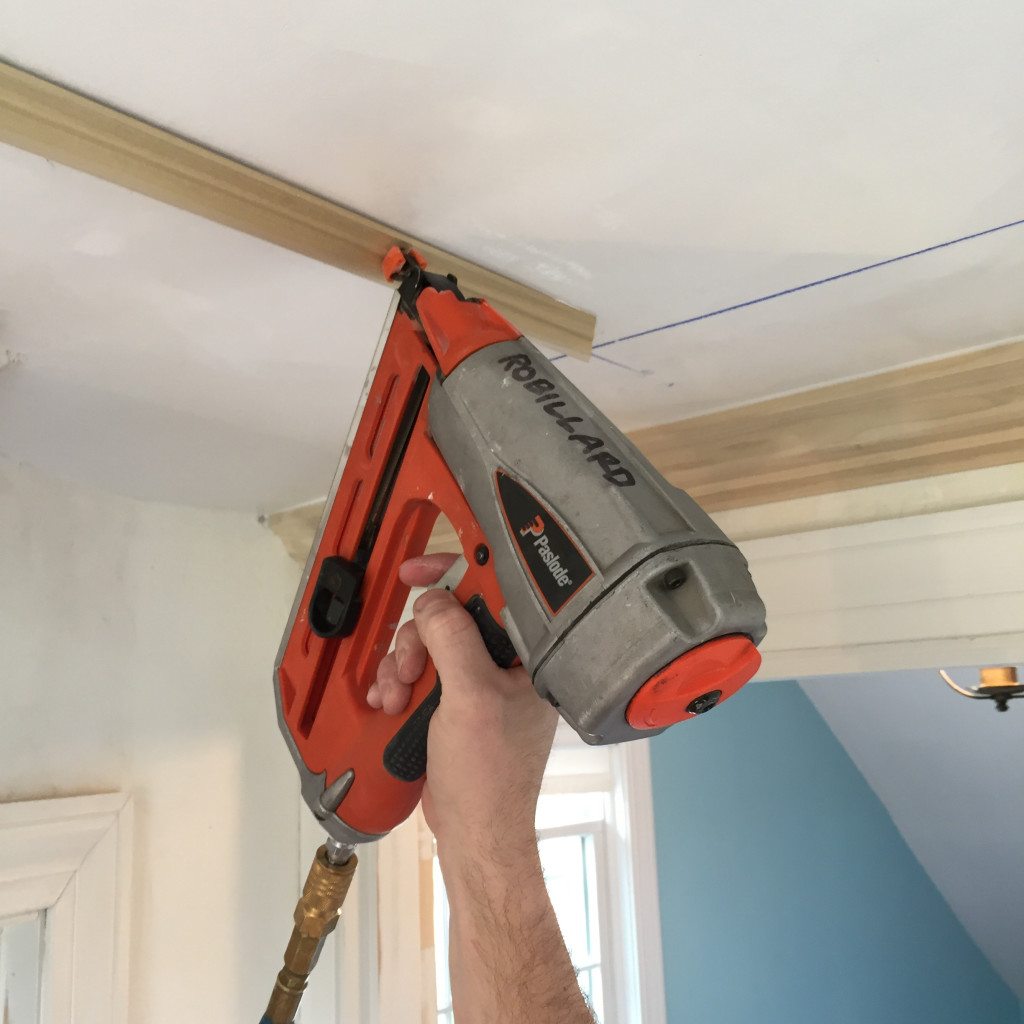
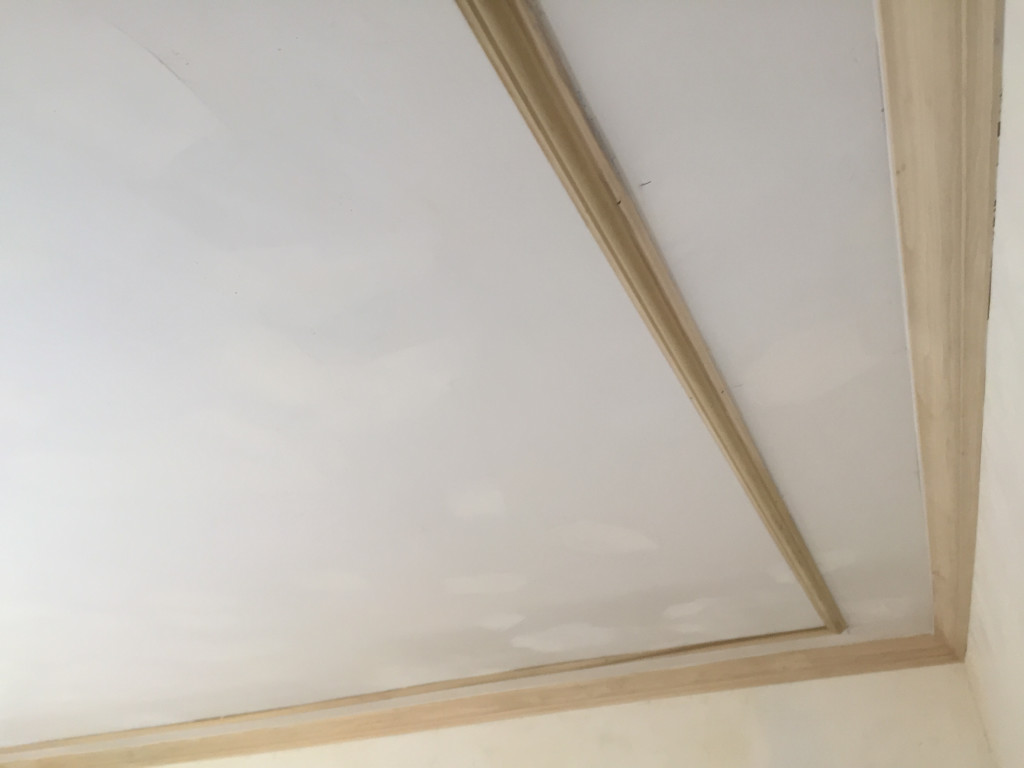
Holding the moldings against up to the ceiling, and along the chalk line we installed two pneumatic opposing finish nails, on each side of the astragal molding, every 12-inches. On the area that has strapping I install the nails directly into the strapping. On the opposite, non-strapped ceiling area, I try to install the nails at opposing angles to better grip the ceiling plaster board.
We always installed our fasteners, working from one end of the ceiling toward the other end. As we move down the ceiling we move the astragal molding, as needed, to follow and stay on the chalk line.
Once complete, set and fill all nail holes flush with wood putty. Don’t over fill the holes or you will create a sanding nightmare. Caulk all seams smooth, prime, sand and paint according to the painting scheme.
Conclusion
Installing crown molding is today’s most-pursued architectural upgrade. Crown molding and accompanying astragal molding gives the junction of the walls and ceiling both depth and formality.
Interested in a wall molding, wainscoting look? READ: How to install astragal wall molding